
What is the Do Not Disturb feature on iPhone 14?
The Do Not Disturb feature on iPhone 14 is a valuable tool designed to help users manage interruptions and maintain focus during important moments. Whether you're in a meeting, enjoying a peaceful evening, or simply need some uninterrupted time, this feature empowers you to customize your notification settings according to your preferences.
When activated, Do Not Disturb silences incoming calls, alerts, and notifications, preventing them from causing disruptions. This ensures that you can concentrate on tasks at hand without being constantly interrupted by your device. The feature can be manually enabled and disabled, or scheduled to activate and deactivate automatically at specific times.
Furthermore, Do Not Disturb offers the flexibility to allow calls from specific contacts, ensuring that important calls are not missed while the feature is active. Additionally, users can customize the settings to allow repeated calls from the same contact to bypass the Do Not Disturb mode, providing a safety net for urgent situations.
In essence, the Do Not Disturb feature on iPhone 14 serves as a powerful tool for managing interruptions and maintaining focus, ultimately enhancing the user experience by providing greater control over notifications and calls.
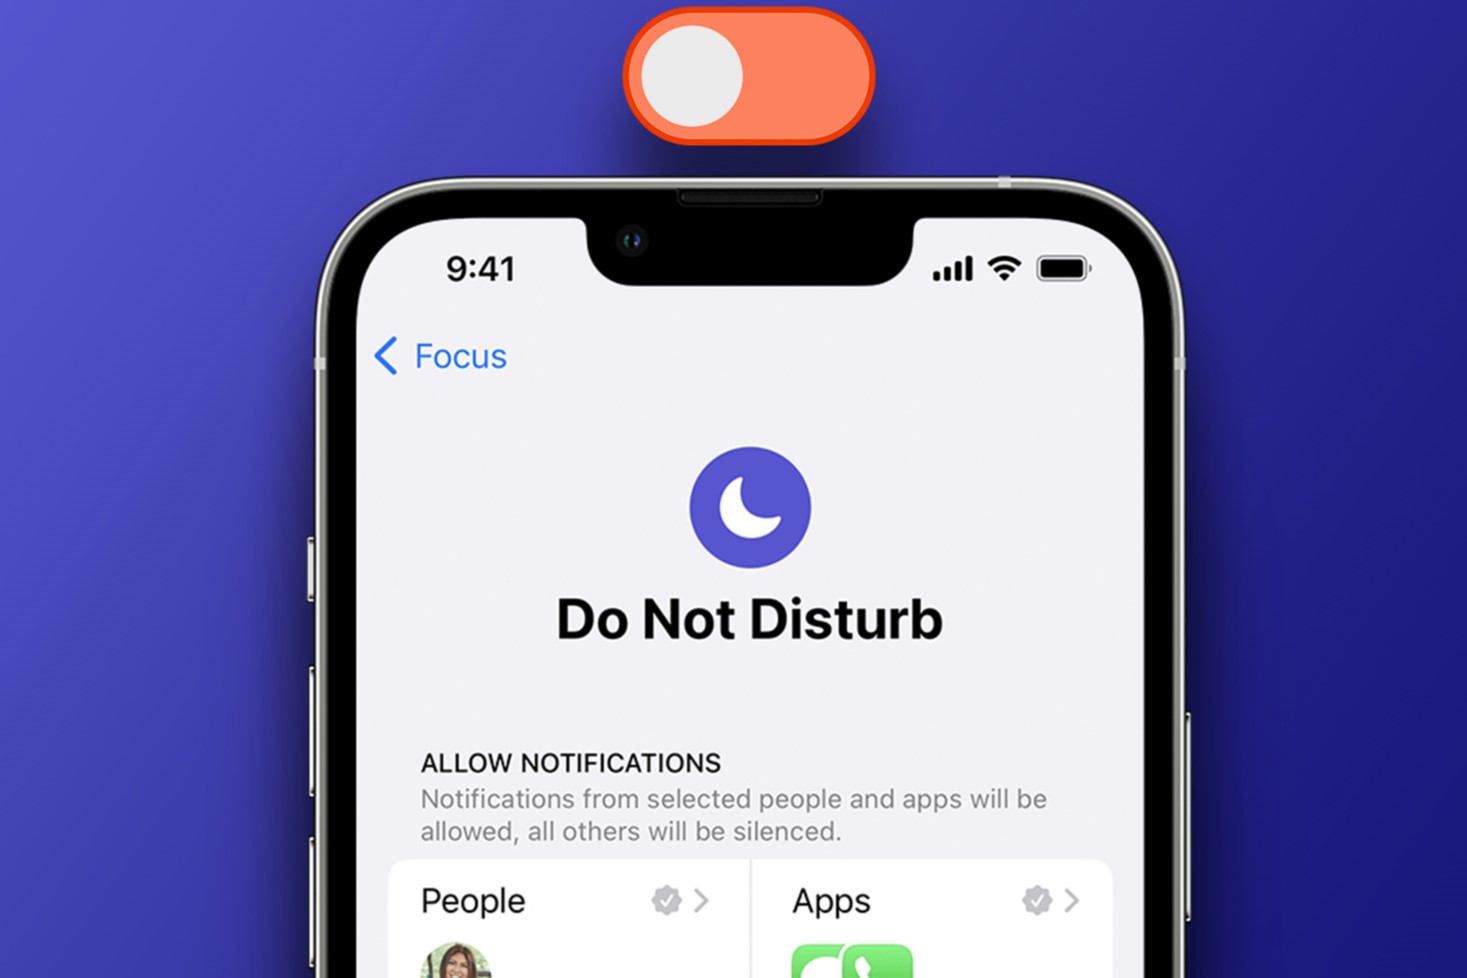
How to turn off Do Not Disturb manually
Turning off the Do Not Disturb feature on your iPhone 14 is a straightforward process that can be accomplished in just a few simple steps. Whether you've completed a meeting, finished a task, or simply want to stay connected, deactivating Do Not Disturb allows you to resume receiving calls, alerts, and notifications without any interruptions.
To manually turn off Do Not Disturb on your iPhone 14, follow these steps:
-
Access Control Center: Swipe down from the top-right corner of the screen to open Control Center. Alternatively, you can also access Control Center by swiping up from the bottom of the screen, depending on your iPhone model.
-
Identify Do Not Disturb Icon: In Control Center, look for the crescent moon icon, which represents the Do Not Disturb feature. If the icon is highlighted or appears in a different color, it indicates that Do Not Disturb is currently active.
-
Toggle Off Do Not Disturb: Tap the crescent moon icon to toggle off Do Not Disturb. Once deactivated, the icon will return to its default appearance, indicating that the feature is no longer active.
-
Confirmation: To ensure that Do Not Disturb has been turned off, you can check for the disappearance of the crescent moon icon in Control Center. Additionally, you should start receiving calls, alerts, and notifications as usual.
By following these steps, you can easily and quickly turn off Do Not Disturb on your iPhone 14, allowing you to seamlessly transition back to regular notification settings and stay connected without any interruptions.
In addition to manual deactivation, iPhone 14 users can also schedule Do Not Disturb to automatically turn off at specific times, ensuring a seamless transition between focused periods and regular notification settings. This feature provides users with the flexibility to customize their notification preferences according to their daily routines and activities, ultimately enhancing the overall user experience.
Overall, the ability to manually turn off Do Not Disturb on iPhone 14 empowers users to effortlessly manage their notification settings and seamlessly transition between focused and connected modes, ensuring that they remain in control of their device's interruptions and notifications.
How to schedule Do Not Disturb to turn off automatically
Scheduling the Do Not Disturb feature to turn off automatically on your iPhone 14 offers a convenient way to seamlessly transition between focused periods and regular notification settings without manual intervention. By setting specific times for Do Not Disturb to activate and deactivate, users can ensure that their device aligns with their daily routines and activities, providing a hassle-free experience while managing interruptions.
To schedule Do Not Disturb to turn off automatically on your iPhone 14, follow these steps:
-
Access Settings: Begin by accessing the "Settings" app on your iPhone 14. This can be done by locating the app icon on your home screen and tapping to open it.
-
Navigate to "Do Not Disturb" Settings: Within the Settings app, scroll and locate the "Do Not Disturb" option. Tap on it to access the Do Not Disturb settings menu.
-
Enable Scheduled: In the Do Not Disturb settings, locate the "Scheduled" option and toggle it on. This action activates the scheduling feature, allowing you to set specific times for Do Not Disturb to automatically turn off.
-
Set Start and End Times: Once the scheduling feature is enabled, you can set the start and end times for Do Not Disturb. Tap on "From" to select the start time and "To" to choose the end time. This allows you to customize the period during which Do Not Disturb will be active.
-
Customize Repeat Settings: Additionally, you can customize the repeat settings to specify which days of the week the scheduled Do Not Disturb should be active. This flexibility allows you to tailor the feature to align with your unique schedule and routine.
By following these steps, you can effectively schedule Do Not Disturb to turn off automatically on your iPhone 14, ensuring that the feature seamlessly transitions between focused periods and regular notification settings based on your specified times and repeat preferences.
The ability to schedule Do Not Disturb to turn off automatically provides users with a convenient and customizable way to manage interruptions and maintain focus without the need for manual intervention. This feature aligns with the user's daily routines and activities, ultimately enhancing the overall user experience by offering a seamless transition between focused and connected modes.
How to allow calls from certain contacts while Do Not Disturb is on
Enabling the Do Not Disturb feature on your iPhone 14 doesn't mean you have to miss important calls from specific contacts. You can customize the settings to allow calls from certain contacts to bypass the Do Not Disturb mode, ensuring that you stay connected with those who matter most while still enjoying uninterrupted focus during your designated quiet times.
To allow calls from certain contacts while Do Not Disturb is on, follow these steps:
-
Access Contacts: Begin by opening the "Contacts" app on your iPhone 14. This can be found on your home screen, and tapping on it will allow you to access your list of contacts.
-
Select Contact: Scroll through your contacts and select the specific contact from whom you want to allow calls while Do Not Disturb is active.
-
Edit Contact: Once you've selected the contact, tap on the "Edit" option to access the contact's details and settings.
-
Set Emergency Bypass: Within the contact's settings, scroll down to find the "Ringtone" and "Text Tone" options. Tap on either of these options to access the contact's ringtone settings.
-
Enable Emergency Bypass: In the contact's ringtone settings, you'll find the "Emergency Bypass" toggle. Enable this feature to allow calls and messages from the selected contact to bypass the Do Not Disturb mode.
By following these steps, you can ensure that calls and messages from specific contacts will always come through, even when Do Not Disturb is active. This feature provides the flexibility to stay connected with important contacts while still benefiting from the uninterrupted focus that Do Not Disturb offers.
The ability to allow calls from certain contacts while Do Not Disturb is on empowers users to maintain control over their notifications and interruptions, ensuring that they can stay connected with priority contacts while enjoying focused and uninterrupted periods as needed. This customization option enhances the overall user experience by providing a seamless balance between connectivity and focused productivity.
How to customize Do Not Disturb settings for specific events or locations
Customizing the Do Not Disturb settings for specific events or locations on your iPhone 14 offers a tailored approach to managing interruptions based on your unique schedule and preferences. By leveraging this feature, you can ensure that your device adapts to different environments and activities, providing a seamless and personalized experience while maintaining focus and minimizing disruptions.
To customize Do Not Disturb settings for specific events or locations on your iPhone 14, follow these steps:
-
Access Settings: Begin by accessing the "Settings" app on your iPhone 14. This can be done by locating the app icon on your home screen and tapping to open it.
-
Navigate to "Do Not Disturb" Settings: Within the Settings app, scroll and locate the "Do Not Disturb" option. Tap on it to access the Do Not Disturb settings menu.
-
Customize Do Not Disturb: In the Do Not Disturb settings, you'll find various customization options to tailor the feature according to specific events or locations. These options may include "Allow Calls From," "Repeated Calls," and "Silence."
-
Allow Calls From: By selecting the "Allow Calls From" option, you can specify certain groups or contacts from whom you wish to receive calls even when Do Not Disturb is active. This ensures that important calls are not missed during specific events or in particular locations.
-
Repeated Calls: The "Repeated Calls" feature allows calls from the same contact to bypass Do Not Disturb if they call within a short time frame. This can be particularly useful in urgent situations, ensuring that critical calls are not overlooked.
-
Silence: The "Silence" option provides further customization by allowing you to choose whether notifications are silenced always, only when the iPhone is locked, or never. This level of control ensures that notifications align with your preferences during specific events or in designated locations.
By customizing Do Not Disturb settings for specific events or locations, you can effectively tailor your device's behavior to suit your unique needs, ensuring that interruptions are managed in a manner that aligns with your daily activities and environments. This level of personalization enhances the overall user experience by providing a seamless and adaptable approach to managing notifications and maintaining focus based on individual preferences and circumstances.