
Check VPN Status on iPhone 13
Checking the VPN status on your iPhone 13 is a straightforward process that allows you to verify whether the VPN connection is active or not. Here's how you can do it:
-
Access the Settings: Begin by unlocking your iPhone 13 and navigating to the home screen. Look for the "Settings" app, which is represented by a gear icon, and tap on it to open the settings menu.
-
Locate the VPN Settings: Once you are in the Settings menu, scroll down and look for the "VPN" option. It is usually located below the "Wi-Fi" and "Bluetooth" settings. Tap on the "VPN" option to access the VPN settings.
-
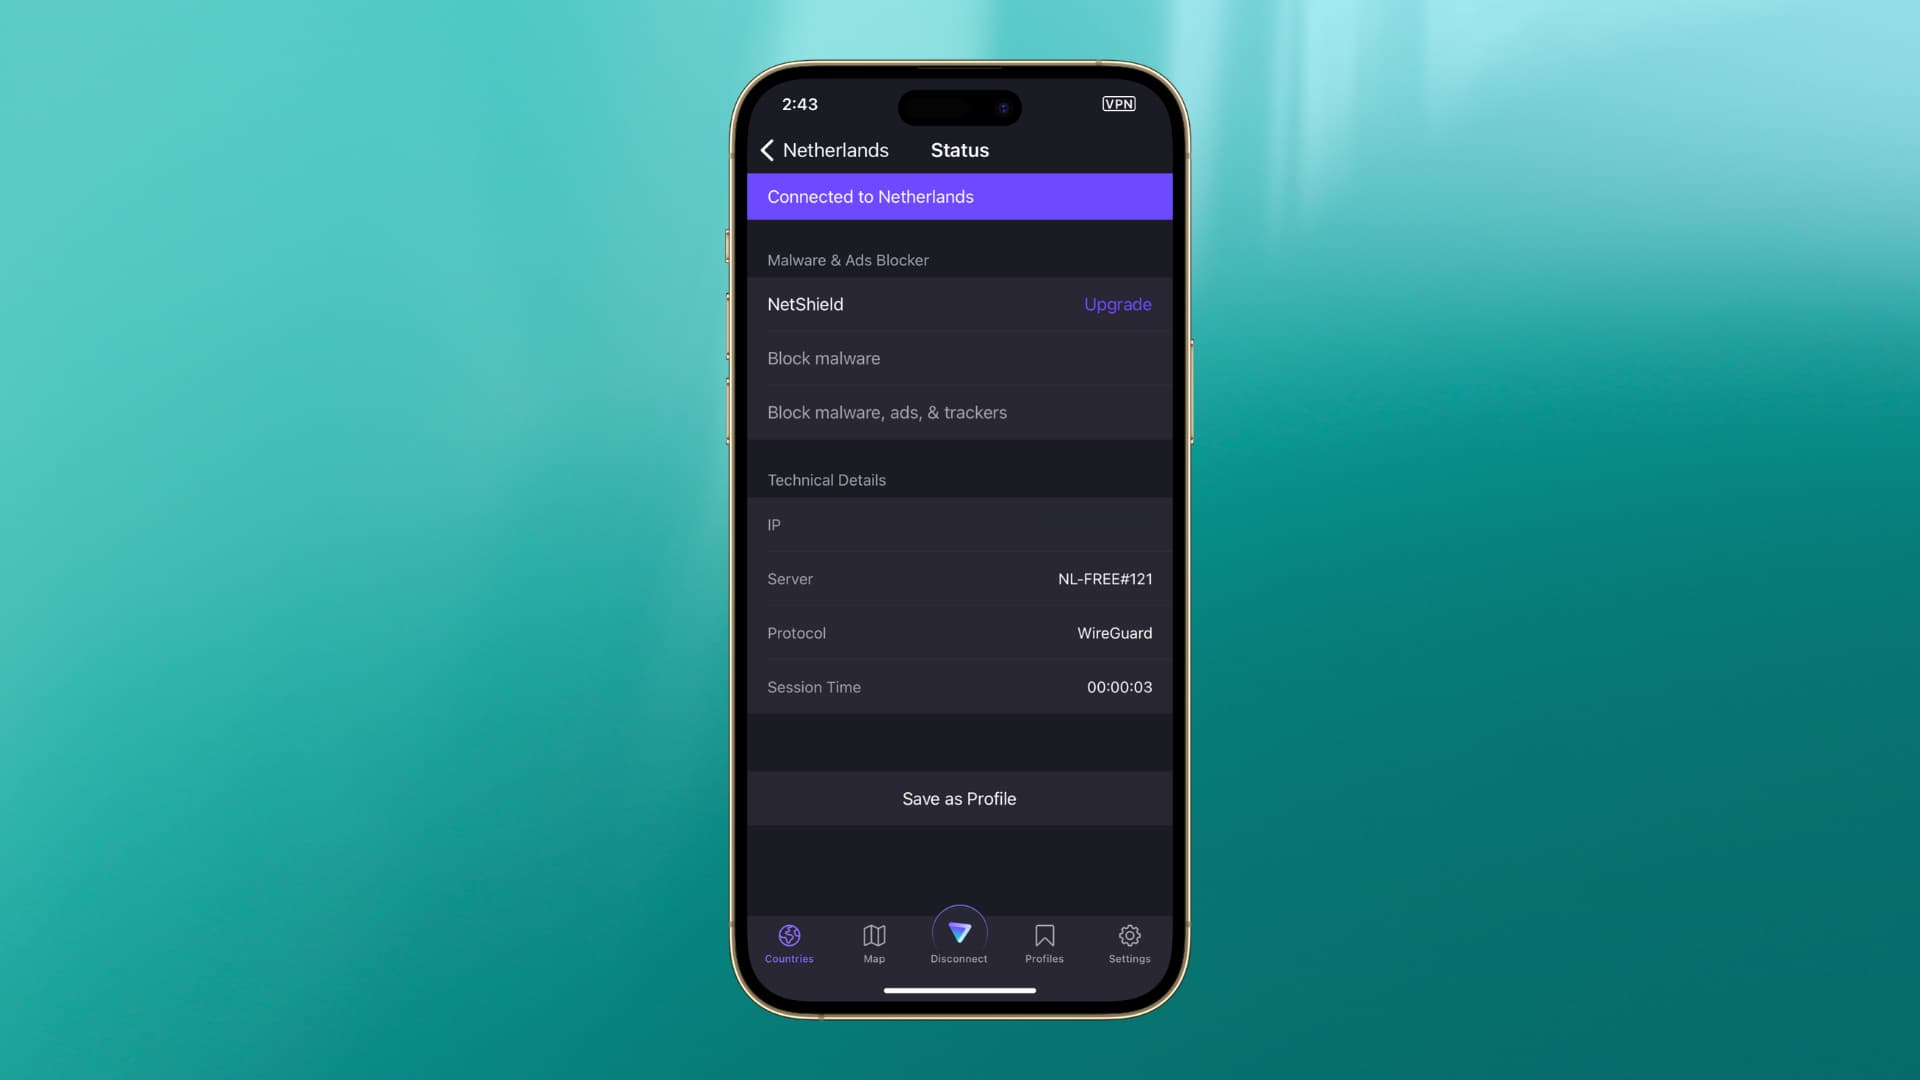
Check VPN Status: In the VPN settings, you will see a list of configured VPN connections. If the VPN is currently active, you will see a "VPN" icon next to the active connection. This icon typically resembles a small VPN logo with a shield. Additionally, the status next to the VPN connection will indicate "Connected" or "On."
-
Verify Connection Status: To ensure that the VPN is indeed active, you can also look at the status bar at the top of your iPhone 13 screen. When the VPN is active, a VPN icon will appear in the status bar, indicating that the VPN connection is currently in use.
By following these simple steps, you can quickly check the VPN status on your iPhone 13 and confirm whether the VPN connection is active or not. This knowledge empowers you to make informed decisions about your online privacy and security, ensuring that your data remains protected while using your iPhone 13.
Turn Off VPN on iPhone 13
Disabling a VPN connection on your iPhone 13 is a simple yet essential task, especially when you no longer require the secure tunneling of your internet traffic. Whether you want to access region-specific content or simply prefer to browse the web without a VPN, turning off the VPN on your iPhone 13 can be done with just a few taps. Here's a step-by-step guide to help you accomplish this:
-
Access the Settings: To begin, unlock your iPhone 13 and navigate to the home screen. Look for the "Settings" app, represented by a gear icon, and tap on it to open the settings menu.
-
Navigate to VPN Settings: Once you are in the Settings menu, scroll down and locate the "VPN" option. It is typically positioned below the "Wi-Fi" and "Bluetooth" settings. Tap on the "VPN" option to access the VPN settings.
-
Turn Off VPN: In the VPN settings, you will see a list of configured VPN connections. To disable the VPN, simply tap on the toggle switch next to the active VPN connection. This action will turn off the VPN and disconnect the secure connection.
-
Verify Disconnection: After turning off the VPN, it's essential to verify that the VPN connection has been successfully disabled. You can do this by checking the VPN status in the settings menu and ensuring that the status next to the VPN connection indicates "Disconnected" or "Off."
By following these straightforward steps, you can promptly turn off the VPN on your iPhone 13, allowing you to browse the internet without the VPN's secure tunneling. This flexibility enables you to adapt your privacy and security settings based on your specific needs, providing you with greater control over your online activities.
Remember, while VPNs offer valuable security and privacy benefits, there are instances where disabling the VPN may be necessary, such as accessing location-based services or troubleshooting network connectivity issues. With the ability to easily turn off the VPN on your iPhone 13, you can seamlessly tailor your online experience to suit your preferences and requirements.
Disable VPN for Specific Apps on iPhone 13
In certain scenarios, you may find it advantageous to disable the VPN for specific apps on your iPhone 13. This capability allows you to customize your VPN usage, ensuring that only selected apps utilize the secure network while others connect directly to the internet. Whether you want to bypass VPN restrictions for certain applications or optimize network performance for specific tasks, the ability to disable the VPN for individual apps provides a valuable level of control. Here's how you can accomplish this on your iPhone 13:
-
Access the Settings: Begin by unlocking your iPhone 13 and locating the "Settings" app on the home screen. Tap on the gear icon representing the settings to access the settings menu.
-
Navigate to VPN Settings: Within the settings menu, scroll down and find the "VPN" option. Tap on "VPN" to access the VPN settings.
-
Select the VPN Configuration: In the VPN settings, you will see a list of configured VPN connections. Identify the VPN configuration that you want to customize for specific apps and tap on it to view its details.
-
Toggle Off "Connect On Demand": Within the VPN configuration details, look for the "Connect On Demand" option. This feature automatically establishes the VPN connection for all network traffic. By toggling off "Connect On Demand," you can prevent the VPN from automatically routing all traffic, allowing you to specify which apps use the VPN.
-
Manage App-Specific VPN Settings: After disabling "Connect On Demand," scroll down to find the "Include" and "Exclude" options. Here, you can specify the apps for which the VPN should be included or excluded. To disable the VPN for specific apps, tap on "Exclude" and select the apps from which you want to exclude the VPN connection.
-
Verify App-Specific VPN Configuration: Once you have customized the VPN settings for specific apps, it's essential to verify the changes. You can do this by testing the connectivity of the selected apps and ensuring that they are no longer utilizing the VPN connection.
By following these steps, you can effectively disable the VPN for specific apps on your iPhone 13, tailoring your VPN usage to suit your preferences and requirements. This level of customization empowers you to optimize your network performance, access region-specific content, or troubleshoot connectivity issues with greater flexibility and control. Whether you need to exclude certain apps from the VPN for a temporary task or as a permanent configuration, the ability to customize app-specific VPN settings enhances your overall user experience on the iPhone 13.
Remove VPN Configuration from iPhone 13
Removing a VPN configuration from your iPhone 13 is a fundamental task that allows you to manage your network settings and streamline your connectivity options. Whether you no longer require a specific VPN configuration, need to troubleshoot network issues, or simply want to reorganize your network settings, removing a VPN configuration from your iPhone 13 can be accomplished with ease. Here's a detailed guide to help you navigate through this process:
-
Access the Settings: Begin by unlocking your iPhone 13 and locating the "Settings" app on the home screen. The Settings app is represented by a gear icon. Tap on it to access the settings menu.
-
Navigate to VPN Settings: Within the settings menu, scroll down to find the "VPN" option. Tap on "VPN" to access the VPN settings.
-
View Configured VPN Connections: In the VPN settings, you will see a list of configured VPN connections. Identify the specific VPN configuration that you want to remove from your iPhone 13.
-
Edit or Delete VPN Configuration: To remove the VPN configuration, tap on the "i" or "information" icon next to the VPN connection that you wish to delete. This will allow you to view the details of the VPN configuration.
-
Remove VPN Configuration: Within the VPN configuration details, you will find the option to delete or remove the configuration. Tap on the "Delete VPN" or "Remove VPN" option, typically located at the bottom of the configuration details.
-
Confirm Deletion: A confirmation prompt will appear to ensure that you intend to delete the selected VPN configuration. Confirm the deletion to proceed with removing the VPN configuration from your iPhone 13.
-
Verify Removal: After confirming the deletion, it's essential to verify that the VPN configuration has been successfully removed. You can do this by checking the list of configured VPN connections to ensure that the specific configuration is no longer present.
By following these steps, you can effectively remove a VPN configuration from your iPhone 13, allowing you to manage your network settings with precision and efficiency. This capability enables you to maintain a streamlined and organized network configuration, ensuring that your iPhone 13 is tailored to your specific connectivity requirements. Whether you need to remove outdated VPN configurations, reconfigure network settings, or optimize your connectivity options, the ability to remove VPN configurations from your iPhone 13 empowers you to maintain a well-managed and efficient network environment.