
What is USB Debugging and Why Disable it on OnePlus Nord
USB debugging is a feature that allows an Android device to communicate with a computer over a USB connection. It is primarily used by developers and advanced users to facilitate the transfer of data, debugging applications, and accessing certain system-level features. While USB debugging can be incredibly useful for app development and troubleshooting, it also poses potential security risks when enabled on a device.
On the OnePlus Nord, USB debugging is a powerful tool that grants elevated access to the device's software and hardware. When enabled, it allows a connected computer to interact with the phone at a deeper level, potentially exposing sensitive information and system functions. This heightened level of access can be exploited by malicious software or unauthorized users, making it crucial to disable USB debugging when it's not actively being used for development purposes.
By disabling USB debugging on the OnePlus Nord when it's not in use, users can mitigate the risk of unauthorized access and protect their personal data. This proactive approach to security helps safeguard against potential threats and ensures that the device remains secure and protected from external vulnerabilities.
In the context of the OnePlus Nord, a device known for its sleek design and advanced features, taking steps to disable USB debugging when it's not needed aligns with the overall commitment to maintaining a secure and reliable user experience. As users navigate the various settings and options on their OnePlus Nord, understanding the significance of USB debugging and its potential impact on device security empowers them to make informed decisions about when to enable or disable this feature.
In the next sections, we will delve into the step-by-step process of accessing the settings menu, navigating to the developer options, and disabling USB debugging on the OnePlus Nord. By following these simple yet crucial steps, users can effectively manage the security of their device and ensure that USB debugging is only enabled when necessary for specific development or debugging tasks.
Step 1: Accessing the Settings Menu on OnePlus Nord
Accessing the settings menu on the OnePlus Nord is the initial step towards managing various configurations and features of the device, including USB debugging. The settings menu serves as a centralized hub where users can customize their device, adjust preferences, and access essential options to tailor their experience. Here's a detailed guide on how to access the settings menu on the OnePlus Nord:
-
Unlocking the Device: Begin by unlocking the OnePlus Nord using the designated security method, such as a PIN, pattern, or fingerprint recognition. Once the device is unlocked, users can proceed to the home screen.
-
Locating the Settings App: The settings app icon typically features a gear or cogwheel symbol and is commonly found on the home screen or within the app drawer. Users can swipe up or down on the home screen to access the app drawer, where they can search for the settings app.
-
Accessing the Settings: Tap on the settings app icon to launch the settings menu. Upon opening the settings app, users are presented with a comprehensive array of options and configurations to personalize their OnePlus Nord.
-
Navigating the Settings Menu: Within the settings menu, users can explore various categories such as Wireless & networks, Device, Personal, and System. Each category contains specific settings and options related to connectivity, display, sound, security, and more.
-
Understanding the Layout: The settings menu is designed with a user-friendly layout, featuring intuitive navigation and clear categorization of options. Users can easily scroll through the menu to locate the desired settings and configurations.
By following these steps, users can seamlessly access the settings menu on the OnePlus Nord, setting the stage for further customization and management of essential device features. This foundational step lays the groundwork for navigating to the developer options, where USB debugging can be disabled to enhance device security and mitigate potential risks associated with elevated access to the device's software and hardware.
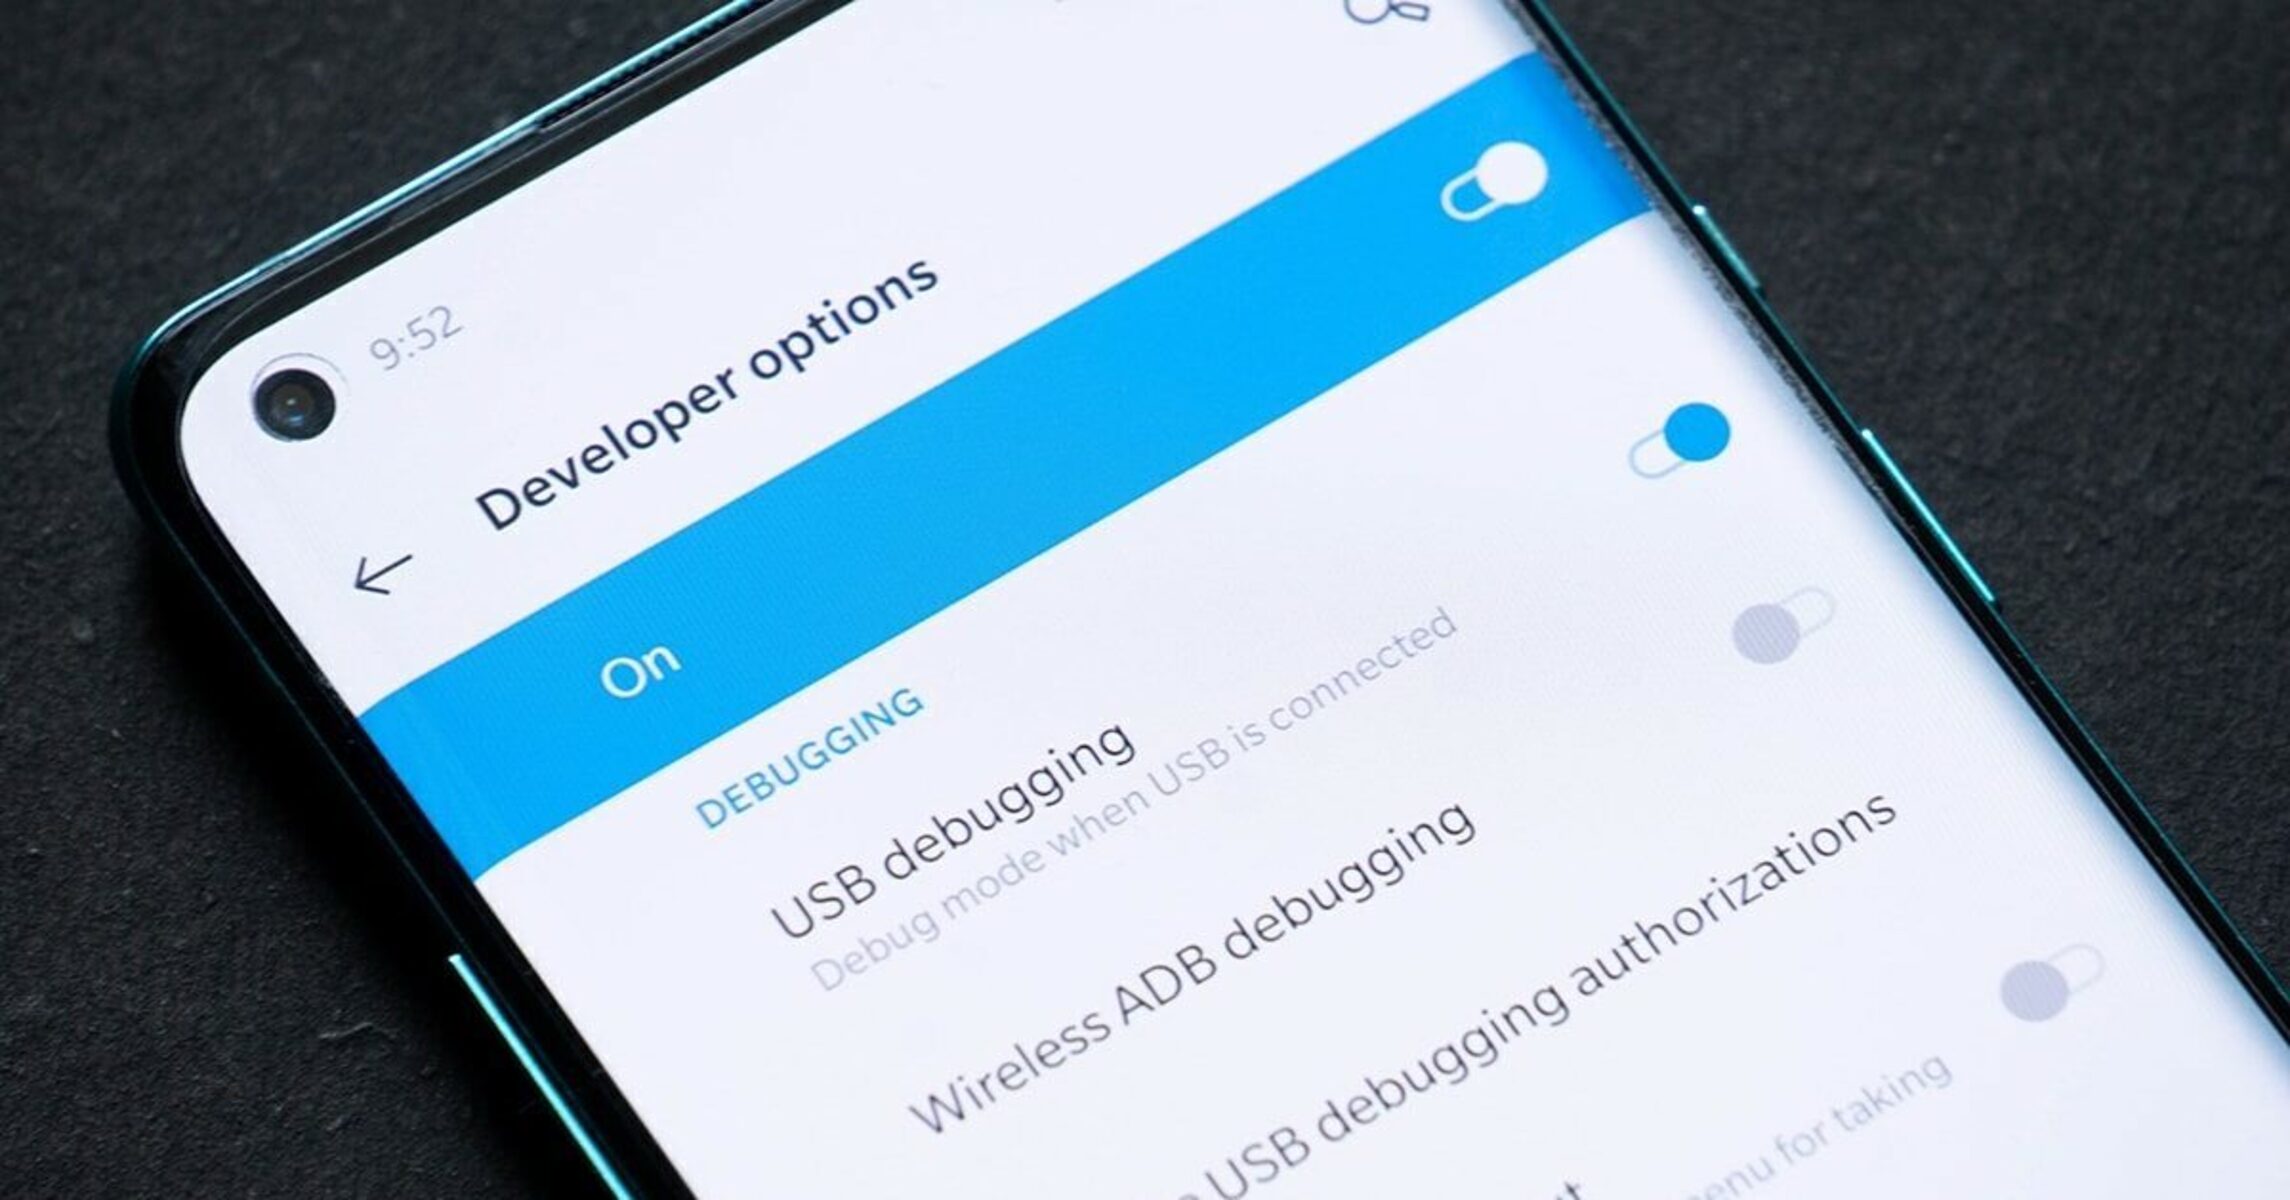
Step 2: Navigating to Developer Options
Navigating to the Developer Options menu on the OnePlus Nord is a pivotal step in the process of disabling USB debugging. Developer Options houses a collection of advanced settings and configurations designed to cater to the needs of developers and power users. Within this menu, users can access features that are not typically exposed in the standard settings, including USB debugging, advanced system monitoring, and debugging tools.
Here's a comprehensive guide on how to navigate to the Developer Options menu on the OnePlus Nord:
-
Accessing the Settings Menu: As outlined in the previous step, users should first access the settings menu by unlocking the device and locating the settings app on the home screen or within the app drawer.
-
Scrolling to System: Within the settings menu, users can scroll through the available categories and locate the "System" option. Tapping on "System" will reveal a range of system-related settings and configurations.
-
Locating Developer Options: Upon entering the "System" category, users can scroll down to find the "Developer Options" entry. It's important to note that Developer Options are hidden by default to prevent accidental access by inexperienced users. To reveal the Developer Options, users need to perform a specific action within the settings menu.
-
Enabling Developer Options: To enable Developer Options, users can navigate to the "About phone" section within the "System" category. Within "About phone," users should locate the "Build number" entry. Tapping on "Build number" multiple times (usually seven times) will prompt a message indicating that Developer Options have been enabled.
-
Accessing Developer Options: After enabling Developer Options, users can return to the main settings menu and scroll down to find the newly revealed "Developer Options" entry. Tapping on "Developer Options" will grant access to the advanced settings and configurations tailored for developers and advanced users.
By following these steps, users can successfully navigate to the Developer Options menu on the OnePlus Nord, unlocking a host of advanced configurations and features. This sets the stage for the subsequent step of disabling USB debugging, a critical security measure to safeguard the device from potential vulnerabilities and unauthorized access.
Step 3: Disabling USB Debugging
Once the Developer Options menu is accessible, disabling USB debugging on the OnePlus Nord is a straightforward process that empowers users to enhance the security of their device. By deactivating USB debugging when it's not actively required for development or debugging tasks, users can mitigate potential risks associated with unauthorized access and data exposure. Here's a detailed guide on how to disable USB debugging on the OnePlus Nord:
-
Accessing Developer Options: As outlined in the previous step, users should navigate to the Developer Options menu within the settings menu. This can be achieved by enabling Developer Options through the "About phone" section and tapping the "Build number" multiple times to reveal the advanced settings.
-
Locating USB Debugging: Within the Developer Options menu, users can scroll through the available settings to locate the "USB debugging" option. This feature is designed to facilitate communication between the device and a connected computer for debugging and development purposes.
-
Disabling USB Debugging: To disable USB debugging, users can simply toggle the switch or checkbox associated with the "USB debugging" option. This action effectively deactivates the feature, preventing unauthorized access and potential security vulnerabilities associated with elevated device access.
-
Confirmation: After disabling USB debugging, users can verify the status of the feature to ensure that it has been successfully turned off. This confirmation step provides assurance that USB debugging is no longer active on the OnePlus Nord, bolstering the security posture of the device.
By following these steps, users can effectively disable USB debugging on the OnePlus Nord, bolstering the security of the device and mitigating potential risks associated with elevated access to the device's software and hardware. This proactive approach aligns with best practices for device security and empowers users to make informed decisions regarding the activation and deactivation of critical features tailored for developers and advanced users.
Step 4: Confirming USB Debugging is Disabled
After disabling USB debugging on the OnePlus Nord, it is essential to confirm that the feature has been successfully deactivated to ensure the device's security and mitigate potential risks associated with unauthorized access. Verification of the disabled status provides users with peace of mind, knowing that USB debugging is no longer active and that the device is safeguarded against potential vulnerabilities.
Here's a detailed guide on how to confirm that USB debugging is disabled on the OnePlus Nord:
-
Return to Developer Options: To begin the confirmation process, users can navigate back to the Developer Options menu within the settings of the OnePlus Nord. This can be achieved by accessing the settings menu, scrolling to the "System" category, and tapping on "Developer Options."
-
Locate USB Debugging: Within the Developer Options menu, users should locate the "USB debugging" option to ensure that it is no longer active. By visually inspecting the status of the USB debugging feature, users can verify whether it has been successfully disabled.
-
Verify the Toggle Switch: Upon locating the "USB debugging" option, users can visually inspect the toggle switch or checkbox associated with the feature. If USB debugging has been disabled, the toggle switch should be in the "off" position, indicating that the feature is no longer active.
-
Connect to a Computer: For an additional layer of confirmation, users can connect their OnePlus Nord to a computer using a USB cable. Once connected, users can attempt to access developer-related features or debugging tools on the computer. If USB debugging is truly disabled, the device should not grant access to these advanced functionalities, reaffirming that the feature has been successfully deactivated.
By following these steps, users can confidently confirm that USB debugging is disabled on the OnePlus Nord, reinforcing the security posture of the device and ensuring that potential risks associated with elevated access to the device's software and hardware are effectively mitigated.
The act of confirming the disabled status of USB debugging serves as a proactive measure to safeguard the device and protect against potential vulnerabilities. By empowering users to verify the status of critical features, such as USB debugging, the OnePlus Nord promotes a secure and reliable user experience, aligning with best practices for device security and user empowerment.