
Checking USB Connection
Before you can connect your OnePlus Nord to a PC, it's essential to ensure that the USB connection is properly set up. This step is crucial for establishing a seamless link between your device and the computer. Here's how to check the USB connection:
-
Physical Inspection: Start by examining the USB cable for any visible damage or wear. Ensure that both ends of the cable are intact and free from any defects. If you notice any fraying or exposed wires, it's advisable to use a different cable to avoid potential connectivity issues.
-
USB Port Compatibility: Verify that the USB port on your PC is functional and compatible with the USB cable. If you encounter difficulties connecting your OnePlus Nord, try using a different USB port to rule out any port-specific issues.
-
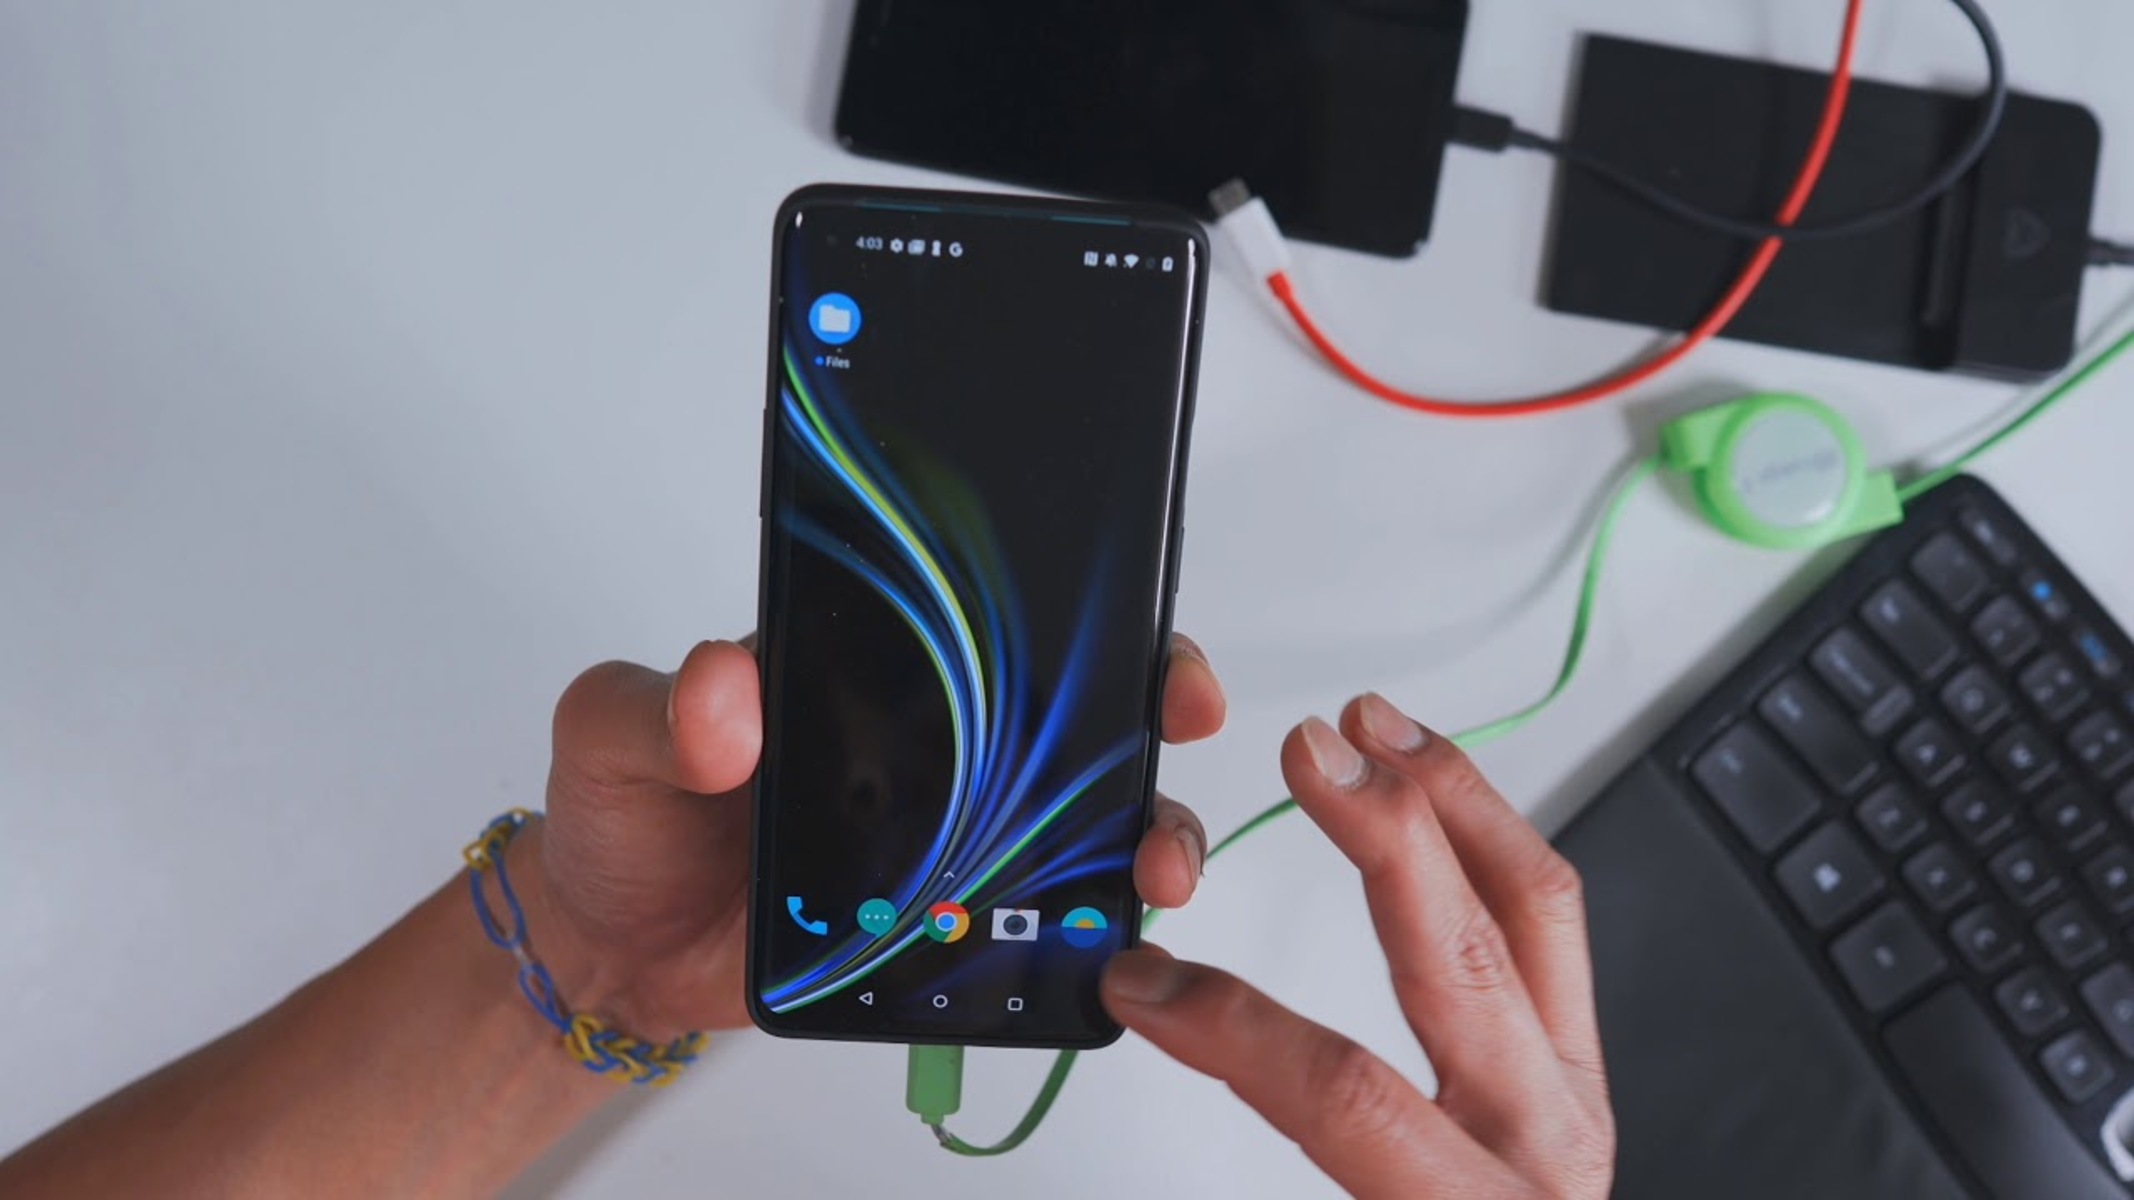
Device Recognition: When you connect your OnePlus Nord to the PC via USB, observe whether the computer acknowledges the device. If your device is recognized, you should see a notification on your OnePlus Nord's screen indicating that it's connected as a media device or for file transfer.
-
Driver Installation: In some cases, the PC may require specific drivers to recognize and communicate with your OnePlus Nord. If your device isn't detected, you may need to install the necessary drivers. These can usually be obtained from the OnePlus website or through the official OnePlus support channels.
By following these steps, you can ensure that the USB connection between your OnePlus Nord and PC is functioning correctly. This preliminary check sets the stage for enabling USB debugging and initiating file transfers between your device and the computer.
Enabling USB Debugging on OnePlus Nord
Enabling USB debugging on your OnePlus Nord is a fundamental step for establishing a connection between your device and a computer. This feature allows for advanced levels of access and control between the two devices, facilitating tasks such as app development, software debugging, and system optimization. Here's a comprehensive guide on how to enable USB debugging on your OnePlus Nord:
-
Accessing Developer Options: To begin, navigate to the "Settings" menu on your OnePlus Nord. Scroll down and select the "About phone" option. Within this menu, locate the "Build number" and tap on it seven times. After the seventh tap, you will see a message confirming that you are now a developer.
-
Enabling Developer Options: Once you have unlocked the developer mode, return to the main "Settings" menu. A new entry labeled "Developer options" should now be visible. Enter this menu to access a range of advanced settings tailored for developers and advanced users.
-
Activating USB Debugging: Within the "Developer options" menu, scroll down until you find the "USB debugging" option. Toggle the switch next to it to enable USB debugging. Upon activation, a prompt may appear requesting your confirmation to allow USB debugging. Select "OK" to proceed.
-
Granting USB Debugging Authorization: When you connect your OnePlus Nord to a computer for the first time after enabling USB debugging, a dialog box will appear on your device's screen, asking you to authorize the connection. Check the box next to "Always allow from this computer" and tap "Allow" to grant the necessary permissions.
By following these steps, you can successfully enable USB debugging on your OnePlus Nord, empowering you to establish a secure and efficient connection with your computer. This capability opens up a myriad of possibilities, from transferring files to executing advanced commands for app development and system maintenance. With USB debugging enabled, your OnePlus Nord becomes a versatile tool for both personal and professional use, offering enhanced flexibility and control over the device's interactions with your PC.
Connecting OnePlus Nord to PC via USB Cable
Connecting your OnePlus Nord to a PC via a USB cable is a straightforward process that allows you to establish a direct link between the two devices for various purposes, such as file transfers, software updates, and device management. By following these simple steps, you can seamlessly connect your OnePlus Nord to a PC and leverage the benefits of this direct interface.
-
Gathering the Necessary Equipment: Begin by ensuring that you have a compatible USB cable for connecting your OnePlus Nord to the PC. It's recommended to use the original USB cable that came with your device or a certified third-party cable to guarantee optimal compatibility and performance.
-
Unlocking Your OnePlus Nord: Before initiating the connection, unlock your OnePlus Nord by entering your PIN, pattern, or biometric authentication. This ensures that the device is ready to establish a secure and functional link with the PC.
-
Connecting the USB Cable: Locate the USB port on your OnePlus Nord, typically situated at the bottom of the device. Insert one end of the USB cable into the USB port on your OnePlus Nord, ensuring a secure and snug fit. Next, locate an available USB port on your PC and insert the other end of the cable into the port.
-
Device Recognition and Configuration: Upon connecting your OnePlus Nord to the PC, the device may prompt you to select the type of USB connection. You can choose options such as "File transfer," "MIDI," or "Charging only," depending on your specific requirements. Selecting "File transfer" enables the PC to recognize your OnePlus Nord as a storage device, allowing you to access its internal storage and transfer files seamlessly.
-
Verification and Access: Once the connection is established and the USB configuration is set to "File transfer," navigate to "This PC" or "My Computer" on your PC to access your OnePlus Nord's internal storage. Here, you can view and manage the files on your device, transfer data between the OnePlus Nord and the PC, and perform other tasks as needed.
By following these steps, you can effectively connect your OnePlus Nord to a PC via a USB cable, enabling seamless data transfer and device management. This direct interface provides a convenient and efficient means of accessing and manipulating the contents of your OnePlus Nord, enhancing your overall user experience and productivity.
Transferring Files between OnePlus Nord and PC
Transferring files between your OnePlus Nord and PC is a common task that allows you to seamlessly exchange various types of data, including photos, videos, documents, and music. This process is essential for backup, file management, and sharing content between devices. By following these steps, you can efficiently transfer files between your OnePlus Nord and PC, ensuring a smooth and reliable data exchange experience.
Using File Transfer Mode
-
Selecting File Transfer Mode: After connecting your OnePlus Nord to the PC via a USB cable, ensure that the USB configuration is set to "File transfer" on your device. This mode enables the PC to recognize your OnePlus Nord as a storage device, granting access to its internal storage for file management.
-
Accessing Internal Storage: Once the file transfer mode is activated, navigate to "This PC" or "My Computer" on your PC. Your OnePlus Nord should appear as a removable storage device, allowing you to access its internal storage and the contents within.
-
Transferring Files: To transfer files from your PC to the OnePlus Nord, simply drag and drop the desired files from your computer's storage to the designated folder within your OnePlus Nord's internal storage. Conversely, to transfer files from the OnePlus Nord to your PC, select the files on your device and drag them to a location on your computer.
Wireless File Transfer Options
-
Utilizing Cloud Storage Services: Consider using cloud storage services such as Google Drive, Dropbox, or OneDrive to transfer files wirelessly between your OnePlus Nord and PC. Upload the files from your device to the cloud storage service, and then access them from your PC by logging into the same account.
-
Wireless File Transfer Apps: Explore the use of wireless file transfer apps that facilitate seamless data exchange between your OnePlus Nord and PC over a shared Wi-Fi network. These apps typically provide a user-friendly interface for transferring files without the need for a physical USB connection.
Best Practices for Efficient File Transfer
-
Organizing Files: Maintain a well-organized file structure on your OnePlus Nord to streamline the file transfer process. Categorize your files into folders based on content type, making it easier to locate and manage specific files during transfer.
-
Regular Backup: Establish a routine for backing up important files from your OnePlus Nord to your PC. Regular backups help safeguard your data and ensure that you have a secure copy of essential files in case of device issues or data loss.
By following these guidelines and leveraging the available file transfer options, you can effectively transfer files between your OnePlus Nord and PC, facilitating seamless data exchange and enhancing your overall device management capabilities.
Using OnePlus Nord as a USB Tethering Device
Utilizing your OnePlus Nord as a USB tethering device enables you to share its mobile data connection with your PC, allowing the computer to access the internet through the phone's cellular network. This feature is particularly useful when you need internet connectivity for your PC in situations where Wi-Fi or Ethernet access is unavailable. By following the steps outlined below, you can easily set up and utilize USB tethering on your OnePlus Nord.
-
Enabling USB Tethering: To begin, unlock your OnePlus Nord and access the device's settings. Navigate to the "Network & internet" or "Wireless & networks" section, depending on your device's specific interface. Within this menu, locate the "Tethering & portable hotspot" option. Upon selecting this option, you should see the "USB tethering" feature. Toggle the switch next to USB tethering to enable this functionality.
-
Connecting OnePlus Nord to PC: Once USB tethering is enabled on your OnePlus Nord, connect the device to your PC using a compatible USB cable. Ensure that the USB connection is set to "File transfer" mode to establish a proper link between the phone and the computer.
-
Configuring Network Settings on PC: After connecting your OnePlus Nord to the PC, navigate to the network settings on your computer. Depending on your operating system, you may need to access the network or internet settings to configure the USB tethering connection. Look for the option to set up a new network connection or enable tethering through the connected OnePlus Nord.
-
Activating USB Tethering Connection: Once the network settings are accessed, you should see the OnePlus Nord listed as a network device. Select the device and activate the USB tethering connection. Your PC will then establish a network connection using the mobile data from your OnePlus Nord.
-
Verifying Connectivity: After activating USB tethering, verify that your PC has successfully connected to the internet through your OnePlus Nord. Open a web browser or any internet-dependent application on your computer to confirm that the tethering connection is operational.
By following these steps, you can effectively utilize your OnePlus Nord as a USB tethering device, providing your PC with internet access through the phone's mobile data connection. This feature offers a convenient solution for accessing the internet on your computer when traditional network options are unavailable, ensuring connectivity in various scenarios.