
Choosing the Right Mold Material
Choosing the Right Mold Material
When creating a mold for your resin phone case, selecting the appropriate mold material is crucial to achieving a successful outcome. The mold material serves as the foundation for shaping the resin and plays a significant role in determining the quality and durability of the final product. Here are essential factors to consider when choosing the right mold material:
- Flexibility: Opt for a mold material that offers flexibility to facilitate easy removal of the cured resin phone case. Silicone molds are popular for resin casting due to their inherent flexibility, which allows for effortless demolding without causing damage to the finished product.
- Heat Resistance: Since resin casting involves the use of curing agents and exothermic reactions, it is imperative to select a mold material with excellent heat resistance. Silicone molds excel in this aspect, as they can withstand the heat generated during the curing process without deforming or compromising the mold’s integrity.
- Detail Reproduction: Look for a mold material that can accurately capture intricate details of the phone case design. Silicone molds have the remarkable ability to reproduce fine details, ensuring that the final resin phone case retains the precise features and textures of the original model.
- Durability: Prioritize durability when choosing a mold material, as it directly impacts the longevity and reusability of the mold. Silicone molds are renowned for their resilience and longevity, allowing for multiple casting cycles without experiencing significant wear and tear.
- Chemical Compatibility: Ensure that the selected mold material is compatible with the resin being used. Silicone molds are compatible with various types of resin, including epoxy and polyurethane, making them versatile and suitable for a wide range of casting applications.
By carefully considering these factors, you can make an informed decision regarding the most suitable mold material for your resin phone case project. The right mold material not only simplifies the molding process but also contributes to the overall quality and integrity of the finished product.
Creating the Mold Box
Creating the Mold Box
Once you have chosen the appropriate mold material, the next step in the resin phone case molding process involves creating a mold box to contain the mold material and secure the phone case during the casting procedure. The mold box serves as a crucial element in ensuring that the mold material encapsulates the phone case effectively and maintains its shape throughout the casting process. Here’s a detailed guide on creating the mold box:
- Selecting a Suitable Container: Begin by choosing a container that accommodates the size of the phone case and allows for sufficient space around its perimeter. The container should be rigid and non-porous to prevent leakage of the mold material.
- Securing the Phone Case: Position the phone case securely within the container, ensuring that it rests at the desired orientation for the final resin casting. Use adhesive putty or hot glue to affix the phone case to the base of the container, keeping it stable and centered.
- Building the Mold Walls: Construct walls around the phone case using foam board, acrylic sheets, or any other suitable material that can be easily manipulated to form a barrier for the mold material. Seal the joints and edges of the walls with hot glue or silicone to prevent leakage.
- Creating Pour Channels: Integrate pour channels or vents into the mold box design to facilitate the pouring of the resin material and allow air to escape during the molding process. These channels ensure that the resin flows evenly throughout the mold, minimizing the risk of air bubbles and incomplete filling.
- Securing the Assembly: Once the mold box is assembled, ensure that all components are firmly secured and leak-proof. Perform a thorough inspection to verify the integrity of the mold box before proceeding with the pouring of the mold material.
By meticulously constructing the mold box, you establish a controlled environment for the resin casting process, enabling the mold material to encapsulate the phone case accurately and produce a high-quality final product. The precision and care invested in creating the mold box significantly contribute to the success of the resin phone case molding endeavor.
Preparing the Phone Case for Molding
Preparing the Phone Case for Molding
Before initiating the molding process, it is essential to prepare the phone case meticulously to ensure optimal results and minimize the risk of imperfections in the final resin casting. Proper preparation of the phone case lays the groundwork for a successful molding procedure and contributes to the overall quality of the resin phone case. Here are the key steps for preparing the phone case for molding:
- Cleaning and Degreasing: Thoroughly clean the phone case to eliminate any dust, dirt, or residues that could compromise the adhesion of the mold material. Use a mild detergent or isopropyl alcohol to remove oils and contaminants, ensuring a clean and receptive surface for the mold material.
- Surface Treatment: If the phone case features a glossy or smooth finish, consider roughening the surface slightly to enhance the bond between the mold material and the phone case. Lightly sand the exterior of the phone case to create a textured surface that promotes adhesion and prevents slippage during the molding process.
- Applying Mold Release: Prior to placing the phone case in the mold box, apply a suitable mold release agent to the surface of the phone case. The mold release forms a barrier between the phone case and the mold material, facilitating easy demolding and preventing the risk of the resin adhering to the phone case.
- Securing Fragile Elements: If the phone case contains delicate or protruding elements, such as buttons or decorative features, take measures to secure or protect these components to prevent displacement or damage during the molding process. Utilize adhesive putty or masking tape to safeguard vulnerable areas.
- Positioning in the Mold Box: Carefully position the prepared phone case within the mold box, ensuring that it is centered and aligned as per the desired orientation for the final resin casting. Verify that the phone case is firmly affixed to the base of the mold box to prevent movement during the pouring of the mold material.
By meticulously preparing the phone case for molding, you establish the groundwork for a successful and precise resin casting process. Attention to detail during the preparation phase contributes to the overall integrity and quality of the finished resin phone case, ensuring that it accurately replicates the original design while maintaining structural integrity.
Mixing and Pouring the Resin
Mixing and Pouring the Resin
The process of mixing and pouring the resin is a critical stage in creating a high-quality phone case. Achieving the right consistency and ensuring precise pouring are essential for producing a flawless final product. Here’s a comprehensive guide to the meticulous process of mixing and pouring the resin for your phone case molding:
- Measuring the Resin: Begin by accurately measuring the required amount of resin and hardener according to the manufacturer’s instructions. Adhering to the specified mixing ratios is crucial for achieving optimal curing and structural integrity in the finished phone case.
- Mixing the Components: Combine the resin and hardener in a clean mixing container, ensuring thorough incorporation to achieve a homogenous mixture. Utilize a stirring stick or spatula to blend the components, scraping the sides and bottom of the container to ensure uniformity.
- Air Bubble Removal: After mixing the resin, allow it to rest for a brief period to enable air bubbles to rise to the surface. Carefully de-gas the mixture by using a heat gun or a gentle pass with a butane torch to eliminate trapped air, promoting a smooth and bubble-free casting.
- Pouring Technique: Slowly pour the resin into the mold box, starting from a corner or edge to facilitate even distribution and minimize the introduction of air bubbles. Maintain a steady and controlled pour to prevent turbulence and ensure that the resin flows uniformly throughout the mold.
- Agitating the Mold: Gently tap or vibrate the mold box to dislodge any remaining air bubbles and encourage the resin to settle evenly around the phone case. This agitation helps in achieving a flawless casting and prevents air pockets within the resin.
- Curing Process: Once the resin is poured and the mold is agitated, allow the casting to cure undisturbed in a suitable environment, following the recommended curing time provided by the resin manufacturer. Maintain the ideal temperature and humidity levels to support proper curing and solidification of the resin.
By meticulously adhering to the procedures for mixing and pouring the resin, you ensure the creation of a pristine and meticulously crafted phone case. The precision and care invested in this stage directly contribute to the overall quality and visual appeal of the finished resin phone case.
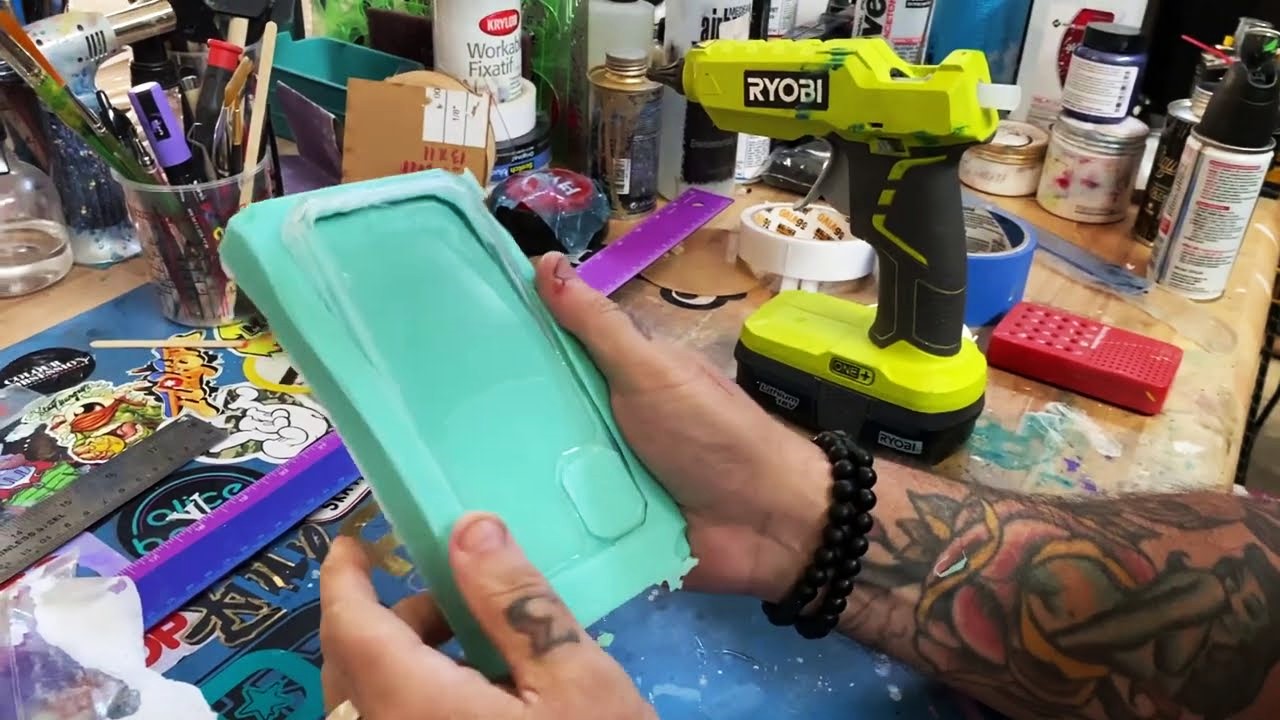
Releasing the Phone Case from the Mold
Releasing the Phone Case from the Mold
After the resin has fully cured, the process of releasing the phone case from the mold is a crucial step that demands precision and care to ensure the integrity of the final product. Proper demolding techniques are essential to prevent damage to the resin casting and to achieve a flawless finish. Here’s a detailed guide on releasing the phone case from the mold:
- Inspecting the Mold: Begin by carefully examining the mold to ensure that the resin is fully cured. Verify that the casting has reached the appropriate hardness and solidity before proceeding with the demolding process.
- Removing the Mold Walls: If the mold was constructed using a mold box, carefully dismantle the walls of the mold box, ensuring that the cured resin and phone case remain undisturbed. Exercise caution to prevent any sudden movements that could cause damage to the casting.
- Demolding Technique: Gently flex and manipulate the mold to release the cured resin phone case. Silicone molds, in particular, offer flexibility, allowing for easy demolding without exerting excessive force. Gradually peel the mold away from the resin, taking care to support and guide the phone case as it is released from the mold.
- Detail Preservation: Pay close attention to preserving the intricate details and edges of the phone case during the demolding process. Exercise patience and precision to prevent any distortion or damage to the resin casting, ensuring that the final product accurately replicates the original design.
- Cleaning and Finishing: After demolding, carefully inspect the resin phone case for any imperfections or residual mold release. Gently clean the casting with a mild detergent or isopropyl alcohol to remove any contaminants, and if necessary, perform any additional finishing or polishing to refine the surface and edges.
- Quality Assessment: Evaluate the demolded phone case for any defects or irregularities, ensuring that it meets the desired standards of quality and craftsmanship. Address any minor imperfections through appropriate touch-up techniques to achieve a flawless final product.
By meticulously following the demolding process, you ensure the safe and precise release of the resin phone case from the mold, preserving the intricate details and structural integrity of the casting. The care and precision invested in this final step contribute to the overall quality and visual appeal of the finished phone case, culminating in a meticulously crafted and pristine product.