
Choosing the Right Location
Selecting the perfect location is crucial when creating captivating time-lapse photos on your iPhone 13. The right setting can significantly enhance the visual appeal and storytelling of your time-lapse. Here's how to choose the ideal location for your time-lapse photography:
-
Scenic Beauty: Look for locations with stunning natural beauty or captivating urban landscapes. Scenic spots such as beaches, mountains, cityscapes, or bustling streets can add depth and interest to your time-lapse.
-
Natural Lighting: Consider the lighting conditions at different times of the day. The interplay of natural light and shadows can create mesmerizing effects in your time-lapse. Sunrise and sunset are particularly magical times for capturing time-lapse sequences due to the warm, soft light.
-
Dynamic Elements: Seek out locations with dynamic elements that change over time. This could include moving clouds, flowing water, bustling crowds, or changing traffic patterns. These dynamic elements add movement and interest to your time-lapse composition.
-
Stability and Safety: Ensure that the location provides a stable and safe environment for setting up your iPhone 13. Look for sturdy surfaces or consider using a tripod to prevent any unwanted movement during the time-lapse capture.
-
Uniqueness: Explore unique and less-explored locations that offer a fresh perspective. Unconventional settings can add an element of surprise and intrigue to your time-lapse photography.
By carefully selecting the right location for your time-lapse photography, you can elevate the visual impact of your captures and create compelling narratives through the passage of time. Keep these considerations in mind as you embark on your time-lapse photography journey with your iPhone 13.
Setting Up Your iPhone 13
Setting up your iPhone 13 for time-lapse photography involves preparing the device to capture stunning sequences of images that unfold over time. Here's a step-by-step guide to ensure your iPhone 13 is ready to create mesmerizing time-lapse photos:
-
Stable Mounting: Begin by ensuring that your iPhone 13 is securely mounted to prevent any unwanted movement during the time-lapse capture. You can use a tripod specifically designed for smartphones or invest in a smartphone mount that attaches to a standard camera tripod. This stability is crucial for producing smooth and professional-looking time-lapse sequences.
-
Adjusting Orientation: Determine the orientation of your iPhone 13 based on the composition of your time-lapse. Whether you prefer a landscape or portrait orientation, ensure that your device is positioned accordingly to capture the desired field of view. This decision will influence the visual storytelling of your time-lapse photography.
-
Clearing Memory: Before initiating the time-lapse capture, it's advisable to clear any unnecessary files or apps from your iPhone 13 to free up storage space. Time-lapse photography requires ample storage capacity, especially for extended captures. By decluttering your device, you can avoid interruptions due to insufficient storage and ensure a seamless recording process.
-
Battery Level: Check the battery level of your iPhone 13 to ensure it has sufficient power to complete the time-lapse capture. Extended time-lapse sessions can consume a significant amount of battery, so it's advisable to start with a fully charged device or connect it to a power source to avoid any disruptions during the recording.
-
Do Not Disturb Mode: To prevent incoming calls, notifications, or alerts from interrupting your time-lapse capture, activate the "Do Not Disturb" mode on your iPhone 13. This setting ensures that your recording remains undisturbed, allowing you to focus on capturing the unfolding scene without any distractions.
By following these steps to set up your iPhone 13 for time-lapse photography, you can ensure that your device is optimized to capture captivating sequences with stability, clarity, and uninterrupted focus. With the technical aspects in place, you are now ready to delve into the creative process of adjusting camera settings and capturing compelling time-lapse sequences.
Adjusting Camera Settings
Fine-tuning the camera settings on your iPhone 13 is a pivotal step in capturing mesmerizing time-lapse sequences. By adjusting the settings to align with your creative vision, you can elevate the visual impact of your time-lapse photography. Here's a detailed exploration of the essential camera settings to consider when preparing for a time-lapse capture:
Time-Lapse Mode Selection
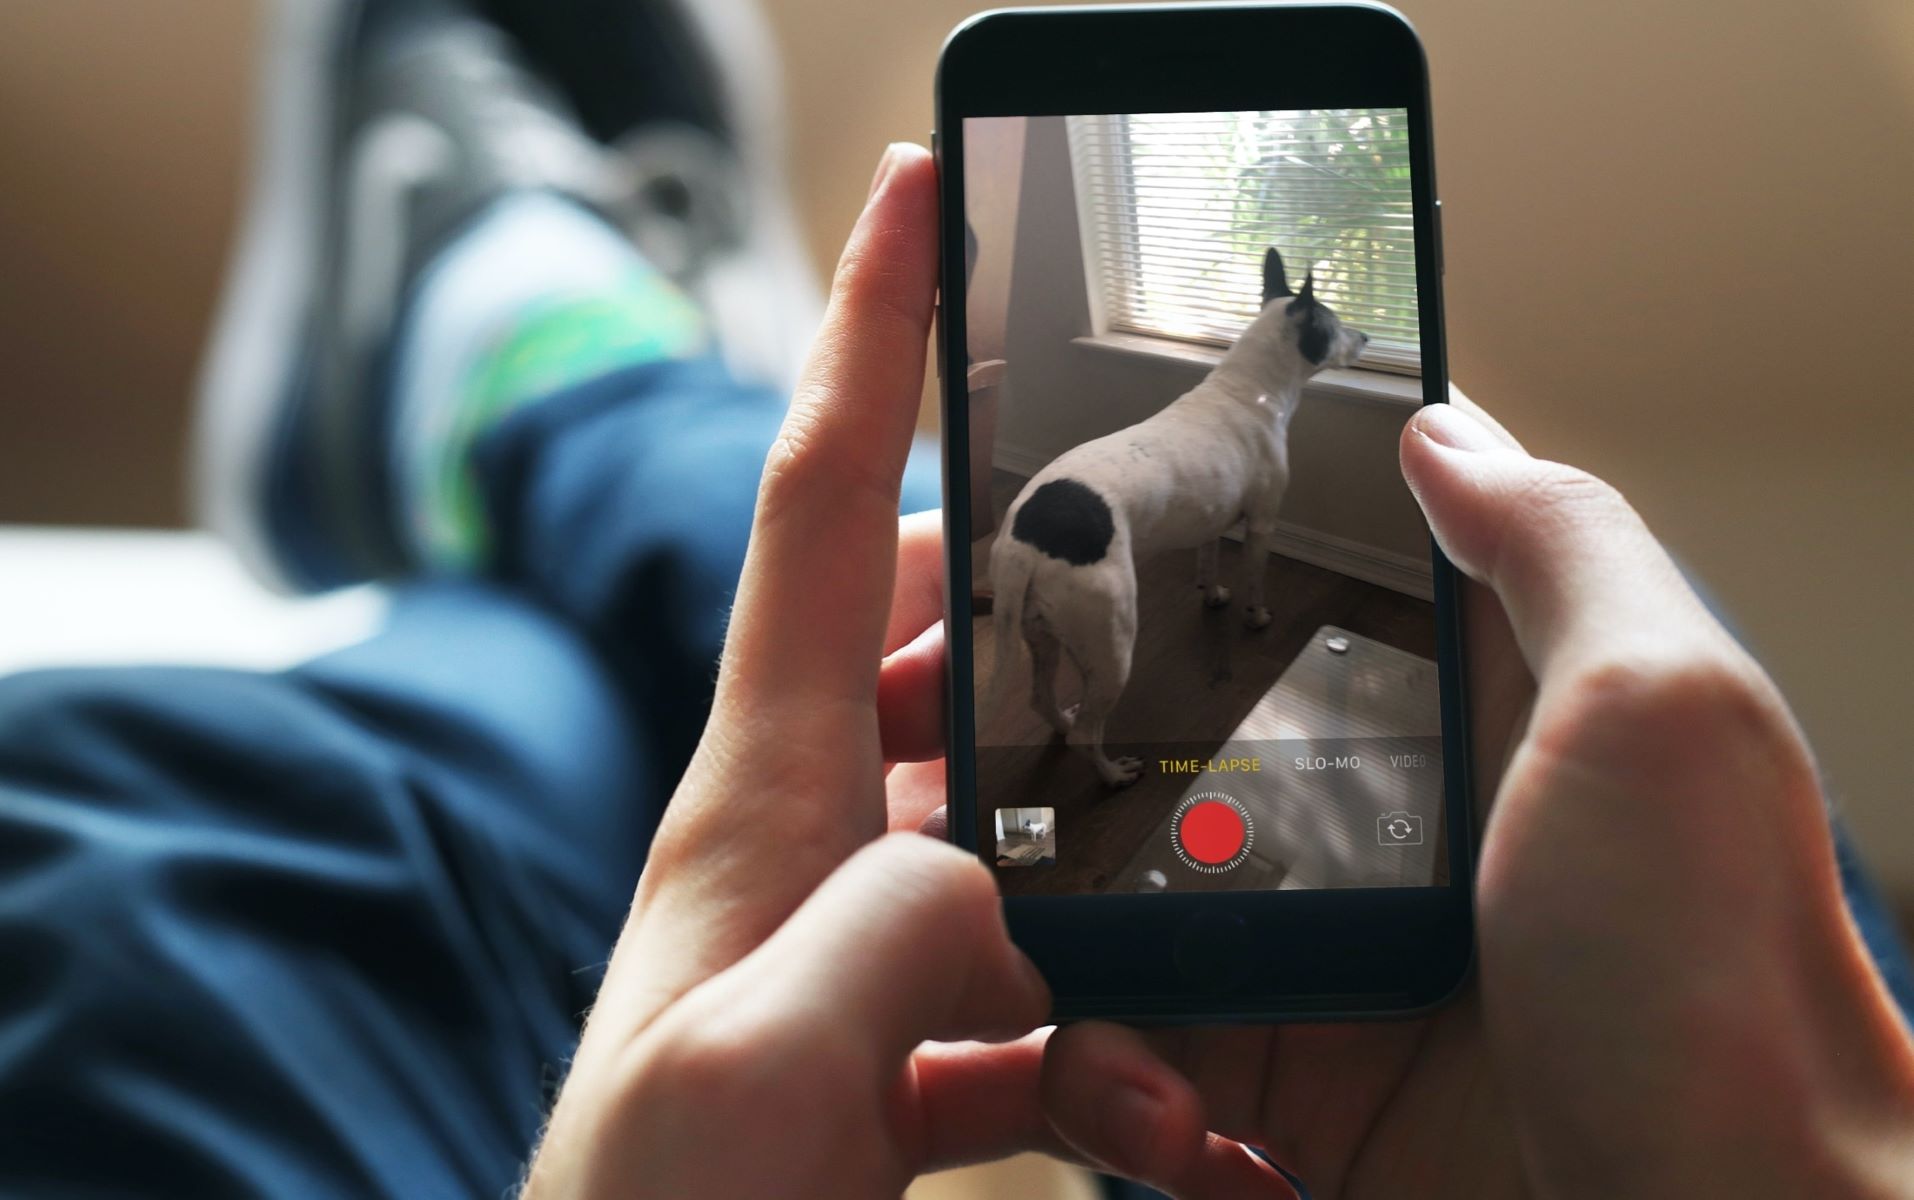
Navigate to the Camera app on your iPhone 13 and select the "Time-Lapse" mode from the available shooting options. This mode is specifically designed to capture a series of frames at set intervals, seamlessly compiling them into a condensed video that portrays the passage of time. By choosing the Time-Lapse mode, you initiate the camera's ability to capture the gradual transformation of your chosen scene.
Interval Duration
The interval duration determines the frequency at which your iPhone 13 captures individual frames during the time-lapse sequence. Consider the pace at which the elements in your scene are evolving and select an interval duration that best encapsulates this progression. For instance, a shorter interval, such as 1 second, is suitable for fast-moving subjects, while a longer interval, such as 5 seconds, may be ideal for slower transformations, such as the movement of clouds or the transition of natural light during sunset.
Exposure and Focus Lock
To maintain consistent exposure and focus throughout the time-lapse capture, it's advisable to lock these settings before commencing the recording. Tap and hold the focal point on the screen to activate the AE/AF Lock, ensuring that the exposure and focus remain stable regardless of any changes in the scene's lighting or movement. This lock prevents fluctuations in exposure and focus that could detract from the seamless flow of your time-lapse sequence.
Stabilization and Grid Alignment
Enable the built-in stabilization features on your iPhone 13 to minimize any potential camera shake during the time-lapse capture. Additionally, consider activating the grid overlay to assist in aligning the composition of your time-lapse frames. The grid provides visual guidance for positioning key elements within the frame and maintaining a balanced composition throughout the sequence.
Quality and Format
Prior to initiating the time-lapse capture, review the quality and format settings to ensure that they align with your intended output. Select the desired resolution, frame rate, and video format based on your preferences for the final time-lapse video. Higher resolutions and frame rates offer enhanced clarity and smoothness, while the choice of video format can impact compatibility with editing software and playback devices.
By meticulously adjusting these camera settings on your iPhone 13, you can optimize the technical parameters to align with your creative vision, ensuring that your time-lapse captures unfold seamlessly and with striking visual impact. With the camera settings finely tuned, you are now poised to embark on the exhilarating process of capturing the unfolding beauty of your chosen scene through the art of time-lapse photography.
Capturing the Time-Lapse
With your iPhone 13 securely mounted and the camera settings meticulously adjusted, you are now poised to embark on the exhilarating process of capturing the unfolding beauty of your chosen scene through the art of time-lapse photography. The following steps will guide you through the seamless execution of the time-lapse capture:
-
Initiating the Time-Lapse: Once you have selected the ideal location, set up your iPhone 13, and adjusted the camera settings, it's time to initiate the time-lapse capture. Tap the record button within the Time-Lapse mode to commence the recording process. As the camera begins capturing a series of frames at the specified interval, immerse yourself in the evolving scene, anticipating the gradual transformation that will unfold over time.
-
Patience and Observation: As the time-lapse sequence progresses, exercise patience and keen observation to witness the subtle changes and dynamic elements within the scene. Embrace the meditative aspect of time-lapse photography, allowing yourself to be fully present as the world around you undergoes a mesmerizing metamorphosis. Whether it's the movement of clouds, the transition of natural light, or the bustling activity of a cityscape, each moment captured contributes to the unfolding narrative of your time-lapse.
-
Staying Engaged: While the time-lapse capture is underway, remain engaged with the evolving scene, ready to make any necessary adjustments to the composition or camera settings. Continuously monitor the stability of your iPhone 13 and ensure that the framing remains consistent and visually compelling throughout the duration of the capture. By staying attuned to the nuances of the scene, you can make real-time decisions to enhance the visual impact of the time-lapse sequence.
-
Extended Duration: Depending on the desired length and pacing of your time-lapse video, consider capturing an extended duration of frames to encapsulate a comprehensive passage of time. Embracing longer time-lapse captures allows for a more profound exploration of the scene's transformation, offering a rich tapestry of evolving elements that weave together to form a captivating visual narrative.
-
Embracing Serendipity: Embrace the element of serendipity in time-lapse photography, as unexpected events or natural phenomena may unfold during the capture. These serendipitous moments can add an enchanting and unpredictable dimension to your time-lapse, infusing it with a sense of spontaneity and wonder. Embracing the unpredictability of the world around you can lead to remarkable and unique time-lapse captures that resonate with authenticity and intrigue.
By following these steps and immersing yourself in the art of capturing a time-lapse with your iPhone 13, you can craft visually stunning sequences that encapsulate the essence of time's passage. The process of capturing a time-lapse is a harmonious blend of technical precision and artistic expression, culminating in a mesmerizing visual story that unfolds before the viewer's eyes.
Editing the Time-Lapse Video
Editing the time-lapse video is a transformative phase that allows you to refine and enhance the captured sequences, shaping them into a compelling visual narrative. With the raw time-lapse footage at your disposal, leveraging the editing capabilities of your iPhone 13 or dedicated editing software opens up a realm of creative possibilities. Here's a comprehensive guide to the intricate process of editing your time-lapse video:
Importing the Footage
Begin by transferring the time-lapse footage from your iPhone 13 to your preferred editing platform. This can be achieved through direct import using a USB connection or by transferring the files via cloud storage or a dedicated file-sharing application. Ensure that the footage is seamlessly accessible within your editing environment, ready for the transformative editing process.
Sequencing and Trimming
Organize the imported time-lapse footage into a cohesive sequence that aligns with your intended visual storytelling. Trim the footage to remove any unwanted segments or refine the timing of specific sequences. By meticulously arranging the frames, you can establish a seamless flow that captures the essence of the evolving scene with precision and clarity.
Time Compression and Pacing
Leverage the time compression capabilities of your editing software to condense the captured frames into a visually engaging time-lapse video. Adjust the pacing of the footage to create a harmonious rhythm that accentuates the gradual transformation of the scene. By refining the temporal dynamics, you can craft a captivating visual experience that resonates with the viewer.
Color Grading and Enhancement
Delve into the realm of color grading to infuse the time-lapse video with a distinct mood and aesthetic. Fine-tune the color balance, contrast, and saturation to evoke the desired emotional impact and visual allure. Additionally, consider enhancing the clarity and sharpness of the footage to accentuate the intricate details within the evolving scene.
Adding Atmospheric Elements
Elevate the immersive quality of the time-lapse video by incorporating atmospheric elements such as ambient soundscapes or carefully curated music. The auditory accompaniment can enrich the viewing experience, complementing the visual narrative and evoking a multisensory connection with the unfolding time-lapse sequences.
Exporting the Masterpiece
Once the editing process is complete, export the finalized time-lapse video in the desired format and resolution. Ensure that the exported file maintains the visual integrity and quality of the time-lapse sequences, ready to be shared with audiences across various platforms and devices.
By navigating through the intricacies of editing your time-lapse video, you can sculpt the raw footage into a mesmerizing visual masterpiece that encapsulates the essence of time's passage. The editing phase serves as a transformative canvas where technical precision converges with artistic expression, culminating in a captivating time-lapse video that resonates with viewers on a profound visual and emotional level.