
Choosing the Right Materials
When it comes to crafting a boondoggle lanyard, selecting the right materials is essential for creating a durable and visually appealing accessory. Here’s a guide to choosing the perfect materials for your boondoggle project:
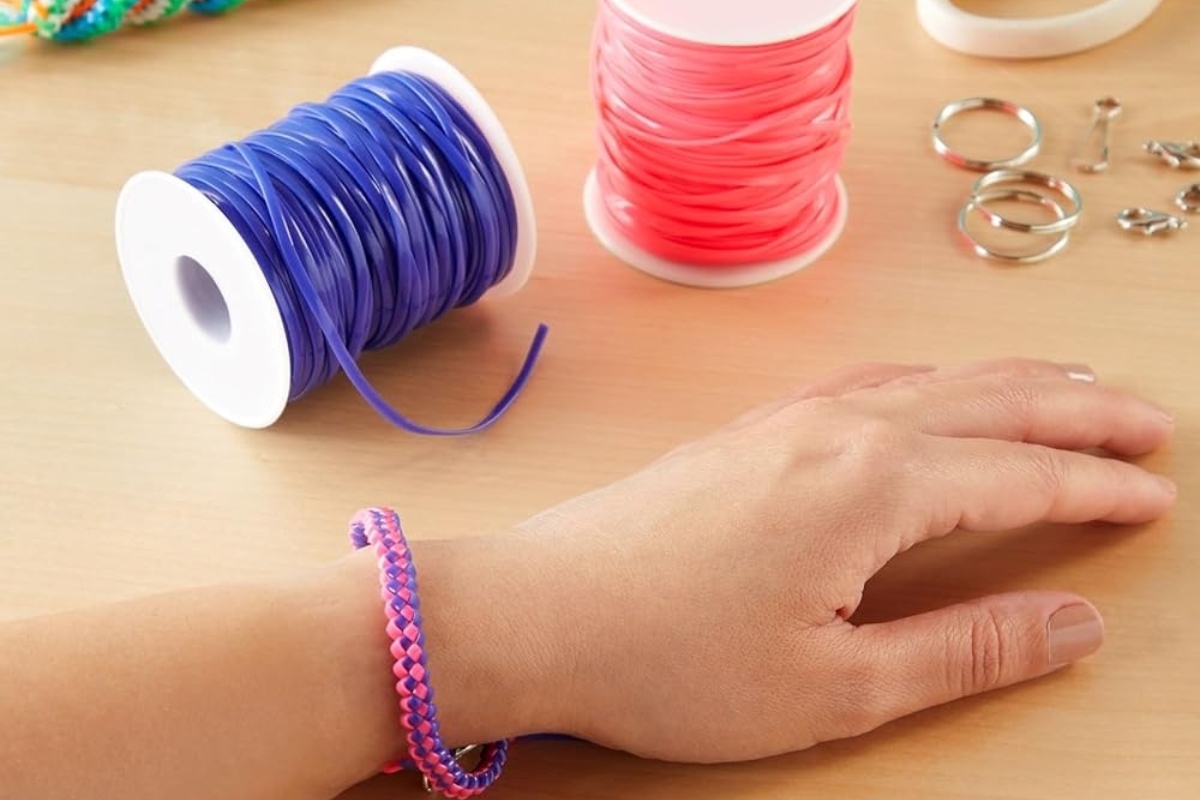
- Boondoggle Laces: The foundation of your lanyard, boondoggle laces are available in a variety of colors and materials, such as plastic, vinyl, or lustrous satin. Choose a color that complements your personal style or opt for a multicolored assortment to add vibrancy to your creation.
- Scissors: A sharp pair of scissors is indispensable for cutting the boondoggle laces to the desired length and for trimming any excess material. Precision is key, so ensure that your scissors are sharp and easy to maneuver.
- Clips or Lanyard Hooks: To transform your boondoggle creation into a functional lanyard, you’ll need a clip or lanyard hook. These attachments come in various sizes and styles, so select one that suits your intended use, whether it’s for holding keys, identification cards, or other items.
- Beads and Charms: If you wish to embellish your lanyard with decorative elements, gather an assortment of beads and charms that align with your aesthetic preferences. Choose beads in different shapes, sizes, and colors to add a personalized touch to your project.
- Thick Needle or Lacing Needle: A thick needle or lacing needle is indispensable for threading beads and charms onto the boondoggle laces. Ensure that the needle’s eye is wide enough to accommodate the thickness of the laces and the beads’ openings.
- Optional: Craft Glue or Clear Nail Polish: To secure the knots and prevent unraveling, consider having craft glue or clear nail polish on hand. These items can provide added reinforcement to your lanyard, ensuring its longevity.
By carefully selecting high-quality materials and accessories, you can lay the foundation for a stunning boondoggle lanyard that reflects your creativity and individuality.
Basic Boondoggle Techniques
Mastering the fundamental boondoggle techniques is the key to creating a sturdy and visually captivating lanyard. Here are the essential techniques to kick-start your boondoggle journey:
- Starting Knot: Begin by folding the boondoggle lace in half to form a loop. Then, secure the loop by tying an overhand knot at the midpoint of the lace. This knot will serve as the anchor for your lanyard.
- Square Stitch: The square stitch is the foundational technique for crafting boondoggle lanyards. To execute this stitch, cross the right lace over the left lace, forming an “X” shape. Pass the right lace under the left lace and through the loop on the left side. Pull both laces upward to tighten the stitch. Repeat this process, alternating the starting side, to create a series of square stitches.
- Twisting: To add a twist to your lanyard, rotate the laces in the same direction before executing the square stitch. This simple yet effective technique introduces a spiral pattern to your lanyard, enhancing its visual appeal.
- Changing Colors: Incorporating multiple colors into your lanyard can elevate its aesthetic allure. When transitioning to a new color, simply overlap the old and new laces, then continue the square stitch with the new color. This seamless color change technique allows you to experiment with various color combinations.
- Ending Knot: Once you’ve reached the desired length for your lanyard, secure the stitches by tying a tight overhand knot at the end of the laces. Trim any excess material with scissors, ensuring a neat and polished finish.
By mastering these foundational boondoggle techniques, you’ll gain the confidence to experiment with intricate patterns and embellishments, paving the way for the creation of unique and personalized lanyards.
Adding Style with Beads and Charms
Enhancing your boondoggle lanyard with beads and charms is a fantastic way to infuse personality and flair into your creation. Here’s how you can elevate your lanyard with stylish embellishments:
- Bead Selection: Choose beads that resonate with your personal style and the overall theme of your lanyard. You can opt for vibrant, multicolored beads for a playful look, or select a harmonious palette of beads to achieve a more sophisticated aesthetic.
- Charms and Pendants: Incorporating charms and pendants adds a touch of individuality to your lanyard. Whether you prefer whimsical charms, such as animals or symbols, or elegant pendants with intricate designs, these embellishments can convey a unique story or showcase your interests.
- Placement: Strategically intersperse beads and charms within the lanyard’s pattern to create visual interest. You can space them evenly for a balanced look or cluster them together to make a bold statement. Experiment with different placement options to achieve the desired effect.
- Securing Beads and Charms: Thread the beads and charms onto the boondoggle laces, ensuring a snug fit. To prevent them from sliding around, incorporate them into the square stitch by looping the laces around them. This technique will securely anchor the beads and charms within the lanyard’s structure.
- Consideration of Weight: When adding beads and charms, be mindful of the lanyard’s intended use. If it will primarily carry lightweight items, feel free to explore a variety of bead sizes and charms. However, for lanyards intended to hold heavier objects, opt for smaller and lighter embellishments to maintain comfort and functionality.
By adorning your boondoggle lanyard with carefully selected beads and charms, you can transform it into a captivating accessory that reflects your unique style and showcases your creative ingenuity.
Creating Unique Patterns
Unleash your creativity and elevate your boondoggle lanyard by experimenting with unique patterns. By incorporating diverse weaving techniques, color combinations, and embellishment placements, you can craft a lanyard that truly stands out. Here’s how you can infuse your lanyard with distinctive patterns:
- Checkerboard Pattern: Achieve a classic yet eye-catching look by alternating two contrasting colors in a checkerboard pattern. This simple yet striking design adds a touch of timeless elegance to your lanyard.
- Zigzag Weave: Introduce dynamic energy to your lanyard with a zigzag weave pattern. By weaving the laces in a zigzagging motion, you can create an intriguing visual rhythm that commands attention.
- Diagonal Stripes: Experiment with diagonal stripes to create a sense of movement and depth within your lanyard. This pattern is particularly effective when using multiple colors, allowing you to craft a lanyard that exudes vibrancy and personality.
- Heart or Star Motifs: Infuse your lanyard with charm by incorporating heart or star motifs into the design. These endearing shapes add a whimsical touch to the lanyard, making it a delightful accessory for everyday use.
- Combining Beads and Weaving: Integrate beads into the weaving process to create intricate patterns. Whether you opt for a beaded border, a central beaded motif, or a scattered bead arrangement, the combination of weaving and beading offers endless possibilities for crafting unique and visually captivating lanyards.
By exploring these pattern ideas and experimenting with various weaving techniques, you can tailor your boondoggle lanyard to reflect your personal style and artistic vision. Embrace the freedom to innovate and create patterns that resonate with your individuality.
Finishing Touches and Securing the Lanyard
After investing creativity and effort into crafting your boondoggle lanyard, it’s essential to ensure that it is securely finished and ready for use. Here are the key steps to add the finishing touches and secure your lanyard:
- Securing the End Knot: Once you’ve reached the desired length for your lanyard, fasten the end knot securely. Ensure that the knot is tight and positioned close to the last stitch to prevent unraveling. Trim any excess lace with scissors, leaving a neat and tidy finish.
- Adding a Lanyard Hook or Clip: Attach a lanyard hook or clip to one end of the lanyard, ensuring it is firmly secured. The choice of hook or clip depends on the lanyard’s intended use. Opt for a swivel hook for ID cards or a lobster clasp for keys, customizing the attachment to suit your needs.
- Applying Reinforcement: To fortify the lanyard’s durability, consider applying a small amount of clear nail polish or craft glue to the knots. This additional reinforcement helps secure the stitches and prevents them from loosening over time, ensuring that your lanyard remains intact through regular use.
- Quality Inspection: Before putting your lanyard into use, conduct a thorough quality inspection. Check for any loose stitches, weak knots, or sharp edges that may cause discomfort. Making necessary adjustments at this stage will guarantee that your lanyard is not only visually appealing but also safe and reliable.
- Personalization: Consider adding a personalized touch to your lanyard by attaching a decorative charm or pendant near the lanyard hook. This embellishment not only adds a unique flair to your creation but also reflects your individual style and preferences.
By meticulously completing these finishing touches and ensuring that your lanyard is securely fastened and reinforced, you can take pride in a well-crafted accessory that is both aesthetically pleasing and functional.