
Overview
The DATEDIF function is a powerful tool in Microsoft Excel that allows you to calculate the difference between two dates in terms of days, months, or years. It provides a simple way to determine the duration between any two given dates, making it particularly useful for financial analysis, project management, and tracking milestones.
With the DATEDIF function, you can easily perform calculations such as finding the number of days until a deadline, the number of months between two events, or the age of a person based on their birth date. It eliminates the need for complex manual calculations, saving you time and effort.
The syntax of the DATEDIF function is straightforward, making it accessible to both beginner and advanced Excel users. By following a specific structure, you can customize the function to suit your desired calculation:
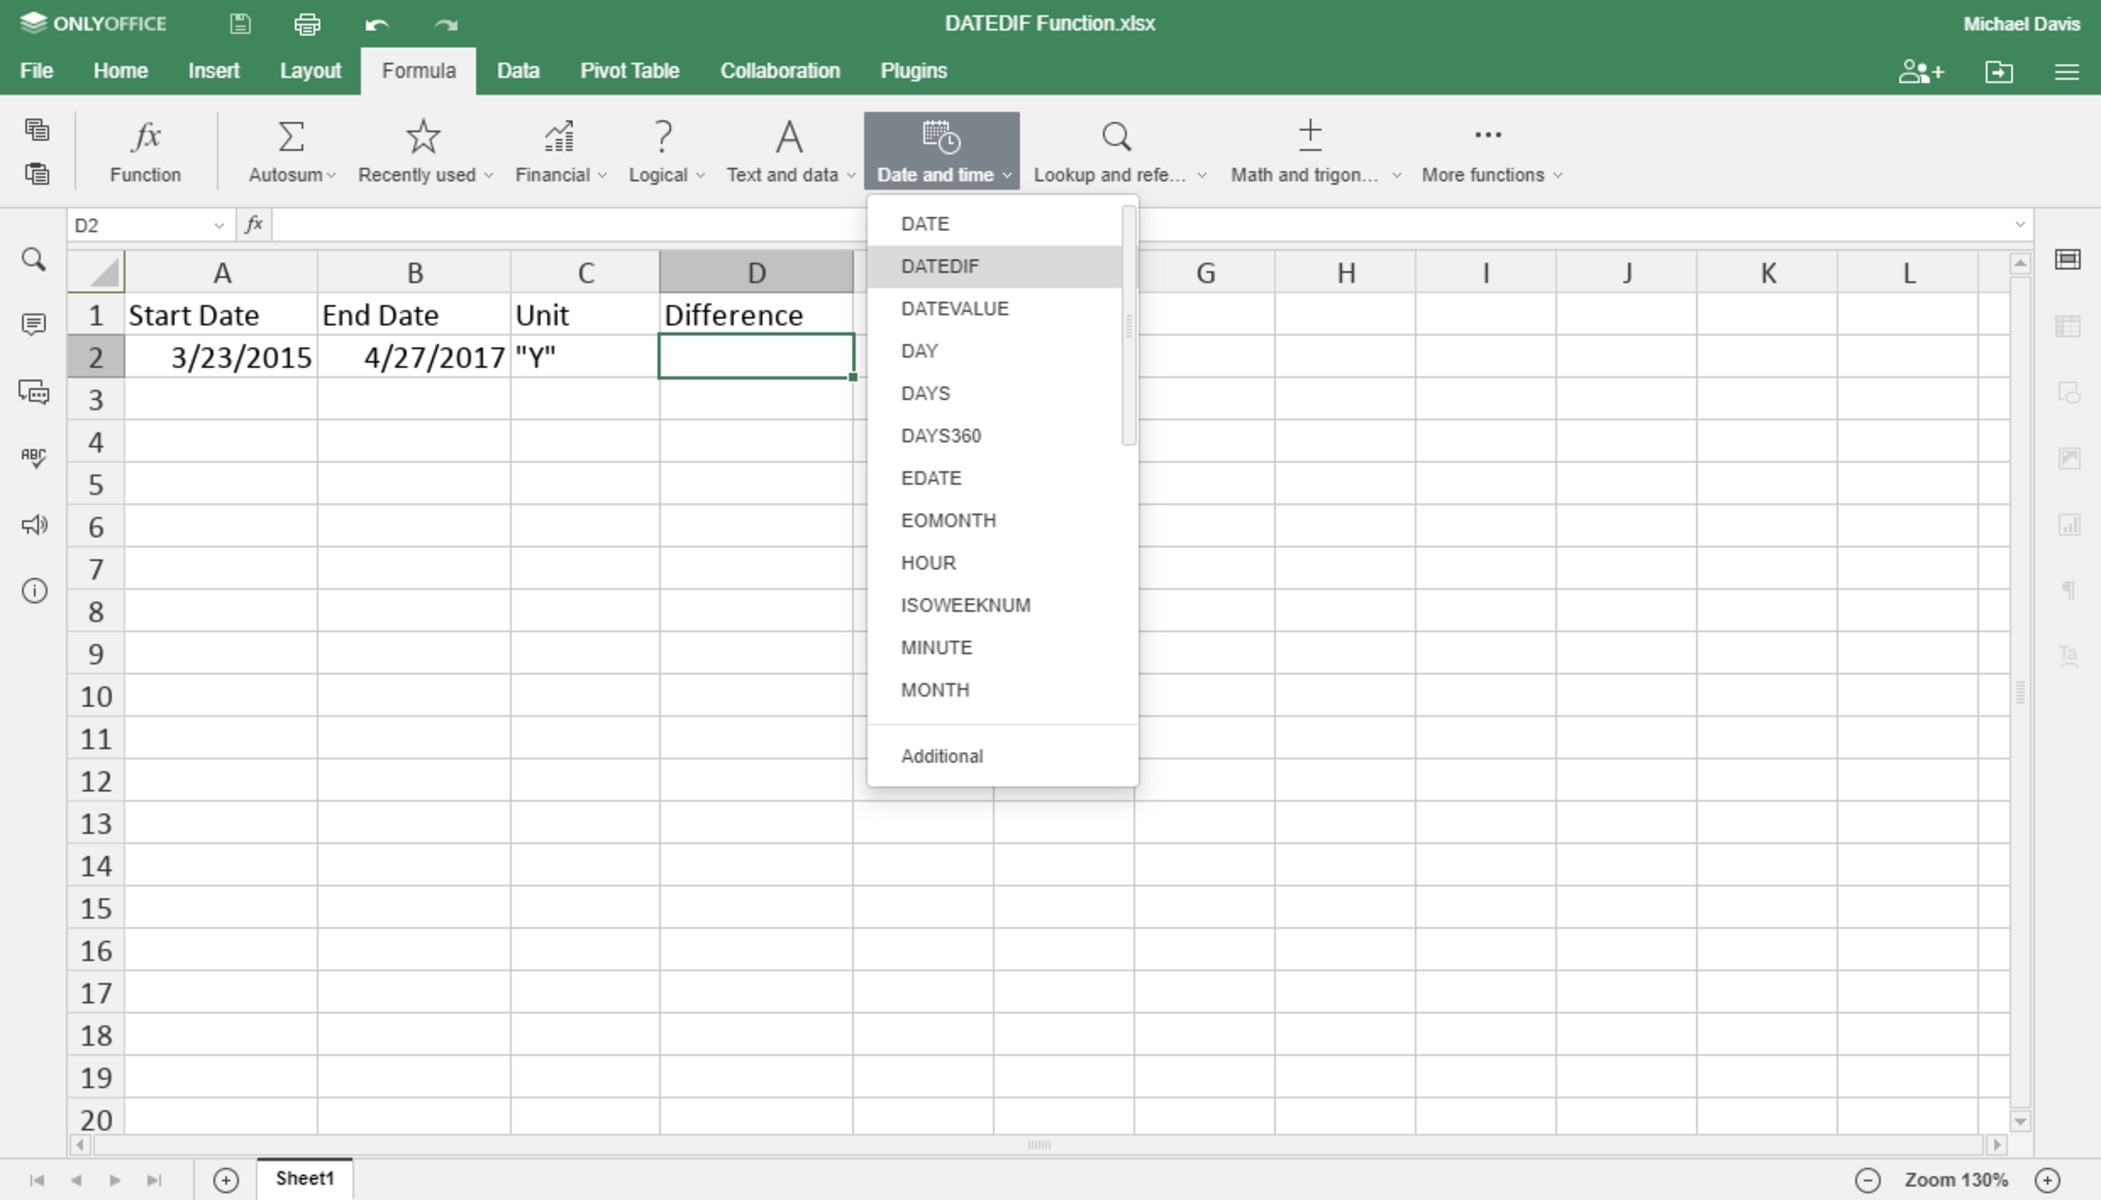
=DATEDIF(start_date, end_date, unit)
The start_date and end_date are the two dates between which you want to calculate the difference, while the unit determines how you want to measure that difference (days, months, or years).
With this versatile function, you can effortlessly calculate the time elapsed between any two dates, regardless of complexity. Whether you’re working with a small range of days or a span of several years, the DATEDIF function will provide accurate and reliable results.
In the following sections, we will delve deeper into the syntax of the DATEDIF function and explore various use cases for calculating days, months, years, and age. Additionally, we will discuss how to address potential errors that may arise when using this function and provide important notes for a smooth and efficient calculation process.
Syntax of DATEDIF Function
The DATEDIF function in Excel follows a specific syntax that allows you to calculate the difference between two dates. Understanding the structure of the function is crucial in order to utilize it effectively. The syntax of the DATEDIF function is as follows:
=DATEDIF(start_date, end_date, unit)
The start_date parameter represents the beginning date for which you want to calculate the difference. The end_date parameter represents the end date or the more recent date for calculating the difference. Lastly, the unit parameter specifies the unit of measurement you want to use for the calculation: “d” for days, “m” for months, or “y” for years.
Here’s an example to illustrate the usage:
=DATEDIF(A2, A3, "d")
In this example, the dates in cell A2 and A3 are used as the start_date and end_date, respectively. The “d” unit is specified, indicating that we want to calculate the difference in days between these two dates.
It’s important to note that Excel’s DATEDIF function does not provide an option to calculate the time difference in years, months, and days simultaneously. Instead, the function calculates the difference based on the given unit and returns the value as a whole number. If the unit is set to “m”, the function calculates the difference in complete months, even if there are days remaining. Similarly, if the unit is set to “y”, the function calculates the difference in complete years, disregarding the remaining days.
Now that we have covered the syntax of the DATEDIF function, let’s explore various use cases and calculations that can be performed using this powerful Excel function.
Calculate Days between Two Dates
One of the most common use cases for the DATEDIF function is to calculate the number of days between two dates. Whether you need to determine the duration of a project, track billing cycles, or calculate interest periods, this calculation is essential.
To calculate the number of days between two dates using the DATEDIF function, set the unit parameter to “d”. Here’s an example:
=DATEDIF(A2, A3, "d")
In this example, the dates in cell A2 and A3 represent the start_date and end_date respectively. The “d” unit is specified to calculate the difference in days.
The DATEDIF function will return the number of days as a whole number. For example, if the start date is January 1, 2021, and the end date is January 10, 2021, the function will return the value 9, indicating that there are 9 days between these two dates.
It’s important to note that the DATEDIF function considers the start date as part of the calculation and excludes the end date. For example, if the start date is January 1, 2021, and the end date is January 10, 2021, the result will not include January 10. If you require inclusive counting, you can simply add 1 to the result.
By efficiently utilizing the DATEDIF function, you can conveniently calculate the number of days between any two dates in Excel. This allows you to track and analyze various time-related factors in your personal and professional projects.
Calculate Months between Two Dates
The DATEDIF function in Excel also enables you to calculate the number of months between two dates. This is particularly useful for financial planning, duration estimation, and tracking time-based goals. To calculate the months between two dates, utilize the “m” unit in the DATEDIF function.
Here’s an example of how you can use the DATEDIF function to calculate the number of months between two dates:
=DATEDIF(A2, A3, "m")
In this example, the dates in cell A2 and A3 represent the start_date and end_date, respectively. By specifying the “m” unit, the DATEDIF function will calculate the difference in complete months.
It’s crucial to note that the DATEDIF function does not consider fractions of a month. It calculates the number of complete months between the two dates. Therefore, if the start date is January 1, 2021, and the end date is February 28, 2021, the function will return the value 1, indicating one month, even though there are a few days remaining in February.
Furthermore, if the start date and end date are in the same month, the DATEDIF function will return a value of zero. For example, if the start date is January 1, 2021, and the end date is January 31, 2021, the function will return 0, as there are no complete months between these dates.
By utilizing the DATEDIF function with the “m” unit, you can easily calculate the number of complete months between any two dates. This functionality is valuable for various financial, project management, and personal tracking purposes.
Calculate Years between Two Dates
When it comes to calculating the number of years between two dates, the DATEDIF function in Excel proves to be a valuable tool. Whether you need to determine someone’s age, track the duration of an investment, or analyze long-term trends, calculating years accurately is essential.
To calculate the number of years between two dates using the DATEDIF function, specify the “y” unit. Here’s an example:
=DATEDIF(A2, A3, "y")
In this example, the dates in cell A2 and A3 represent the start_date and end_date respectively. By setting the unit to “y”, the DATEDIF function calculates the difference in complete years.
It is important to note that the DATEDIF function disregards any remaining days when calculating the number of years. For example, if the start date is January 1, 1990, and the end date is December 31, 2020, the function will return the value 30, as there are 30 complete years between these dates.
Furthermore, if the two dates fall within the same year, the DATEDIF function will return a value of zero. For example, if the start date is May 15, 2005, and the end date is November 20, 2005, the function will return 0, as there are no complete years between these dates.
By utilizing the DATEDIF function with the “y” unit, you can easily calculate the number of complete years between any two dates. This functionality provides crucial insights into age calculations, financial analysis, and long-term planning.
Calculate Age using DATEDIF Function
The DATEDIF function in Excel is not only useful for calculating time durations but also provides a convenient way to determine someone’s age. Whether you need to calculate the age of individuals for demographic analysis or track age-related milestones, the DATEDIF function can assist you.
To calculate the age using the DATEDIF function, you can set the start_date as the individual’s birth date and the end_date as the current date. The unit parameter should be “y” to calculate the age in complete years. Here’s an example:
=DATEDIF(A2, TODAY(), "y")
In this example, the birth date is listed in cell A2. The TODAY() function is used to obtain the current date. By setting the unit as “y”, the DATEDIF function calculates the difference between the birth date and the current date in complete years.
The DATEDIF function will return the age as a whole number, indicating the number of complete years. For example, if the birth date is January 1, 1990, and the current date is January 1, 2022, the function will return the value 32, indicating that the person is 32 years old.
It’s important to note that the DATEDIF function does not calculate the fraction of the year. It considers only complete years in the age calculation. Therefore, if the birth date is January 1, 1990, and the current date is December 31, 2021, the function will still return 31, as it counts only complete years.
By utilizing the DATEDIF function, you can easily calculate an individual’s age based on their birth date and the current date. This functionality is valuable in various fields, including human resources, healthcare, and population analysis.
Handle Errors in DATEDIF Function
While the DATEDIF function in Excel is a powerful tool, it is important to be aware of potential errors that may occur during its usage. By understanding these errors and implementing proper error handling, you can ensure accurate and reliable calculations.
One common error you may encounter when using the DATEDIF function is the “#NUM!” error. This error typically occurs when the start date is later than the end date in the function’s parameters. To avoid this error, ensure that the start date is always earlier than or equal to the end date.
Another error that can occur is the “#VALUE!” error. This error may arise if the start date, end date, or unit parameters are not recognized as valid dates or units of measurement. It is crucial to verify that the date formats are correct and that the unit parameter (“d”, “m”, or “y”) is entered properly.
To handle these errors, you can implement error-checking mechanisms in your spreadsheet. One approach is to use the IFERROR function in combination with the DATEDIF function. The IFERROR function allows you to specify a default value to display if an error occurs. Here’s an example:
=IFERROR(DATEDIF(A2, A3, "d"), "Invalid Dates")
In this example, if an error occurs in the DATEDIF function (such as the start date being later than the end date), the IFERROR function will display the message “Invalid Dates” instead of the error code.
It’s important to test your DATEDIF formulas with a variety of scenarios to ensure they handle errors gracefully. By implementing proper error handling, you can prevent calculation issues and ensure accurate and reliable results.
Important Notes about DATEDIF Function
While the DATEDIF function in Excel is a helpful tool for date calculations, there are a few important considerations to keep in mind when using this function. These notes will ensure accurate and consistent results in your calculations.
1. Date Formatting: Excel stores dates as numeric values, so it’s crucial to ensure that the dates you use in the DATEDIF function are formatted correctly. Dates should be entered in a recognized date format, such as “mm/dd/yyyy” or “dd/mm/yyyy”, depending on your regional settings.
2. Inclusive or Exclusive Dates: The DATEDIF function treats the start_date as inclusive and the end_date as exclusive in its calculations. This means that if you want to include both the start and end dates in your calculation, you may need to add 1 to the result of the DATEDIF function.
3. Rounding: The DATEDIF function rounds down the difference between two dates to the nearest whole number. This means that if there are fractional days, months, or years remaining, they will be ignored in the calculation. If you require a more precise calculation, you may need to consider alternative methods or functions.
4. Leap Year Consideration: When calculating differences in months or days, the DATEDIF function does not consider leap years. It treats each year as having 365 days. If your calculation spans multiple leap years, the result may be slightly less accurate. In such cases, you may need to explore other date calculation techniques to account for the leap year.
5. Limitations: The DATEDIF function has some limitations, such as not being available in all versions of Excel. Additionally, it may not handle negative or reverse date ranges as expected. It is always advisable to test your formulas thoroughly to ensure they produce the desired results.
By being aware of these important notes about the DATEDIF function, you can avoid potential calculation discrepancies and make the most effective use of this function in your Excel spreadsheets.