
Choosing the Right Headset Microphone
When it comes to selecting the right headset microphone, several factors should influence your decision. Whether you're a gamer, a remote worker, or a content creator, finding the perfect headset microphone can significantly enhance your overall experience. Here are some essential considerations to keep in mind:
Comfort and Fit
- Comfort: Prioritize comfort, especially if you anticipate wearing the headset for extended periods. Look for cushioned ear cups and an adjustable headband to ensure a snug yet comfortable fit.
- Fit: A proper fit is crucial for both audio quality and comfort. Opt for a headset that provides a secure and stable fit without feeling too tight or cumbersome.
Microphone Quality
- Noise Cancellation: If you work or game in a noisy environment, a headset with noise-canceling microphones can help eliminate background distractions, ensuring clear communication.
- Clarity: Look for a microphone that offers clear and natural sound reproduction. This is particularly important for professional use, such as video calls, podcasts, or streaming.
Connectivity and Compatibility
- Wired or Wireless: Consider whether you prefer the freedom of wireless connectivity or the reliability of a wired connection. Each option has its advantages, so choose based on your specific needs.
- Compatibility: Ensure that the headset microphone is compatible with your device. Whether you're using a PC, Mac, gaming console, or mobile device, compatibility is key for seamless integration.
Durability and Build Quality
- Materials: Assess the build quality and materials used in the headset. Look for sturdy construction and durable materials to ensure longevity, especially if you plan to use the headset regularly.
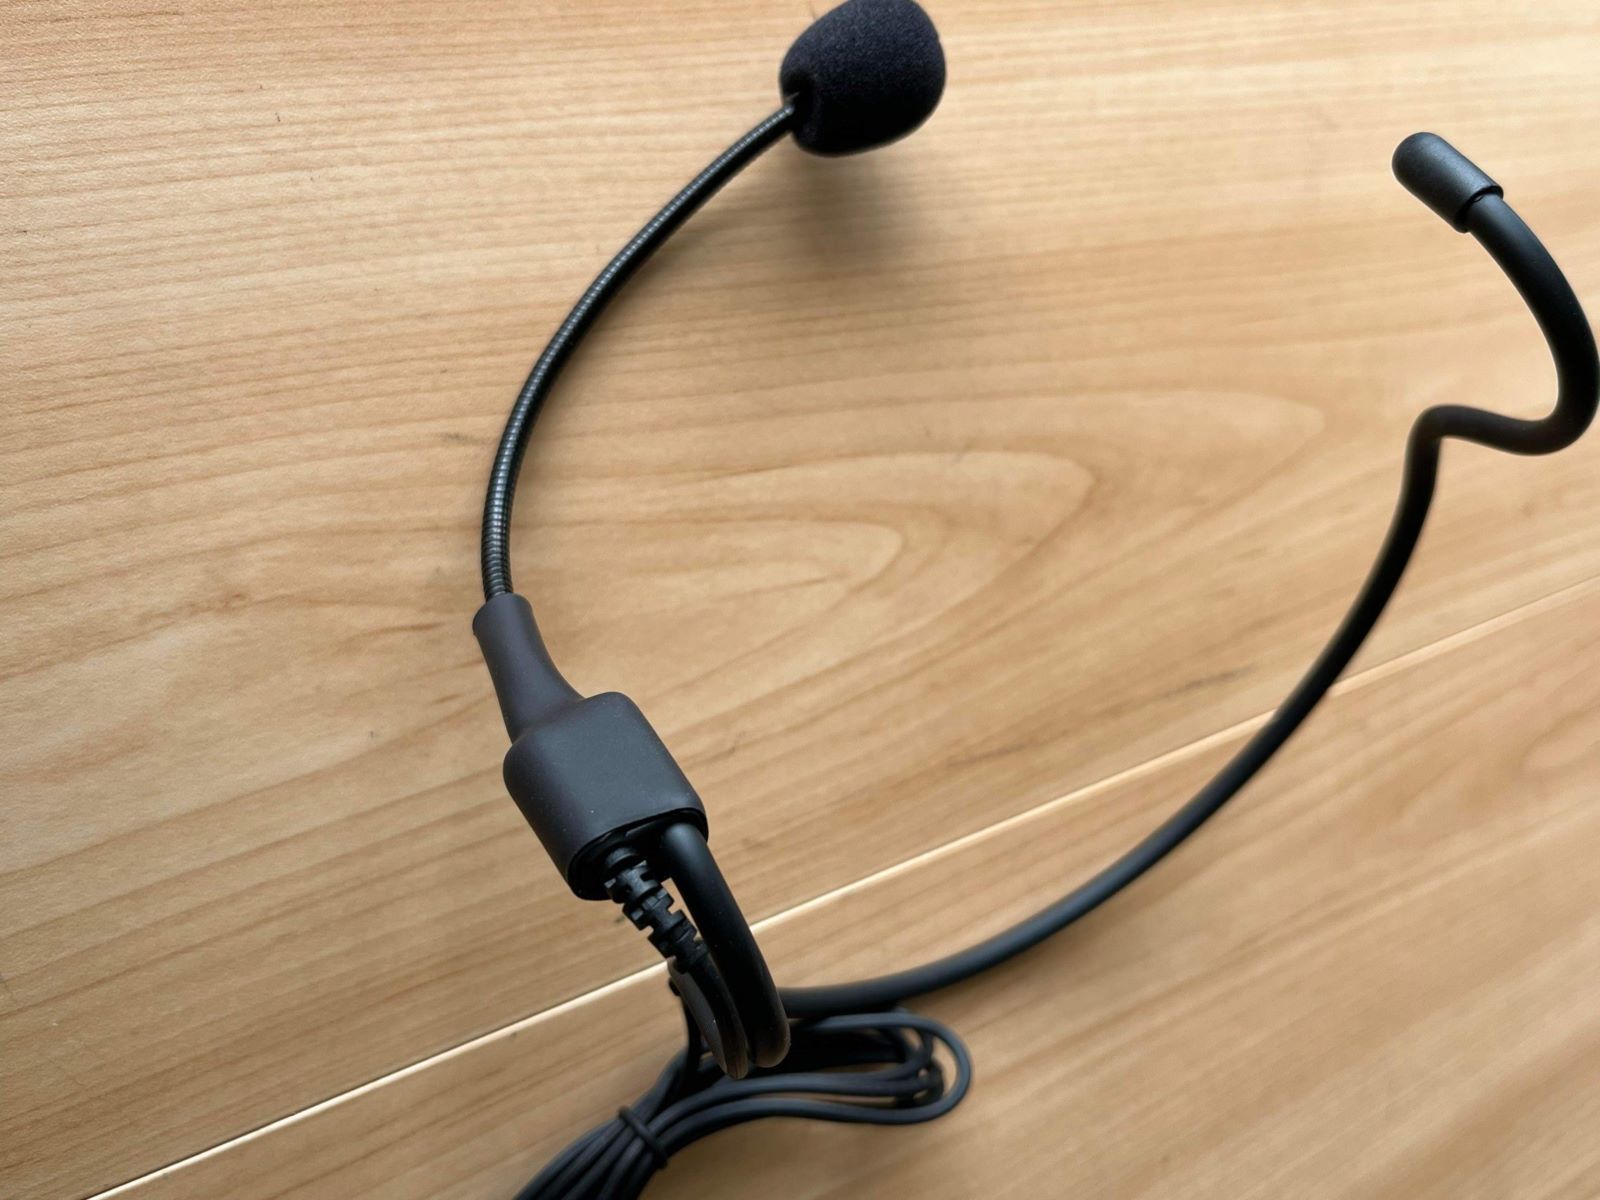
- Flexibility: A flexible and adjustable microphone boom can enhance usability and make it easier to position the microphone optimally.
Additional Features
- On-Board Controls: Some headsets offer convenient on-board controls for adjusting volume, muting the microphone, or even toggling between different audio presets.
- Customization: Certain models come with customizable options, such as interchangeable ear cups, RGB lighting, or software-based audio customization.
By carefully considering these factors, you can make an informed decision when choosing the right headset microphone to suit your needs. Whether you prioritize comfort, audio quality, or additional features, finding the perfect balance can significantly enhance your overall experience.
Setting Up Your Headset Microphone on Windows
Configuring your headset microphone on a Windows PC is a straightforward process that ensures optimal audio input and output. Follow these steps to set up your headset microphone seamlessly:
Step 1: Plug and Play
Begin by plugging your headset into the appropriate audio and microphone jacks on your computer. For USB headsets, simply connect the USB plug to an available port. Windows will automatically recognize the new device and install the necessary drivers.
Step 2: Access Sound Settings
Right-click on the speaker icon in the system tray and select “Open Sound settings.” Alternatively, you can access this menu by navigating to the Control Panel and selecting “Hardware and Sound” followed by “Sound.”
Step 3: Select Input Device
Within the Sound settings, locate the “Input” section and select your headset microphone from the list of available input devices. Ensure that the input level is appropriately adjusted to capture your voice clearly without distortion.
Step 4: Adjust Microphone Properties
Click on “Device properties” to access additional settings for your headset microphone. Here, you can fine-tune the microphone’s properties, including adjusting the volume, enhancing clarity, and enabling noise cancellation if available.
Step 5: Test Your Microphone
Verify the functionality of your headset microphone by using the built-in Windows microphone test. Speak into the microphone, and observe the input level to ensure that your voice is being detected accurately.
Step 6: Configure Communication Settings
If you intend to use the headset for communication applications such as Skype or Discord, navigate to the “Sound” settings in the respective applications and select your headset microphone as the default input device.
Step 7: Update Drivers (If Necessary)
If your headset microphone is not functioning correctly, consider updating the device drivers. Visit the manufacturer’s website or use Windows Update to ensure that you have the latest drivers installed.
By following these steps, you can effectively set up your headset microphone on a Windows PC, ensuring optimal performance and clear audio input for your communication and recording needs.
Setting Up Your Headset Microphone on Mac
Configuring your headset microphone on a Mac is a streamlined process that enables seamless audio input and output. Follow these steps to set up your headset microphone effortlessly:
Step 1: Connect Your Headset
Begin by connecting your headset to the appropriate audio and microphone ports on your Mac. For USB headsets, simply plug the USB connector into an available port. The Mac will automatically detect the new device and configure it for use.
Step 2: Access System Preferences
Click on the Apple logo in the top-left corner of the screen and select “System Preferences” from the dropdown menu. Alternatively, you can access System Preferences from the Dock or the Applications folder.
Step 3: Select Sound Preferences
Within System Preferences, locate and click on the “Sound” icon. This will open the Sound preferences window, where you can manage audio input and output devices for your Mac.
Step 4: Choose Input Device
In the Sound preferences, navigate to the “Input” tab and select your headset microphone from the list of available input devices. Adjust the input volume to ensure that your voice is captured clearly without distortion.
Step 5: Configure Microphone Settings
Click on the “Input” tab and access the microphone settings. Here, you can fine-tune the microphone properties, adjust the input volume, and enable any available features such as ambient noise reduction or voice enhancement.
Step 6: Test Your Microphone
Verify the functionality of your headset microphone by speaking into it and observing the input level in the Sound preferences window. Ensure that your voice is being detected accurately and that the microphone is capturing clear audio.
Step 7: Set Default Input for Applications
If you plan to use the headset microphone for specific applications such as FaceTime or Zoom, access the preferences within those applications and select your headset microphone as the default input device for communication.
Step 8: Update Software (If Necessary)
Ensure that your Mac’s operating system and audio drivers are up to date. Check for software updates in the “Software Update” section of System Preferences to ensure optimal compatibility and performance.
By following these steps, you can efficiently set up your headset microphone on a Mac, ensuring clear and reliable audio input for your communication, recording, and multimedia needs.
Adjusting Microphone Settings for Clear Audio
After setting up your headset microphone, it’s essential to fine-tune the microphone settings to ensure clear and high-quality audio output. Whether you’re engaging in online meetings, recording audio, or communicating with others during gaming sessions, optimizing the microphone settings can significantly enhance the overall experience. Here are some key considerations for adjusting your microphone settings:
Input Volume and Sensitivity
Adjusting the input volume and sensitivity of your microphone is crucial for capturing clear audio without distortion. In your system settings or audio control panel, locate the input volume controls for your microphone. Test different input levels while speaking into the microphone to find the optimal setting that captures your voice clearly without peaking or distorting.
Microphone Positioning
Positioning your microphone correctly can make a substantial difference in audio quality. For headset microphones with adjustable booms, ensure that the microphone is positioned close to your mouth without obstructing your speech. Experiment with the microphone’s placement to find the sweet spot that captures your voice effectively while minimizing background noise.
Noise Cancellation and Enhancement
If your headset microphone offers noise cancellation or voice enhancement features, consider enabling these options to improve audio clarity. Noise cancellation can reduce background distractions, while voice enhancement can optimize the tonal quality of your voice, resulting in clearer and more natural-sounding audio.
Equalization and Filters
Explore the equalization and filtering options available for your microphone. Some audio control panels or third-party software may provide options to adjust the microphone’s frequency response, apply filters to reduce ambient noise, or enhance specific vocal characteristics. Experiment with these settings to tailor the microphone’s audio output to your preferences.
Monitoring and Feedback
If your headset microphone supports real-time monitoring, consider enabling this feature to listen to your own voice as it’s being captured by the microphone. Real-time monitoring can help you assess the audio quality, adjust your speaking volume, and identify any potential issues such as background noise or audio artifacts.
Software-Based Enhancements
Explore any software-based enhancements or audio processing features that may be available for your headset microphone. Some devices come with companion software that allows you to customize audio presets, apply sound effects, or fine-tune the microphone’s performance based on your specific usage scenarios.
By carefully adjusting these microphone settings, you can optimize the audio output of your headset microphone, ensuring clear, natural, and immersive sound for your various activities and communication needs.
Troubleshooting Common Headset Microphone Issues
While headset microphones are designed to provide reliable audio input, occasional issues may arise that impact their performance. Understanding how to troubleshoot common problems can help you address issues efficiently and ensure that your headset microphone functions optimally. Here are some common headset microphone issues and troubleshooting steps:
No Sound or Input Detected
If your headset microphone is not capturing any sound or is not being detected by your device, begin by checking the physical connections. Ensure that the headset is securely plugged into the appropriate audio and microphone ports. If using a USB headset, try connecting it to a different USB port to rule out potential connectivity issues.
If the physical connections are intact, access your device’s audio settings and verify that the headset microphone is selected as the default input device. Adjust the input volume and sensitivity settings to ensure that the microphone is actively capturing sound. If the issue persists, consider testing the headset on another device to determine if the problem is device-specific.
Intermittent or Distorted Audio
Intermittent or distorted audio from the headset microphone can be attributed to various factors. Begin by checking the microphone’s physical condition, including the cable and connector. Ensure that the microphone boom is securely connected to the headset and that the cable is not damaged or frayed, which can cause audio issues.
Adjust the microphone’s input volume and sensitivity settings to prevent audio distortion. If the microphone is positioned too close to your mouth, it may result in distorted audio. Experiment with different microphone positions to find the optimal placement that captures clear sound without distortion.
Background Noise and Feedback
If you’re experiencing excessive background noise or feedback during microphone use, consider enabling noise cancellation features if available. Additionally, ensure that the microphone’s positioning is optimized to minimize ambient noise pickup. Avoid placing the microphone too close to sources of noise, such as fans or air vents.
If using the microphone in a noisy environment, consider utilizing software-based noise reduction or filtering options to suppress background distractions. Alternatively, using a pop filter or windscreen can help mitigate plosives and wind noise, resulting in clearer audio output.
Driver and Compatibility Issues
If you encounter persistent issues with your headset microphone, such as unrecognized devices or erratic behavior, consider checking for driver updates. Visit the manufacturer’s website to download and install the latest drivers for your headset model. Updating drivers can resolve compatibility issues and ensure seamless integration with your device.
By addressing these common headset microphone issues through systematic troubleshooting, you can effectively resolve technical challenges and restore the optimal functionality of your headset microphone for various communication, recording, and gaming applications.