
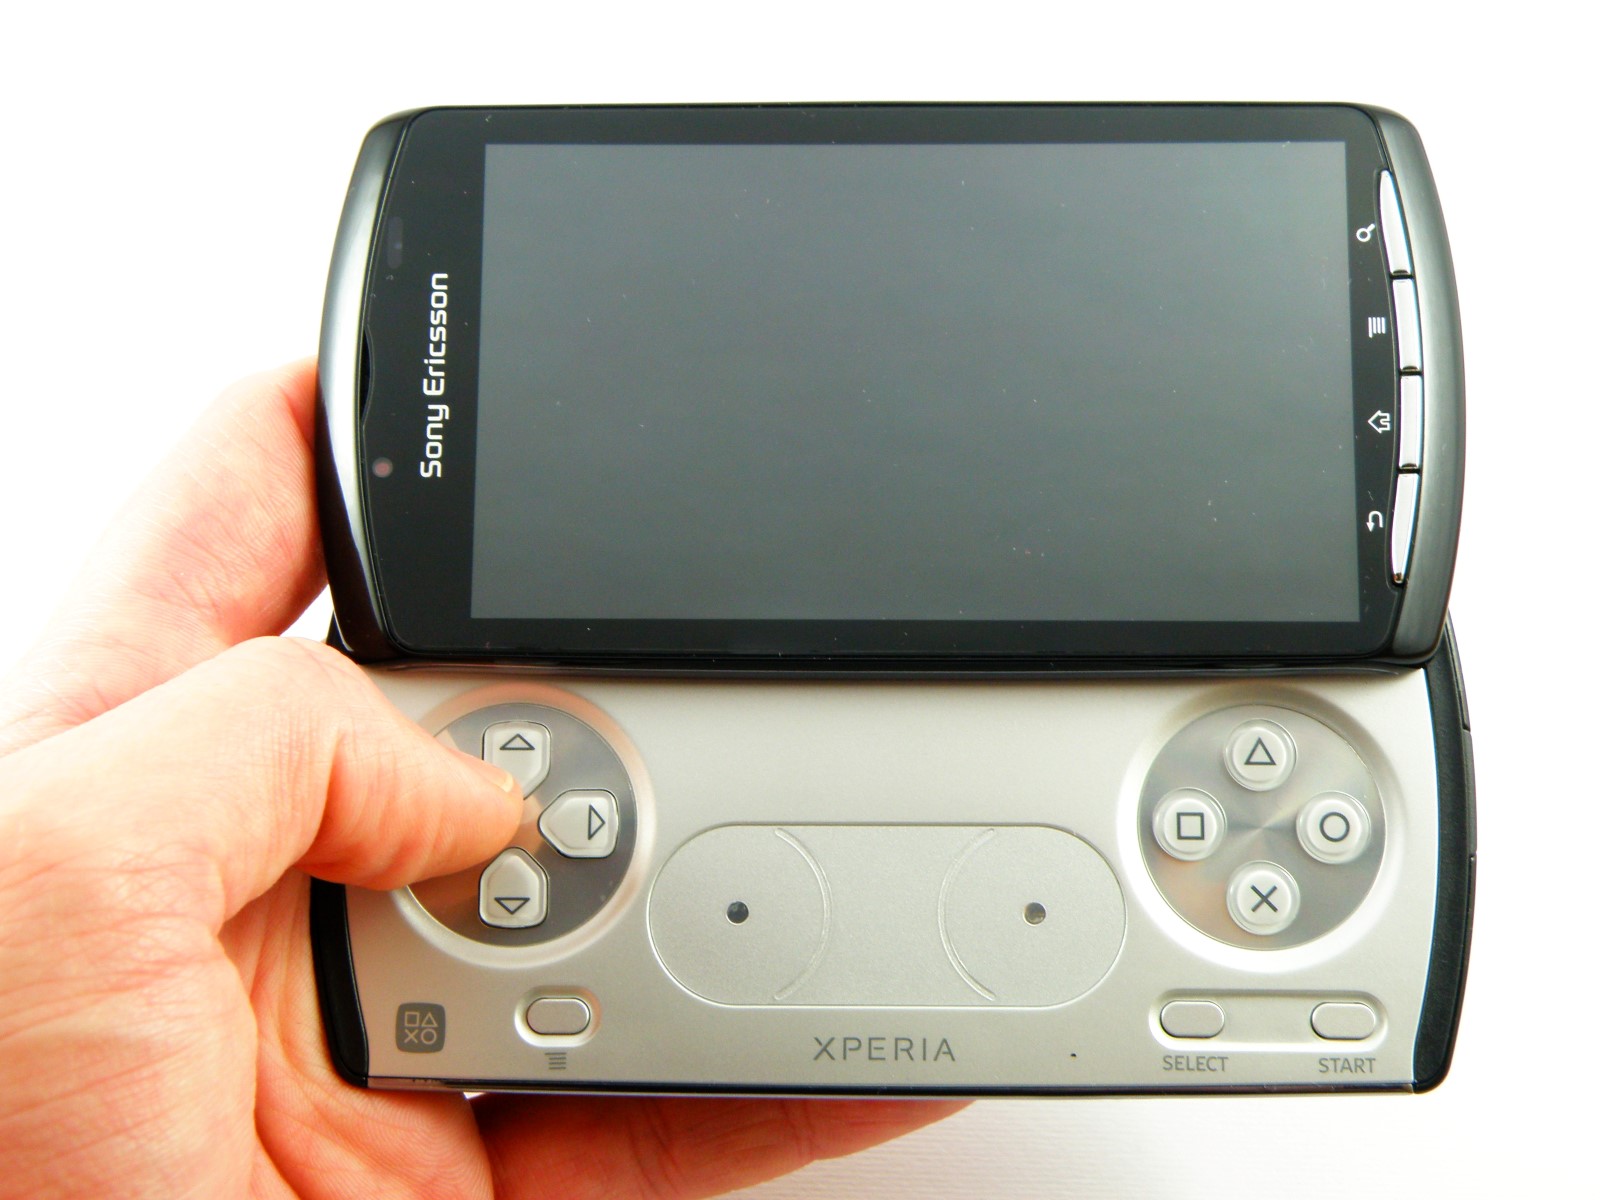
Preparing Your Device
Before you embark on the journey of checking the bootloader on your Xperia Play, it's crucial to prepare your device adequately. This preparation involves ensuring that your device is powered on, charged, and ready for the subsequent steps. Here's a step-by-step guide to prepare your Xperia Play for bootloader checking:
-
Power Up Your Device: The first step is to ensure that your Xperia Play is powered on and functioning properly. If your device is turned off, press and hold the power button until the screen lights up, indicating that the device is powered on.
-
Charge Your Device: It's essential to have sufficient battery power to avoid any interruptions during the bootloader checking process. Connect your Xperia Play to a power source using the provided charger and cable. Allow the device to charge until it reaches an adequate battery level, ensuring that it has enough power to complete the bootloader checking procedure without running out of battery.
-
Backup Your Data: While checking the bootloader status doesn't typically involve data loss, it's always a good practice to back up your important data, such as photos, videos, documents, and any other files you deem valuable. You can use the built-in backup features of your Xperia Play or transfer your data to an external storage device or cloud storage service for safekeeping.
-
Enable Developer Options: To proceed with checking the bootloader, you need to enable the developer options on your Xperia Play. This can be done by navigating to the device's settings, selecting "About phone," and tapping the "Build number" multiple times until the device confirms that developer options are now enabled.
-
Enable USB Debugging: Within the developer options, locate the USB debugging setting and enable it. This will allow your Xperia Play to communicate with a computer via USB while debugging applications or, in this case, checking the bootloader status.
By following these steps to prepare your Xperia Play, you can ensure that your device is ready for the subsequent actions involved in checking the bootloader status. Taking the time to prepare your device adequately can help streamline the process and minimize the likelihood of encountering any unexpected issues along the way.
Unlocking the Bootloader
Unlocking the bootloader of your Xperia Play is a fundamental step that grants you the freedom to customize and optimize your device's firmware. By unlocking the bootloader, you gain the ability to install custom ROMs, root your device, and explore a wide range of advanced customization options. However, it's important to note that unlocking the bootloader may void the warranty of your device and can potentially lead to data loss. With that in mind, let's delve into the detailed process of unlocking the bootloader of your Xperia Play.
-
Backup Your Data: Before proceeding with unlocking the bootloader, it's imperative to back up all your important data. This includes contacts, photos, videos, documents, and any other files stored on your device. While unlocking the bootloader doesn't necessarily erase data, it's a precautionary measure to safeguard your information in case of unexpected outcomes.
-
Enable OEM Unlocking: On your Xperia Play, navigate to the developer options within the device settings. Look for the "OEM unlocking" option and enable it. This step is crucial as it allows the bootloader to be unlocked through the fastboot interface.
-
Boot into Fastboot Mode: Power off your Xperia Play. Once the device is turned off, press and hold the volume up button while connecting it to the computer using a USB cable. This will boot your device into fastboot mode, which is essential for executing fastboot commands to unlock the bootloader.
-
Execute Fastboot Commands: On your computer, ensure that the necessary USB drivers are installed. Open a command prompt or terminal window and navigate to the directory where the Android SDK platform-tools are installed. Enter the command to check if your device is recognized by the system:
fastboot devices. If your device is detected, proceed to the next step. -
Unlock the Bootloader: With your Xperia Play in fastboot mode and connected to the computer, enter the command to initiate the bootloader unlocking process:
fastboot oem unlock. Follow the on-screen instructions on your device to confirm the bootloader unlocking process. Once confirmed, the bootloader unlocking process will commence, and your device's bootloader will be unlocked, granting you the freedom to explore advanced customization options and firmware modifications.
By following these steps, you can successfully unlock the bootloader of your Xperia Play, paving the way for a myriad of customization possibilities and enhanced control over your device's firmware. It's important to approach this process with caution, understanding the potential implications and ensuring that you are fully prepared before proceeding with bootloader unlocking.
Checking the Bootloader Status
Checking the bootloader status of your Xperia Play is a crucial step in understanding the current state of your device's firmware security and customization capabilities. By verifying the bootloader status, you can determine whether the bootloader is locked or unlocked, which directly impacts your ability to install custom ROMs, root the device, and make advanced firmware modifications. Here's a detailed guide on how to check the bootloader status of your Xperia Play:
-
Boot into Fastboot Mode: Start by powering off your Xperia Play. Once the device is turned off, press and hold the volume up button while connecting it to your computer using a USB cable. This action will boot your device into fastboot mode, an essential environment for interacting with the bootloader using fastboot commands.
-
Access the Command Prompt or Terminal: On your computer, open a command prompt or terminal window. Navigate to the directory where the Android SDK platform-tools are installed. This is where you'll execute the fastboot commands to communicate with your Xperia Play in fastboot mode.
-
Check Device Connection: To ensure that your computer recognizes your Xperia Play in fastboot mode, enter the command:
fastboot devices. If your device is detected, a unique identifier will be displayed, confirming that your Xperia Play is successfully connected and ready for further commands. -
Verify Bootloader Status: With your Xperia Play in fastboot mode and recognized by your computer, enter the command to check the bootloader status:
fastboot getvar all. This command retrieves and displays various bootloader-related variables, including the bootloader status, on your computer screen. -
Interpret the Output: Upon executing the
fastboot getvar allcommand, you will receive a detailed output containing information about your device's bootloader status and other relevant variables. Look for the "locked" or "unlocked" status to determine the current state of your Xperia Play's bootloader.
By following these steps, you can effectively check the bootloader status of your Xperia Play, gaining insight into the device's firmware security and customization capabilities. Understanding the bootloader status is essential for making informed decisions regarding custom ROM installations, root access, and advanced firmware modifications. This knowledge empowers you to tailor the device's firmware to your preferences while being cognizant of its current security posture.
Using ADB and Fastboot Commands
Utilizing ADB (Android Debug Bridge) and Fastboot commands is instrumental in interacting with the bootloader and executing advanced operations on your Xperia Play. These commands provide a direct channel to communicate with your device, enabling you to perform tasks such as unlocking the bootloader, flashing custom recovery, and installing custom ROMs. Here's a comprehensive exploration of the process of using ADB and Fastboot commands to navigate the intricacies of your Xperia Play's firmware.
ADB Commands
ADB serves as a versatile tool for managing the communication between your computer and Android device. It facilitates a range of operations, including file transfers, debugging, and executing commands on the connected device. When using ADB commands in conjunction with your Xperia Play, you can accomplish tasks such as installing applications, accessing the device's shell, and capturing device screenshots for troubleshooting and development purposes.
Fastboot Commands
Fastboot, on the other hand, is specifically designed for interacting with the bootloader of an Android device. It allows you to flash partitions, unlock the bootloader, and install custom recovery, among other functions. Fastboot commands are pivotal when it comes to bootloader-related operations, providing a direct avenue to manipulate the firmware at a low level.
Executing ADB and Fastboot Commands
To initiate ADB and Fastboot commands for your Xperia Play, you need to ensure that the Android SDK platform-tools are installed on your computer. Once the tools are set up, connect your Xperia Play to the computer via USB and enable USB debugging in the developer options of your device settings. This enables the ADB and Fastboot tools to establish a connection with your Xperia Play.
With the connection established, you can open a command prompt or terminal window and navigate to the directory where the Android SDK platform-tools are installed. From there, you can execute a myriad of ADB and Fastboot commands to manage your Xperia Play's firmware, ranging from pushing files to the device to unlocking the bootloader and flashing custom recovery.
By leveraging ADB and Fastboot commands, you gain a deeper understanding of your Xperia Play's firmware and harness the capability to customize and optimize the device to align with your preferences. These commands empower you to delve into the intricacies of Android firmware, unlocking a world of advanced customization and control over your Xperia Play.
Verifying the Bootloader Status
Verifying the bootloader status of your Xperia Play is a crucial step in understanding the current state of your device's firmware security and customization capabilities. By confirming the bootloader status, you can ascertain whether the bootloader is locked or unlocked, which directly impacts your ability to install custom ROMs, root the device, and make advanced firmware modifications. Here's a detailed guide on how to check the bootloader status of your Xperia Play:
Boot into Fastboot Mode
Start by powering off your Xperia Play. Once the device is turned off, press and hold the volume up button while connecting it to your computer using a USB cable. This action will boot your device into fastboot mode, an essential environment for interacting with the bootloader using fastboot commands.
Access the Command Prompt or Terminal
On your computer, open a command prompt or terminal window. Navigate to the directory where the Android SDK platform-tools are installed. This is where you'll execute the fastboot commands to communicate with your Xperia Play in fastboot mode.
Check Device Connection
To ensure that your computer recognizes your Xperia Play in fastboot mode, enter the command: fastboot devices. If your device is detected, a unique identifier will be displayed, confirming that your Xperia Play is successfully connected and ready for further commands.
Verify Bootloader Status
With your Xperia Play in fastboot mode and recognized by your computer, enter the command to check the bootloader status: fastboot getvar all. This command retrieves and displays various bootloader-related variables, including the bootloader status, on your computer screen.
Interpret the Output
Upon executing the fastboot getvar all command, you will receive a detailed output containing information about your device's bootloader status and other relevant variables. Look for the "locked" or "unlocked" status to determine the current state of your Xperia Play's bootloader.
By following these steps, you can effectively verify the bootloader status of your Xperia Play, gaining insight into the device's firmware security and customization capabilities. Understanding the bootloader status is essential for making informed decisions regarding custom ROM installations, root access, and advanced firmware modifications. This knowledge empowers you to tailor the device's firmware to your preferences while being cognizant of its current security posture.