
Preparing for Rooting
Before embarking on the journey of rooting your Xperia Go ST27I, it's crucial to adequately prepare for the process. Rooting a device grants you privileged control over various aspects of the operating system, which can significantly enhance the user experience. However, it also comes with potential risks, so proper preparation is essential to ensure a smooth and successful rooting process.
Backing Up Your Data
The first step in preparing for rooting is to back up all the important data on your Xperia Go ST27I. Rooting involves making significant changes to the device's software, and there is a possibility of data loss during the process. By backing up your photos, videos, contacts, and other essential files, you can safeguard your personal data and restore it in case of any unforeseen issues during rooting.
Checking Device Compatibility
It's imperative to ensure that the rooting method you plan to use is compatible with the Xperia Go ST27I. Different Android devices may require specific rooting techniques, and using an incompatible method can potentially harm your device. To avoid such risks, research and verify the compatibility of the rooting tool with your specific device model.
Understanding the Risks
Rooting your Xperia Go ST27I can void the device's warranty and potentially expose it to security vulnerabilities. It's important to understand the associated risks and weigh them against the benefits of rooting. By acknowledging the potential consequences, you can make an informed decision and proceed with the rooting process with a clear understanding of the implications.
Ensuring Sufficient Battery Level
Adequate battery power is essential during the rooting process to prevent any interruptions that could lead to device malfunctions. Ensure that your Xperia Go ST27I has ample battery charge before initiating the rooting procedure. It's recommended to have at least 50% battery level to minimize the risk of the device powering off unexpectedly during rooting.
Researching Rooting Procedures
Before diving into the rooting process, it's beneficial to conduct thorough research on the specific steps and requirements involved in rooting the Xperia Go ST27I. Familiarize yourself with the terminology, tools, and techniques essential for a successful rooting experience. This preparation will empower you with the knowledge needed to navigate through the rooting process confidently.
By meticulously preparing for the rooting process, you set the stage for a smooth and successful experience. Each preparatory step plays a crucial role in mitigating potential risks and optimizing the outcome of rooting your Xperia Go ST27I. With careful planning and thorough preparation, you can approach the subsequent stages of unlocking the bootloader, installing necessary drivers, and enabling USB debugging with confidence and clarity.
Unlocking the Bootloader
Unlocking the bootloader is a fundamental step in the process of rooting the Xperia Go ST27I. The bootloader serves as a security feature that prevents unauthorized system modifications. By unlocking the bootloader, you gain the ability to install custom firmware and gain root access, paving the way for a more customizable and versatile Android experience.
To initiate the bootloader unlocking process, you will need to obtain the necessary unlock code from the official Sony website. This code is unique to each device and is essential for unlocking the bootloader securely. Once you have acquired the unlock code, follow these steps to proceed with unlocking the bootloader of your Xperia Go ST27I:
-
Power off your Xperia Go ST27I and wait for a few seconds to ensure it is completely turned off.
-
Press and hold the Volume Down button on your device.
-
While holding the Volume Down button, connect your Xperia Go ST27I to your computer using a USB cable.
-
Open the command prompt on your computer and navigate to the directory where the Android SDK tools are installed.
-
In the command prompt, enter the following command to confirm that your device is properly recognized:
fastboot devices -
If your device is detected, proceed to the next step. If not, ensure that you have installed the necessary USB drivers for your Xperia Go ST27I.
-
Enter the command to unlock the bootloader. This command may vary depending on your device and the specific instructions provided by Sony. For example, the command for unlocking the bootloader might be:
fastboot oem unlock <unlock code> -
Follow the on-screen instructions to confirm the bootloader unlocking process. This step is crucial, as it involves acknowledging the potential risks and consequences of unlocking the bootloader.
-
Once the process is complete, reboot your Xperia Go ST27I.
It's important to note that unlocking the bootloader will erase all data on your device. Therefore, it's essential to back up your data before proceeding with this step. Additionally, unlocking the bootloader may void the warranty of your device, so it's crucial to consider the implications before taking this step.
By unlocking the bootloader of your Xperia Go ST27I, you pave the way for advanced customization and optimization of your device's performance. This crucial step sets the stage for installing custom recovery and rooting the device, unlocking its full potential for a personalized and enhanced user experience.
Installing Necessary Drivers
Before proceeding with the rooting process for your Xperia Go ST27I, it is essential to ensure that the necessary drivers are installed on your computer. These drivers facilitate seamless communication between your device and the computer, enabling the execution of commands and data transfer essential for the rooting procedure.
The installation of drivers is a critical preparatory step that lays the groundwork for a successful rooting experience. To install the necessary drivers for your Xperia Go ST27I, follow these steps:
-
Identify the Required Drivers: Begin by identifying the specific drivers required for your Xperia Go ST27I. In most cases, you will need the USB drivers that are compatible with your device and operating system. These drivers enable your computer to recognize and establish a connection with your Xperia Go ST27I when it is connected via USB.
-
Download the Drivers: Visit the official Sony website or the support page dedicated to Xperia devices to obtain the appropriate USB drivers for your Xperia Go ST27I. Ensure that you download the drivers that are compatible with your device model and the operating system of your computer.
-
Install the Drivers: Once the drivers are downloaded, proceed to install them on your computer. Depending on the specific driver package, you may need to run the installer executable and follow the on-screen instructions for a successful installation. During the installation process, it is important to carefully review and accept any user agreements or prompts presented by the driver installer.
-
Verify Driver Installation: After the installation is complete, verify that the drivers have been successfully installed on your computer. Connect your Xperia Go ST27I to the computer using a USB cable and ensure that the device is recognized without any errors or issues. This verification step is crucial in confirming that the drivers are functioning as intended and are ready for the subsequent stages of the rooting process.
By meticulously installing the necessary drivers for your Xperia Go ST27I, you establish a solid foundation for the seamless interaction between your device and the computer during the rooting process. These drivers enable the essential communication and data transfer that are integral to unlocking the bootloader, enabling USB debugging, and ultimately rooting your device. With the drivers in place, you are well-equipped to progress to the next stages of the Xperia Go ST27I rooting process with confidence and readiness.
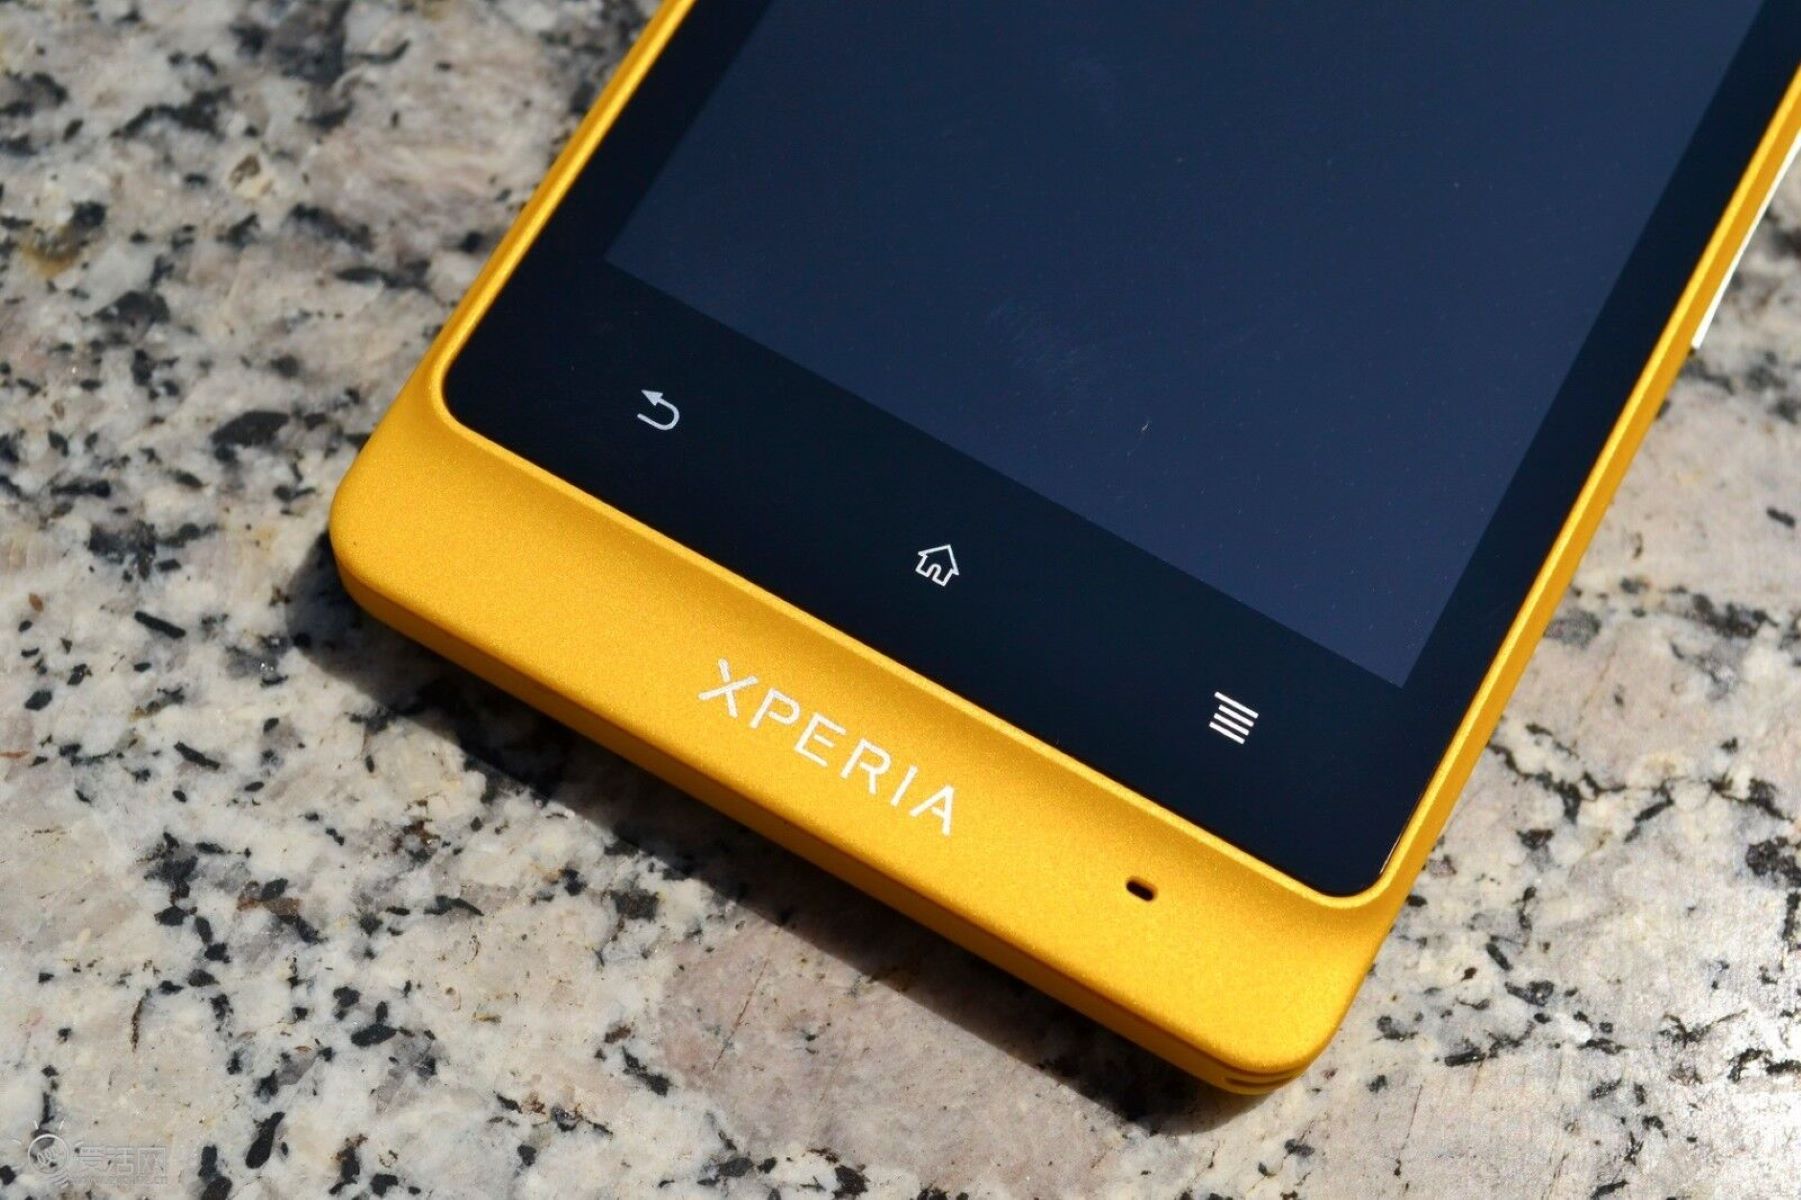
Enabling USB Debugging
Enabling USB debugging is a pivotal step in the process of rooting the Xperia Go ST27I. This functionality allows the device to communicate with a computer via a USB connection, facilitating the execution of advanced commands and system operations. By enabling USB debugging, users gain access to a range of developer-oriented features and tools that are essential for the rooting process.
To enable USB debugging on your Xperia Go ST27I, follow these detailed steps:
-
Accessing Developer Options: On your Xperia Go ST27I, navigate to the "Settings" menu and scroll down to locate the "About phone" or "About device" option. Tap on it to access detailed information about your device.
-
Locating Build Number: Within the "About phone" section, look for the "Build number" entry. Tap on the "Build number" repeatedly (usually 7 times) until you see a message indicating that developer options have been enabled.
-
Accessing Developer Options: After enabling developer options, go back to the main "Settings" menu. You should now see a new entry labeled "Developer options" or "Developer settings." Tap on it to access the developer-oriented settings and features.
-
Enabling USB Debugging: Within the "Developer options" menu, locate the "USB debugging" setting. It is usually presented as a toggle switch or checkbox. Enable USB debugging by toggling the switch or checking the box next to "USB debugging." Upon doing so, a prompt may appear asking for confirmation. Accept the prompt to enable USB debugging on your Xperia Go ST27I.
-
Verifying USB Debugging: To verify that USB debugging has been successfully enabled, connect your Xperia Go ST27I to a computer using a USB cable. Once the connection is established, you should see a prompt on your device asking for permission to allow USB debugging for the connected computer. Grant the permission to proceed.
Enabling USB debugging empowers your Xperia Go ST27I with enhanced connectivity and functionality, laying the groundwork for the subsequent stages of the rooting process. This capability enables seamless communication between your device and the computer, enabling the execution of advanced commands and system operations essential for unlocking the device's full potential through rooting.
By meticulously following the steps to enable USB debugging, you ensure that your Xperia Go ST27I is ready for the next phases of the rooting process, including downloading and installing rooting software, and ultimately gaining root access to your device. This essential functionality opens the door to a realm of customization and optimization possibilities, allowing you to harness the full capabilities of your Xperia Go ST27I.
Downloading and Installing Rooting Software
The next crucial step in the process of rooting your Xperia Go ST27I involves the downloading and installation of the rooting software. This software plays a pivotal role in facilitating the rooting process by providing the necessary tools and resources to gain privileged access to the device's operating system.
To begin, it is essential to research and identify a reputable rooting software that is compatible with the Xperia Go ST27I. Various rooting tools are available, each with its own set of features and compatibility specifications. It is imperative to select a trusted and well-established rooting software that aligns with the specific requirements of your device.
Once you have identified the suitable rooting software, proceed to download it from a reliable source. It is recommended to obtain the software directly from the official website of the developer or from reputable Android development forums. This approach ensures that you are acquiring the authentic and unmodified version of the rooting software, minimizing the risk of potential security threats or compromised functionality.
After downloading the rooting software, carefully review any accompanying instructions or documentation provided by the developer. These resources often contain valuable insights into the installation process and may offer specific guidelines tailored to the Xperia Go ST27I.
Subsequently, initiate the installation of the rooting software on your computer. Follow the provided installation instructions, ensuring that you adhere to any prerequisite software or system requirements specified by the developer. It is essential to exercise caution and attentiveness during the installation process to avoid potential errors or complications that may arise from incorrect installation procedures.
Upon successful installation, launch the rooting software and familiarize yourself with its interface and functionality. Take the time to explore the features and options available within the software, as this will enhance your understanding of the rooting process and enable you to make informed decisions during the subsequent stages.
By meticulously downloading and installing the rooting software, you establish a solid foundation for the forthcoming phases of the Xperia Go ST27I rooting process. The acquisition of the appropriate rooting tool equips you with the necessary resources to proceed with confidence and precision, setting the stage for the pivotal step of rooting your device and unlocking its full potential.
Rooting the Xperia Go ST27I
Rooting the Xperia Go ST27I marks a significant milestone in the process of gaining privileged access to the device's operating system, unlocking a realm of customization and optimization possibilities. This pivotal step empowers users to transcend the limitations of the stock Android experience and delve into advanced system modifications and enhancements.
To initiate the rooting process for your Xperia Go ST27I, follow these comprehensive steps:
-
Launching the Rooting Software: Open the rooting software that you previously installed on your computer. Ensure that your Xperia Go ST27I is connected to the computer via a USB cable and is recognized by the rooting software.
-
Initiating the Rooting Process: Within the rooting software, locate the option to initiate the rooting process for your Xperia Go ST27I. This may involve clicking a "Root" or "Start" button within the software interface.
-
Following On-Screen Instructions: The rooting software will guide you through the rooting process with on-screen instructions and prompts. It is essential to carefully follow these instructions and proceed with the rooting process as directed by the software.
-
Allowing Device Modifications: During the rooting process, your Xperia Go ST27I may display a prompt asking for permission to allow system modifications. Grant the necessary permissions to enable the rooting software to proceed with the required modifications.
-
Monitoring the Rooting Progress: As the rooting software executes the necessary commands and operations, monitor the progress indicators and on-screen messages to ensure that the rooting process is advancing as expected.
-
Completion and Reboot: Once the rooting process is successfully completed, the rooting software will typically display a confirmation message. At this stage, your Xperia Go ST27I may automatically reboot to finalize the rooting procedure.
Upon completion of the rooting process, your Xperia Go ST27I will have gained root access, granting elevated privileges and control over the device's operating system. This newfound access unlocks the potential for installing custom ROMs, optimizing system performance, and exploring a wide array of advanced customization options that are not available in the stock Android environment.
It is important to approach the rooting process with diligence and caution, ensuring that you follow the instructions provided by the rooting software and exercise patience throughout the procedure. By successfully rooting your Xperia Go ST27I, you embark on a journey of enhanced device functionality and personalization, harnessing the full capabilities of your device to suit your unique preferences and requirements.
Verifying Root Access
After completing the rooting process for your Xperia Go ST27I, it is essential to verify that the device has gained root access successfully. This crucial step ensures that the privileges and capabilities associated with rooting have been effectively granted, allowing you to harness the full potential of your device's operating system.
To verify root access on your Xperia Go ST27I, you can utilize various methods and tools designed to confirm the presence of root permissions. One of the most commonly used approaches is to employ root checker applications, which are readily available for download from the Google Play Store or other trusted sources. These applications are specifically designed to analyze the device's system integrity and verify the presence of root access.
Upon installing a root checker application on your Xperia Go ST27I, launch the app and initiate the root verification process. The application will conduct a comprehensive assessment of the device's root status, providing a definitive indication of whether root access has been successfully acquired. This verification serves as a crucial validation of the rooting process, offering reassurance that the device is now equipped with the elevated privileges associated with rooting.
Another method to verify root access involves utilizing command-line tools, such as the Android Debug Bridge (ADB), to execute commands that ascertain the device's root status. By connecting your Xperia Go ST27I to a computer and accessing the ADB interface, you can issue specific commands to query the device's root permissions. This approach provides a deeper level of insight into the device's root status and allows for a more technical validation of the rooting outcome.
Upon confirming the successful acquisition of root access, you can proceed with confidence, knowing that your Xperia Go ST27I is now equipped with the enhanced capabilities and customization options associated with rooted devices. This verification step serves as a pivotal checkpoint in the rooting process, affirming that the privileges and advantages of rooting have been effectively integrated into your device's operating system.
By meticulously verifying root access, you ensure that your Xperia Go ST27I is ready to explore the myriad possibilities and optimizations enabled by root permissions. This verification process validates the successful culmination of the rooting endeavor, laying the groundwork for further customization, system enhancements, and the potential installation of custom recovery, further elevating the device's versatility and functionality.
Installing Custom Recovery (Optional)
Installing a custom recovery on your Xperia Go ST27I presents an optional yet highly advantageous opportunity to further enhance the device's functionality and customization capabilities. A custom recovery, such as TWRP (Team Win Recovery Project) or CWM (ClockworkMod Recovery), serves as a powerful tool for performing advanced system operations, including creating full device backups, flashing custom ROMs, and applying system-level modifications.
To embark on the installation of a custom recovery, it is essential to research and identify a compatible recovery solution that aligns with the specifications of the Xperia Go ST27I. Once you have selected the appropriate custom recovery for your device, proceed with the installation process, following these comprehensive steps:
-
Obtaining the Custom Recovery Image: Begin by acquiring the specific custom recovery image designed for the Xperia Go ST27I. This image file is essential for installing the custom recovery and is typically provided by the developers of the custom recovery solution. Ensure that you download the correct recovery image for your device model to avoid compatibility issues.
-
Enabling USB Debugging and Booting into Fastboot Mode: Similar to the initial preparatory steps for rooting, enable USB debugging on your Xperia Go ST27I and boot the device into fastboot mode. This mode allows for the execution of low-level commands and is instrumental in the installation of custom recovery.
-
Connecting the Device to the Computer: Using a USB cable, connect your Xperia Go ST27I to the computer. Ensure that the device is recognized and properly connected, establishing the necessary communication for the subsequent installation steps.
-
Executing Fastboot Commands: Open a command prompt on your computer and navigate to the directory where the custom recovery image is located. Issue fastboot commands to flash the custom recovery image onto the device. For example, the command to flash TWRP recovery might be:
fastboot flash recovery twrp.img. It is crucial to verify the accuracy of the commands and confirm successful execution. -
Verifying the Installation: After flashing the custom recovery image, reboot your Xperia Go ST27I into recovery mode to verify the successful installation of the custom recovery. This can be achieved by issuing the command
adb reboot recoveryor using hardware key combinations specific to your device.
By meticulously following these steps, you can effectively install a custom recovery on your Xperia Go ST27I, unlocking a new dimension of control and versatility over the device's operating system. The custom recovery empowers you with advanced tools and capabilities, paving the way for seamless system modifications, backups, and the exploration of custom ROMs, thereby expanding the potential of your Xperia Go ST27I to align with your unique preferences and requirements.