
Checking Airtag Battery Life
When it comes to ensuring that your Apple AirTag is always ready to help you locate your belongings, checking the battery life is an essential first step. The AirTag is equipped with a user-replaceable CR2032 battery, which provides long-lasting power for your tracking needs. To check the battery life of your AirTag, follow these simple steps:
-
Locate Your AirTag: Find your AirTag by using the Find My app on your iPhone or any other compatible Apple device.
-
Check the Battery Status: Open the Find My app and select the "Items" tab. Then, choose your AirTag from the list of items. The app will display the current battery status of your AirTag, indicating whether the battery is running low and needs to be replaced.
-
Receive Low Battery Notifications: If the battery of your AirTag is running low, you will receive a notification on your connected Apple device, prompting you to replace the battery. This proactive alert system ensures that you are always aware of your AirTag's battery status.
Regularly checking the battery life of your AirTag ensures that you can rely on it to help you keep track of your items. By staying proactive and replacing the battery when needed, you can maintain the seamless functionality of your AirTag and enjoy peace of mind knowing that your belongings are always within reach.
By following these simple steps, you can easily monitor the battery life of your AirTag and take the necessary steps to replace the battery when needed. This proactive approach ensures that your AirTag is always ready to assist you in finding your valuables, providing you with a reliable tracking solution that seamlessly integrates with your Apple ecosystem.
Tools Needed for AirTag Battery Replacement
Before embarking on the battery replacement process for your AirTag, it’s essential to gather the necessary tools to ensure a smooth and efficient procedure. Here are the tools you will need:
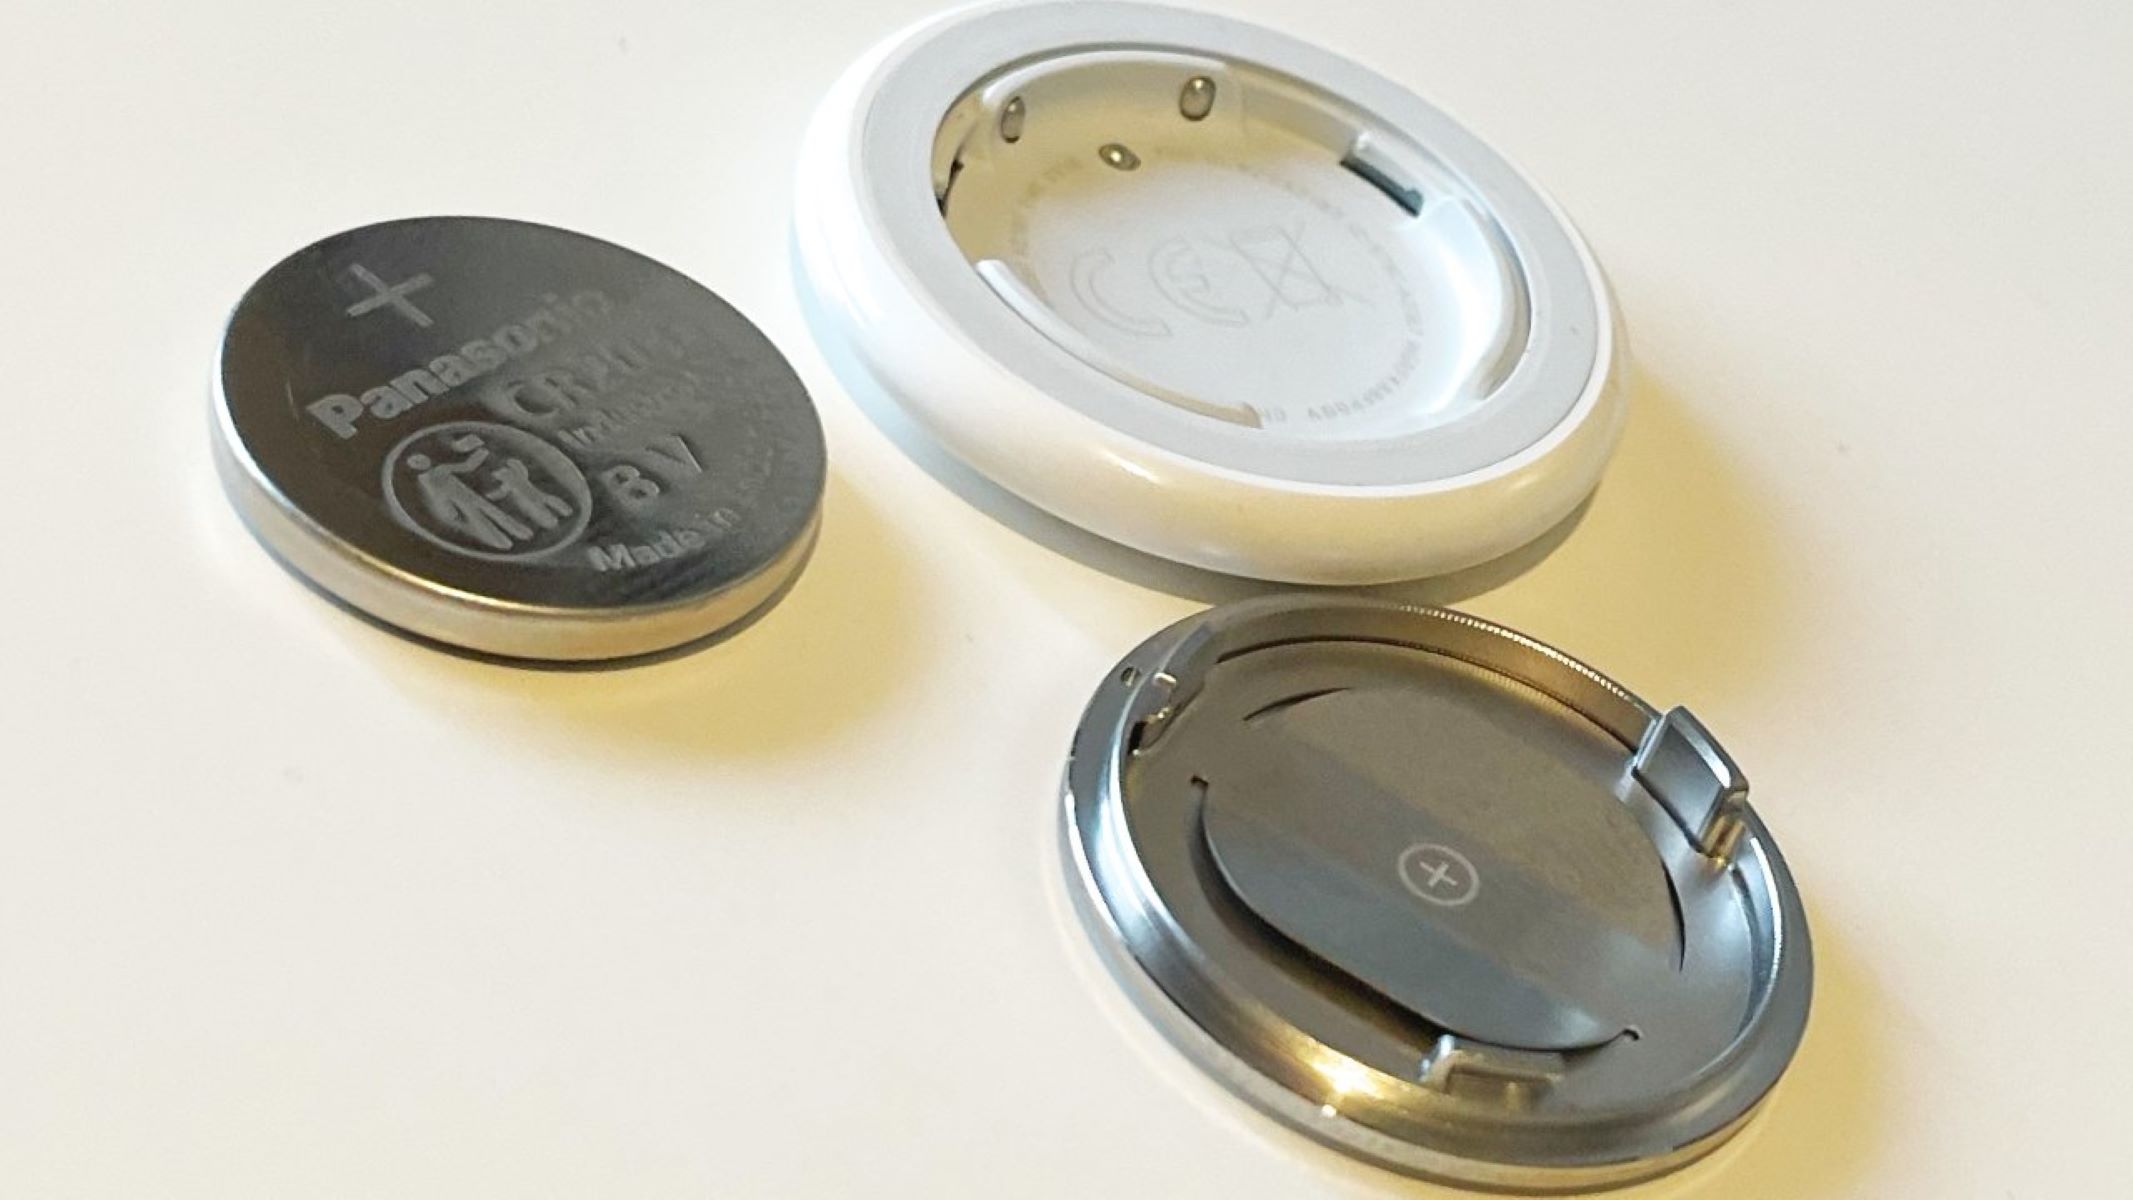
- Replacement Battery (CR2032): This coin cell battery is readily available at most electronic and hardware stores. Ensure that the replacement battery is compatible with the AirTag’s specifications to guarantee optimal performance.
- Flat Surface: Find a clean, flat surface to work on, providing ample space to maneuver and organize the components during the battery replacement process.
- Soft Cloth: Use a soft cloth to protect the AirTag from scratches or damage during the battery replacement. This will also help maintain the pristine condition of the AirTag’s exterior.
- Small Screwdriver: A small, precision screwdriver is necessary to open the AirTag and access the battery compartment. Ensure that the screwdriver matches the size of the screws on the AirTag to prevent damage.
- Tweezers or Plastic Pry Tool: These tools are useful for delicately prying open the AirTag without causing any damage. They provide the necessary leverage to access the internal components safely.
By assembling these essential tools, you can proceed with the AirTag battery replacement process confidently and efficiently. Having the right tools at your disposal ensures that you can complete the replacement seamlessly, maintaining the integrity and functionality of your AirTag.
With these tools in hand, you are well-prepared to undertake the battery replacement process for your AirTag, ensuring that it continues to provide reliable tracking capabilities for your valuable items. The proper tools, combined with the following steps, will empower you to successfully replace the battery in your AirTag, extending its functionality and usefulness.
Opening the AirTag
Before replacing the battery in your AirTag, it’s crucial to open the device carefully to access the battery compartment. Follow these steps to safely open your AirTag:
- Gather the Necessary Tools: Ensure that you have the required tools, including a small screwdriver and tweezers or a plastic pry tool, to assist in opening the AirTag without causing damage.
- Identify the Seam: Examine the perimeter of the AirTag to locate the hairline seam where the two halves of the device meet. This is where you will begin the opening process.
- Position the AirTag: Place the AirTag on a soft cloth to prevent scratches and provide a stable surface for the opening procedure.
- Insert the Tool: Gently insert the edge of the small screwdriver into the seam of the AirTag. Apply light pressure to pry the two halves apart, working your way around the perimeter to gradually separate the components.
- Use Caution: Exercise patience and caution to avoid applying excessive force, which could damage the AirTag. Take your time and apply even pressure to ensure a controlled separation of the components.
- Continue Opening: As the halves begin to separate, use the tweezers or plastic pry tool to carefully widen the gap, allowing you to fully open the AirTag and access the internal components.
By following these steps, you can safely open your AirTag without causing any damage, preparing it for the battery replacement process. Taking the time to proceed methodically and delicately ensures that the AirTag remains in optimal condition, maintaining its functionality and aesthetic appeal.
With the AirTag successfully opened, you are now ready to proceed with the next steps in the battery replacement process, ensuring that your device continues to provide reliable tracking capabilities for your belongings.
Removing the Old Battery
Once you have successfully opened your AirTag, the next step in the battery replacement process is to carefully remove the old battery. Follow these steps to ensure a smooth and safe removal:
- Identify the Battery Compartment: Locate the battery compartment within the opened AirTag. The CR2032 battery is easily accessible once the device is opened.
- Use Caution: Handle the AirTag delicately to avoid damaging any internal components. Take care to maintain a stable grip on the device while working with the battery.
- Remove the Old Battery: Depending on the design of your AirTag, the battery may be held in place by a clip or a small retention mechanism. Use the tweezers or a plastic pry tool to carefully release the battery and lift it out of the compartment.
- Dispose of the Old Battery Properly: Once the old battery is removed, place it in a designated battery recycling container or take it to a recycling center. It’s important to dispose of the old battery responsibly to minimize environmental impact.
- Inspect the Battery Compartment: After removing the old battery, inspect the battery compartment to ensure that it is clean and free of any debris. This preparation ensures a smooth installation of the new battery.
By following these steps, you can safely remove the old battery from your AirTag, paving the way for the installation of a new CR2032 battery. Taking the time to handle the old battery properly and prepare the compartment for the new battery ensures a seamless transition and optimal performance from your AirTag.
With the old battery removed and the battery compartment inspected, you are now ready to proceed with inserting the new battery into your AirTag, completing the battery replacement process and restoring its tracking functionality.
Inserting the New Battery
With the old battery removed from your AirTag, the next crucial step in the battery replacement process is to insert a new CR2032 battery. Follow these steps to ensure a seamless and successful installation:
- Prepare the New Battery: Take the new CR2032 battery out of its packaging, ensuring that it is clean and free of any debris or contaminants. Handling the battery with care prevents any potential damage or interference with its functionality.
- Align the Battery Correctly: Position the new battery in the designated compartment within the AirTag, ensuring that the positive (+) and negative (-) terminals align with the corresponding indicators within the device. Proper alignment is essential for the battery to function effectively.
- Secure the Battery in Place: If your AirTag features a clip or retention mechanism for the battery, use the tweezers or a plastic pry tool to secure the new battery in its designated position. Ensure that the battery is held firmly in place to prevent dislodgment during use.
- Carefully Close the AirTag: Once the new battery is securely installed, carefully close the AirTag by aligning the two halves and applying gentle pressure to snap them back together. Take care to ensure that the components fit snugly without any gaps.
By following these steps, you can successfully insert a new CR2032 battery into your AirTag, restoring its power source and ensuring continued functionality. The proper installation of the new battery is essential for maintaining reliable tracking capabilities for your valuable items.
With the new battery securely in place, your AirTag is now equipped with a fresh power source, ready to assist you in tracking and locating your belongings with efficiency and precision.
Closing the AirTag
After successfully replacing the battery in your AirTag, the final step is to securely close the device, ensuring that it is fully functional and ready for use. Follow these steps to complete the process:
- Align the Halves: Position the two halves of the AirTag together, ensuring that they are aligned correctly. Take care to match the edges and seams precisely to facilitate a seamless closure.
- Apply Gentle Pressure: Once the components are aligned, apply gentle and even pressure to the AirTag, pressing the halves together to secure them in place. Take care to avoid exerting excessive force, which could potentially damage the device.
- Listen for Clicks: As you apply pressure, listen for audible clicks that indicate the components are snapping into place. This confirms that the AirTag is securely closed and ready for use.
- Inspect the Closure: After closing the AirTag, visually inspect the perimeter to ensure that the two halves are flush and that there are no gaps or misalignments. A secure closure is essential for the proper functioning and protection of the internal components.
By following these steps, you can confidently close your AirTag after replacing the battery, ensuring that it is securely sealed and ready to assist you in tracking your belongings. A properly closed AirTag maintains its sleek and compact design while providing reliable tracking capabilities.
With the AirTag securely closed, you can now resume using it to track and locate your valuable items with the assurance that the battery replacement process has been completed successfully. Your AirTag is now equipped with a fresh power source and is ready to serve its tracking function effectively.