Checking Roaming Capability on iPhone 13
Before embarking on your international travels, it's crucial to ensure that your iPhone 13 is equipped to handle roaming. Roaming allows your device to connect to a different cellular network than the one it's set up for, enabling you to make calls, send texts, and use data while abroad. Here's how to check the roaming capability on your iPhone 13:
-
Open Settings: Unlock your iPhone 13 and tap on the "Settings" app from the home screen. This will take you to the main settings menu.
-
Select Cellular: Scroll down and tap on "Cellular" from the settings menu. This will open the cellular settings where you can manage your network connections.
-
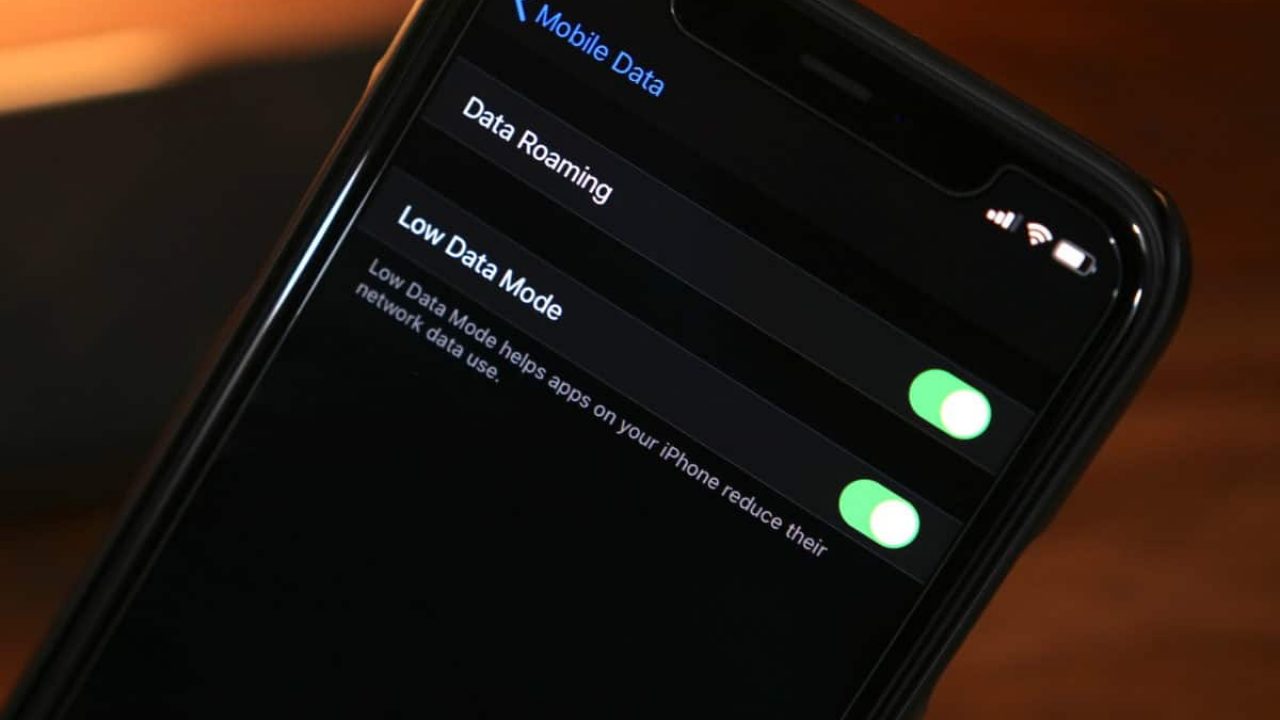
Check for Roaming Options: Within the Cellular settings, look for the "Roaming" option. If your iPhone 13 is capable of roaming, you should see this option listed. If it's not visible, it's possible that your device may not support roaming or that it's disabled by default.
-
Contact Your Carrier: If you don't see the Roaming option, it's advisable to contact your mobile carrier to confirm whether your plan includes international roaming. They can provide detailed information about your roaming capabilities and guide you on the necessary steps to enable it.
-
Verify Roaming Compatibility: If you're planning to use a local SIM card while traveling, it's essential to ensure that your iPhone 13 is unlocked and compatible with the network frequencies of the country you're visiting. This can prevent any connectivity issues and ensure a seamless roaming experience.
By following these steps, you can quickly determine whether your iPhone 13 is capable of roaming and take the necessary measures to enable this feature before embarking on your international adventures.
Activating Roaming through Settings
Enabling roaming on your iPhone 13 through the device's settings is a straightforward process that ensures seamless connectivity while traveling abroad. By following these simple steps, you can activate roaming and stay connected wherever your adventures take you.
-
Accessing the Settings Menu: To begin, unlock your iPhone 13 and locate the "Settings" app on the home screen. The gear-shaped icon is a gateway to a multitude of device customization options, including those related to network connectivity.
-
Navigating to Cellular Settings: Within the Settings menu, scroll down and tap on "Cellular." This section houses various cellular and data-related configurations, allowing you to manage your network preferences.
-
Enabling Roaming: Upon entering the Cellular settings, look for the "Roaming" option. Once located, simply toggle the switch to enable roaming. This action grants your iPhone 13 the ability to connect to international networks, ensuring that you can make and receive calls, send texts, and access data while traveling outside your home network's coverage area.
-
Understanding Roaming Charges: It's important to note that while roaming, additional charges may apply for calls, texts, and data usage. These charges are typically higher than standard rates, as they reflect the cost of utilizing a foreign network. To avoid unexpected fees, consider reviewing your carrier's roaming packages or purchasing a local SIM card at your destination.
-
Data Roaming Settings: For those primarily concerned with data usage, the "Cellular Data Options" within the Cellular settings provide further control over data roaming. Here, you can enable or disable data roaming as per your requirements, ensuring that your device only uses cellular data when connected to your home network or a preferred roaming partner.
-
Confirming Roaming Activation: Once you've enabled roaming, it's advisable to confirm its activation by placing a test call or sending a text message. This quick check ensures that your iPhone 13 is successfully connected to a roaming network, allowing you to communicate without interruption while abroad.
By activating roaming through the settings on your iPhone 13, you can seamlessly transition between networks during your international travels, staying connected with ease and peace of mind. This simple process empowers you to make the most of your adventures without compromising on communication and connectivity.
Activating Roaming through Carrier's App or Website
Activating roaming through your carrier's dedicated app or website provides a convenient and efficient method to enable international connectivity on your iPhone 13. By leveraging the digital platforms offered by your mobile service provider, you can seamlessly manage your roaming settings and ensure uninterrupted communication while traveling abroad.
To initiate the process, begin by accessing your carrier's official app or navigating to their website through a web browser on your iPhone 13. Once logged in to your account, follow these steps to activate roaming:
-
Locate Roaming Settings: Upon accessing the carrier's app or website, navigate to the section specifically dedicated to managing your account and services. Look for options related to international roaming, which may be listed under "Manage Services," "Roaming," or "International Usage."
-
Enable Roaming: Within the roaming settings, you should find the option to enable international roaming for your device. This may be presented as a toggle switch, checkbox, or a specific activation button. By selecting the appropriate option, you can initiate the activation of roaming services for your iPhone 13.
-
Review Roaming Packages: Many carrier apps and websites provide detailed information about available roaming packages and associated charges. Take this opportunity to explore and select a suitable roaming plan that aligns with your travel needs. This may include options for voice, text, and data usage abroad, allowing you to tailor your roaming services based on anticipated usage patterns.
-
Confirm Activation: After enabling roaming and selecting any desired packages, it's essential to review and confirm the activation of these settings. This step ensures that your iPhone 13 is provisioned for international roaming, granting access to partner networks in your destination country.
-
Additional Considerations: Some carrier apps and websites offer supplementary features, such as travel advisories, network coverage maps, and real-time usage monitoring. Take advantage of these resources to stay informed about network availability, potential charges, and your usage patterns while abroad.
By activating roaming through your carrier's app or website, you can harness the convenience of digital self-service tools to manage your international connectivity with ease. This approach empowers you to take control of your roaming settings, explore available packages, and ensure a seamless communication experience during your travels.
Whether you're embarking on a leisurely vacation or a business trip, leveraging your carrier's digital platforms to activate roaming exemplifies the fusion of technology and convenience, enhancing your ability to stay connected across borders.
Troubleshooting Roaming Activation Issues
Encountering challenges while attempting to activate roaming on your iPhone 13 can be frustrating, especially when seamless connectivity is essential during your international travels. Fortunately, several troubleshooting steps can help address common issues and ensure that your device is provisioned for roaming effectively.
-
Check Network Coverage: Begin by verifying that your iPhone 13 is within the coverage area of your home network. Roaming activation may be hindered if your device cannot establish a connection to your carrier's network. If you're in an area with limited or no network coverage, consider moving to a different location and reattempting the activation process.
-
Restart Your Device: A simple yet effective troubleshooting step involves restarting your iPhone 13. This action can resolve temporary software glitches that may be impeding the activation of roaming services. After restarting your device, revisit the settings and attempt to enable roaming once again.
-
Update Carrier Settings: Ensure that your iPhone 13 has the latest carrier settings installed. To check for updates, navigate to "Settings," "General," and "About." If an update is available, a prompt may appear, allowing you to install the latest carrier settings. Keeping these settings up to date can address compatibility issues and facilitate the activation of roaming.
-
Verify Account Status: Access your carrier's app or website to confirm the status of your account and services. Ensure that your account is in good standing and that there are no outstanding issues that may prevent the activation of roaming. Additionally, check for any specific requirements or restrictions related to international roaming for your account.
-
Contact Your Carrier: If troubleshooting steps within your control do not resolve the roaming activation issues, reaching out to your carrier's customer support can provide valuable assistance. Customer service representatives can offer insights into potential network issues, account-specific considerations, and alternative methods to activate roaming on your iPhone 13.
-
SIM Card Compatibility: If you're using a local SIM card while traveling, ensure that it is compatible with your iPhone 13 and that it has been inserted correctly. Incompatible or improperly inserted SIM cards can impede the activation of roaming services, leading to connectivity issues.
By systematically addressing potential obstacles and leveraging the support resources offered by your carrier, you can troubleshoot and resolve roaming activation issues effectively. These proactive measures empower you to overcome challenges, ensuring that your iPhone 13 is ready to seamlessly connect to international networks, enabling uninterrupted communication and data access during your travels.