
Checking Flash Availability on iPhone 13
Before capturing stunning photos in low-light conditions, it's essential to ensure that the flash feature is available and ready to use on your iPhone 13. The latest iPhone models, including the iPhone 13, offer advanced flash capabilities to enhance the quality of your photos in various lighting environments.
To check the availability of the flash feature on your iPhone 13, follow these simple steps:
-
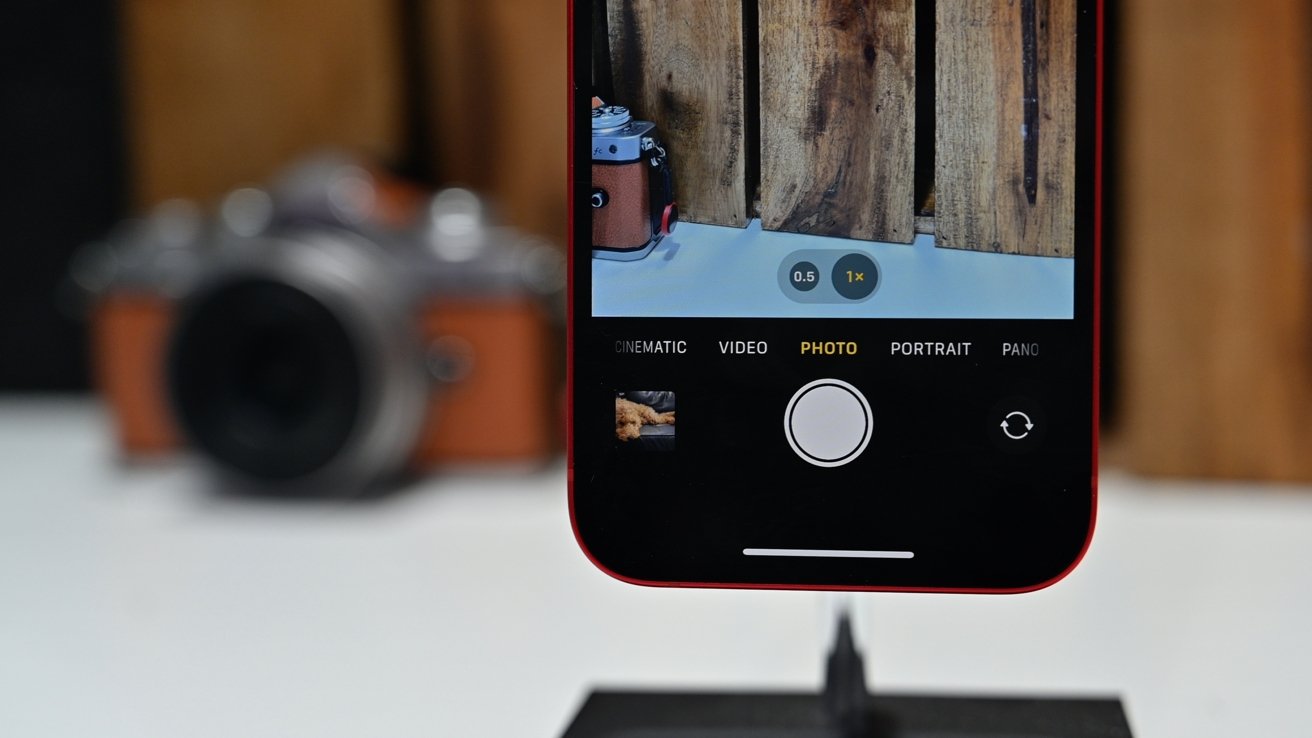
Access the Camera App: Begin by unlocking your iPhone 13 and locating the Camera app on the home screen. The Camera app is represented by a simple icon featuring a camera lens.
-
Open the Camera App: Tap on the Camera app icon to launch the application. Once the Camera app is open, you will be ready to explore the flash settings and verify its availability.
-
Select the Flash Option: Within the Camera app interface, look for the flash icon, typically located in the top or side menu. The flash icon resembles a lightning bolt and is used to indicate the availability and status of the flash feature.
-
Verify Flash Availability: Upon locating the flash icon, observe its appearance to determine the availability of the flash feature. If the flash icon is visible and not grayed out, it indicates that the flash is available for use. Conversely, if the flash icon appears grayed out or disabled, the flash feature may not be accessible in the current mode or lighting conditions.
By following these straightforward steps, you can quickly confirm the availability of the flash feature on your iPhone 13. This initial check ensures that you are prepared to utilize the flash functionality when capturing memorable moments in dimly lit settings.
With the availability of the flash feature confirmed, you are now ready to explore the process of enabling and adjusting the flash settings within the Camera app to achieve optimal results in various lighting scenarios.
Enabling Flash in Camera App
Enabling the flash feature within the Camera app on your iPhone 13 is a straightforward process that empowers you to capture high-quality photos in low-light environments. By activating the flash, you can effectively illuminate subjects and scenes, resulting in well-exposed and visually appealing images. To enable the flash in the Camera app, follow these simple steps:
-
Access the Camera App: Begin by unlocking your iPhone 13 and locating the Camera app on the home screen. The Camera app icon, featuring a camera lens, serves as the gateway to accessing the powerful camera functionalities of your device.
-
Open the Camera App: Tap on the Camera app icon to launch the application. Once the Camera app is open, you will be greeted by the intuitive interface, providing access to various shooting modes and settings.
-
Select the Flash Option: Within the Camera app interface, locate the flash icon, typically positioned in the top or side menu. The flash icon, represented by a lightning bolt, signifies the availability and status of the flash feature.
-
Enable the Flash: Upon locating the flash icon, tap on it to reveal the available flash settings. Depending on the lighting conditions and shooting mode, you can choose to enable the flash to ensure optimal illumination for your photos. The flash options typically include "Auto," "On," and "Off," allowing you to customize the flash behavior based on your specific requirements.
-
Capture Stunning Photos: With the flash successfully enabled, you are now equipped to capture captivating photos in challenging lighting situations. Whether you are photographing a dimly lit indoor setting or a mesmerizing evening landscape, the activated flash feature enhances the overall quality of your images, resulting in vivid and well-exposed photographs.
By following these steps, you can seamlessly enable the flash feature within the Camera app on your iPhone 13, unlocking its full potential to deliver exceptional photography experiences in diverse lighting conditions. With the flash activated, you are poised to elevate your photography skills and capture remarkable moments with clarity and precision.
As you continue to explore the capabilities of your iPhone 13's camera, the ability to enable and customize the flash settings empowers you to adapt to varying lighting scenarios, ensuring that your photos consistently reflect the true essence of the captured moments.
Using Control Center to Activate Flash
In addition to enabling the flash directly within the Camera app, the Control Center on your iPhone 13 offers a convenient method to swiftly activate the flash feature, providing quick access to essential device functionalities, including the camera flash. By leveraging the Control Center, you can seamlessly enable the flash to enhance the quality of your photos in challenging lighting conditions. Here's how you can utilize the Control Center to activate the flash on your iPhone 13:
-
Access the Control Center: Begin by navigating to the home screen of your iPhone 13. From any screen, including the lock screen, swipe down from the top-right corner to reveal the Control Center. The Control Center serves as a centralized hub for accessing various device settings and features, offering a streamlined approach to managing essential functions.
-
Locate the Flash Icon: Once the Control Center is displayed, look for the flash icon, represented by a lightning bolt symbol. The flash icon is typically positioned within the array of quick-access options, allowing you to promptly enable or disable the flash functionality as needed.
-
Activate the Flash: Upon locating the flash icon within the Control Center, tap on the icon to activate the flash. By doing so, you effectively enable the flash feature, preparing your iPhone 13 to capture well-lit and visually striking photos in low-light environments. The seamless integration of the flash control within the Control Center streamlines the process of adjusting essential camera settings, ensuring that you are always ready to capture memorable moments with clarity and precision.
By utilizing the Control Center to activate the flash on your iPhone 13, you can effortlessly harness the power of the flash feature to elevate your photography experiences. Whether you are spontaneously capturing spontaneous moments or carefully composing artistic shots, the ability to swiftly enable the flash via the Control Center empowers you to adapt to diverse lighting scenarios, ensuring that your photos consistently reflect the true essence of the captured moments.
As you familiarize yourself with the intuitive functionalities of the Control Center, including the seamless control of the flash feature, you gain greater flexibility and control over your iPhone 13's camera capabilities, enabling you to unleash your creativity and capture stunning photos in any lighting environment.
Adjusting Flash Settings in Camera App
Fine-tuning the flash settings within the Camera app on your iPhone 13 empowers you to optimize the illumination of your photos, ensuring exceptional image quality in various lighting conditions. By customizing the flash behavior based on your specific requirements, you can elevate your photography experiences and capture captivating moments with clarity and precision.
Upon accessing the Camera app on your iPhone 13, you can seamlessly adjust the flash settings using the following steps:
-
Access Flash Options: Within the Camera app interface, locate the flash icon, typically positioned in the top or side menu. The flash icon, represented by a lightning bolt, serves as the gateway to accessing the flash settings. Tap on the flash icon to reveal the available flash options, including "Auto," "On," and "Off."
-
Select Flash Mode: After accessing the flash options, choose the appropriate flash mode based on the specific lighting conditions and desired photographic outcomes. The "Auto" mode enables the camera to automatically determine whether the flash is necessary, providing a convenient and adaptive approach to flash usage. Selecting the "On" mode ensures that the flash is consistently activated, delivering consistent illumination for your photos. Conversely, the "Off" mode disables the flash, allowing you to rely solely on natural or ambient lighting for your shots.
-
Evaluate Lighting Conditions: Before finalizing the flash settings, carefully evaluate the prevailing lighting conditions to make an informed decision regarding the flash mode. In dimly lit environments or when capturing subjects against backlighting, enabling the flash can significantly enhance the exposure and detail in your photos. Conversely, in well-lit settings or when aiming to capture a natural ambiance, opting to disable the flash ensures that the photos maintain their authentic lighting characteristics.
-
Capture Enhanced Photos: With the flash settings adjusted to suit the specific photographic scenario, you are now equipped to capture enhanced photos with the desired level of illumination. Whether you are photographing indoor scenes, portraits, or dynamic outdoor landscapes, the ability to customize the flash settings within the Camera app empowers you to adapt to diverse lighting conditions and consistently achieve remarkable photographic results.
By seamlessly adjusting the flash settings within the Camera app on your iPhone 13, you gain greater control over the illumination of your photos, ensuring that each image reflects the intended visual impact. The flexibility to customize the flash behavior based on the prevailing lighting conditions enables you to adapt to varying environments, consistently capturing stunning photos with exceptional clarity and detail.