
Safety Precautions Before Removing the Battery
Before you embark on the journey of removing the battery from your HP laptop, it’s crucial to prioritize safety. Taking the necessary precautions ensures that the process is smooth and minimizes the risk of damage to your laptop or injury to yourself. Here are some essential safety measures to consider:
- Power Off Your Laptop: Always start by shutting down your laptop properly. This action prevents any potential data loss or damage to the operating system during the battery removal process.
- Disconnect from Power Sources: Unplug the laptop from any power source, including the charger and any docking stations. This step eliminates the risk of electric shock and allows you to work on the device without any power supply.
- Work in a Clean, Dry Area: Find a well-lit, clean, and dry workspace to carry out the battery removal process. Avoid working in areas with excessive moisture or clutter, as these conditions can pose risks to both you and your laptop.
- Use Antistatic Measures: It’s advisable to use an antistatic wrist strap or mat to prevent static electricity from damaging the internal components of your laptop. If these are not available, ensure that you discharge any static electricity from your body by touching a grounded metal object before handling the battery.
- Handle with Care: Treat the battery with care and avoid any rough handling or excessive force during the removal process. Mishandling the battery can lead to damage or injury.
By adhering to these safety precautions, you can ensure a secure and efficient battery removal process for your HP laptop. Prioritizing safety not only protects your device but also safeguards your well-being as you perform this maintenance task.
How to Shut Down the Laptop Properly
Properly shutting down your HP laptop is a crucial initial step before removing the battery. This process ensures that your device is in a safe state for maintenance and minimizes the risk of data loss or system damage. Follow these steps to shut down your laptop correctly:
- Save Your Work: Before initiating the shutdown process, save any open files and close all running applications. This prevents data loss and ensures that your work is preserved for the next session.
- Close Open Applications: Check for any background applications or system processes that may be running. Close all unnecessary programs to prepare the laptop for shutdown.
- Click on ‘Start’ or ‘Windows’ Button: In the bottom-left corner of the screen, click on the ‘Start’ or ‘Windows’ button to access the power options for your laptop.
- Select ‘Shut Down’: From the power options menu, select the ‘Shut Down’ option. This initiates the process of powering off your laptop safely.
- Wait for the Process to Complete: Once the ‘Shut Down’ command is initiated, wait for the laptop to complete the shutdown process. Ensure that all indicator lights and the display are turned off before proceeding with the battery removal.
Following these steps ensures that your laptop is properly powered down and ready for the battery removal process. It’s essential to be patient and allow the device to complete the shutdown sequence to avoid any potential issues during maintenance.
Locating the Battery Release Latch
Before removing the battery from your HP laptop, it’s important to locate the battery release latch, which may vary in position and design based on the specific model of your laptop. Follow these general steps to find the battery release latch:
- Refer to the User Manual: If you are unsure about the location of the battery release latch, consult the user manual that came with your HP laptop. The manual typically provides detailed instructions and illustrations to help you locate the latch.
- Inspect the Bottom Panel: Turn your laptop upside down and examine the bottom panel. Look for a sliding mechanism, latch, or release switch that secures the battery in place. The latch may be labeled with a battery icon or a specific release symbol.
- Check Near the Battery Compartment: If the battery is easily accessible and removable, the release latch may be situated near the battery compartment. It could be a small lever or button that requires a simple manipulation to release the battery.
- Observe Any Locking Mechanisms: Some HP laptops feature locking mechanisms to secure the battery. These may require sliding or pressing to unlock the battery before removal. Take note of any locking features near the battery area.
- Inspect for Release Instructions: In some cases, the laptop’s chassis or the battery itself may have release instructions or diagrams imprinted, indicating the proper method for unlocking and removing the battery.
By carefully following these steps and inspecting your HP laptop, you can successfully locate the battery release latch. Understanding the position and operation of the latch is essential for the safe and effective removal of the battery from your device.
Removing the Battery from the Laptop
Once you have located the battery release latch on your HP laptop, you can proceed with the process of removing the battery. Follow these steps to safely detach the battery from your device:
- Prepare the Laptop: Ensure that your laptop is powered off and disconnected from any power sources, including the charger and docking stations. Working on a powered-down device reduces the risk of electrical hazards during the battery removal process.
- Engage the Release Mechanism: Depending on the design of the battery release latch, use the appropriate method to disengage the latch. This may involve sliding a switch, pressing a button, or manipulating a locking mechanism as indicated by the laptop’s user manual or markings near the latch.
- Securely Hold the Laptop: While disengaging the latch, hold the laptop securely with both hands to maintain stability and prevent any accidental drops or slips during the battery removal process.
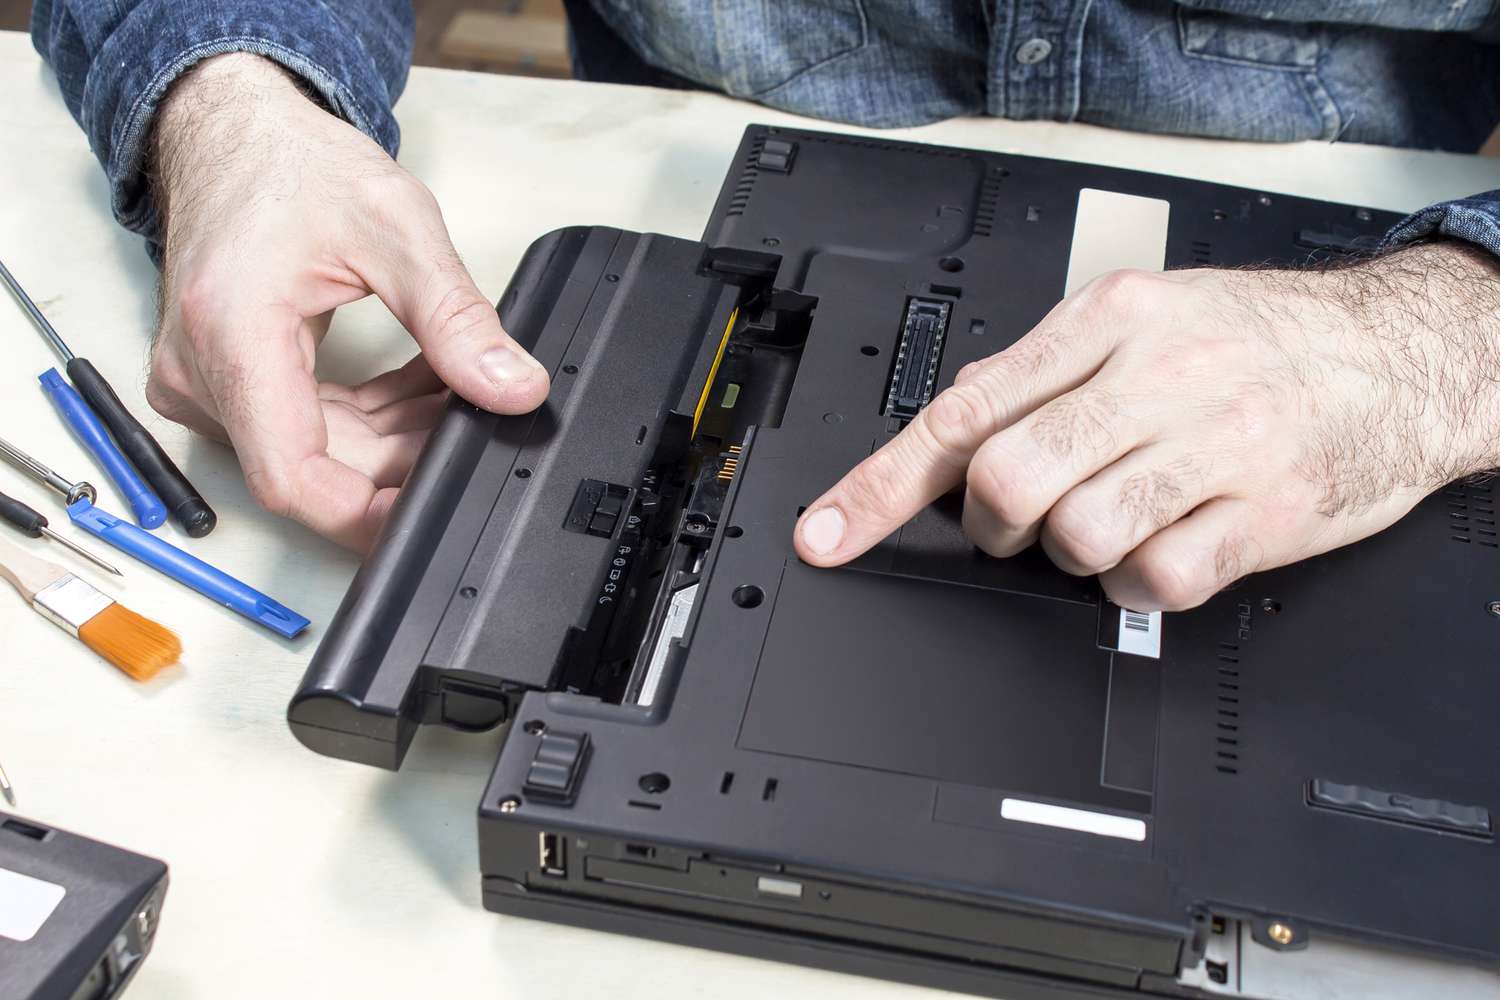
- Remove the Battery: Once the latch is released, carefully slide or lift the battery out of its compartment. Use gentle and even pressure to avoid forcing the battery out or causing damage to the laptop’s casing or the battery itself.
- Inspect for Damage: After removing the battery, take a moment to inspect it for any signs of damage, such as cracks, leaks, or deformities. If any damage is detected, handle the battery with extreme caution and consider proper disposal or recycling options.
By following these steps meticulously, you can safely remove the battery from your HP laptop without causing harm to the device or yourself. It’s essential to exercise patience and precision during this process to ensure a smooth and successful battery removal.
Storing the Battery Properly
After removing the battery from your HP laptop, it’s important to store it correctly to maintain its integrity and safety. Proper storage not only preserves the battery’s condition but also reduces the risk of potential hazards. Follow these guidelines to store your laptop battery effectively:
- Clean the Battery: Before storage, gently wipe the battery with a dry, soft cloth to remove any dust or debris. Ensure that the battery’s contacts are clean and free from any foreign particles that may affect its performance.
- Optimal Temperature and Humidity: Store the battery in a cool, dry place with a moderate temperature. Avoid extreme heat or cold, as well as high humidity, as these conditions can degrade the battery’s performance and lifespan.
- Avoid Physical Damage: Choose a storage location where the battery is protected from physical damage. Keep it away from sharp objects, heavy items, or areas where it may be subjected to impact or pressure.
- Partial Discharge: If storing the battery for an extended period, ensure that it has a partial charge, ideally around 40-60% of its full capacity. This level helps to maintain the battery’s health during storage without causing excessive discharge or overcharging.
- Use the Original Packaging: If available, store the battery in its original packaging or a dedicated battery case designed to provide protection and insulation. This safeguards the battery from external elements and minimizes the risk of accidental damage.
- Regular Inspection: Periodically inspect the stored battery for any signs of swelling, leakage, or corrosion. If any abnormalities are detected, handle the battery with caution and consider appropriate disposal or recycling methods.
By adhering to these storage guidelines, you can ensure that your HP laptop battery remains in optimal condition during periods of non-use. Proper storage not only preserves the battery’s performance but also contributes to a safer and more efficient user experience when the battery is reinstalled in your laptop.