
Choosing the Right Design
When it comes to printing your own phone case, the first step is to select the perfect design that reflects your personal style and preferences. Here are some key points to consider as you embark on this exciting creative journey.
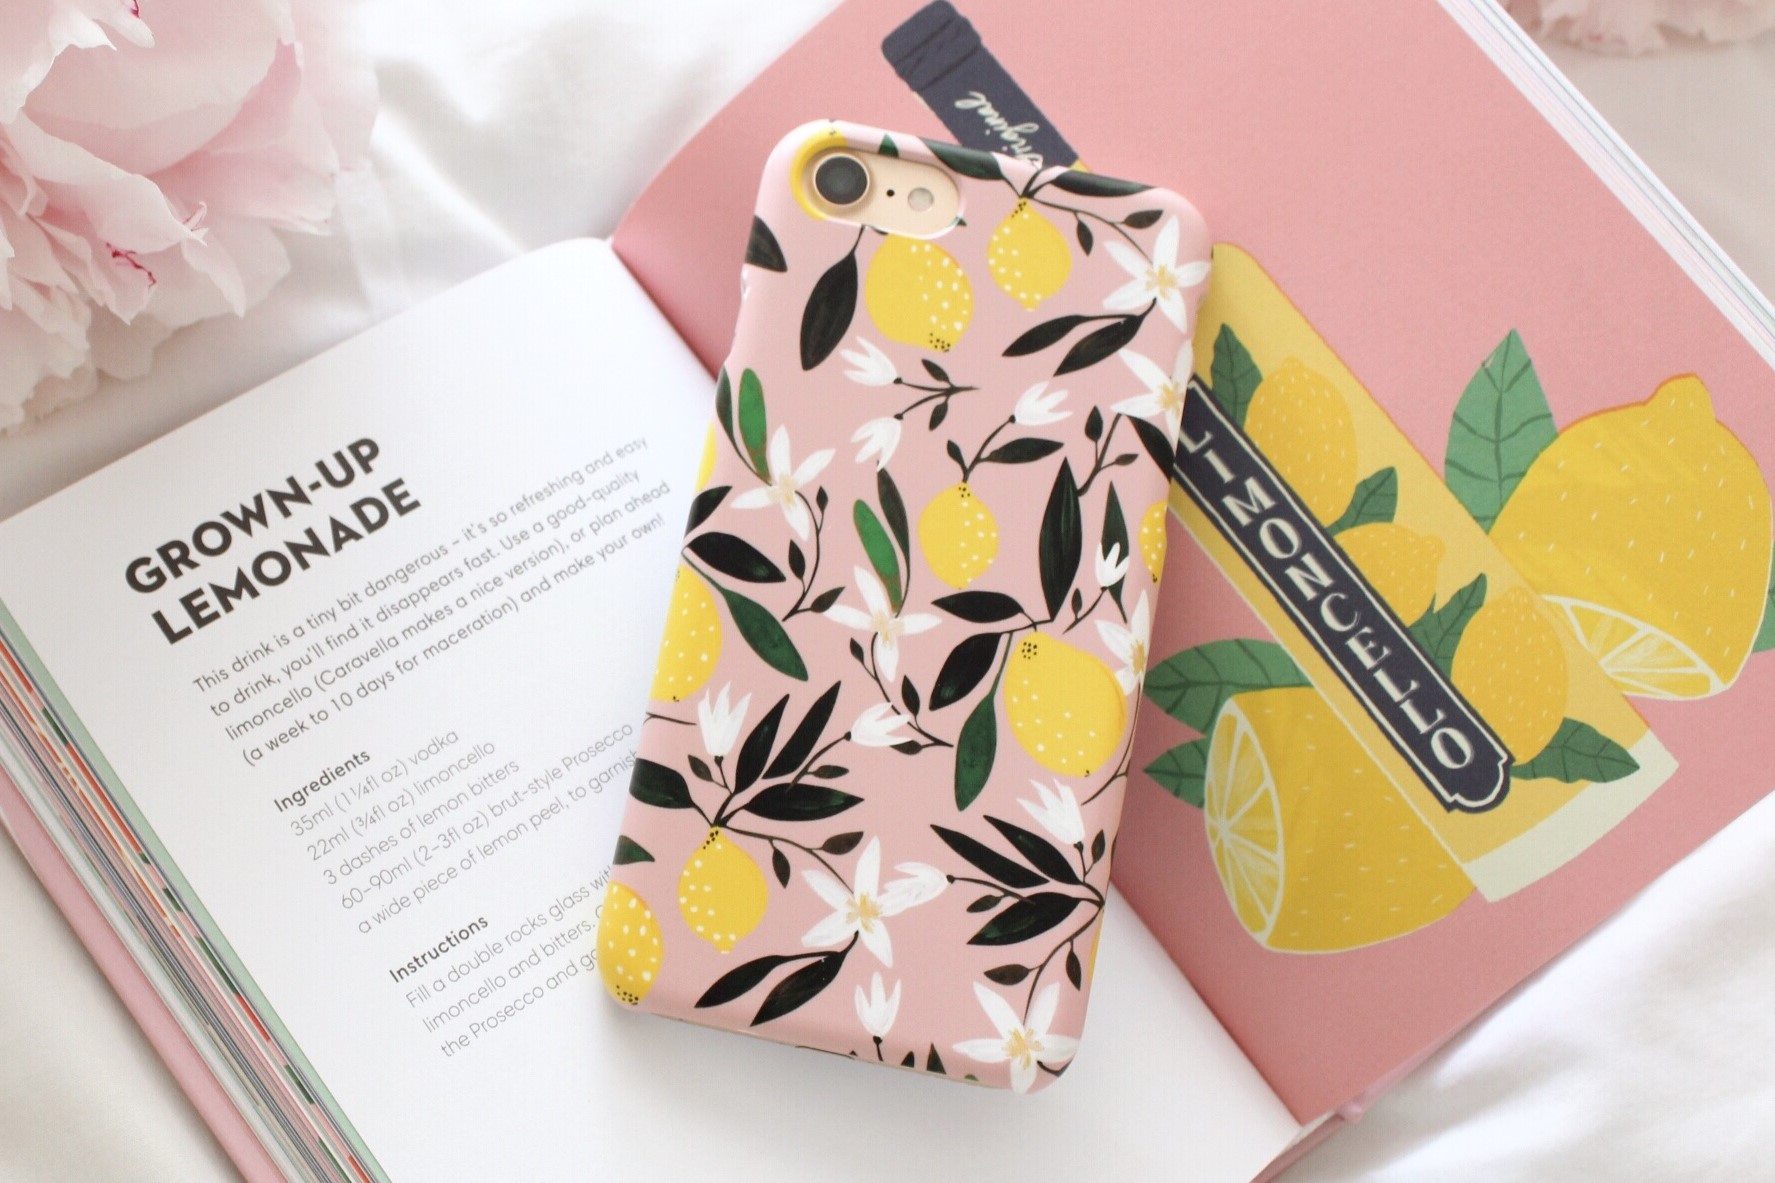
Reflect Your Personality
Your phone case is not just a protective accessory; it's also an extension of your personality. Whether you're a fan of minimalist designs, bold patterns, intricate illustrations, or personalized monograms, the design you choose should resonate with your individuality.
Consider the Aesthetic Appeal
The design should harmonize with your overall aesthetic preferences. If you prefer a sleek and modern look, geometric patterns or metallic accents might be ideal. On the other hand, if you lean towards a more whimsical style, vibrant colors or playful illustrations could be the perfect fit.
Customization Options
With the option to print your own phone case, the possibilities for customization are virtually limitless. Consider incorporating elements that hold personal significance, such as your favorite quotes, images of cherished memories, or symbols that hold special meaning to you.
Keep It Timeless
While it's essential to choose a design that resonates with your current tastes, it's also wise to consider its longevity. Opting for a timeless design ensures that you'll continue to love and appreciate your custom phone case for years to come.
Seek Inspiration
If you're feeling indecisive, seek inspiration from various sources such as art, nature, fashion, or even your favorite social media platforms. Exploring diverse sources of inspiration can ignite your creativity and help you discover the perfect design for your custom phone case.
Embrace Uniqueness
Printing your own phone case empowers you to embrace your uniqueness. Consider designs that are not readily available in stores, allowing you to showcase your individuality and stand out from the crowd.
Selecting the right design sets the stage for a truly personalized phone case that reflects your style and individuality. Once you've chosen the perfect design, the next step is to select the right material to bring your creation to life.
###Source
Selecting the Right Material
After choosing the perfect design for your custom phone case, the next crucial step is selecting the right material. The material you choose will not only impact the aesthetics of the final product but also its durability and functionality. Here’s a comprehensive guide to help you navigate the process of selecting the ideal material for your DIY phone case.
Consider Your Priorities
Before delving into the myriad of material options, consider your priorities for the phone case. Are you primarily focused on aesthetics, durability, flexibility, or a balance of all these factors? Understanding your priorities will guide you in making an informed decision.
Plastic
Plastic is a popular choice for 3D printing phone cases due to its versatility and durability. It offers a wide range of color options and can be relatively cost-effective. When selecting a specific type of plastic, consider factors such as flexibility, impact resistance, and surface texture.
TPU (Thermoplastic Polyurethane)
TPU is renowned for its flexibility and shock-absorbing properties, making it an excellent choice for phone cases. Its ability to withstand impacts and resist abrasions ensures that your phone remains well-protected. Additionally, TPU is available in various translucencies and colors, allowing for customization.
Biodegradable Materials
For environmentally conscious individuals, biodegradable materials such as PLA (Polylactic Acid) offer a sustainable option for 3D printing phone cases. PLA is derived from renewable resources and is compostable, making it an eco-friendly choice without compromising on quality.
Metallic Filaments
For a touch of luxury and sophistication, metallic filaments can elevate the aesthetic appeal of your phone case. Materials such as aluminum or copper-infused filaments provide a unique metallic finish, adding a premium touch to your custom creation.
Silicone
Silicone is valued for its soft and grippy texture, making it comfortable to hold and resistant to slipping. It offers excellent shock absorption and is available in a spectrum of vibrant colors, allowing for vibrant and playful designs.
Hybrid Materials
Combining different materials through dual extrusion or hybrid filaments can result in phone cases that offer a blend of properties, such as flexibility and rigidity. Experimenting with hybrid materials opens the door to innovative and customized phone case designs.
By carefully considering the properties and characteristics of various materials, you can select the ideal one that aligns with your preferences and functional requirements. Once you’ve chosen the material, the next step is to explore the process of using a 3D printer to bring your custom phone case to life.
###Source
Using a 3D Printer
Once you’ve chosen the ideal design and material for your custom phone case, the next step involves the fascinating process of using a 3D printer to bring your creation to life. Whether you’re a seasoned 3D printing enthusiast or a novice exploring this innovative technology, understanding the essential steps can empower you to embark on this exciting journey with confidence.
Prepare the 3D Model
The first step in utilizing a 3D printer is to prepare the digital 3D model of your phone case design. This can be achieved through 3D modeling software or by downloading a pre-existing design from online repositories. Ensure that the dimensions and specifications of the model align with your phone’s make and model for a precise fit.
Choose the Printing Parameters
Once the 3D model is ready, it’s crucial to select the appropriate printing parameters. This includes determining the layer height, infill density, print speed, and support structures. These parameters directly influence the quality, strength, and overall outcome of the printed phone case.
Calibrate the 3D Printer
Before initiating the printing process, it’s essential to calibrate the 3D printer to ensure precise and accurate printing. This involves adjusting the print bed, nozzle height, and filament flow to optimize the printing conditions and minimize the risk of imperfections in the final product.
Load the Filament
Prepare the 3D printer by loading the chosen filament material into the extruder. Ensure that the filament is securely loaded and free from any tangles or obstructions to facilitate a smooth printing process.
Initiate the Printing Process
With the 3D model prepared, printing parameters configured, and filament loaded, it’s time to initiate the printing process. Monitor the initial layers to verify adhesion and quality, and make any necessary adjustments to optimize the printing outcome.
Post-Processing
Once the printing is complete, carefully remove the printed phone case from the build plate. Perform any post-processing tasks such as removing support structures, sanding rough edges, and applying finishing touches to achieve the desired aesthetic and functionality.
By familiarizing yourself with these essential steps, you can effectively utilize a 3D printer to transform your digital design into a tangible and functional phone case. After successfully printing the phone case, the next step involves adjusting the design for printing to ensure optimal results.
###Source
Adjusting the Design for Printing
As you prepare to bring your custom phone case to life through 3D printing, it’s essential to optimize the design for the printing process. This involves making thoughtful adjustments to ensure that the final product aligns with your expectations and the capabilities of the 3D printer. Here’s a comprehensive guide to help you navigate the crucial step of adjusting the design for seamless and successful printing.
Assess Printability
Before initiating the printing process, carefully assess the design for its printability. Evaluate factors such as overhangs, unsupported spans, and intricate details that may pose challenges during printing. Making preemptive adjustments to address these concerns can significantly enhance the printability of the design.
Optimize Wall Thickness
Ensure that the walls of the phone case design have adequate thickness to provide structural integrity and durability. Thicker walls contribute to the stability of the print and enhance the overall robustness of the phone case, especially in areas prone to impact or stress.
Consider Support Structures
For designs with overhangs or complex geometries, incorporating support structures is essential to prevent sagging or deformation during printing. Strategically place supports in areas that require reinforcement while minimizing their impact on the final aesthetics of the phone case.
Fine-Tune Details
Refine intricate details and delicate features within the design to ensure that they are accurately captured during the printing process. Pay attention to small elements such as embossed patterns, text, or decorative elements, adjusting them as needed to achieve optimal clarity and definition in the final print.
Check for Intersecting Geometry
Verify that the design does not contain intersecting or overlapping geometry that could impede the printing process. Address any intersecting elements to create a seamless and error-free design that translates smoothly into a physical object.
Test the Design
Prior to initiating the full-scale printing, consider conducting a test print of the modified design to evaluate its feasibility and identify any potential issues. This proactive approach allows for adjustments to be made before committing to the final printing process, saving time and materials.
By meticulously adjusting the design for printing, you can optimize its compatibility with the 3D printing process, ensuring a smooth and successful transition from digital concept to tangible reality. Once the design is primed for printing, the next step involves initiating the printing process to materialize your custom phone case.
###Source
Printing Your Phone Case
With the design meticulously adjusted for optimal printability, you are now ready to embark on the exhilarating process of printing your custom phone case. This pivotal stage brings your digital creation to life, culminating in a tangible and functional accessory that reflects your unique style and preferences. Here’s a comprehensive guide to navigating the printing process with precision and confidence.
Initiate the Printing Process
Commence the printing process by ensuring that the 3D printer is calibrated and prepared for the task at hand. Load the selected filament material and initiate the print, overseeing the initial layers to verify adhesion and quality, and making any necessary adjustments to optimize the printing outcome.
Monitor the Progress
Throughout the printing process, maintain a vigilant eye on the printer to monitor the progress and ensure that the phone case is being accurately and precisely constructed layer by layer. This proactive approach allows for immediate intervention in the event of any anomalies or imperfections.
Exercise Patience
3D printing is a meticulous and time-consuming process, especially for intricate designs. Exercise patience and refrain from interrupting the printing process, as disruptions can compromise the quality and integrity of the final print. Trust the printer to diligently materialize your design.
Post-Printing Inspection
Upon completion of the printing process, carefully remove the printed phone case from the build plate. Conduct a thorough inspection to ensure that the print has been executed according to your expectations, checking for uniformity, layer adhesion, and overall quality.
Perform Finishing Touches
Depending on the specific requirements of the design and material, perform any necessary post-processing tasks to refine the printed phone case. This may include removing support structures, sanding rough edges, or applying surface treatments to achieve the desired aesthetic and functional attributes.
Evaluate the Fit
Once the finishing touches are complete, assess the fit of the printed phone case on your device. Verify that it aligns seamlessly with the dimensions and features of your phone, ensuring a snug and secure fit that provides optimal protection and style.
By navigating the printing process with attentiveness and precision, you can transform your digital design into a tangible and functional phone case that embodies your unique creativity. With the phone case successfully printed, the final step involves adding the finishing touches to elevate its aesthetic appeal and functionality.
###Source
Finishing Touches
As you near the completion of your custom phone case creation, the application of finishing touches adds the crowning elements that elevate its aesthetic appeal and functionality. These meticulous details not only enhance the visual allure of the phone case but also contribute to its comfort, durability, and overall user experience. Here’s a comprehensive guide to adding the essential finishing touches to your printed phone case.
Surface Smoothing
If the 3D printing process has resulted in visible layer lines or rough surfaces, consider employing techniques such as sanding or post-processing treatments to achieve a smoother and more refined exterior. This enhances the tactile quality of the phone case and contributes to a polished finish.
Painting and Coloring
For those seeking a personalized and vibrant touch, painting or coloring the printed phone case presents an opportunity to infuse it with individuality. Utilize high-quality paints or dyes to apply custom colors, patterns, or artistic designs, transforming the phone case into a unique and eye-catching accessory.
Embellishments and Decals
Add a touch of personality and flair to your phone case by incorporating embellishments, decals, or decorative elements. Whether it’s affixing rhinestones, applying decals, or integrating customized adornments, these embellishments impart a distinct and personalized charm to the phone case.
Protective Coatings
To enhance the durability and longevity of the phone case, consider applying protective coatings or sealants. These coatings serve as a safeguard against scratches, abrasions, and environmental elements, ensuring that the phone case retains its pristine condition over time.
Functional Modifications
Introduce functional modifications to the phone case to optimize its usability. This may include integrating features such as a cardholder slot, a kickstand for hands-free viewing, or additional grips for enhanced ergonomics, tailoring the phone case to cater to specific user needs.
Branding and Personalization
Imprint your personal brand or insignia onto the phone case to imbue it with a sense of ownership and identity. Whether it’s engraving initials, incorporating a logo, or adding a personalized message, these subtle yet impactful touches infuse the phone case with a distinct personal narrative.
By meticulously attending to these finishing touches, you can transform your printed phone case into a bespoke and captivating accessory that seamlessly integrates style and functionality. With the completion of the finishing touches, your custom phone case is ready to adorn and safeguard your device, reflecting your unique creativity and personal expression.
###Source