
Choosing the Right Time to Plant
When it comes to planting ranunculus bulbs, timing is everything. The success of your ranunculus flower garden largely depends on choosing the right time to plant the bulbs. This will ensure that the plants have favorable conditions to grow and thrive.
Ranunculus bulbs are typically planted in the spring or fall, depending on your climate and the specific variety you choose. Before you dive into planting, it’s essential to understand the climate requirements of ranunculus flowers.
Ranunculus bulbs thrive in cool and moderate climates, with optimum temperatures ranging between 50 to 60°F (10 to 15°C). These flowers are not well-suited for regions with extremely hot summers or freezing winters.
If you live in a region with a cold winter, it’s best to plant ranunculus bulbs in the spring. This gives the bulbs a chance to establish roots and grow before the arrival of hot summer temperatures.
On the other hand, if you reside in an area with mild winters, you can opt for planting ranunculus bulbs in the fall. This allows the roots to develop during the winter months, leading to stronger plants and an earlier display of colorful blooms in the spring.
As a general guideline, it’s recommended to plant ranunculus bulbs when the soil temperature is around 50°F (10°C). You can easily check the temperature by using a soil thermometer or consulting local gardening experts or extension offices.
By considering the climate requirements and planting at the appropriate time, you can ensure that your ranunculus flowers have the best chance of flourishing and providing a stunning display of vibrant colors in your garden.
Understanding the Climate Requirements
When it comes to successfully growing ranunculus flowers, understanding their climate requirements is crucial. These beautiful blooms thrive in cool and moderate climates, where the temperatures range between 50 to 60°F (10 to 15°C).
Ranunculus bulbs prefer climates with mild winters and moderate summers. They are not well-suited for regions with extremely hot summers or freezing winters, as these extreme temperatures can inhibit their growth and development.
If you live in a region with a cold winter, it’s best to plant ranunculus bulbs in the spring. This gives the bulbs enough time to establish their root systems and develop sturdy plants before the arrival of hot summer temperatures.
On the other hand, if you reside in an area with mild winters, fall planting can be a suitable option. Planting the bulbs in the fall allows them to develop roots during the winter months, leading to stronger plants and earlier blooms in the spring.
In terms of soil, ranunculus plants prefer well-draining soil with a slightly acidic to neutral pH level. It’s important to ensure that the soil has good drainage to prevent waterlogged roots, which can lead to rot and other diseases.
If you’re unsure about the specific climate requirements of ranunculus flowers in your area, consult local gardening experts or extension offices. They can provide valuable insights and tips based on the specific conditions of your region.
By understanding and adhering to the climate requirements of ranunculus flowers, you can create an ideal environment for their growth, ensuring that your garden flourishes with vibrant, show-stopping blooms.
Spring Planting vs. Fall Planting
Deciding between spring planting and fall planting for your ranunculus bulbs is an important consideration. Both options have their advantages and can yield beautiful results when done correctly.
Spring planting, usually done around late winter or early spring, is suitable for regions with cold winters. Planting the ranunculus bulbs in the spring allows them to establish their root systems and grow before the arrival of hot summer temperatures.
One of the benefits of spring planting is that it provides the bulbs with ample time to develop strong foliage and root systems. This leads to healthier and more robust plants that are better equipped to withstand the challenges of the summer season.
On the other hand, fall planting, typically done in late summer or early fall, is a great option for regions with mild winters. Planting the bulbs in the fall allows them to develop their root systems during the winter months, leading to stronger plants and earlier blooms in the spring.
One advantage of fall planting is that it gives the bulbs a head start in establishing themselves before the arrival of spring. This can result in earlier and more abundant blooms, providing a vibrant burst of color in your garden.
When deciding between spring planting and fall planting, consider factors such as your climate, the specific variety of ranunculus, and your gardening goals. Assess the frost dates in your region and determine the best time to plant based on those dates.
Ultimately, the choice between spring planting and fall planting depends on the conditions in your area and your desired outcomes. Both methods can be successful, so choose the timing that aligns best with your climate and gardening preferences.
Preparing the Soil
Proper soil preparation is crucial for the successful growth of ranunculus flowers. Before planting the bulbs, it’s important to ensure that the soil is well-prepared and provides the necessary nutrients and drainage for the plants.
Start by selecting a site with well-draining soil. Ranunculus bulbs do not thrive in waterlogged or soggy conditions, as it can lead to root rot and other diseases. If your soil tends to retain moisture, consider amending it with organic matter such as compost or well-rotted manure to improve drainage.
Next, remove any weeds or grass from the planting area. These unwanted plants can compete with the ranunculus bulbs for nutrients and water, hindering their growth. Clearing the area ensures that the bulbs have access to the necessary resources for healthy development.
Loosen the soil to a depth of about 6 to 8 inches (15 to 20 cm) using a garden fork or tiller. This helps create a loose and friable soil texture, allowing the bulbs to establish their roots more easily.
Before planting, it’s beneficial to enrich the soil with a balanced fertilizer or organic amendments. This provides important nutrients that the ranunculus plants need for optimal growth. Follow the instructions on the fertilizer packaging for the appropriate application rate.
Consider conducting a soil test to determine the pH level of your soil. Ranunculus plants prefer a slightly acidic to neutral pH level of around 6.0 to 7.0. If the soil pH is too acidic or alkaline, you can adjust it by adding lime to raise the pH or sulfur to lower it.
By thoroughly preparing the soil before planting, you create an ideal growing environment for your ranunculus bulbs. This sets the stage for healthy root development and ultimately leads to vibrant and abundant blooms.
Proper Planting Technique
To give your ranunculus bulbs the best chance of thriving, it’s important to follow the proper planting technique. By taking the time to plant them correctly, you can ensure that the bulbs establish strong root systems and produce beautiful blooms.
Start by selecting high-quality ranunculus bulbs from a reputable source. Look for bulbs that are firm, plump, and free from any signs of decay or damage. Larger bulbs tend to produce larger and more robust flowers.
Choose a planting site with well-draining soil and ample sunlight. Ranunculus flowers thrive in full sun or partial shade. Prepare the soil as mentioned earlier, loosening it and enriching it with organic matter or fertilizer.
Plant the ranunculus bulbs with the pointed end facing up and the rounded end facing down. Place each bulb at a depth of about 2 to 3 inches (5 to 7.5 cm) in the soil. Space the bulbs about 4 to 6 inches (10 to 15 cm) apart to allow for proper growth and airflow.
Gently backfill the soil, covering the bulbs completely. Take care not to press the soil too firmly, as this can compact it and hinder root development. Water the newly planted bulbs thoroughly to ensure good soil contact and to kickstart the growth process.
Consider applying a layer of mulch around the plants to help conserve moisture, suppress weeds, and regulate soil temperature. Organic mulch, such as straw or shredded bark, works well for ranunculus flowers.
Throughout the growing season, monitor the soil moisture levels and water the plants as needed. Ranunculus flowers prefer evenly moist soil but can suffer from root rot if overwatered. Aim to keep the soil moist but not saturated.
By utilizing proper planting techniques, you provide the ranunculus bulbs with the optimal conditions for growth. This sets the stage for sturdy plants, vibrant blooms, and a garden filled with the beauty of these stunning flowers.
Watering and Sunlight Needs
Meeting the watering and sunlight needs of your ranunculus plants is crucial for their overall health and growth. By providing them with the right amount of water and exposure to sunlight, you can ensure that they thrive and produce stunning blooms.
Ranunculus flowers prefer a balance between moist soil and good drainage. Water the plants deeply and evenly, ensuring that the soil is consistently moist but not waterlogged. Avoid letting the soil dry out completely, as this can stress the plants and hinder their growth.
Monitor the soil moisture regularly, especially during hot and dry periods. Adjust the watering frequency as needed based on the weather conditions and the moisture level of the soil. In general, aim to provide about 1 to 1.5 inches (2.5 to 3.8 cm) of water per week.
When watering, it’s best to use a soaker hose or drip irrigation system to deliver water directly to the soil. This helps prevent leaf wetness, which can lead to diseases. Avoid overhead watering, as wet foliage can create conditions favorable for fungal growth.
In terms of sunlight requirements, ranunculus flowers thrive in full sun to partial shade. Ideally, they should receive at least 6 to 8 hours of sunlight each day. Insufficient sunlight can result in weak growth and reduced flower production.
If you live in an area with intense heat or prolonged hot summers, providing the ranunculus plants with some afternoon shade can help protect them from scorching and wilting. You can achieve this by planting them near taller plants or providing temporary shade with a light cloth or shade cloth.
Observing the plants closely and paying attention to their foliage and overall appearance can provide valuable insights into their watering and sunlight needs. Adjust your watering and provide adequate sunlight based on the specific conditions and requirements of your ranunculus flowers.
By ensuring proper watering and sunlight, you can help your ranunculus plants thrive and showcase their vibrant and exquisite blooms in your garden.
Mulching and Fertilizing
Mulching and fertilizing are essential practices for promoting the healthy growth and blooming of your ranunculus flowers. These maintenance tasks help provide the necessary nutrients, moisture retention, and weed suppression for the plants.
Start by applying a layer of organic mulch around the ranunculus plants. Mulching helps conserve soil moisture, prevent weed growth, and regulate soil temperature. Apply a 2 to 3 inch (5 to 7.5 cm) layer of mulch, such as straw, shredded bark, or dried leaves, leaving a small space around the stems to prevent rotting.
When it comes to fertilizing ranunculus flowers, they benefit from a balanced fertilizer applied at the time of planting and throughout the growing season. Before planting, incorporate a slow-release granular fertilizer into the soil to provide a steady supply of nutrients over time.
As the ranunculus plants begin to grow, you can supplement the soil with additional fertilization. Use a water-soluble fertilizer or a foliar spray, following the instructions on the packaging for application rates and frequencies.
Be careful not to over-fertilize, as excessive nutrients can lead to excessive foliage growth at the expense of flower production. It’s essential to strike a balance and provide the plants with the necessary nutrients without overloading them.
Monitor the plants closely for any signs of nutrient deficiency or excess, such as yellowing leaves or stunted growth. Adjust the fertilization accordingly, ensuring that the plants receive a well-balanced diet for optimal health.
Regularly inspect the mulch layer and replenish it as needed. Over time, the mulch will break down and decompose, so it’s important to replenish it to maintain its benefits. Additionally, check for and remove any weeds that may emerge despite the mulch layer.
By properly mulching and fertilizing your ranunculus plants, you can provide them with the necessary nutrients, moisture retention, and weed control. This contributes to their overall health, vigorous growth, and abundant blooming, resulting in a visually stunning and thriving garden.
Dealing with Pest and Disease Issues
While ranunculus flowers are generally resilient, they can still be susceptible to certain pests and diseases. Taking preventive measures and promptly addressing any issues can help ensure the health and vitality of your plants.
One common pest that can affect ranunculus plants is aphids. These small insects feed on the sap of the plant, causing stunted growth and distorted leaves. To control aphids, you can try using insecticidal soaps or natural remedies like neem oil. Regularly inspect the plants and remove any infested leaves or stems to prevent the spread of the infestation.
Another pest to watch out for is slugs and snails, especially in areas with damp and moist conditions. These slimy creatures can munch on the foliage and can be controlled by picking them off by hand or using barriers like copper tape or diatomaceous earth.
Ranunculus plants can also suffer from fungal diseases like powdery mildew and botrytis blight, which can cause a powdery white coating on the leaves or gray rot on the flowers. To prevent fungal infections, provide adequate spacing between plants to promote air circulation and avoid overhead watering. If fungal issues arise, apply appropriate fungicides as directed.
Regularly inspect the leaves and stems for any signs of pests or diseases. Early detection allows for prompt actions to minimize the damage and alleviate the stress on the plants. Additionally, practice good garden hygiene by removing any fallen leaves or debris that can harbor pests or diseases.
It’s important to note that different regions may have specific pests and diseases that are common in their respective areas. Consult with local gardening experts, extension offices, or fellow gardeners to gain knowledge about the specific threats in your region and appropriate preventive measures.
By addressing pest and disease issues in a timely manner and taking preventive measures, you can protect your ranunculus plants from potential damage and ensure their health and vitality throughout the growing season.
Post-Planting Care
After planting your ranunculus bulbs, there are several post-planting care practices that can help ensure the success and health of your plants. These care tasks include providing regular maintenance, monitoring growth, and taking steps to protect the bulbs during adverse weather conditions.
One crucial aspect of post-planting care is to provide consistent moisture to the newly planted bulbs. Keep the soil consistently moist but not waterlogged, especially during the first few weeks. Adequate watering helps the bulbs establish their root systems and promotes healthy growth.
Monitor the growth and development of the plants. Keep an eye out for signs of healthy growth, such as the emergence of new shoots and the gradual increase in foliage. If you notice any issues like yellowing leaves or stunted growth, investigate and address the problem promptly.
If you experience extreme weather conditions, such as heavy rainfall or strong winds, take steps to protect the ranunculus plants. For example, you can use stakes or cages to provide support against wind gusts. In the case of excessive rainfall, ensure that the soil has proper drainage to prevent waterlogging.
As the plants grow, consider thinning out crowded areas if needed. This promotes airflow and reduces the risk of fungal diseases. Gently remove any weak or diseased plants to maintain the overall health and appearance of the garden.
Additionally, regularly remove any weeds that may emerge near the ranunculus plants. Weeds can compete for nutrients and space, inhibiting the growth and development of your flowers. Hand-pull weeds or use appropriate gardening tools to remove them carefully.
Throughout the growing season, consider providing occasional light fertilization to support healthy growth. Apply a balanced, water-soluble fertilizer according to the package instructions. Avoid over-fertilizing, as excessive nutrients can lead to excessive foliage growth rather than abundant blooms.
Lastly, continue observing the plants for any signs of pests or diseases. Promptly address any issues that arise to prevent the spread and minimize damage to your ranunculus flowers. Utilize appropriate treatments, such as organic insecticidal soaps or fungicides, as necessary.
By providing post-planting care to your ranunculus plants, you establish a strong foundation for their growth and ensure their continued health and beauty throughout the season.
Monitoring Growth and Blooming
Monitoring the growth and blooming of your ranunculus plants is an exciting and important part of the gardening journey. By keeping a close eye on their progress, you can make adjustments as needed and enjoy a bountiful display of beautiful flowers.
As the ranunculus plants continue to grow, you will notice the emergence of new shoots and the development of lush foliage. This is a positive sign of their healthy growth and indicates that they are establishing their root systems.
Keep track of the height and spread of the plants. Ranunculus flowers can reach a height of 12 to 18 inches (30 to 45 cm) and produce multiple blooms per stem. Monitoring their growth allows you to anticipate their size and make appropriate arrangements in the garden.
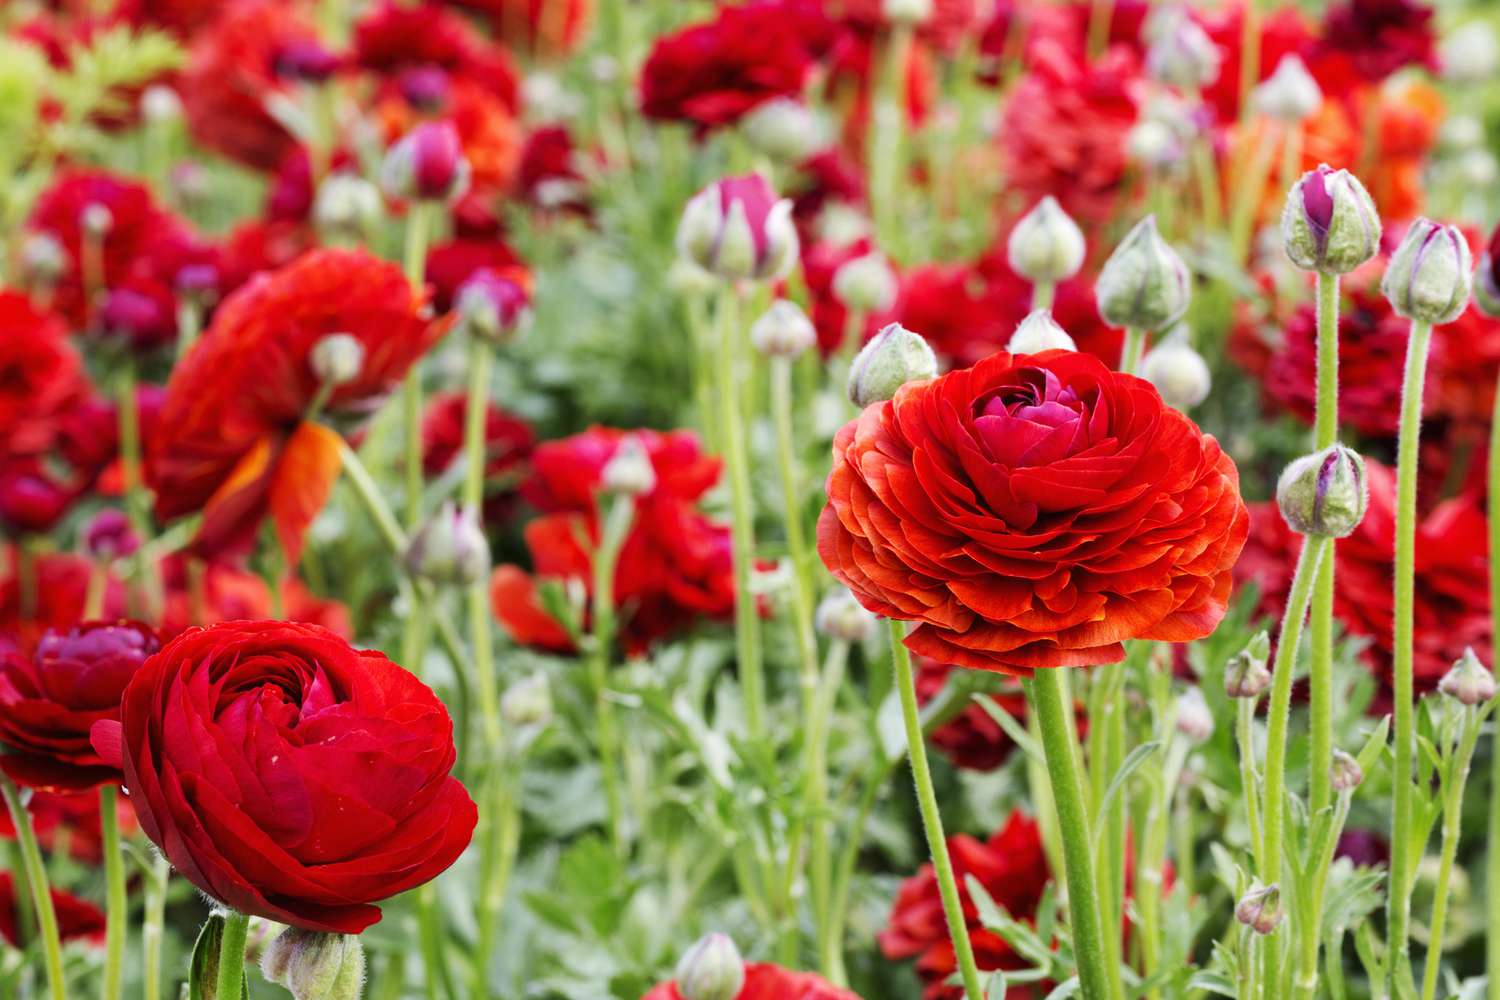
Once the plants reach maturity, you can expect them to produce vibrant and show-stopping blooms. The flowers come in various colors, including shades of red, pink, orange, yellow, and white, adding a burst of color to your garden.
Observe the blooming patterns of your ranunculus flowers. Some varieties may have a longer blooming period, while others may have a more concentrated burst of blooms. By monitoring the blooming, you can plan and enjoy the display to the fullest.
Keep an eye out for any signs of stress or pest and disease issues. Yellowing leaves, wilting, or unusual spotting may indicate problems that need attention. Promptly address any issues by identifying the cause and applying suitable treatments.
Regularly cut the blooms for indoor arrangements, if desired. Snipping the flowers encourages further blooming and prevents the plants from going to seed too quickly. Use sharp and clean shears to cut the stems at an angle, and place the cut flowers in water immediately.
By monitoring the growth and blooming of your ranunculus plants, you can appreciate their progress and take necessary steps to ensure their continued health and beauty. Enjoy the rewards of your gardening efforts as you witness the captivating display of these stunning flowers.
Harvesting Ranunculus Flowers
Harvesting your ranunculus flowers is an exciting and rewarding part of growing these stunning blooms. Knowing the right time to harvest and employing proper techniques will ensure that you enjoy your cut flowers to the fullest.
Ranunculus flowers are typically harvested when the buds are in a semi-open state. This is when the petals have started to unfurl but are not fully open. Harvesting at this stage ensures that the flowers will continue to open and last longer in a vase.
Gently grasp the stem just below the flower head and cut it at a diagonal angle using sharp, clean shears or scissors. Cutting at an angle increases the surface area for water absorption and helps the stems take up water more effectively.
Place the freshly cut ranunculus flowers immediately in a bucket or vase filled with fresh water. This prevents air bubbles from forming in the stem and allows the blooms to hydrate properly.
Remove any leaves that will be submerged in the water to prevent bacterial growth. Keep a few leaves near the top of the stem for aesthetic purposes. Remove any damaged or discolored petals before arranging the flowers.
If you plan to arrange the ranunculus flowers in a vase, you can either mix them with other complementary blooms or create stunning displays using only ranunculus. Experiment with different color combinations and arrangements to showcase their beauty to the fullest.
To extend the vase life of your ranunculus blooms, regularly change the water and recut the stems every few days. Trim about an inch off the bottom of the stem at an angle to maintain optimal water uptake. Keep the flowers away from direct sunlight and drafts to preserve their freshness.
Remember that ranunculus flowers have a relatively short vase life compared to some other blooms. Enjoy their beauty for about 5 to 7 days, and discard them once they start to wither or show signs of wilting.
By harvesting your ranunculus flowers at the right stage and following proper care techniques, you can savor their vibrancy and elegance both in the garden and as stunning cut flowers that brighten your home.
Storing Ranunculus Bulbs
Properly storing ranunculus bulbs is essential to ensure their viability and promote successful growth in the next planting season. Whether you need to store bulbs due to seasonal changes or other reasons, following the right methods will help preserve their quality.
Once the ranunculus plants have finished blooming, allow the foliage to naturally wither and turn brown. This signifies that the bulbs have entered their dormant phase and are ready for storage.
Gently remove the bulbs from the soil, taking care not to damage them. Shake off any excess soil and inspect the bulbs for any signs of damage or disease. Discard any bulbs that appear damaged or diseased, as they may not produce healthy plants in the future.
A common approach to storing ranunculus bulbs is by curing them. Lay the bulbs in a single layer on a dry, well-ventilated surface like a mesh or a wire rack. Allow the bulbs to dry for about two weeks in a cool and dark location, away from direct sunlight or excessive humidity.
After the bulbs have dried, remove any remaining soil or debris and gently brush off any loose outer scales. Be mindful not to remove too many scales, as this can damage the bulb and affect its future growth.
Choose a storage container, such as a paper bag or a mesh bag, that allows for airflow. Place the cured and cleaned bulbs in the container, ensuring they are not overcrowded. Label the container with the variety and date of storage for future reference.
Store the bulbs in a cool and dry location with consistent temperatures between 45 and 55°F (7 and 13°C). Avoid areas with extreme temperature fluctuations or high levels of moisture, as these conditions can lead to mold or rot.
Regularly check on the stored bulbs during the storage period. Discard any bulbs that show signs of mold, rot, or other damage to prevent the spread of issues to the healthy bulbs.
When it’s time to replant the ranunculus bulbs, inspect them again before planting to ensure they are still firm and healthy. Discard any bulbs that have become soft or damaged during storage.
By properly storing your ranunculus bulbs, you can preserve their quality and ensure successful growth in future growing seasons. This allows you to continue enjoying the beauty and vibrancy of these stunning flowers year after year.
Final Thoughts
Cultivating ranunculus flowers can be a rewarding experience, bringing vibrant colors and natural beauty to your garden or home. By considering factors such as the planting time, climate requirements, and proper care techniques, you can ensure the success and health of your ranunculus plants.
Choosing the right time to plant, whether in the spring or fall, is crucial for providing the optimal growing conditions. Understanding the climate requirements of ranunculus flowers helps you create an environment in which they can thrive.
Preparing the soil properly before planting and using the correct planting technique promotes sturdy root development and healthy growth. Providing adequate watering and sunlight, along with regular mulching and fertilizing, nurtures the plants and encourages abundant blooming.
Dealing with pest and disease issues promptly can help protect your ranunculus plants from damage and ensure their continued vitality. Monitoring their growth and blooming allows you to appreciate their progress and make necessary adjustments as needed.
Harvesting the flowers at the right stage and properly caring for them in a vase allows you to enjoy their beauty indoors as well. Storing the bulbs correctly during dormant periods ensures their viability for future planting seasons.
As you embark on your journey of growing ranunculus flowers, remember that gardening is an ongoing learning process. Observe your plants, seek advice from local experts, and be open to adapting your methods as needed.
With proper care and attention, your ranunculus flowers will reward you with stunning blooms, adding a touch of elegance and charm to your garden or home. Embrace the joy of nurturing these beautiful flowers and relish in the delightful experience they bring.