
The Best Time to Plant Bee Balm
Bee balm, also known as Monarda, is a beautiful flowering plant that attracts pollinators like bees and butterflies to your garden. If you’re considering growing bee balm in your garden, it’s important to know the best time to plant it. The ideal planting time can vary depending on your climate and growing conditions, but generally, bee balm is best planted in the spring or fall.
Spring:
Spring is an excellent time to plant bee balm, as it allows the plant to establish its root system before the hot summer months. Planting in early spring, after the last frost has passed, gives the bee balm a chance to grow and develop strong roots. This will help the plant withstand the heat and drought of summer.
When planting in the spring, make sure the soil has warmed up to at least 60°F (15°C) before you sow the seeds or transplant the young plants. This ensures optimal growth and minimizes the risk of frost damage.
Fall:
The fall season is another suitable time to plant bee balm. In many regions, the weather is cooler and more favorable for planting. By planting in the fall, the bee balm has a chance to establish its roots before the winter sets in. This gives the plant a head start in the following spring, resulting in healthier and more robust growth.
To plant bee balm in the fall, aim to do so about six weeks before the first expected frost date. This allows enough time for the plant’s roots to develop without the risk of being damaged by freezing temperatures.
Overall, whether you choose to plant bee balm in the spring or fall, the key is to avoid extreme temperatures and ensure the plant has enough time to develop a strong root system before facing harsh weather conditions.
Factors to Consider Before Planting Bee Balm
Before you start planting bee balm, here are a few factors to consider:
1. Climate: Bee balm thrives in cooler climates, but it can also tolerate humid and hot regions. Consider the specific needs of your region to determine the best time to plant.
2. Sunlight: Bee balm requires full sun to partial shade for optimal growth. Make sure you choose a location that receives at least 6 hours of direct sunlight per day.
3. Soil Conditions: Bee balm prefers well-drained soil with a pH level between 6.0 and 7.5. If your soil is heavy or clay-based, consider amending it with organic matter to improve drainage.
4. Watering: Bee balm requires regular watering, especially during dry spells. Ensure the soil is consistently moist but not waterlogged.
By considering these factors and choosing the right time for planting, you can ensure the successful growth and development of your bee balm plants.
Factors to Consider Before Planting Bee Balm
Before you start planting bee balm in your garden, there are several key factors to consider. By taking these factors into account, you can ensure the optimal growth and health of your bee balm plants. Here are some important things to keep in mind:
1. Climate: Bee balm thrives in cooler climates, but it can also tolerate humid and hot regions. Consider the specific needs of your climate to determine the best time to plant bee balm. If you live in an area with harsh winters, planting in the spring may be more appropriate. Conversely, if you live in a region with hot and dry summers, it is recommended to plant in the fall when temperatures are cooler.
2. Sunlight: Bee balm requires ample sunlight to grow and flourish. Ensure that the location you choose receives full sun to partial shade. Ideally, the plants should receive at least 6 hours of direct sunlight each day. If you have limited access to sunlight, consider planting bee balm in a spot that receives morning sun and shade in the afternoon.
3. Soil Conditions: The soil plays a crucial role in the success of bee balm plants. Bee balm prefers well-drained soil with a pH level between 6.0 and 7.5. If your soil is heavy or clay-based, it is recommended to amend it with organic matter, such as compost or peat moss, to improve drainage. Adequate drainage is essential to prevent waterlogged soil, which can lead to root rot and other problems.
4. Watering: Bee balm requires regular watering to keep the soil consistently moist. While they are relatively tolerant of drought, it is important to water them during dry spells, especially in the summer months. However, be cautious not to overwater, as this can lead to root rot. Aim to provide about 1 inch of water per week, either through rainfall or supplemental irrigation.
5. Companion Plants: Consider the companionship of other plants when planning your bee balm garden. Bee balm attracts pollinators like bees and butterflies, so planting it alongside plants that require pollination can be beneficial. Some popular companion plants for bee balm include coneflowers, black-eyed Susans, and phlox.
Planting Bee Balm in the Spring
Spring is an excellent time to plant bee balm in your garden. The moderate temperatures and increased sunlight allow the plant to establish its root system and prepare for the upcoming summer months. Here are some essential steps to follow when planting bee balm in the spring:
1. Timing: Plant your bee balm in the early spring, after the last frost has passed. This ensures that the young plants won’t be damaged by cold temperatures. Check your local frost dates to determine the best time to plant.
2. Site Selection: Choose a location for your bee balm that receives full sun to partial shade. Ensure that the soil has good drainage, as bee balm prefers well-drained soil for optimal growth.
3. Soil Preparation: Before planting, prepare the soil by removing any weeds or debris. Loosen the soil to a depth of 8-10 inches and amend it with organic matter, such as compost or aged manure, to improve nutrient content and drainage.
4. Planting: Dig a hole that is slightly larger than the root ball of the bee balm plant. Place the plant in the hole and backfill it with soil, gently firming it around the base of the plant. Make sure to leave enough space between each plant to allow for proper air circulation and growth.
5. Watering: After planting, water the bee balm thoroughly to help settle the soil and provide moisture to the roots. Watering deeply once a week is usually sufficient, but adjust based on weather conditions and the level of soil moisture.
6. Mulching: Apply a layer of organic mulch around the base of the plants, leaving a few inches of space around the stem. Mulching helps to retain soil moisture, suppress weed growth, and regulate soil temperature.
7. Care and Maintenance: Throughout the spring, monitor the soil moisture and water as needed to keep it evenly moist but not saturated. Remove any weeds that may compete with the bee balm for nutrients and water. Also, consider supporting taller varieties of bee balm with stakes or cages to prevent them from bending or breaking.
8. Pruning: In the early spring, before new growth begins, prune back any dead or damaged stems from the previous year. This promotes healthy, vigorous growth and prevents diseases.
By following these steps, you can ensure successful growth and beautiful blooms from your bee balm plants throughout the spring and beyond.
Planting Bee Balm in the Summer
Although spring is the optimal time to plant bee balm, you can still successfully plant it in the summer if you missed the spring planting window or if you want to add more bee balm to your garden. Planting bee balm in the summer requires some special considerations due to the hotter temperatures. Here’s what you need to know about planting bee balm in the summer:
1. Watering: The summer heat can be harsh on newly planted bee balm, so it’s crucial to provide ample water. Water the plants deeply immediately after planting to help settle the soil and ensure that the roots have access to moisture. In the first few weeks, water the bee balm regularly, aiming to keep the soil consistently moist but not waterlogged. Increase the frequency of watering during dry spells or if the plants show signs of wilting.
2. Soil Moisture: In addition to regular watering, it’s important to maintain good soil moisture throughout the summer. Apply a layer of organic mulch around the base of the plants to help retain moisture, regulate temperature, and suppress weed growth. However, be careful not to pile the mulch against the stems, as this can lead to rot or other issues.
3. Shade and Protection: Bee balm prefers full sun to partial shade, but in hot summer climates, providing some shade can help protect the plants from excessive heat stress. Consider planting bee balm near taller plants or structures that can provide partial shade during the hottest part of the day. Alternatively, using shade cloth or creating temporary shade structures can also help protect the plants.
4. Regular Monitoring: Keep a close eye on your newly planted bee balm throughout the summer. Look out for any signs of wilting, discoloration, or pests. In case of any issues, take prompt action to address them and provide the necessary care, such as adjusting watering, applying organic insecticides, or providing support to prevent bending or breaking of stems.
5. Pruning: While it’s generally best to avoid heavy pruning during the summer, you can lightly trim back any spent flowers or damaged stems to encourage new growth. However, be cautious not to remove too much foliage, as the leaves help provide shade and protect the plant from the intense sun.
Despite the challenges of planting bee balm in the summer, with proper care and attention, you can still establish thriving plants that will reward you with vibrant blooms and attract pollinators to your garden.
Planting Bee Balm in the Fall
Fall is another ideal time to plant bee balm in your garden. Planting in the fall allows the bee balm to establish its root system before the dormant winter months and gives it a head start for the following spring. Here are some important considerations for planting bee balm in the fall:
1. Timing: Aim to plant your bee balm approximately six weeks before the first expected frost date in your region. This timeframe allows the plant enough time to develop its root system before the cold temperatures set in. Check your local frost dates to determine the optimal timing for planting.
2. Site Selection: Select a location for your bee balm that receives full sun to partial shade. The availability of sunlight is crucial even in the fall months. Ensure that the soil has good drainage to prevent waterlogging, which can lead to root rot.
3. Soil Preparation: Before planting, prepare the soil by removing any weeds or debris. Loosen the soil to a depth of 8-10 inches and amend it with organic matter, such as compost or well-rotted manure, to improve nutrient content and drainage. This will provide a favorable environment for the bee balm to establish its roots.
4. Planting: Dig a hole that is slightly larger than the root ball of the bee balm plant. Place the plant in the hole, making sure the crown is level with or slightly above the soil surface. Backfill the hole with soil, gently firming it around the base of the plant. Leave some space between each plant to allow for proper air circulation and growth.
5. Watering: After planting, water the bee balm thoroughly to help settle the soil and provide moisture to the roots. However, be careful not to overwater, as excessive moisture during fall can increase the risk of root diseases. Monitor the soil moisture and water as needed to maintain even moisture levels.
6. Mulching: Apply a layer of organic mulch around the base of the plants, leaving a few inches of space around the stem. Mulching helps to insulate the soil, regulate temperature, and suppress weed growth. It also helps retain soil moisture during the often dry fall months.
7. Care and Maintenance: Throughout the fall, continue to monitor the soil moisture and water as needed. Remove any weeds that may compete with the bee balm for nutrients and water. Consider adding a layer of mulch around the plants before winter to further protect the roots and help prevent frost heaving.
8. Dormancy: As the weather gets colder and the plants enter dormancy, reduce watering. The bee balm will go into a rest period during winter, and it will not require as much moisture during this time. Resume regular watering in the following spring when new growth begins.
By planting bee balm in the fall and providing proper care, you can ensure healthy growth and vibrant blooms when spring arrives.
How to Prepare the Soil for Bee Balm Planting
Proper soil preparation is crucial for the successful growth and development of bee balm plants. Creating a favorable soil environment ensures that the plants have access to necessary nutrients, good drainage, and adequate moisture retention. Here are the steps to prepare the soil for bee balm planting:
1. Clear the Area: Start by clearing the area of any weeds, rocks, or debris. This will allow you to work with a clean and clear space for planting.
2. Test the Soil: Conduct a soil test to determine the pH level and nutrient content of your soil. Bee balm prefers a pH level between 6.0 and 7.5. If the pH is outside this range, consider amending the soil to adjust it. Soil tests also help identify any nutrient deficiencies, allowing you to provide the necessary amendments.
3. Amend the Soil: Based on the results of the soil test, you may need to amend the soil to create optimal conditions for bee balm. Adding organic matter, such as compost or well-rotted manure, improves soil fertility, structure, and drainage. Incorporate the organic matter into the soil to a depth of 8-10 inches.
4. Improve Drainage: Bee balm prefers well-drained soil, so if your soil tends to be heavy or clay-based, it’s important to improve drainage. Add coarse sand, perlite, or vermiculite to the soil to enhance drainage. This allows excess water to flow through the soil, preventing waterlogging and potential root rot.
5. Create Raised Beds: If your soil has poor drainage or you’re working with limited space, consider creating raised beds for planting bee balm. Raised beds provide better control over soil moisture and allow for easier soil amendments.
6. Mulch the Soil: After planting bee balm, apply a layer of organic mulch around the base of the plants. Mulching helps to regulate soil temperature, conserve moisture, and suppress weed growth. It also gradually breaks down and contributes to the overall health of the soil.
7. Monitor Soil Moisture: Regularly monitor the soil moisture levels to ensure that it remains consistently moist. Bee balm requires adequate moisture but not waterlogged conditions. Adjust your watering schedule accordingly to maintain the right level of moisture.
By taking these steps to prepare the soil for bee balm planting, you’ll create a welcoming environment that supports healthy growth and ensures the longevity of your plants.
Steps for Planting Bee Balm
Planting bee balm involves a few key steps to ensure successful establishment and growth of the plants. By following these steps, you can enjoy the vibrant beauty and fragrance that bee balm brings to your garden. Here are the steps to plant bee balm:
1. Choose the Right Location: Select a location that receives full sun to partial shade. Bee balm thrives in sunlight but can tolerate some shade. Ensure that the soil has good drainage to prevent waterlogging.
2. Prepare the Soil: Clear the planting area of any weeds, rocks, or debris. Loosen the soil to a depth of 8-10 inches and amend it with organic matter, such as compost or aged manure, to improve nutrient content and drainage.
3. Dig the Planting Hole: Dig a hole that is slightly larger than the root ball of the bee balm plant. Make sure the hole is deep enough to accommodate the roots without crowding them. Space multiple plants at least 18 inches apart to allow for proper air circulation and growth.
4. Plant the Bee Balm: Place the bee balm plant in the hole, ensuring that the crown is level with or slightly above the soil surface. Backfill the hole with soil, gently firming it around the base of the plant. Avoid compacting the soil too much, as this can hinder root development.
5. Water Thoroughly: Immediately after planting, water the bee balm thoroughly. This helps settle the soil around the roots and provides moisture for the newly planted plant. Adequate watering helps reduce transplant shock and promotes root establishment.
6. Mulch the Soil: Apply a layer of organic mulch around the base of the plants, leaving a few inches of space around the stem. Mulching helps conserve soil moisture, regulate temperature, and suppress weed growth. Avoid piling the mulch directly against the stems to prevent rot or other issues.
7. Provide Regular Care: Throughout the growing season, monitor the soil moisture and water as needed to keep it evenly moist but not waterlogged. Remove weeds that may compete with the bee balm for nutrients and water. Additionally, consider providing support to taller varieties to prevent them from bending or breaking.
8. Prune as Needed: Trim back any dead or damaged stems in early spring before new growth begins. This promotes healthy growth and minimizes the risk of diseases. Avoid heavy pruning during the growing season, as it can negatively impact blooming.
By following these steps, you can ensure that your bee balm plants are properly planted and have the best chance of thriving in your garden.
Caring for Bee Balm After Planting
Once you’ve planted your bee balm, it’s important to provide proper care to ensure its health and longevity. With a little attention and care, you can enjoy beautiful blooms and attract pollinators to your garden year after year. Here are the essential steps for caring for bee balm after planting:
1. Watering: Bee balm requires regular watering, especially during dry spells. Water deeply once a week to keep the soil consistently moist but not waterlogged. Adjust the frequency of watering based on weather conditions and the level of soil moisture. Avoid overhead watering, as wet foliage can promote the development of diseases.
2. Mulching: Mulch the base of the plants with a layer of organic mulch. This helps to conserve moisture, regulate soil temperature, and suppress weed growth. Apply a fresh layer of mulch as needed throughout the growing season to maintain its benefits.
3. Fertilization: Bee balm is generally not a heavy feeder and can thrive in average garden soil. However, you can apply a balanced slow-release fertilizer in the spring to provide the plants with the necessary nutrients. Follow the instructions on the fertilizer package for the proper application rate.
4. Deadheading: To encourage continuous blooming and prolong the flowering period, deadhead the faded blossoms regularly. Trim the flower stems back to a leaf node or just above a healthy set of leaves. This will redirect the plant’s energy towards new growth and more blooms.
5. Pruning: Prune bee balm in early spring before new growth begins. Trim back any dead or damaged stems to promote healthy growth. Thin out crowded growth periodically to improve air circulation and reduce the risk of diseases.
6. Pest and Disease Control: Monitor your bee balm regularly for signs of pests like spider mites or powdery mildew. If necessary, treat with organic insecticides or fungicides according to the instructions on the product. Proper spacing, good airflow, and maintaining good garden hygiene can help prevent pest and disease issues.
7. Division: Bee balm plants can become crowded over time, leading to decreased vigor and blooming. Every 3-4 years, consider dividing the plants in early spring or fall. Dig up the clump, separate it into smaller sections with healthy roots, and replant them in well-prepared soil.
8. Attracting Pollinators: Bee balm is a magnet for bees, butterflies, and hummingbirds. You can enhance its attractiveness by planting other pollinator-friendly flowers nearby. This will create a diverse and inviting habitat for pollinators in your garden.
By providing the proper care and attention to your bee balm plants, you can enjoy their vibrant colors and delightful pollinator activity in your garden season after season.
Common Problems and Pests for Bee Balm
While bee balm is a resilient and relatively low-maintenance plant, it can sometimes face various problems and encounter pests. Being aware of these issues and taking appropriate measures can help keep your bee balm healthy and thriving. Here are some common problems and pests you may encounter with bee balm:
1. Powdery Mildew: Powdery mildew is a fungal infection that affects many plants, including bee balm. It appears as a white powdery coating on the leaves, stems, and flowers. To prevent powdery mildew, provide adequate airflow by spacing your plants properly and avoiding overhead watering. If the infection already exists, treat it with organic fungicides or mildew-resistant varieties of bee balm.
2. Spider Mites: Spider mites are tiny pests that can infest bee balm leaves, causing stippling, yellowing, and webbing. Regularly inspect the undersides of the leaves for signs of mite activity. If detected, rinse the foliage with a strong jet of water to dislodge the mites or use organic insecticidal soap to control their population.
3. Aphids: Aphids are small, soft-bodied insects that can cluster on new growth, sucking sap from the plant. They can cause distorted leaves and stunt growth. Use a strong blast of water or insecticidal soap to remove them from the plant. Encouraging natural predators like ladybugs and lacewings can also help control aphid populations.
4. Leaf Spot Diseases: Leaf spot diseases can affect bee balm, causing circular spots on the leaves. Avoid overhead watering, as moist conditions promote the development of these diseases. Remove and dispose of the affected leaves, and apply organic fungicides if necessary.
5. Crown Rot: Crown rot is a fungal disease that affects the base of the plant, resulting in wilting and eventual death. It is usually caused by excessive moisture and poor drainage. To prevent crown rot, ensure proper soil drainage and avoid overwatering. Planting bee balm in well-drained soil and applying organic fungicides can help mitigate the risk.
6. Aggressive Spread: Some varieties of bee balm have a tendency to spread aggressively and can become invasive in certain areas. Regularly monitor your plants and divide them every few years to prevent overcrowding and keep them in check.
7. Deer and Rabbits: In some regions, deer and rabbits may view bee balm as a tasty treat. To deter these animals, use physical barriers such as fences or repellents that are safe for both wildlife and plants.
8. Water Stress: Insufficient or excessive watering can stress bee balm plants. Ensure proper moisture levels by watering consistently, particularly during dry spells. Avoid waterlogged soil, as it can lead to root rot.
Regular monitoring, prompt action, and good cultural practices can help prevent, identify, and address problems and pests that may affect your bee balm plants, ensuring their health and beauty in your garden.
Benefits of Planting Bee Balm in Your Garden
Planting bee balm (Monarda) in your garden offers numerous benefits, making it a fantastic addition to any landscape. From its aesthetic appeal to its role in supporting pollinators, here are some of the benefits of planting bee balm:
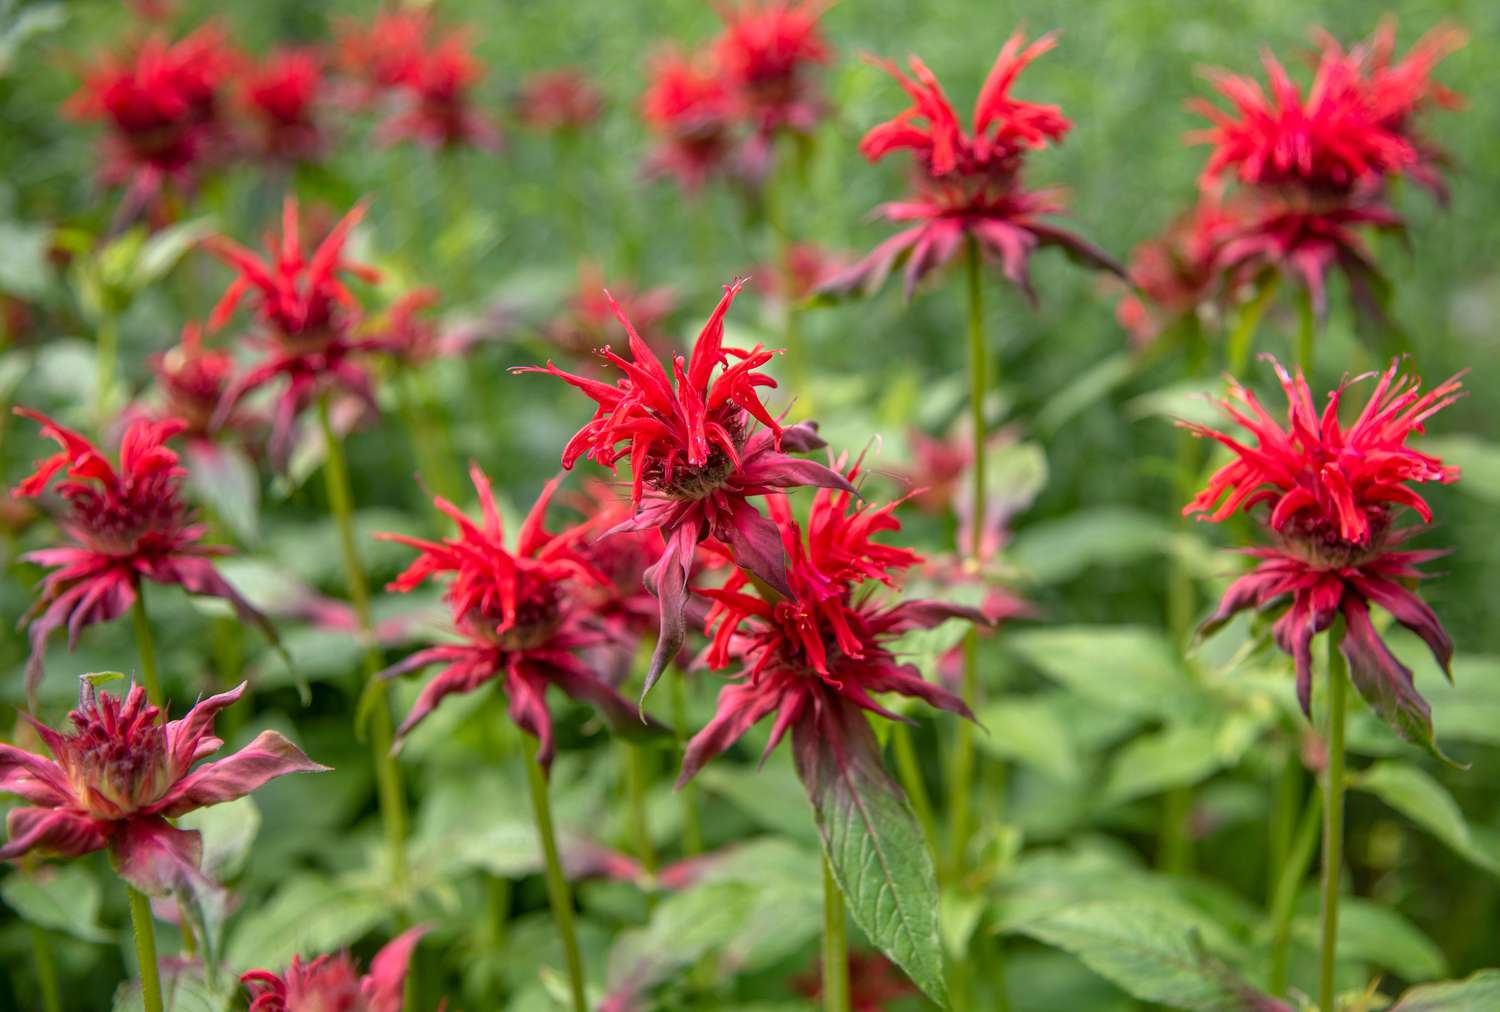
1. Vibrant Blooms: Bee balm produces stunning, vibrant blooms in a range of colors, including shades of red, pink, purple, and white. These colorful flowers add visual interest, beauty, and depth to your garden, making it a focal point and enhancing its overall aesthetic appeal.
2. Pollinator Magnet: Bee balm is a favorite among pollinators such as bees, butterflies, and hummingbirds. The tubular shape of its flowers and their nectar-rich supply attract these beneficial insects, making your garden a haven for their activity. By planting bee balm, you actively support and encourage pollinator populations, contributing to the overall health of the ecosystem.
3. Biodiversity: Including bee balm in your garden promotes biodiversity. The presence of diverse plant species creates a habitat for a wider range of fauna, including beneficial insects and birds. This, in turn, helps maintain a healthy ecological balance and contributes to the overall well-being of your garden ecosystem.
4. Medicinal Uses: Bee balm has a long history of medicinal use by indigenous cultures. It is known for its antibacterial, antifungal, and calming properties. It can be used in teas, salves, and poultices to soothe various ailments, including cold symptoms, digestive issues, and minor skin irritations.
5. Fragrance: Bee balm is known for its delightful fragrance, which attracts not only pollinators but also humans who enjoy its aromatic qualities. This fragrant plant can infuse your garden with a pleasant scent, enhancing your overall sensory experience.
6. Culinary Uses: The leaves of bee balm plants have a distinct flavor that is reminiscent of mint and citrus. They can be used fresh or dried to flavor teas, salads, sauces, and grilled dishes. Bee balm leaves also make a delightful addition to fruit salads and desserts.
7. Cut Flower Arrangements: The vibrant blossoms of bee balm make it an excellent choice for cut flower arrangements. Add them to floral displays to bring a pop of color and texture indoors, and enjoy their beauty and fragrance even outside of the garden.
8. Low-Maintenance Plant: Bee balm is relatively low-maintenance once established. It is drought-tolerant, resistant to many pests and diseases, and can thrive in a variety of soil types. Regular watering, periodic pruning, and division every few years are generally sufficient to keep your bee balm plants healthy and vibrant.
By planting bee balm in your garden, you not only enhance its beauty and fragrance but also contribute to the well-being of pollinators and the overall ecological balance. Its benefits extend beyond aesthetics, making it a rewarding and valuable addition to your landscape.