
Materials needed
Building your own trash can can be a fun and rewarding DIY project. You’ll need a few essential materials to get started. Don’t worry, most of these items are easily accessible and can be found at your local hardware store or online. Here’s a list of the materials you’ll need:
- 1 large plastic container or bin
- 1 wooden board (size will depend on the desired dimensions of your trash can)
- 4 wooden boards (for the frame and sides)
- Screws or nails
- Hinges
- Drill or hammer
- Saw
- Paint or stain (optional)
- Paintbrushes or rollers
- Sandpaper
- Decorative accessories (such as stickers, stencils, or rope handles)
The materials listed above are the basic requirements for constructing a functional trash can. However, feel free to get creative and personalize your trash can by adding additional embellishments or accessories that suit your style and preferences.
Step 1: Gathering the materials
Before embarking on your trash can building journey, it’s crucial to gather all the necessary materials. This step ensures you have everything on hand to complete the project smoothly. Here’s a breakdown of what you’ll need to collect:
- Large plastic container or bin: This will serve as the main body of your trash can. Opt for a sturdy container that can withstand outdoor elements and accommodate your trash disposal needs.
- Wooden board: You’ll need a wooden board to create the base of your trash can. The size of the board will depend on your desired dimensions for the final product.
- Wooden boards: These boards will be used to construct the frame and sides of your trash can. Make sure they are thick enough to provide stability and support.
- Screws or nails: Choose the appropriate fasteners to securely connect the wooden pieces together. Screws offer a more durable option, while nails are a quicker alternative.
- Hinges: Hinges are essential if you plan to add a lid to your trash can. They will allow for easy opening and closing of the lid.
- Drill or hammer: Depending on the type of fasteners you choose, you’ll need a drill or hammer to attach the wooden boards together.
- Saw: A saw will come in handy for cutting the wooden boards to the desired lengths and shapes.
- Paint or stain (optional): If you want to add a pop of color or protect your trash can from the elements, consider using paint or stain. Choose a waterproof option suitable for outdoor use.
- Paintbrushes or rollers: These tools will facilitate the application of paint or stain to your trash can, ensuring a smooth and even finish.
- Sandpaper: Sandpaper will help you smooth out any rough edges or surfaces before painting and ensure a professional-looking final product.
- Decorative accessories: To add a personal touch, consider incorporating decorative accessories such as stickers, stencils, or rope handles. These items will help customize your trash can to align with your style and preferences.
By collecting all the materials upfront, you can streamline the construction process and avoid interruptions or delays. Once you have everything ready, you’re one step closer to creating your very own functional and aesthetically pleasing trash can.
Step 2: Preparing the base
The base of your trash can provides stability and support, so it’s essential to prepare it properly. Follow these steps to ensure a solid foundation for your DIY project:
- Measure and mark: Start by measuring the dimensions of your plastic container or bin. Using a pencil or marker, mark these measurements on your wooden board, ensuring a precise fit.
- Cut the board: Once marked, carefully use a saw to cut the wooden board to the desired size. Take your time and use smooth, controlled movements to achieve clean and accurate cuts.
- Sand the edges: Use sandpaper to smooth out any rough edges or splinters on the cut board. This step will prevent any potential injuries from sharp edges and make the base more comfortable to handle.
- Attach the base: Position the cut and sanded wooden board at the bottom of the plastic container or bin. Secure it in place using screws or nails, making sure it is centrally aligned and evenly attached. This step will provide stability and prevent the base from shifting or falling out.
- Check for stability: Once the base is attached, test its stability by gently pressing down on different areas and ensuring it can adequately support the weight of the trash can. If any adjustments or additional securing is needed, take the necessary steps to enhance stability.
Preparing the base of your trash can is a crucial step in building a sturdy and long-lasting structure. By accurately measuring, cutting, and attaching the wooden board, you’ll create a solid foundation that can withstand regular use and the weight of the trash. Take your time during this step to ensure the base is secure and properly aligned with the container. With the base ready, you’re ready to move on to the next exciting step in constructing your DIY trash can.
Step 3: Building the frame
Building a sturdy frame is an essential part of constructing a durable and functional trash can. Follow these steps to create a strong and reliable frame:
- Measure and mark: Begin by measuring the height and width of your plastic container or bin. Using these measurements, mark the corresponding dimensions on the wooden boards that will form the frame.
- Cut the boards: Using a saw, carefully cut the wooden boards according to the marked measurements. Ensure smooth and accurate cuts for a precise fit.
- Sand the edges: Take sandpaper and smooth out any rough edges or splinters on the cut boards. This step will prevent any potential injuries and give the frame a polished appearance.
- Position the boards: Align the cut and sanded wooden boards to form a rectangular shape that matches the dimensions of your plastic container. Place the boards vertically on each side, ensuring they are flush with the base.
- Attach the boards: Using screws or nails, secure the boards together at each corner. Make sure they are tightly fastened to create a solid frame.
- Check for stability: Once the frame is assembled, check for stability by gently pushing on the sides. The frame should not wobble or feel loose. If needed, reinforce the corners with additional screws or nails.
Building a strong frame is crucial as it provides the structure and support for your trash can. Be meticulous in measuring, cutting, and attaching the wooden boards to ensure a stable and reliable frame. A sturdy frame will withstand the weight of the trash and keep your DIY trash can intact. With the frame complete, you’re ready to move on to the next step in constructing your customized trash can.
Step 4: Attaching the sides
Attaching the sides is a critical step in the construction of your trash can. This process will enclose the frame and create a secure container for your trash. Follow these steps to properly attach the sides:
- Measure and mark: Begin by measuring the height and length of each side of your frame. Transfer these measurements onto the wooden boards that will serve as the sides of your trash can.
- Cut the boards: Using a saw, carefully cut the wooden boards according to the marked measurements. Make sure to have four boards, one for each side of the frame.
- Sand the edges: Use sandpaper to smooth out any rough edges or splinters on the cut boards. This step will ensure a clean and polished appearance.
- Position the boards: Place the cut and sanded wooden boards vertically against each side of the frame. They should align with the top edge of the frame.
- Attach the boards: Using screws or nails, firmly attach each side board to the frame. Place the fasteners evenly along the length and height of the boards for stability.
- Ensure proper alignment: Throughout the attachment process, check that the side boards remain straight and properly aligned with the frame. Adjust as necessary to maintain a symmetrical and uniform look.
- Reinforce the corners: To strengthen the corners of your trash can, consider using additional screws or nails. This reinforcement will provide extra stability and prevent the sides from separating over time.
Attaching the sides is a crucial step to transform the frame into a functional container. Take your time with measurements and cuts to ensure the sides fit properly and align with the frame. Firmly attach the side boards to create a sturdy and secure trash can enclosure. With the sides properly attached, you’re one step closer to completing your DIY trash can project.
Step 5: Adding a lid
Adding a lid to your trash can is not only functional but also helps conceal the contents and prevent unwanted odors. Follow these steps to successfully incorporate a lid into your DIY trash can:
- Measure and mark: Measure the dimensions of the top opening of your trash can. Using these measurements, mark the corresponding dimensions on a wooden board that will serve as the lid.
- Cut the board: Carefully use a saw to cut the wooden board according to the marked measurements. Take your time to achieve clean and precise cuts.
- Sand the edges: Use sandpaper to smooth out any rough edges or splinters on the cut board. This step ensures a polished and safe lid.
- Attach hinges: Position the lid on the backside of the top opening of your trash can. Mark the placement of the hinges on the lid and the corresponding spot on the backside. Attach the hinges using screws, ensuring they are properly aligned and securely fastened.
- Check lid function: Open and close the lid to ensure it moves smoothly and securely with the hinges. Make any necessary adjustments to ensure proper functionality.
- Optional: Lid handle or knob: For added convenience and aesthetics, consider attaching a handle or knob to the top center of the lid. This will facilitate easy opening and closing of the lid.
Adding a lid to your trash can adds an extra layer of functionality and aesthetics. As you measure, cut, and attach the lid, pay attention to detail to ensure a proper fit and smooth operation. A well-fitted lid will keep the contents of your trash can protected and maintain a clean and organized appearance. With the lid in place, your DIY trash can is almost complete!
Step 6: Painting and decorating
Painting and decorating your DIY trash can allows you to personalize it and add a touch of creativity. Follow these steps to transform your trash can into a visually appealing and customized piece:
- Clean the surface: Before painting, ensure the surface of the trash can is clean and free from dust or debris. Wipe it down with a damp cloth or sponge, and let it dry completely.
- Select the paint: Choose a paint suitable for outdoor use and compatible with the material of your trash can. Consider using acrylic or spray paint, which adhere well to most surfaces.
- Prepare the paint: If using acrylic paint, you may need to dilute it with water or a medium according to the instructions on the paint bottle. For spray paint, shake the can thoroughly to mix the paint.
- Apply the paint: Using a paintbrush or roller, apply an even coat of paint to the entire exterior of the trash can. Start from the top and work your way down, ensuring full coverage. Let the first coat dry completely before applying additional coats, if needed.
- Add decorative touches: Once the base coat is dry, get creative with decorative accessories. You can use stickers, stencils, or freehand painting to add patterns, designs, or even personal messages to your trash can. Take your time and enjoy the process of making it uniquely yours.
- Optional: Seal the paint: If you want added protection and longevity for your painted design, consider applying a clear sealant. This will help prevent the paint from chipping, fading, or peeling over time.
Painting and decorating your trash can allows you to infuse your personality and style into the final product. Take your time with the painting process, ensuring even coats and proper drying time. Don’t be afraid to get creative with additional decorative touches to make your trash can a true reflection of your aesthetic taste. With the painting and decorating complete, your DIY trash can is ready to shine!
Step 7: Adding finishing touches
Adding the finishing touches to your DIY trash can will elevate its appearance and functionality. Follow these steps to complete your trash can with those extra special details:
- Smooth any rough surfaces: Examine the entire trash can for any rough edges or surfaces. Use sandpaper to smooth out these areas, ensuring a polished and safe final product.
- Check for any loose screws or nails: Inspect the entire trash can and ensure that all screws or nails are securely fastened. Tighten any loose fasteners to maintain the structural integrity of the trash can.
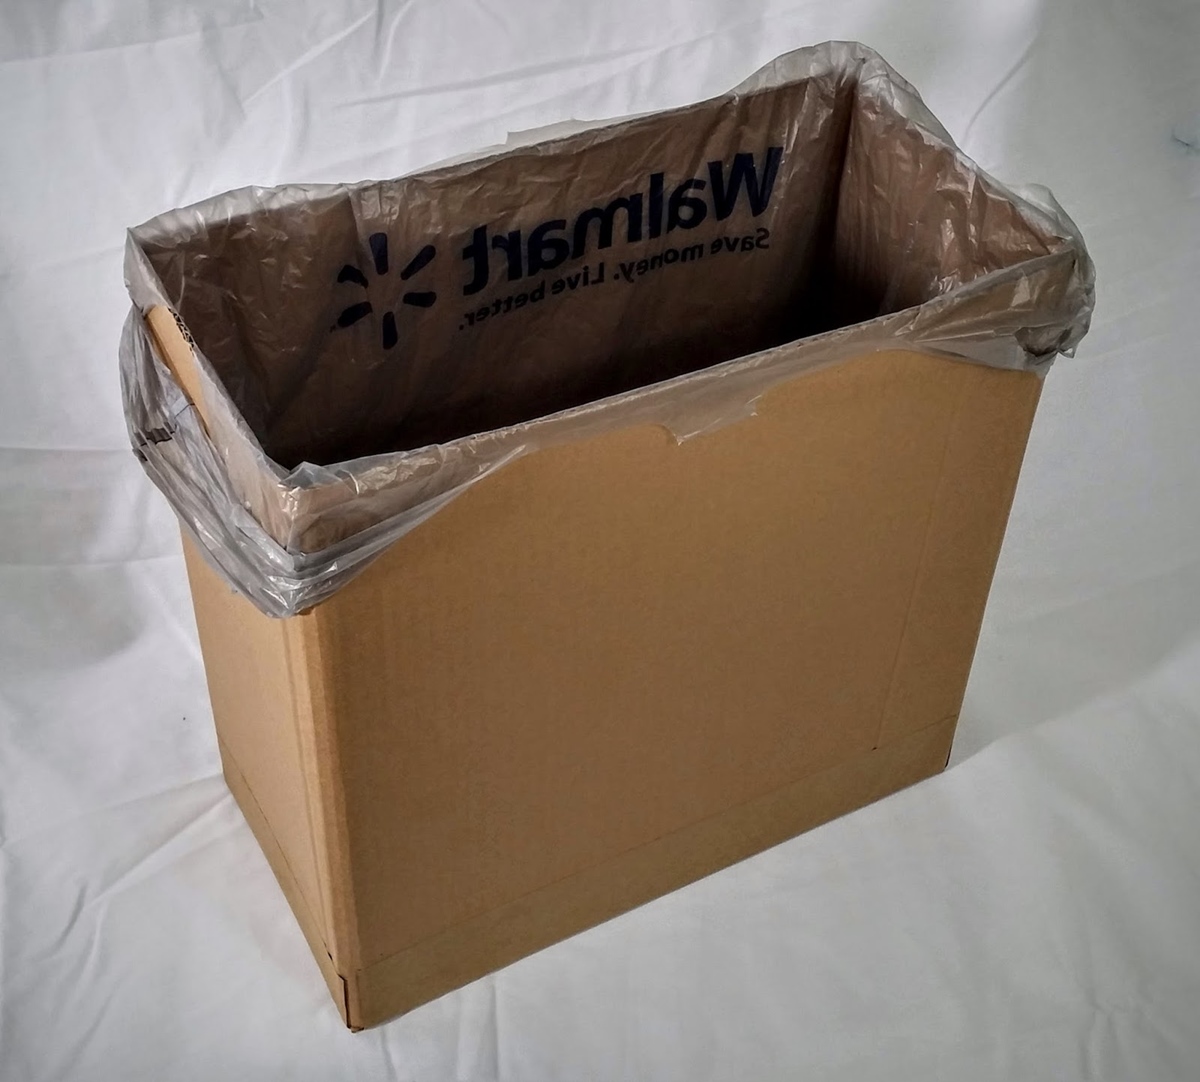
- Consider adding a liner: To make it easier to clean and maintain your trash can, consider placing a liner bag or a plastic bin liner inside. This will help protect the interior and make trash disposal more convenient.
- Install a bag holder: For added convenience, you can attach a bag holder mechanism to the inside of the trash can lid. This will keep the bag in place and prevent it from slipping down into the trash can.
- Place the trash can in a convenient location: Find a suitable location for your trash can, preferably near where you generate the most waste. Ensure that it’s easily accessible for adding and removing trash.
- Label your trash can (optional): If you have multiple trash cans for different types of waste, consider labeling them accordingly. This will help you and others identify the purpose of each trash can.
- Regularly clean and maintain your trash can: Keep your DIY trash can looking its best by regularly cleaning the exterior with a mild detergent and water. Empty and replace the liner as needed to maintain cleanliness.
The finishing touches can make a significant difference in the overall functionality and appearance of your trash can. By attending to details such as smoothing rough surfaces, securing fasteners, and adding extra features like a liner or bag holder, you can enhance the user experience and simplify waste management. Remember to regularly clean and maintain your trash can to keep it in optimal condition for years to come. With the finishing touches complete, your DIY trash can is now ready to serve its purpose efficiently and beautifully.
Step 8: Extra tips and ideas
Congratulations on completing your DIY trash can! Here are some additional tips and ideas to consider:
- Upcycle materials: Instead of purchasing new materials, consider repurposing items you already have. For example, you can use an old wooden crate or a metal container as the base or frame of your trash can.
- Customization: Get creative and customize your trash can further by using stencils or freehand painting to add unique designs, patterns, or even your name to the exterior.
- Add wheels or casters: If you anticipate needing to move your trash can frequently, adding wheels or casters to the base can make transportation effortless and convenient.
- Divide and conquer: To easily sort recyclables, consider creating separate compartments within your trash can using dividers or multiple containers.
- Incorporate a composting bin: If you’re environmentally conscious, consider adding a separate compartment or attachment for compostable waste to encourage sustainable disposal practices.
- Use durable materials: Opt for high-quality, durable materials to ensure your trash can withstands the test of time and the elements.
- Consider a sensor-activated lid: For a touch of modern technology, you can install a sensor-activated lid that opens and closes automatically when you approach or remove your hand.
- Explore alternative designs: Don’t be afraid to think outside the box and explore unique trash can designs, such as a vertical or stackable configuration, to suit your space and preferences.
- Seek inspiration: Browse online platforms, magazines, or even visit local craft fairs for inspiration on different trash can designs and creative ideas.
- Share your creation: Show off your DIY trash can on social media or to friends and family. You might inspire others to embark on their own recycling or repurposing projects.
Remember, the possibilities are endless when it comes to creating a trash can that matches your style and needs. Let your imagination run wild as you explore additional tips and ideas to enhance your DIY creation. Have fun with the process, and enjoy the satisfaction of not only building a functional item but also expressing your creativity in a unique way. Good luck and happy trash can crafting!