
Tools and Materials Needed
Before you begin the installation process for your IKEA Lack Shelf, make sure you have the necessary tools and materials on hand. Having everything ready will help make the installation go smoothly. Here is a list of what you will need:
- Electric drill
- Tape measure
- Pencil or marker
- Screwdriver
- Level
- Wall anchors
- Mounting brackets (usually included with the shelf)
- Screws
- Stud finder (optional)
The electric drill is essential for pre-drilling holes and attaching the mounting brackets to the wall. You will also need a tape measure to accurately measure and mark the placement of the shelf. A pencil or marker will be useful for marking the spots where the mounting brackets and screws will go.
A screwdriver will be needed to secure the shelf to the wall anchors and adjust the mounting brackets. A level is necessary to ensure that your shelf is perfectly horizontally aligned. If you will be installing the shelf on a plasterboard wall, wall anchors will be required for added support.
Most IKEA Lack Shelves come with mounting brackets, but double-check to ensure you have them. Lastly, you will need screws to attach the mounting brackets to the wall and secure the shelf in place. If you have a stud finder, you can use it to locate and mark the studs for added stability.
Gathering all the necessary tools and materials ahead of time will save you from running back and forth during the installation process. With everything prepared, you will be ready to move on to the next step – measuring and marking the placement of the shelf.
Step 1: Measure and Mark the Placement
The first step in installing your IKEA Lack Shelf is to measure and mark the placement on the wall. This will ensure that the shelf is positioned correctly and aligned with your desired location. Follow these steps to measure and mark the placement:
- Begin by deciding where you want to install the shelf. Consider factors such as the height, nearby furniture, and overall aesthetic. Once you have a spot in mind, use a tape measure to determine the desired length and make a pencil mark at each end.
- Use a level to ensure that the marks are perfectly horizontal. If necessary, make adjustments until you have a level line.
- Measure the distance from the floor to the desired height of the shelf. Make a mark on the wall at this measurement. This will serve as a reference point for later steps.
- If you are installing multiple shelves, repeat the above steps for each shelf, ensuring proper spacing between them.
It’s important to take accurate measurements and mark the placement before moving on to the next steps. This will help you have a clear vision of how the shelf will look and allow for a more efficient installation process.
Once you have completed these measurements and markings, you’re ready to move on to the next step – locating and marking the studs (if applicable). This step will provide added stability and ensure that your shelf is securely attached to the wall.
Step 2: Locate and Mark the Studs
If you are installing your IKEA Lack Shelf on a wall, it is essential to locate and mark the studs. Studs are the vertical wooden beams behind the drywall that provide a solid anchor point for mounting heavy objects. Here’s how you can locate and mark the studs:
- Start by using a stud finder tool. Place it against the wall and move it horizontally until it detects a stud. The stud finder will typically beep or light up when it finds a stud.
- Once you have located the stud, mark its position with a pencil or marker. Repeat this process at regular intervals across the length where you will be installing the shelf.
- Use a tape measure to ensure that the markings for the studs are evenly spaced. This will help distribute the weight of the shelf evenly and provide a more secure installation.
- If you don’t have a stud finder, an alternative method is to tap the wall lightly with a knuckle or a small hammer. A solid, dull sound indicates the presence of a stud, while a hollow sound indicates an empty space.
Locating and marking the studs is crucial to ensure that your IKEA Lack Shelf is properly supported and does not fall off the wall. By attaching the shelf to the studs, you can have peace of mind knowing that it will be securely mounted.
If it’s not possible to install the shelf directly onto a stud, you will need to use wall anchors for added support. Wall anchors are devices that help distribute the weight of the shelf across a larger area of the wall. Make sure to choose wall anchors suitable for the weight capacity of your shelf and follow the manufacturer’s instructions for installing them.
Now that you have located and marked the studs (or identified the need for wall anchors), you’re ready to move on to the next step – pre-drilling holes for the mounting brackets.
Step 3: Pre-drill Holes for Mounting Brackets
Before attaching the mounting brackets to the wall, it’s important to pre-drill holes to ensure a secure and stable installation of your IKEA Lack Shelf. Pre-drilling will help prevent the wall from cracking or splitting when inserting the screws. Follow these steps to pre-drill the holes:
- Identify the placement of the mounting brackets according to the marks you made earlier. Place the bracket against the wall and align it with the reference points.
- Using an electric drill, select an appropriate drill bit that matches the diameter of the screws provided with your shelf. It’s important to choose the correct size to ensure a proper fit.
- Hold the drill perpendicular to the wall and start drilling slowly. Apply gentle pressure and let the drill bit do the work. Avoid drilling too quickly or applying excessive force, as it may damage the wall.
- Drill the holes to a depth that matches the length of the screws. You can use a piece of tape on the drill bit as a guide to ensure consistent hole depth across all the mounting brackets.
- Once you have pre-drilled all the necessary holes, remove any dust or debris from the drilled holes using a brush or cloth.
Pre-drilling the holes is a crucial step as it helps prevent the wall from splitting or cracking when the screws are inserted. It also ensures that the mounting brackets align properly, resulting in a secure and sturdy installation.
Now that the holes are pre-drilled, you’re ready to move on to the next step – attaching the mounting brackets to the wall.
Step 4: Attach the Mounting Brackets to the Wall
With the holes pre-drilled, you are now ready to attach the mounting brackets to the wall for your IKEA Lack Shelf. The mounting brackets will provide the foundation for securing the shelf in place. Follow these steps to attach the brackets:
- Take one of the mounting brackets and align it with the pre-drilled holes on the wall. Ensure that the bracket is level with the reference lines you made earlier.
- Insert a screw into one of the holes on the bracket, and using a screwdriver or drill, start tightening it into the pre-drilled hole. Be careful not to overtighten, as this can damage the bracket or the wall.
- Repeat the above step for the remaining holes on the mounting bracket. Tighten all the screws until they are snug against the wall, ensuring that the bracket is securely attached.
- If your IKEA Lack Shelf has multiple mounting brackets, repeat the above steps for each bracket, ensuring they are evenly spaced along the length of the shelf.
Attaching the mounting brackets provides the foundational support for your IKEA Lack Shelf. By securely fastening them to the wall, you create a stable structure for the shelf to rest on. Double-check that all screws are tightened properly to ensure the brackets are secure.
When attaching the mounting brackets, it’s essential to follow the manufacturer’s instructions. These instructions may vary depending on the specific design and features of your shelf. By doing so, you can ensure a safe and proper installation of your IKEA Lack Shelf.
Now that the mounting brackets are securely attached to the wall, you’re ready to move on to the next step – installing the shelf onto the brackets.
Step 5: Install the Shelf onto the Mounting Brackets
With the mounting brackets securely attached to the wall, it’s time to install your IKEA Lack Shelf onto the brackets. This step will bring your shelf to life and showcase your chosen display items. Follow these steps to install the shelf:
- Hold the shelf at an angle, with the front edge facing downward. Align the back edge of the shelf with the brackets.
- Gently guide the shelf onto the brackets, ensuring that the brackets slide into the designated slots on the shelf. Apply even pressure to both sides of the shelf until it is fully seated on the brackets.
- Once the shelf is in place, check that it is level. Use a level tool to make any necessary adjustments. If needed, slightly lift and reposition the shelf until it is perfectly horizontal.
It’s important to handle the shelf with care during the installation process to prevent any damage. Avoid placing excessive weight or applying force to the shelf as you install it onto the mounting brackets.
If your IKEA Lack Shelf has additional support screws or attachments, follow the manufacturer’s instructions to secure them properly. These extra features may vary depending on the specific design of your shelf.
Now that your IKEA Lack Shelf is installed onto the mounting brackets, you’re one step closer to having a functional and stylish storage space. The next step will ensure that the shelf is securely attached to the wall, preventing any accidental displacement.
Step 6: Secure the Shelf to the Wall
Now that your IKEA Lack Shelf is installed on the mounting brackets, it’s time to take the necessary steps to secure the shelf to the wall. This will ensure that the shelf remains stable and prevents any accidental shifts or falls. Follow these steps to secure the shelf:
- Locate the pre-drilled holes on the underside of the shelf. These holes are designed for securing the shelf to the wall.
- Insert screws into the pre-drilled holes and use a screwdriver or drill to tighten the screws. Ensure that the screws are firmly secured, but be cautious not to overtighten and damage the shelf or wall.
- Check the stability of the shelf by gently shaking it. If there is any wobbling or movement, double-check that all screws are tightened properly.
Securing the shelf to the wall is a crucial step to ensure the safety and stability of your IKEA Lack Shelf. By firmly attaching the shelf to the wall, you can have peace of mind knowing that your belongings will be securely held in place.
If your shelf has additional support features, such as brackets or clips, follow the manufacturer’s instructions to secure them properly. These additional supports may provide extra stability and reinforcement.
Once the shelf is securely attached to the wall, it’s time to move on to the next step – leveling and adjusting the shelf to achieve the desired aesthetics and functionality.
Step 7: Level and Adjust the Shelf
After securing your IKEA Lack Shelf to the wall, it’s important to make sure it is level and adjust it to achieve the desired look and functionality. Follow these steps to level and adjust the shelf:
- Use a level tool to check if the shelf is horizontally aligned. Place the level on top of the shelf and adjust its position if needed. The bubble in the level should be centered between the two lines, indicating that the shelf is level.
- If the shelf is not level, gently lift one side of the shelf and place small shims or wedges underneath it. Gradually lower the shelf onto the shims until it is level. Repeat this process on the other side if necessary.
- Ensure that the front edge of the shelf is flush against the wall. If there is any gap or unevenness, make the necessary adjustments by slightly repositioning the shelf.
Leveling the shelf is important both visually and functionally. A level shelf not only enhances the aesthetic appeal but also ensures that items placed on the shelf are stable and won’t slide or tilt.
Take your time to make accurate adjustments, ensuring that the shelf is perfectly level and aligned with the wall. Step back and visually inspect the shelf from different angles to ensure it meets your desired standards.
Now that your IKEA Lack Shelf is level and adjusted, you can move on to the final step – optional decorations and organization of the shelf.
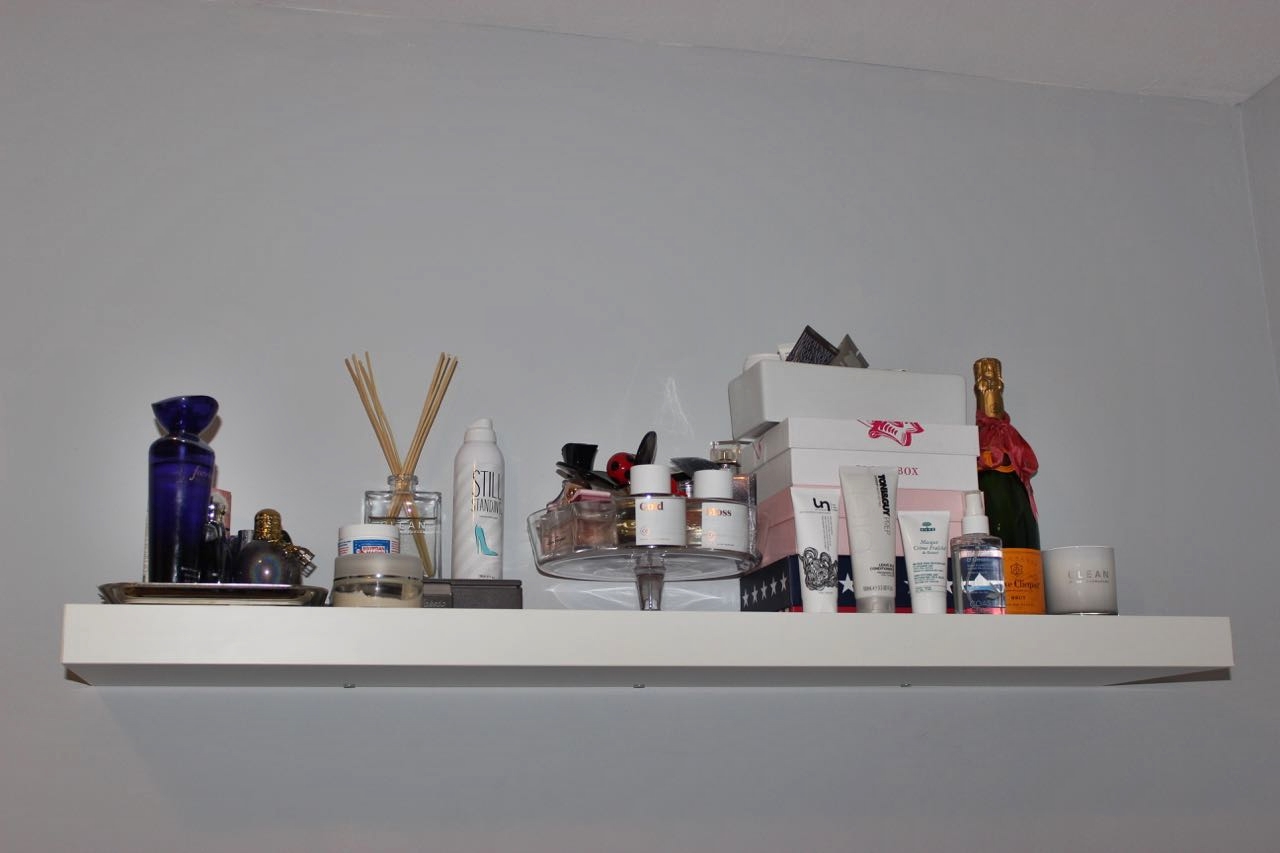
Step 8: Optional: Decorate and Organize the Shelf
With your IKEA Lack Shelf successfully installed and adjusted, it’s time to add the finishing touches by decorating and organizing the shelf. This step allows you to personalize the shelf’s appearance and maximize its functionality according to your needs. Follow these suggestions to decorate and organize your shelf:
- Showcase Your Personal Style: Display items that reflect your personality and add visual interest to the shelf. This can include decorative objects, framed photos, plants, or artwork. Experiment with different arrangements and placements to create an aesthetically pleasing display.
- Create Functional Storage: Use baskets, boxes, or storage containers to keep your belongings organized and out of sight. This is especially useful if you’re using the shelf in a living room, bedroom, or home office to store essentials such as books, electronics, or paperwork.
- Display Collections: If you have a collection of items such as figurines, vinyl records, or vintage cameras, the lack shelf can be an excellent platform to showcase your collection. Arrange the items in an eye-catching way that highlights their uniqueness and adds character to the space.
- Balance Open and Closed Storage: Mix open shelves with closed storage options, such as boxes or baskets with lids, to create a balanced look. This allows you to display items you want to show off while keeping more private or cluttered items out of sight.
- Consider Lighting: Add some ambient lighting by incorporating small LED strip lights or battery-operated puck lights underneath the shelf. This will create a warm glow and highlight the items on display.
Take the time to experiment with different decor and organizational ideas until you achieve the look and functionality that suits your style and needs. Remember, the lack shelf is versatile and can be customized to complement any room or design aesthetic.
By following these steps and putting thought into the decoration and organization of your IKEA Lack Shelf, you can create a visually appealing and functional space that enhances the overall look of your room.