
Assess the Damage
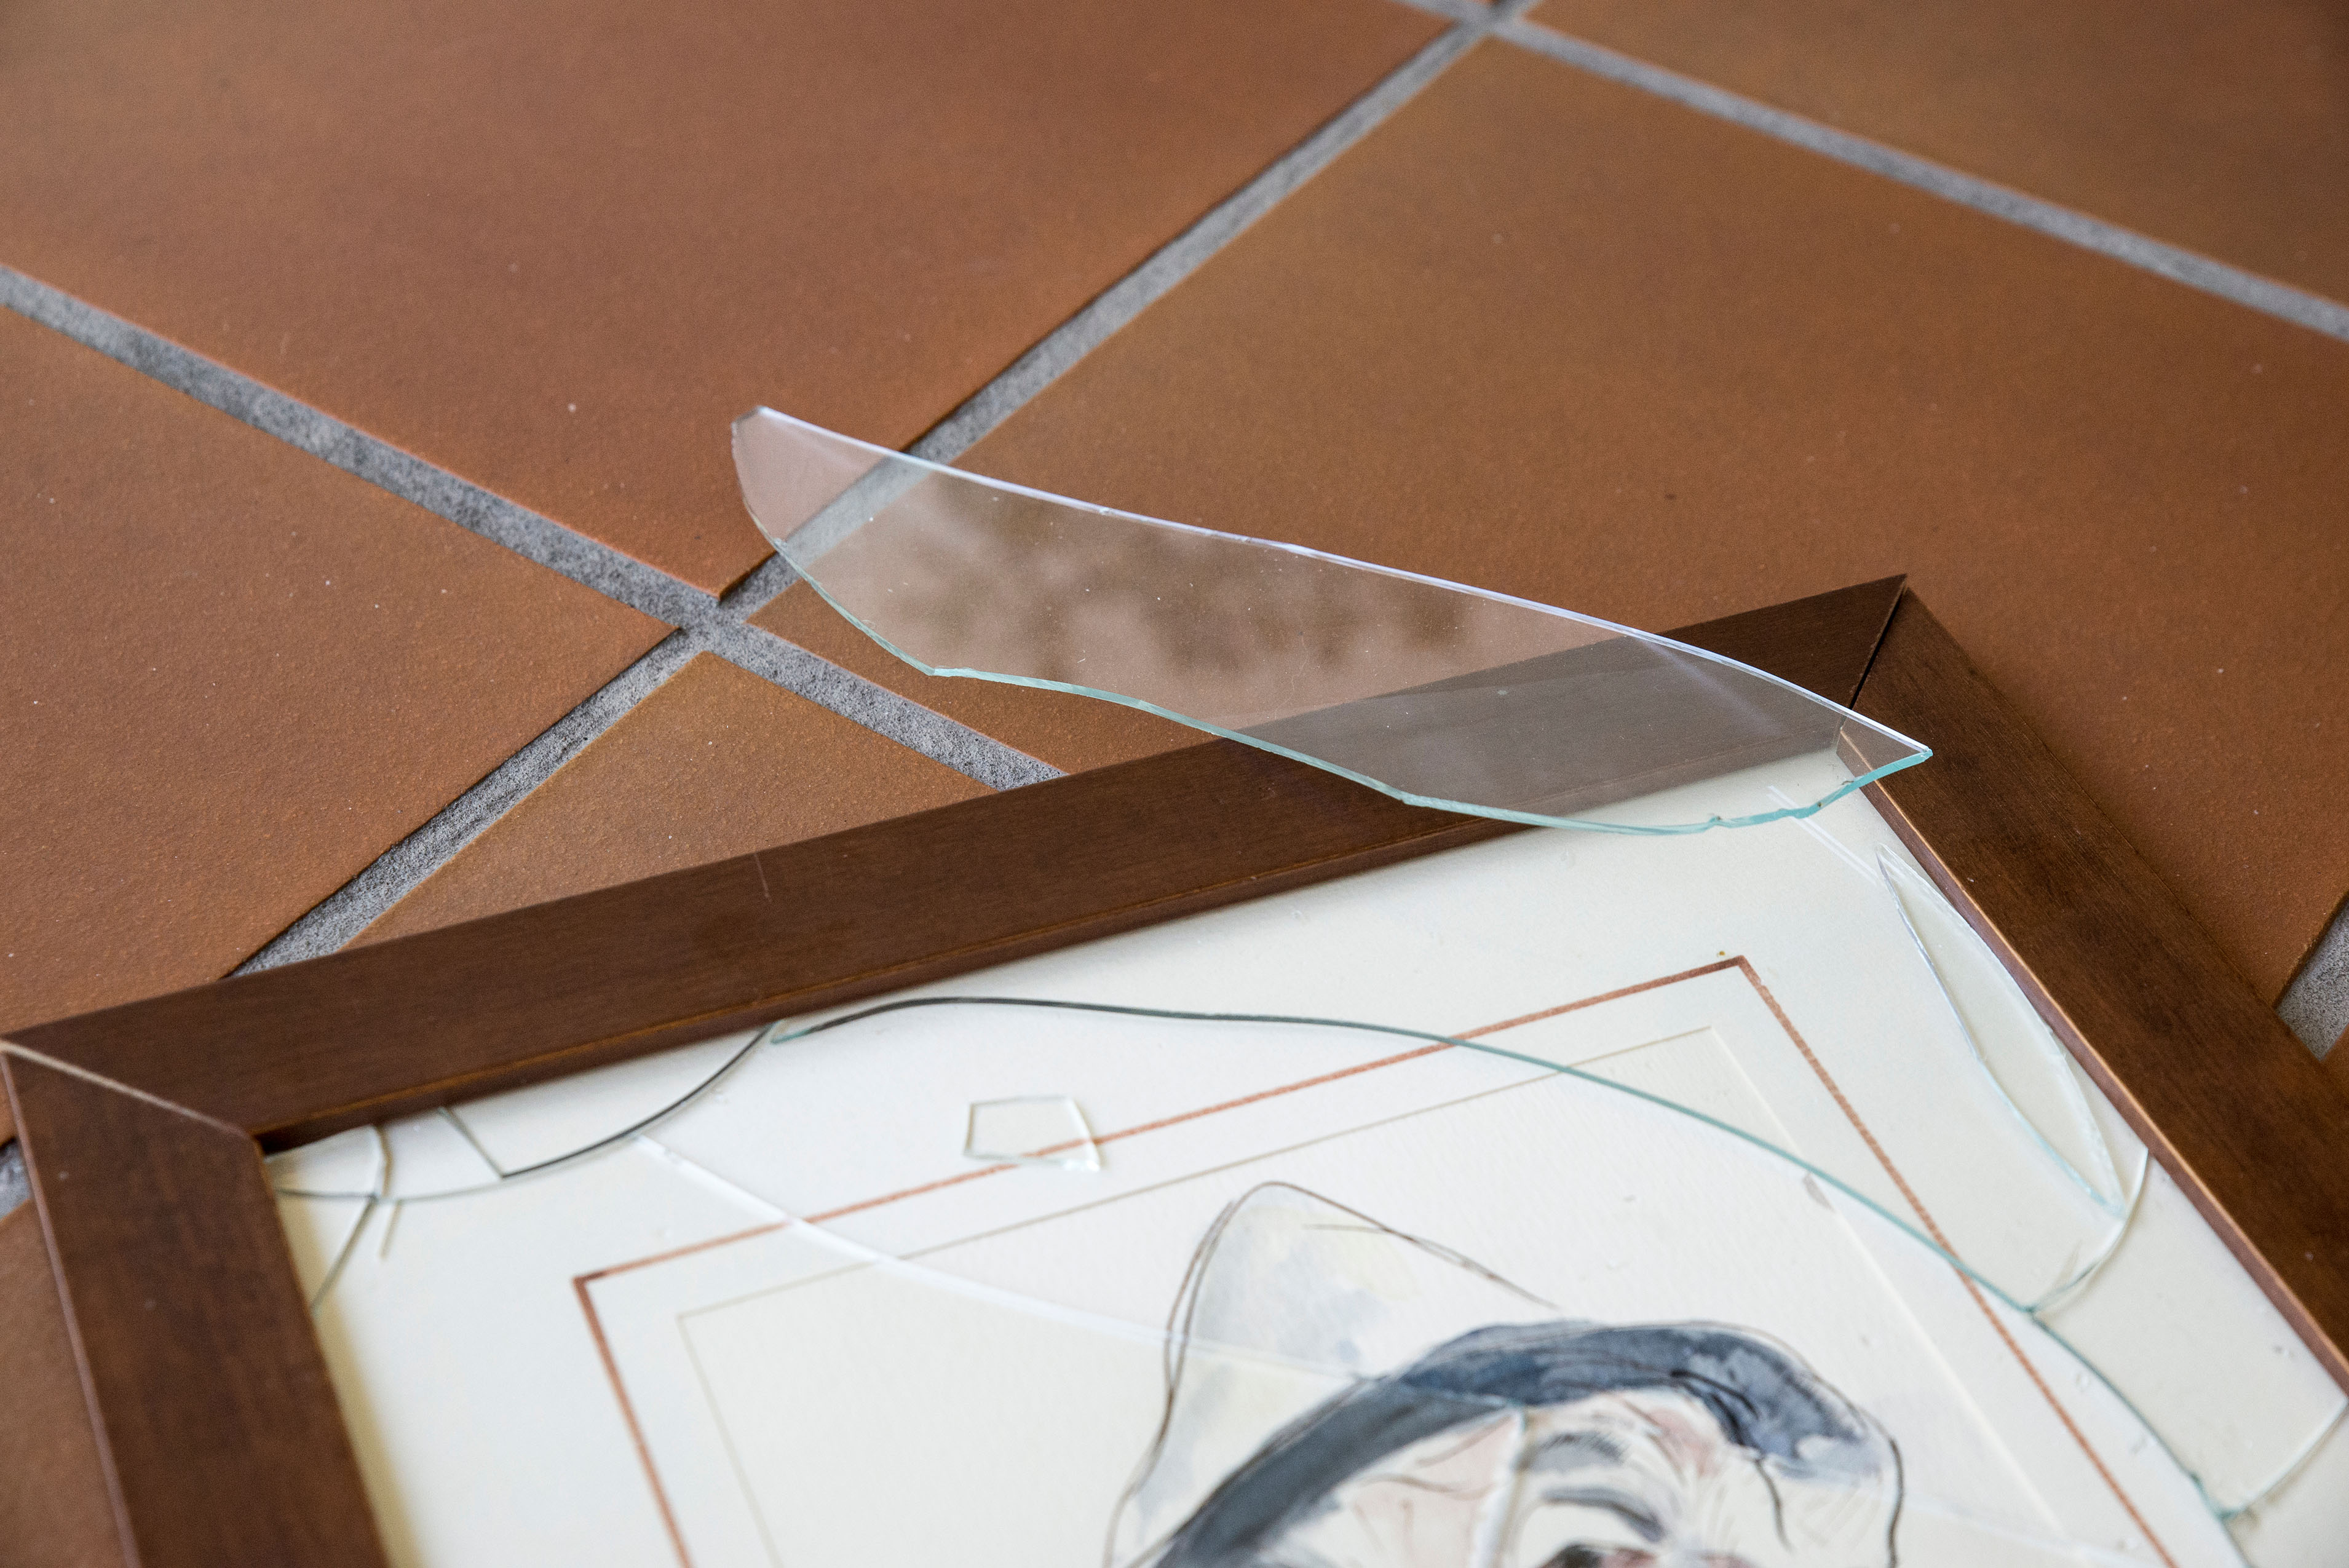
When dealing with a broken picture frame glass, the first step is to assess the extent of the damage. Carefully examine the frame to determine the size and shape of the glass that needs to be replaced. Take note of any sharp shards or edges that may pose a safety risk. Additionally, inspect the frame itself for any signs of damage, such as cracks or splintered wood.
Consider the type of glass that was originally used in the frame. It could be regular glass, tempered glass, or even acrylic. Regular glass is the most common type, while tempered glass is more durable and less likely to break into sharp shards. Acrylic, on the other hand, is lightweight and shatter-resistant. Understanding the type of glass used will help you in selecting the appropriate replacement.
Take note of any other components of the frame that may have been affected by the broken glass, such as the backing or the artwork itself. Ensure that the backing and mounting materials are intact and secure. If the artwork has been damaged or dislodged, you may need to address this along with replacing the glass.
By carefully evaluating the damage, you can determine the necessary steps and materials needed to fix the broken picture frame glass. Next, gather the tools and materials required for the repair process.
Gather the Necessary Tools and Materials
Before you begin the process of fixing a broken picture frame glass, it’s essential to gather all the necessary tools and materials. Being prepared will ensure a smooth and efficient repair process. Here’s a list of items you will need:
- Replacement glass: Measure the dimensions of the broken glass to order the correct size. Remember to consider the type of glass used in the original frame.
- Gloves and safety goggles: Protect your hands and eyes from any sharp edges or debris while handling the broken glass.
- Masking tape: Use this to secure the broken glass, preventing any further breakage or injury.
- Putty knife: This tool will come in handy for carefully removing the frame backing and artwork.
- Small pliers or tweezers: These will be useful for removing any remaining glass shards or debris from the frame.
- Measuring tape or ruler: Accurately measure the dimensions of the replacement glass to ensure a proper fit.
- Glass cleaner and lint-free cloth: Once the repair is complete, you’ll want to clean the glass to restore its clarity.
- Frame sealant or adhesive: Depending on the type of frame, you may need sealant or adhesive to secure the replacement glass in place.
Ensure that you have all the necessary tools and materials within reach before you begin the repair process. This way, you won’t have to pause halfway through to search for missing items. It’s also a good idea to work in a well-lit and clear workspace to minimize accidents and make the repair process more efficient.
With your tools and materials ready, you’re now prepared to move onto the next step – removing the frame backing and artwork.
Remove the Frame Backing and Artwork
To successfully replace the broken picture frame glass, it is necessary to remove the frame backing and artwork. Follow these steps to safely and efficiently remove them from the frame:
1. Lay the frame on a flat and stable surface to ensure stability during the process.
2. If the frame has any clips or fasteners securing the backing, carefully remove them using pliers or a screwdriver. Set the clips aside for reattachment later.
3. Gently lift the frame backing, ensuring not to damage any artwork or photographs attached. Take your time and be cautious to avoid ripping or tearing any delicate pieces.
4. If the artwork is firmly adhered to the back of the frame, use a putty knife to gently pry it away. Take care to support the artwork as you lift it from the frame.
5. Once the artwork and frame backing have been safely removed, set them aside in a secure location where they won’t be damaged.
6. Inspect the frame for any remaining shards of broken glass or debris. Use tweezers or pliers to carefully remove them, taking precautions to avoid injury.
By carefully removing the frame backing and artwork, you create a clear and safe workspace to proceed with the next steps. Remember to handle the artwork with care to prevent any potential damage. With the old glass and backing removed, it’s time to safely dispose of the broken glass and move on to the next phase of the repair process.
Safely Dispose of the Broken Glass
Properly disposing of the broken glass from a picture frame is crucial for the safety of yourself, others, and the environment. Follow these guidelines to ensure the safe and responsible disposal of the broken glass:
1. Carefully collect all the broken glass pieces using gloves and place them in a sturdy cardboard box or container. Avoid using plastic bags, as they can easily tear and cause injuries.
2. If there are large glass shards, wrap them in layers of newspaper or old towels to prevent any accidental cuts or injuries during handling and disposal.
3. Seal the box or container tightly using tape to prevent any glass fragments from falling out. Label it as “Broken Glass – Handle with Care” to alert others to its contents.
4. Check with your local waste disposal facility or municipality to find out the appropriate method for disposal. Some areas may have specific guidelines for disposing of glass or hazardous materials.
5. If there are recycling facilities in your area that accept glass, inquire about their specific requirements and drop-off locations. Glass recycling helps reduce waste and is an environmentally friendly option.
6. If glass recycling is not available, contact your local waste management organization to inquire about their procedures for disposing of broken glass. They will provide you with the necessary information and instructions.
Remember to handle the broken glass with extreme caution to avoid any injuries. Always prioritize safety by wearing gloves and taking proper precautions during the disposal process. By responsibly disposing of the broken glass, you ensure the well-being of yourself, others, and the environment.
Measure and Order the Replacement Glass
Accurate measurement is essential when ordering a replacement glass for your picture frame. Follow these steps to measure and order the correct size of the glass:
1. Carefully remove any remaining glass fragments or debris from the frame using gloves and tools like tweezers or pliers.
2. Measure the width and height of the frame opening from the inside edges where the glass will fit. Use a measuring tape or ruler to ensure precise measurements.
3. Take note of the measurements and double-check them to avoid any errors. Round up the measurements to the nearest eighth or quarter of an inch for more accuracy.
4. Consider the thickness of the original glass and measure its thickness if possible. This will help you select the appropriate replacement glass.
5. Determine the type of glass you need for the replacement. If the original glass was regular glass, you can opt for the same type. However, if you want more durability and safety, consider upgrading to tempered glass or acrylic.
6. Look for reputable glass suppliers or specialized frame shops that offer custom-sized glass. Provide them with the accurate measurements and details of the type of glass you require.
7. Confirm the order and inquire about the estimated delivery time. Some suppliers may offer additional services such as cutting the glass to size if needed.
Remember, it’s crucial to be meticulous when measuring the frame opening to ensure a proper fit for the replacement glass. By ordering the correct size and type of glass, you can ensure a seamless and secure replacement process. Once the replacement glass arrives, you can proceed to the next steps of the repair process.
Prepare the New Glass
After receiving the replacement glass for your picture frame, it’s important to prepare it before installation. Follow these steps to ensure the new glass is ready for a seamless fit:
1. Carefully unpack the replacement glass, taking care to avoid any accidental breakage or damage. Wear gloves to protect your hands from any glass shards and handle the glass with caution.
2. Inspect the new glass for any defects, such as cracks, scratches, or chips. If you notice any issues, contact the supplier immediately to arrange for a replacement or refund.
3. Clean the new glass using a glass cleaner that is safe for the type of glass you have received. Use a lint-free cloth to wipe away any dirt, smudges, or residue, ensuring that the surface is clean and free of any particles.
4. If the replacement glass has sharp edges or corners, consider using a fine-grit sandpaper or a glass file to carefully smooth them down. This will help prevent any injuries when handling or inserting the glass into the frame.
5. Double-check the measurements of the replacement glass to ensure it matches the dimensions of the frame opening accurately. Make any necessary adjustments if required, keeping in mind the rounded-up measurements for a proper fit.
By preparing the new glass before installation, you can ensure that it is in pristine condition and ready for a perfect fit. Cleaning the glass will help maintain its clarity, while smoothing any sharp edges will prevent accidents during the repair process. Once the new glass is prepared, you can move on to the next step – installing the replacement glass into the frame.
Install the Replacement Glass
With the prepared replacement glass in hand, it’s time to install it into the picture frame. Follow these steps to ensure a secure and professional installation:
1. Put on your gloves to protect your hands from any sharp edges. Handle the replacement glass with care to prevent any fingerprints or smudges.
2. Position the replacement glass into the frame opening, ensuring that it fits snugly and aligns with the edges of the frame. If necessary, use masking tape to hold the glass in place temporarily.
3. Depending on the type of frame, you may need to use a frame sealant or adhesive to secure the glass in place. Apply a thin, even layer of the sealant or adhesive around the inner edges of the frame.
4. Carefully press the replacement glass into the frame, applying gentle pressure to ensure it adheres to the sealant or adhesive. Take your time to ensure that the glass is centered and level within the frame.
5. Remove any excess sealant or adhesive that may have seeped out using a putty knife or a clean, damp cloth. Ensure that the frame’s exterior remains clean and free of any visible residue.
6. Allow the sealant or adhesive to dry according to the manufacturer’s instructions. This usually takes a few hours or overnight. Avoid moving or handling the frame during this drying period to ensure a strong bond.
By following these steps, you can successfully install the replacement glass into the picture frame. Taking care to use the appropriate sealant or adhesive will help secure the glass in place, ensuring its longevity and stability within the frame. Once the installation is complete and the sealant is dry, you can move on to the next step – securing the frame backing and artwork.
Secure the Frame Backing and Artwork
Once the replacement glass is installed, it’s time to secure the frame backing and artwork to complete the picture frame repair. Follow these steps to ensure everything is firmly in place and protected:
1. Gently place the frame backing onto the frame, aligning it correctly with the edges. If the frame has clips or fasteners, reattach them securely using pliers or a screwdriver.
2. If the artwork was removed from the frame during the repair process, carefully position it back into place. Make any necessary adjustments to ensure it is centered and straight.
3. Use new or existing mounting materials, such as cardboard or matting, to secure the artwork within the frame. Make sure it is held securely in place to prevent shifting or damage.
4. If needed, cover the back of the frame with a dust cover paper or backing material to protect the artwork from dust and debris. Secure it in place using a staple gun or framing tape.
5. Once the frame backing, artwork, and any mounting materials are properly secured, check for any loose or protruding staples or nails. If necessary, use pliers or a hammer to make adjustments and ensure everything is flush and secure.
6. Carefully inspect the frame, backing, and artwork to ensure they are all in place and held securely. Test the frame by gently shaking it to ensure nothing moves or rattles.
By firmly securing the frame backing and artwork, you protect the contents from damage and ensure the longevity of the repaired frame. Pay attention to any additional materials, such as dust covers, that help maintain the integrity of the frame. Once everything is secure, you can move on to the final step – cleaning and polishing the picture frame.
Clean and Polish the Picture Frame
After completing the repair process, it’s important to clean and polish the picture frame to restore its appearance and keep it looking its best. Follow these steps to give your frame a finished and polished look:
1. Start by removing any dust or loose debris from the frame using a soft, dry cloth or a small brush. Gently wipe down all surfaces, including the front, sides, and back of the frame.
2. If the frame has any stubborn stains or dirt, dampen a cloth with a mixture of mild soap and water. Wring out the cloth so that it is damp, not dripping wet, and gently wipe down the affected areas. Be careful not to oversaturate the frame, especially if it is made of wood or is painted.
3. If the frame has intricate or detailed carvings, use a soft-bristled toothbrush to clean those hard-to-reach areas. Be gentle to avoid damaging the frame or removing any paint or finish.
4. Once the frame is clean, use a separate clean and dry cloth to buff and polish the surfaces. Apply light pressure and use circular motions to bring out the shine of the frame. This will remove any remaining soap residue and leave the frame looking clean and polished.
5. For wooden frames, consider using a specialized wood polish or wax to further enhance the finish and protect the wood. Apply the polish according to the manufacturer’s instructions and, if necessary, buff it with a clean cloth to achieve a smooth and glossy appearance.
6. Take a step back and assess the cleanliness and appearance of the frame. If needed, repeat the cleaning and polishing process to ensure that the frame is truly pristine.
By cleaning and polishing the picture frame, you not only enhance its visual appeal but also help prolong its lifespan. Regular cleaning will prevent dust and dirt buildup, keeping the frame looking fresh and well-maintained. Once you’ve completed the cleaning process, you can proudly display or hang your repaired picture frame with confidence.
Tips and Precautions
As you go through the process of fixing a broken picture frame glass, keep the following tips and precautions in mind to ensure a successful and safe repair:
1. Wear appropriate safety gear, including gloves and safety goggles, when handling broken glass to protect yourself from cuts and injuries.
2. Work in a well-lit and clear workspace to avoid accidents and make the repair process more efficient.
3. Take your time when assessing the damage and measuring for a replacement glass to ensure the correct size and type are ordered.
4. Use caution when removing the broken glass and dispose of it properly to prevent injuries to yourself and others. Follow local guidelines for glass disposal.
5. Double-check that the replacement glass is clean, free of defects, and properly prepared before installation.
6. Use appropriate sealants or adhesives when securing the replacement glass in place within the frame, adhering to the manufacturer’s instructions.
7. Secure the frame backing and artwork tightly, ensuring they are properly aligned and mounted to prevent shifting or damage.
8. Regularly clean and polish the picture frame to keep it looking its best and maintain its overall condition.
9. If you’re unsure about any step of the repair process or encounter difficulties, consider seeking professional assistance from a frame repair specialist.
Remember that safety should always be your top priority in any DIY project. Take the necessary precautions to protect yourself and handle the materials with care. By following these tips and taking the appropriate steps, you can successfully fix a broken picture frame glass and restore its beauty for years to come.