
Preparation
Before you can start emptying and cleaning the water from your Rug Doctor machine, it’s important to make sure you are properly prepared. This will ensure a smooth and hassle-free process. Here are a few things to keep in mind:
- Gather the necessary tools: To properly empty and clean the water from your Rug Doctor machine, you will need a few tools on hand. These may include rubber gloves, a bucket or basin, and a clean cloth or sponge for wiping down any spills or messes that may occur during the process.
- Choose a suitable location: It’s important to select a location for the task that is well-ventilated and has a stable surface. This will help prevent any accidents or spills and ensure a safe and convenient environment for emptying and cleaning the water tank.
- Ensure the machine is powered off and unplugged: Before attempting to empty or clean the water tank, always make sure that the Rug Doctor machine is turned off and unplugged from the power source. This will prevent any potential electrical hazards and keep you safe throughout the process.
- Find a nearby drain: When emptying the dirty water tank, it’s essential to have a nearby drain where you can safely dispose of the water. This can be a floor drain, utility sink, or even an outdoor drain. Having a designated area for the water to go will make the process much easier.
By properly preparing for the task ahead, you can ensure that the process of emptying and cleaning the water from your Rug Doctor machine goes smoothly and without any unnecessary complications. Once you have gathered the necessary tools, chosen a suitable location, powered off and unplugged the machine, and identified a nearby drain, you are ready to move on to the next steps.
Step 1: Turn off and unplug the Rug Doctor machine
The first step in emptying and cleaning the water from your Rug Doctor machine is to ensure that it is turned off and unplugged. This is a crucial safety measure that should always be followed before performing any maintenance tasks on electrical appliances. Here’s how to do it:
- Locate the power switch: Depending on the model of your Rug Doctor machine, the power switch may be located either on the main body of the machine or on the handle. Take a moment to familiarize yourself with the location of the power switch before proceeding.
- Turn off the machine: Once you have located the power switch, simply flip it to the “Off” position. This will effectively shut down the machine and prevent any accidental activation during the emptying and cleaning process.
- Unplug the power cord: After turning off the machine, locate the power cord and unplug it from the electrical outlet. This step is essential to ensure your safety and avoid any potential electrical hazards while handling the water tank and other components of the machine.
By turning off and unplugging the Rug Doctor machine before proceeding, you minimize the risk of electric shock and create a safe environment to work in. These simple steps should always be followed whenever you are performing maintenance tasks on any electrical appliance. Now that you have ensured the machine is safely powered down, you can move on to the next step of the process.
Step 2: Remove the clean water tank
Once you have turned off and unplugged the Rug Doctor machine, it’s time to remove the clean water tank. The clean water tank is where you fill the machine with water and cleaning solution for your carpet cleaning tasks. Follow these steps to safely remove the clean water tank:
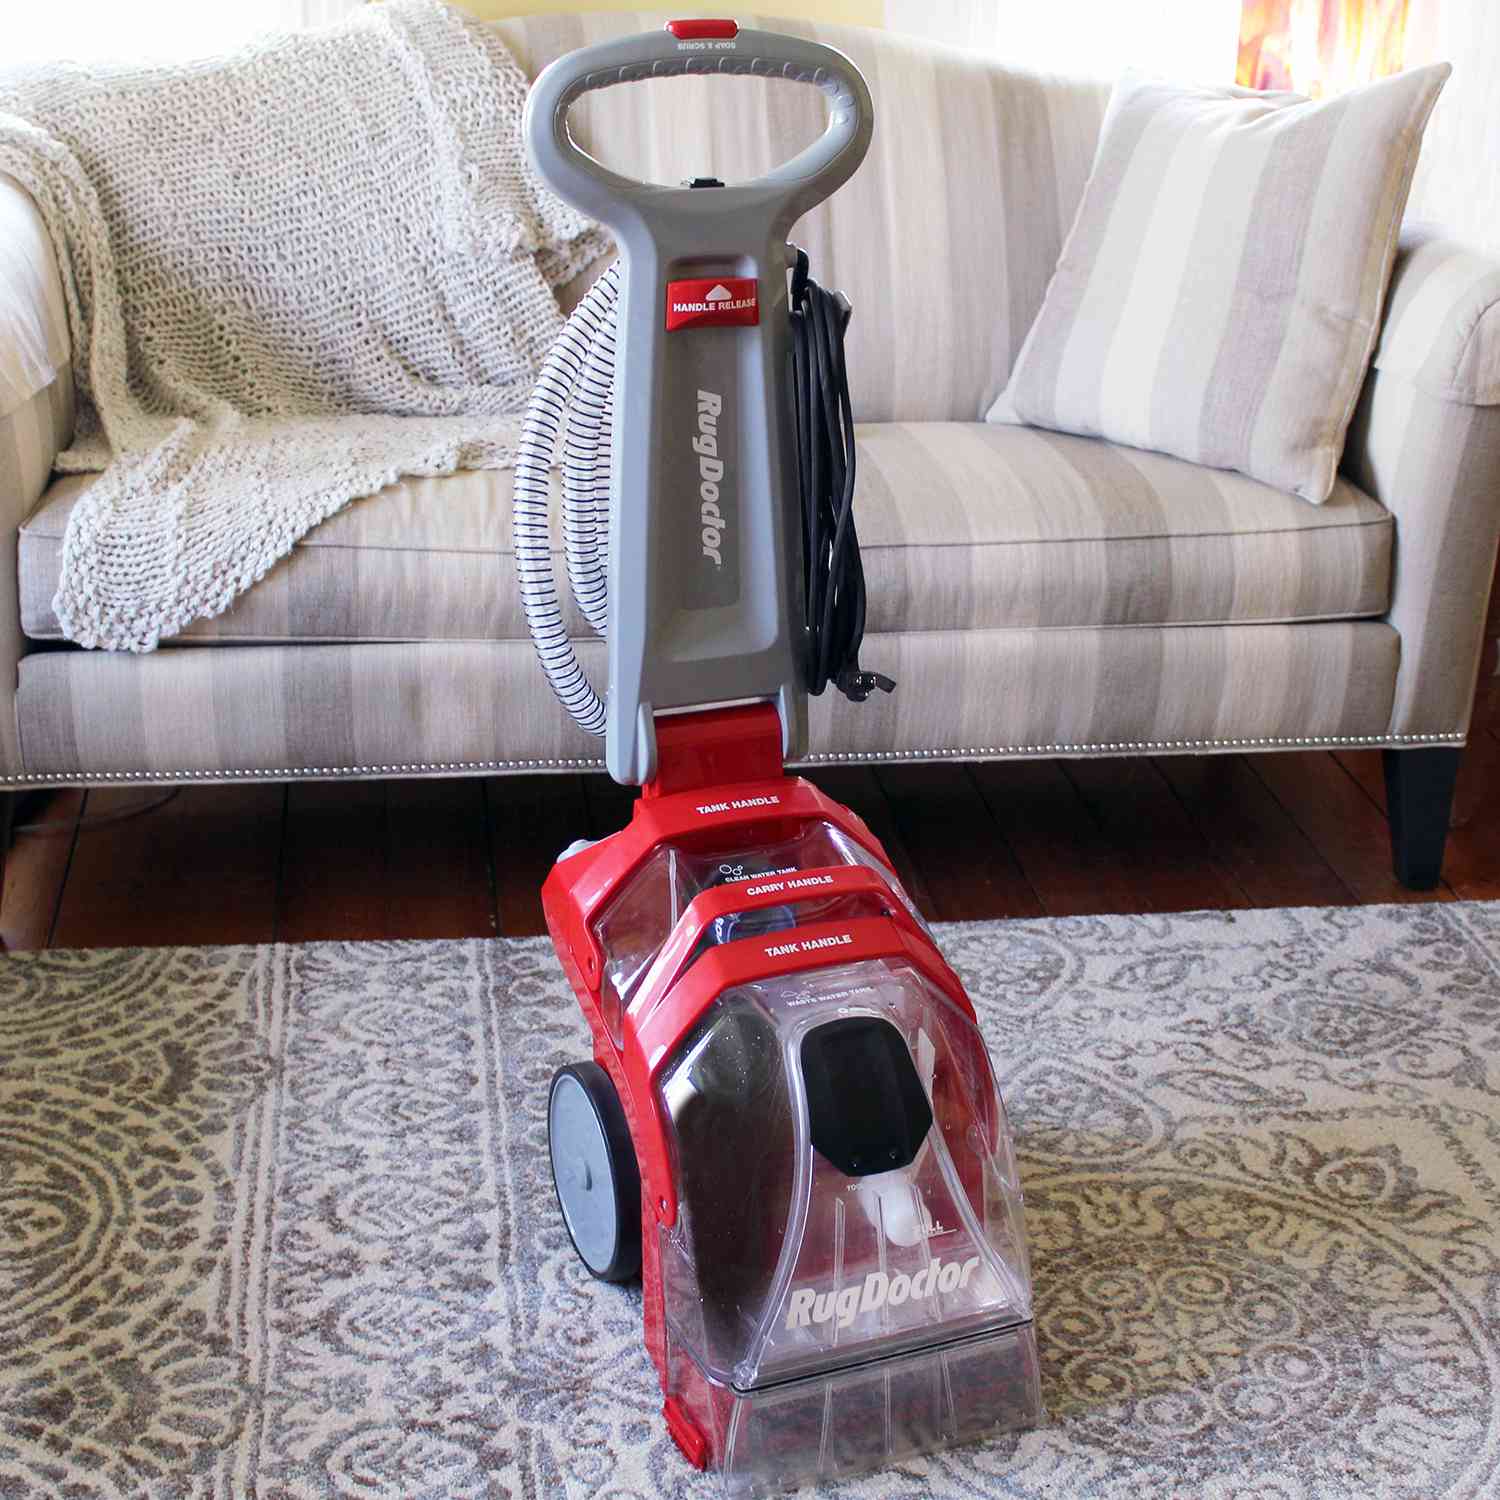
- Locate the clean water tank: The clean water tank is typically located at the front or top of the Rug Doctor machine. It is usually see-through or translucent, allowing you to easily monitor the water level.
- Release the latch or lock: Depending on the model of your Rug Doctor machine, there may be a latch or lock mechanism holding the clean water tank in place. Look for a release lever, button, or latch near the tank and follow the instructions to unlock it.
- Gently pull out the clean water tank: Once the latch or lock is released, carefully pull the clean water tank out of the machine. Use a steady and controlled motion to avoid any spills or splashes. If the tank feels stuck, double-check that the latch or lock is fully released.
- Set the clean water tank aside: Once the clean water tank is removed from the Rug Doctor machine, find a safe place to set it aside. You may want to place it on a clean surface or use a designated area for storing the tank during the cleaning process.
By following these steps, you can easily remove the clean water tank from your Rug Doctor machine. This will allow you to empty and clean it thoroughly before your next carpet cleaning session. Remember to handle the tank with care to avoid any accidental spills or damage. With the clean water tank safely removed, you can now proceed to the next step of emptying the water from the machine.
Step 3: Empty the clean water tank
Now that you have successfully removed the clean water tank from your Rug Doctor machine, it’s time to empty it. This step is important to remove any remaining water or cleaning solution from the tank before cleaning and storing it. Follow these simple steps to effectively empty the clean water tank:
- Find a suitable location: Choose a location where you can safely empty the tank. It is recommended to do this near a sink, toilet, or any other drain that can handle the water.
- Hold the tank securely: Before you start pouring out the water, make sure you have a firm grip on the clean water tank to avoid any accidental spills. Hold it steadily with both hands and keep it level to prevent water from splashing out.
- Pour out the water: Slowly tilt the clean water tank over the sink or drain and pour out the remaining water. Pour it out in a controlled manner to prevent any splashing or mess. Take your time to ensure that all the water is emptied from the tank.
- Check for any residue: Once the tank is empty, inspect it for any residue or leftover cleaning solution. If you notice any, rinse the tank with clean water to remove it completely. This will help maintain the tank’s cleanliness and prevent any build-up over time.
- Dry the clean water tank: After emptying and rinsing the tank, use a clean cloth or towel to wipe away any excess moisture. Allow the tank to air dry completely before reassembling and storing it.
By following these steps, you can effectively empty the clean water tank of your Rug Doctor machine. Taking the time to empty and clean the tank will ensure that it remains in good condition, free from any residue or unpleasant odors. With the clean water tank successfully emptied, you can now move on to the next step of removing the dirty water tank.
Step 4: Remove the dirty water tank
After emptying the clean water tank, the next step in the process of emptying and cleaning your Rug Doctor machine is to remove the dirty water tank. The dirty water tank collects the water and dirt extracted from your carpets during the cleaning process. Follow these steps to safely remove the dirty water tank:
- Locate the dirty water tank: The dirty water tank is typically located at the back or bottom of the Rug Doctor machine. It is designed to be easily accessible for removal and emptying.
- Identify the latch or lock mechanism: Look for a latch or lock mechanism that secures the dirty water tank in place. This may be a lever, button, or release switch. Take note of its location and how it operates.
- Release the latch or lock: Use your fingers or a tool, if necessary, to release the latch or lock mechanism. Follow the instructions provided by the manufacturer to ensure you unlock it properly.
- Gently pull out the dirty water tank: Once the latch or lock is released, carefully pull the dirty water tank out of the Rug Doctor machine. Use a steady and controlled motion to avoid any spills or splashes.
- Set the dirty water tank aside: Once the dirty water tank is removed, find a suitable location to set it aside. You may want to place it on a sink or near a drain to prepare for emptying and cleaning.
By following these steps, you can easily remove the dirty water tank from your Rug Doctor machine. This allows you to properly empty and clean it to maintain the machine’s performance and prevent any unpleasant odors. Once the dirty water tank is safely removed, you can proceed to the next step of emptying the collected water.
Emptying the dirty water tank
Now that you have successfully removed the dirty water tank from your Rug Doctor machine, it’s time to empty the collected water. Properly emptying the dirty water tank is an essential step to maintain the cleanliness and functionality of your machine. Follow these steps to effectively empty the dirty water tank:
- Find a suitable location: Choose a location where you can safely empty the collected water. It is recommended to do this near a sink, toilet, or any other drain that can handle the water and debris.
- Hold the tank securely: Before you start pouring out the water, ensure you have a firm grip on the dirty water tank to prevent any accidental spills. Hold it steadily with both hands and keep it level to avoid splashing.
- Pour out the water: Slowly and carefully tilt the dirty water tank over the sink or drain and pour out the collected water. It is important to pour at a controlled pace to avoid splashing or making a mess. Take your time to ensure all the water is emptied.
- Check for debris: After emptying the water, inspect the tank for any debris or dirt that may have been collected. If you notice any debris inside, rinse the tank with water to remove it. This will help maintain the cleanliness of the tank.
- Clean the tank: To ensure optimal cleanliness, wash the dirty water tank with warm soapy water. Use a sponge or brush to scrub the interior and remove any remaining residue. Rinse thoroughly to eliminate any soap residue.
- Dry the dirty water tank: After cleaning, use a clean cloth or towel to dry the tank thoroughly. Allow it to air dry completely before reassembling it with the Rug Doctor machine.
By following these steps, you can effectively empty the dirty water tank of your Rug Doctor machine and ensure it is clean and ready for future use. Properly emptying and cleaning the tank after each use is crucial for maintaining the performance and longevity of your machine. With the dirty water tank emptied and cleaned, you can now move on to the next step of reassembling the Rug Doctor machine.
Step 5: Clean the dirty water tank
After emptying the dirty water tank, it is important to thoroughly clean it to remove any remaining residue or contaminants. Cleaning the dirty water tank will help maintain its performance and prevent any unpleasant odors. Follow these steps to effectively clean the dirty water tank of your Rug Doctor machine:
- Prepare a cleaning solution: Mix a solution of warm water and mild dish soap in a sink or basin. The dish soap will help break down any dirt or grime inside the tank.
- Submerge the dirty water tank: Completely submerge the dirty water tank in the cleaning solution. Make sure the entire tank is immersed to ensure thorough cleaning.
- Scrub the tank’s interior: Use a sponge, brush, or cloth to scrub the interior of the tank, paying special attention to any areas with visible residue. Scrub all surfaces thoroughly to remove any remaining dirt or debris.
- Rinse the tank: After scrubbing, rinse the dirty water tank with clean water to remove any soap residue. Ensure that all the soap is rinsed off to prevent any interference with the machine’s performance.
- Inspect for cleanliness: Once rinsed, visually inspect the dirty water tank to ensure it is clean and free from any remaining dirt or residue. If necessary, repeat the cleaning process or spot clean any stubborn areas.
- Dry the dirty water tank: Thoroughly dry the clean dirty water tank with a clean towel or cloth. It is essential to ensure the tank is completely dry before reassembling it and storing it to prevent the growth of mold or mildew.
By following these steps, you can effectively clean the dirty water tank of your Rug Doctor machine. Regularly cleaning the tank will help maintain its performance and extend the lifespan of your machine. Once the dirty water tank is clean and dry, you’re ready to move on to the next step of reassembling and storing your Rug Doctor machine.
Step 6: Reassemble and store the Rug Doctor machine
After cleaning the dirty water tank, it’s time to reassemble and store your Rug Doctor machine. Properly reassembling and storing your machine will help maintain its functionality and ensure it is ready for future use. Follow these steps to effectively reassemble and store your Rug Doctor machine:
- Insert the clean water tank: Take the cleaned and dry clean water tank and carefully insert it back into its designated spot on the Rug Doctor machine. Ensure it is securely in place by following any locking or latching mechanisms present.
- Reattach any accessories or attachments: If you removed any accessories or attachments during the cleaning process, now is the time to reattach them. This includes items like the upholstery tool or the attachment hose. Make sure they are properly connected and secured.
- Replace the dirty water tank: Place the clean and dry dirty water tank back into its position on the Rug Doctor machine. Make sure it is properly aligned and securely locked or latched into place.
- Check the power cord: Before storing the machine, check the power cord for any damage or fraying. If you notice any issues, it is essential to address them before using the machine again. Avoid wrapping the power cord tightly around the machine to prevent damage.
- Store in a clean and dry location: Find a clean and dry location to store your Rug Doctor machine. This could be a storage closet, garage, or dedicated cleaning equipment area. Make sure the area is well-ventilated and away from any sources of moisture to prevent mold or mildew growth.
- Secure any detachable parts: If your Rug Doctor machine comes with detachable parts such as the hose, attachments, or cleaning tools, make sure to secure them properly. Store them in a designated compartment or bag to keep them organized and readily accessible for future use.
By following these steps, you can effectively reassemble and store your Rug Doctor machine. Taking the time to properly store your machine will help protect it and ensure it remains in good working condition for years to come. With your machine reassembled and safely stored, you have successfully completed the process of emptying and cleaning the water from your Rug Doctor machine.