
Why Cleaning a Rug Doctor Before Returning is Important
Returning a rented Rug Doctor without cleaning it properly can have several negative consequences. Firstly, it is courteous and respectful to the next renter to leave the machine in a clean and ready-to-use condition. Secondly, failing to clean the Rug Doctor may result in additional fees or penalties imposed by the rental company. Lastly, by cleaning the machine before returning it, you ensure that it functions optimally and prolong its lifespan.
When you rent a Rug Doctor, it is essential to remember that you are responsible for the care and maintenance of the machine during the rental period. These carpet-cleaning machines are shared by multiple customers, and it is your obligation to clean them after use.
By taking the time to clean the Rug Doctor thoroughly before returning it, you show consideration for the next person who will be renting the machine. Nobody wants to use a dirty and grimy carpet cleaner, so ensuring that it is clean and well-maintained will enhance the overall experience for the next user. Moreover, by leaving the machine in good condition, you contribute to a positive rental experience for all customers.
Most rental companies have specific policies and guidelines regarding the return of their equipment. Failure to clean the Rug Doctor in accordance with these rules can result in additional fees or penalties. These fees are typically imposed to cover the cost of cleaning and preparing the machine for the next customer. By thoroughly cleaning the machine, you can avoid these unnecessary charges and save yourself some money.
Lastly, cleaning the Rug Doctor before returning it is vital for the machine’s longevity and performance. Regular maintenance and cleaning help to prevent the build-up of dirt, debris, and residue in the various components of the machine. By keeping the Rug Doctor clean, you ensure that it functions optimally and remains in good working condition for future customers.
Overall, taking the time to clean the Rug Doctor before returning it is a responsible and considerate practice. It benefits both the next user and yourself by ensuring a pleasant rental experience, avoiding unnecessary fees, and maintaining the machine’s performance. So, make it a point to clean the Rug Doctor thoroughly after each use and leave it in the best possible condition for the next renter.
Materials Needed for Cleaning the Rug Doctor
Before you begin cleaning the Rug Doctor, gather the necessary materials to ensure a thorough and effective cleaning process. Having these materials on hand will make the task more efficient and convenient. Here are the materials you will need:
- Rug Doctor machine: Of course, you will need the Rug Doctor machine itself. Make sure it is in good working condition before you start cleaning.
- Hot water: Hot water is essential for loosening and removing dirt and stains from your carpets. Ensure the water is at a suitable temperature for cleaning.
- Rug Doctor carpet cleaning solution: Choose a suitable carpet cleaning solution specifically formulated for use with the Rug Doctor machine. This will enhance the effectiveness of the cleaning process.
- Clean towels or rags: Keep a few clean towels or rags handy to wipe down any spills or excess moisture during the cleaning process.
- Bucket: You will need a bucket to mix the cleaning solution with hot water. Make sure it is clean and large enough to hold the desired amount of solution.
- Scrub brush or upholstery attachment: Depending on the areas you are cleaning, you may need a scrub brush or upholstery attachment to agitate the carpet fibers and remove stubborn stains.
- Vacuum cleaner: Before using the Rug Doctor, it is essential to vacuum your carpets thoroughly to remove loose dirt and debris. This will improve the cleaning efficiency of the machine.
- Protective gloves: To protect your hands from the cleaning solution and for added hygiene, wear a pair of protective gloves throughout the cleaning process.
By gathering these materials beforehand, you can ensure a smooth and hassle-free cleaning experience with the Rug Doctor. Having everything readily available will save you time and frustration during the process.
Remember to read and follow the instructions provided with the Rug Doctor machine and the carpet cleaning solution to ensure the best results. With the right materials and proper techniques, you can effectively clean your carpets and restore their freshness and appearance.
Step 1: Empty the Dirty Water Tank
Before you begin cleaning the Rug Doctor machine, it is important to start by emptying the dirty water tank. The dirty water tank is where all the extracted dirt, grime, and water accumulate during the cleaning process. By emptying the tank, you create space for clean water and ensure optimal performance for the next use. Follow these steps to empty the dirty water tank:
- Turn off the Rug Doctor machine and unplug it from the power source for safety.
- Locate the dirty water tank, usually positioned at the front or rear of the machine.
- Carefully remove the dirty water tank from the machine by lifting it straight up.
- Locate the tank’s release latch, typically located at the bottom or side, and press or slide it to release the tank.
- Dispose of the dirty water in a sink, toilet, or outdoor drain, depending on your available options. Ensure that you comply with any local regulations for wastewater disposal.
- Rinse the dirty water tank with clean water to remove any remaining residue or debris. Wipe it dry with a clean towel or allow it to air dry completely.
- Once the dirty water tank is completely dry, reattach it to the Rug Doctor machine by aligning the tank with the designated slot and firmly pushing it into place until you hear a click.
By emptying and cleaning the dirty water tank after each use, you prevent the accumulation of stagnant water and potential odors. Additionally, a clean tank ensures that the machine operates at its best performance for future use.
Remember to refer to the Rug Doctor’s user manual or instructional guide for specific guidelines pertaining to your model. Each machine may have slight variations, so it is important to familiarize yourself with the instructions provided.
With the dirty water tank emptied and cleaned, you are now ready to move on to the next steps to thoroughly clean your Rug Doctor machine and maintain its optimal functionality.
Step 2: Clean the Dirty Water Tank
After emptying the dirty water tank, the next step in cleaning your Rug Doctor machine is to thoroughly clean the tank itself. Over time, residue, debris, and odors can build up inside the tank, affecting the machine’s performance and cleanliness. Follow these steps to clean the dirty water tank:
- Remove the dirty water tank from the Rug Doctor machine as described in step 1.
- Separate any removable parts from the tank, such as the lid, filter, or baffle.
- Rinse the removable parts with warm water to remove any dirt or debris.
- Mix a solution of warm water and mild detergent in a bucket or sink.
- Using a clean sponge or soft brush, scrub the interior of the dirty water tank with the soapy water solution. Pay attention to any stubborn stains or buildup, ensuring to remove them completely.
- Rinse the tank thoroughly with clean water to remove any soap residue.
- Check the filter, if applicable, for signs of wear or damage. If necessary, replace the filter according to the manufacturer’s instructions.
- Wipe down the exterior of the dirty water tank with a damp cloth to remove any dirt or grime.
- Allow all parts of the dirty water tank to air dry completely before reassembling and reattaching them to the Rug Doctor machine.
Regularly cleaning the dirty water tank helps prevent the growth of bacteria and keeps your machine in optimal working condition. A clean tank enhances the overall cleaning performance and maintains the freshness of your carpets.
Refer to the Rug Doctor’s user manual or instructional guide for any specific instructions on cleaning the dirty water tank. The manufacturer may provide additional recommendations or precautions tailored to your particular model.
With the dirty water tank cleaned and fully dried, your Rug Doctor machine is now ready for the next step in the maintenance process.
Step 3: Remove the Filter and Clean it
The filter plays a crucial role in trapping dirt and debris during the carpet cleaning process with your Rug Doctor machine. Regularly cleaning the filter ensures optimal performance and maintains the machine’s efficiency. Follow these steps to remove and clean the filter:
- Locate the filter on your Rug Doctor machine. It is typically situated near the dirty water tank or within a designated compartment.
- Gently remove the filter from its housing. Depending on the model, the filter may twist, slide, or snap out of place.
- Inspect the filter for any visible dirt, lint, or debris. Use a soft brush or tap it lightly to dislodge loose particles.
- Fill a sink or bucket with warm water. Add a small amount of mild dish soap or a carpet cleaning solution recommended by the manufacturer.
- Place the filter in the soapy water and let it soak for a few minutes. This will help loosen stubborn dirt and stains.
- Gently scrub the filter with a soft brush or sponge to remove any remaining dirt or debris. Pay attention to the filter’s crevices and folds.
- Rinse the filter thoroughly with clean water to remove any soap residue. Ensure that all traces of dirt and cleaning solution are completely removed.
- Shake out excess water from the filter and pat it dry with a clean towel. Let it air dry completely before reassembling and reinstalling it.
- Once the filter is dry, carefully place it back into its housing or slot. Ensure that it is properly aligned and securely in place.
Regularly cleaning the filter helps maintain the suction power and overall performance of your Rug Doctor machine. A clean filter ensures that dirt and debris are effectively trapped during the cleaning process, preventing them from being recirculated onto your carpets.
Refer to the Rug Doctor’s user manual or instructional guide for any specific instructions on cleaning the filter. The manufacturer may provide additional recommendations or precautions based on your particular model.
With the filter cleaned and reinstalled, your Rug Doctor machine is now ready for the next step in the cleaning process.
Step 4: Clean the Soap Tank
The soap tank in your Rug Doctor machine is responsible for holding the cleaning solution that is dispensed onto your carpets. Cleaning this tank is essential to prevent clogs and ensure the proper functioning of the machine. Follow these steps to clean the soap tank effectively:
- Ensure that the Rug Doctor machine is turned off and unplugged for safety.
- Locate the soap tank, which is typically located near the clean water tank.
- Remove the soap tank by gently pulling it up and away from the machine. Some models may require twisting or sliding to release the tank.
- Empty any remaining soap solution from the tank into a sink or drain. Dispose of it according to local regulations.
- Fill the sink or a bucket with warm water and add a small amount of mild dish soap or a carpet cleaning solution recommended by the manufacturer.
- Place the soap tank in the soapy water and use a sponge or soft brush to scrub the interior surfaces. Pay attention to any built-up residue or stains.
- Rinse the tank thoroughly with clean water to remove any soap residue. Check that all traces of soap and dirt have been completely washed away.
- Shake out any excess water from the soap tank and use a clean towel to dry it. Ensure that it is completely dry before reinstalling it onto the Rug Doctor machine.
- Carefully reattach the soap tank back into its slot or housing, making sure it fits securely and locks into place.
Regularly cleaning the soap tank helps avoid clogs and ensures that the cleaning solution is dispensed properly onto your carpets. A clean tank ensures that the right amount of solution is distributed for an effective cleaning process.
Consult the Rug Doctor’s user manual or instructional guide for any specific instructions on cleaning the soap tank. The manufacturer may provide additional recommendations or precautions based on your particular model.
With the soap tank cleaned and reinstalled, your Rug Doctor machine is now ready for the next step in the cleaning process.
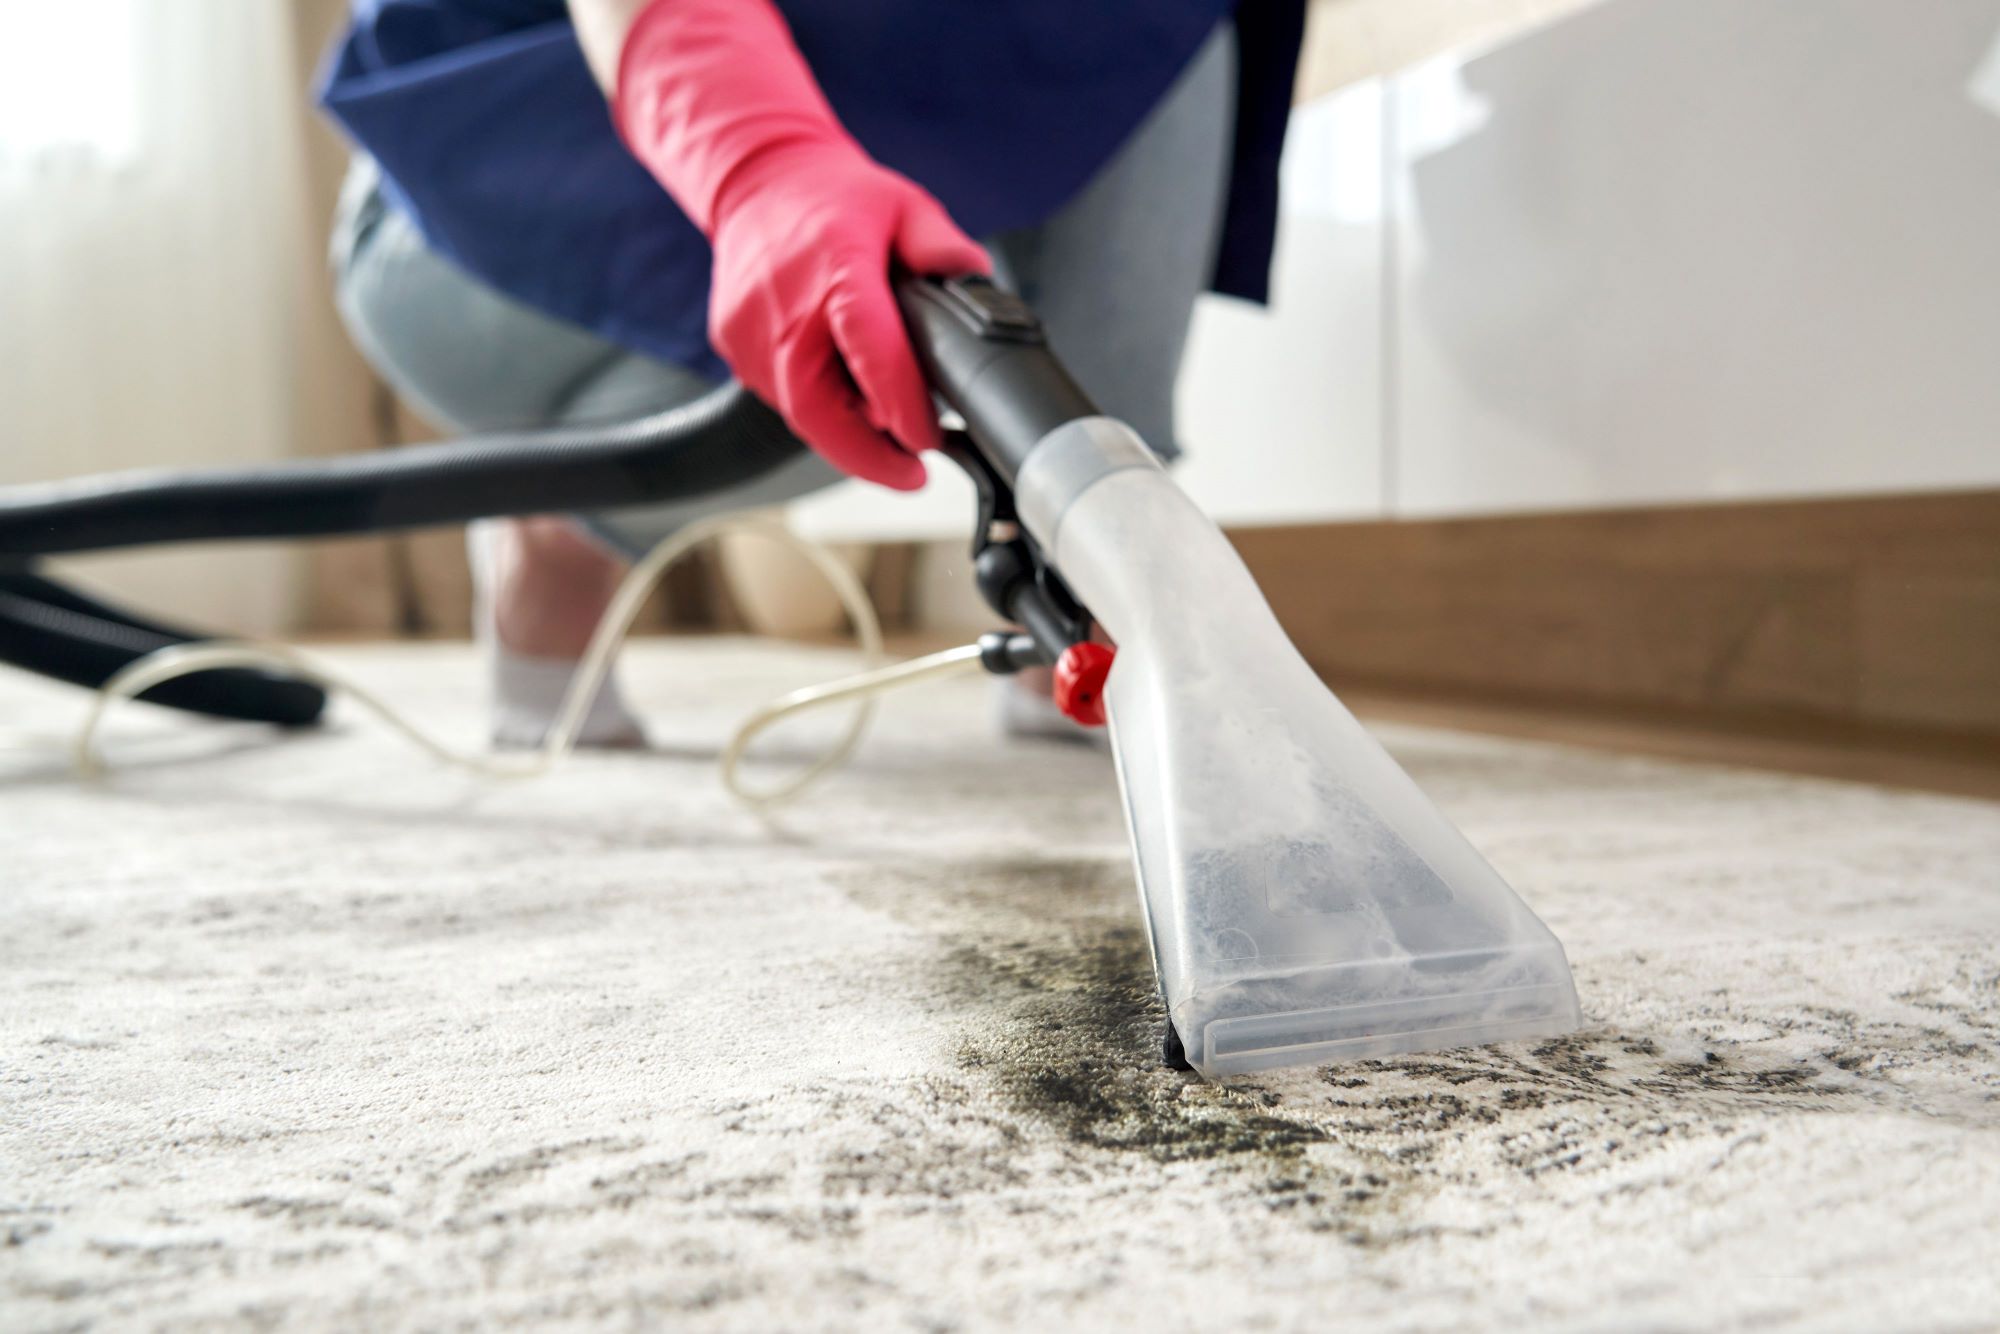
Step 5: Clean the Nozzle and Brush Bar
The nozzle and brush bar of your Rug Doctor machine play a crucial role in agitating the carpets and extracting dirt. Regularly cleaning these components is essential to maintain their efficiency and prevent blockages. Follow these steps to clean the nozzle and brush bar effectively:
- Ensure that the Rug Doctor machine is turned off and unplugged for safety.
- Locate the nozzle and brush bar, which are usually positioned underneath the machine.
- Inspect the nozzle and brush bar for any visible dirt, hair, or debris. Use your fingers or a brush to loosen and remove any clogs.
- If the nozzle has removable parts, such as a spray tip, detach them and clean them separately.
- Mix a solution of warm water and mild detergent in a bucket or sink.
- Submerge the nozzle and brush bar in the soapy water solution and let them soak for a few minutes.
- Use a brush or sponge to scrub the nozzle and brush bar, focusing on any stubborn stains or buildup.
- Rinse the nozzle and brush bar thoroughly with clean water to remove any soap residue. Ensure that all traces of dirt and cleaning solution are completely removed.
- Shake out any excess water and use a clean towel to dry the nozzle and brush bar.
- Once completely dry, reattach the nozzle and brush bar to the Rug Doctor machine, ensuring that they are securely in place.
Regularly cleaning the nozzle and brush bar prevents clogs and keeps your Rug Doctor machine functioning at its best. Free-flowing suction and an agitating brush bar ensure efficient and thorough carpet cleaning.
Always refer to the Rug Doctor’s user manual or instructional guide for any specific instructions on cleaning the nozzle and brush bar. The manufacturer may provide additional recommendations, such as removing and cleaning specific components, based on your particular model.
With the nozzle and brush bar cleaned and reinstalled, your Rug Doctor machine is ready for the next step in the cleaning process.
Step 6: Wipe Down the Exterior of the Rug Doctor
While cleaning the various internal components of your Rug Doctor machine is essential, it is also important to give attention to the machine’s exterior. Wiping down the exterior helps maintain its appearance and cleanliness. Follow these steps to effectively wipe down the exterior of the Rug Doctor machine:
- Ensure that the Rug Doctor machine is turned off and unplugged for safety.
- Use a clean, damp cloth or sponge to wipe down the exterior surfaces of the machine.
- Pay attention to areas that may have accumulated dirt, such as the handle, switches, and buttons.
- If there are any stubborn stains or sticky residue, use a mild detergent or all-purpose cleaner to help remove them.
- Gently wipe over the control panel, being cautious not to get excessive moisture into the electrical components.
- For any particularly dirty or hard-to-reach spots, use a soft-bristle brush or a cotton swab to clean them.
- Thoroughly dry the exterior of the Rug Doctor machine with a clean towel or allow it to air dry completely.
Regularly wiping down the exterior of the Rug Doctor machine helps prevent dirt and grime from accumulating on its surface. It not only keeps the machine looking clean but also contributes to a more hygienic cleaning process.
Take care not to use excessive water or harsh cleaning products that may damage the machine’s exterior or internal components. Always follow the manufacturer’s recommendations and guidelines when cleaning the Rug Doctor machine.
With the exterior of the machine cleaned and dried, your Rug Doctor machine is now ready for the next step in the cleaning process.
Step 7: Let the Rug Doctor Dry
After completing the cleaning process for your Rug Doctor machine, it is important to allow it to dry thoroughly before storing or returning it. Allowing the machine to dry properly prevents the growth of mold or mildew and ensures its longevity. Follow these steps to ensure the Rug Doctor machine dries effectively:
- Ensure that the Rug Doctor machine is turned off and unplugged.
- Remove any excess moisture from the machine’s exterior by gently wiping it with a clean, dry cloth or towel.
- Avoid hiding the machine in a confined space or covering it while it is still damp. This can trap moisture and lead to mold or mildew growth.
- Place the Rug Doctor machine in a well-ventilated area, preferably with good air circulation.
- Allow the machine to air dry completely, which may take several hours or overnight, depending on the humidity and air temperature.
- Check that all components, such as the dirty water tank, nozzle, and brush bar, are also thoroughly dry before reassembling them.
- Once the Rug Doctor machine and all its components are completely dry, it is ready for storage or return.
Properly drying the Rug Doctor machine is key to preventing moisture-related issues and maintaining its performance. Be patient and resist the temptation to store or transport the machine while it is still damp.
Remember to refer to the Rug Doctor’s user manual or instructional guide for any specific recommendations on drying the machine. The manufacturer may provide additional guidelines based on your particular model.
By allowing the Rug Doctor machine to dry completely, you can ensure that it remains in excellent condition and ready for future use.
Step 8: Pack the Rug Doctor Properly for Return
When you are finished using the Rug Doctor machine, it is important to pack it properly before returning it to the rental company. Proper packing ensures that the machine remains safe and secure during transport and minimizes the risk of damage. Follow these steps to pack the Rug Doctor machine for return:
- Ensure that the Rug Doctor machine is turned off and unplugged.
- Empty and clean the dirty water tank, as well as any other removable components like filters or attachments.
- Make sure all parts of the machine, including the nozzle and brush bar, are completely dry before packing.
- Wind the power cord around its designated cord wrap or hook to keep it neat and prevent tangles.
- Securely attach any loose attachments, such as the hose or upholstery tool, to the designated storage areas on the machine.
- Replace the clean water tank, ensuring it is properly aligned and securely in place.
- If provided, use any packaging materials, such as straps or clips, to further secure the machine for transport.
- If returning the machine in its original box, ensure that it is clean and free from any debris before placing the Rug Doctor machine inside. Use packaging materials like bubble wrap or packing paper to provide additional cushioning.
- Close and seal the box securely, or if returning without the original box, use a sturdy and appropriately sized container.
- Label the package clearly with the rental company’s address and any required return instructions.
Properly packing the Rug Doctor machine for return ensures that it arrives at the rental company in good condition and ready for the next customer. It also helps you avoid any unnecessary charges or penalties for damaged or improperly packaged equipment.
Always follow any specific instructions provided by the rental company regarding the return process. They may have additional requirements or recommendations on how to pack and return the machine.
By packing the Rug Doctor machine properly, you contribute to a smooth and efficient rental experience for both yourself and the next customer.