
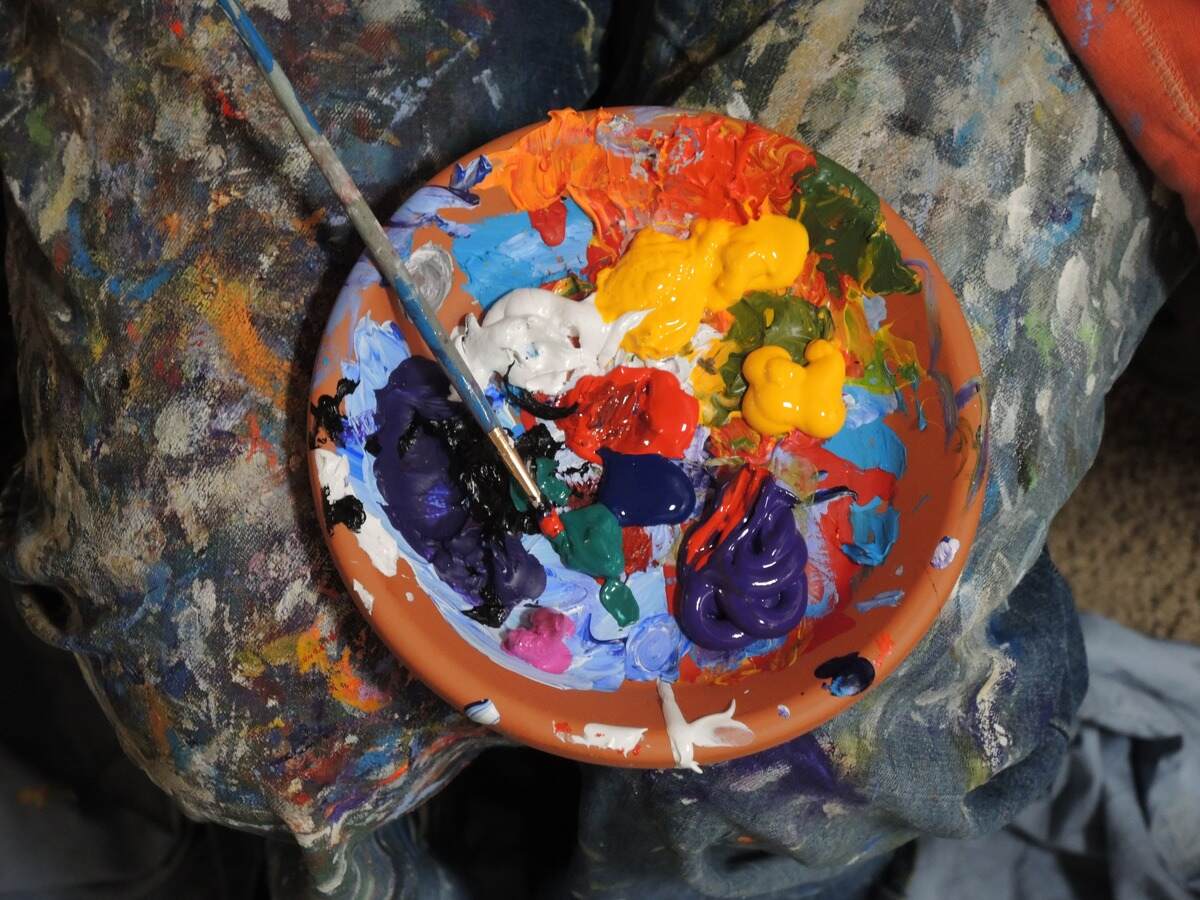
Why Do Brushes Get Enamel Paint Buildup?
Enamel paint is a popular choice for painting projects because of its durability and glossy finish. However, one common challenge that arises when working with enamel paint is the buildup of paint on brushes. Over time, residual paint can dry and harden on the bristles and handle of the brush, making it difficult to achieve a smooth application and risking damage to the brush.
There are several factors that contribute to the buildup of enamel paint on brushes:
- Lack of proper cleaning: Many painters neglect to clean their brushes thoroughly after each use. When excess paint is left on the brush, it dries and hardens, creating a layer of buildup.
- High viscosity of enamel paint: Enamel paint has a higher viscosity compared to other types of paint. This thick consistency increases the likelihood of paint getting stuck in the bristles and not rinsing off easily.
- Improper storage: Storing brushes improperly can also contribute to paint buildup. Leaving brushes in a horizontal position or in containers with paint residue can cause the paint to flow back into the bristles and harden over time.
- Using low-quality brushes: Cheap or low-quality brushes are more prone to paint buildup as they may not have tightly-packed bristles that facilitate the easy removal of paint.
It is important to address the issue of enamel paint buildup on brushes to ensure optimal paint application and longevity of the brush. Regular cleaning and proper maintenance are key to preventing excessive buildup and preserving the brush’s performance.
Essential Materials for Cleaning Enamel Paint Off Brushes
Before you start cleaning enamel paint off your brushes, it’s important to gather the necessary materials to ensure an effective and efficient cleaning process. Having the right tools at hand will make the task much easier. Here are the essential materials you’ll need:
- Mineral spirits: Mineral spirits, also known as paint thinner, is a solvent that effectively breaks down enamel paint. It is readily available at hardware stores and is an essential component in removing paint buildup from brushes.
- Container: A container or jar large enough to hold your brushes is needed to soak them in the mineral spirits. Ensure that the container is made of a material that is resistant to chemical solvents.
- Protective gloves: It’s always a good idea to wear protective gloves to shield your hands from any chemicals and to prevent direct contact with the paint and solvents.
- Old newspaper or rags: Lay down some old newspaper or rags to protect your work surface from any potential spills or drips.
- Old toothbrush or paintbrush: An old toothbrush or paintbrush can be used to gently scrub the bristles of the brush and remove any stubborn paint residue.
- Soap or mild detergent: After the initial cleaning with mineral spirits, washing the brush with soap or mild detergent will help remove any remaining traces of paint and solvents.
- Water: Clean water is necessary for rinsing the brush thoroughly after cleaning.
- Brush conditioner: A brush conditioner or a hair conditioner can help soften the bristles and restore their natural flexibility after cleaning.
By having these essential materials ready, you can ensure a smooth and effective cleaning process for your enamel paint brushes. Properly equipped, you’ll be ready to tackle the task with confidence and maintain the quality and longevity of your brushes.
Step-by-Step Guide to Cleaning Enamel Paint Off Brushes
Cleaning enamel paint off brushes may seem like a daunting task, but with the right steps, it can be done efficiently. Follow this step-by-step guide to effectively remove enamel paint buildup from your brushes:
- Preparing the brush for cleaning: Begin by removing any excess paint from the brush. Wipe it gently on a piece of newspaper or a rag to remove as much paint as possible.
- Soaking the brush in mineral spirits: Fill a container or jar with enough mineral spirits to submerge the bristles completely. Place the brush in the container and let it soak for about 20 minutes. This allows the mineral spirits to dissolve the remaining paint.
- Removing enamel paint from the brush bristles: After soaking, take the brush out of the mineral spirits and use an old toothbrush or paintbrush to gently scrub the bristles. Work the brush in a circular motion to loosen any stubborn paint. Rinse the brush under running water to remove the loosened paint.
- Removing enamel paint from the brush handle: While most of the paint buildup occurs on the bristles, it’s important to clean the handle as well. Dampen a cloth with mineral spirits and gently wipe the handle, removing any paint residue. Be careful not to damage the handle or dissolve any paint that may be covering it.
- Rinse and dry the brush properly: After thorough cleaning, rinse the brush under running water to remove any remaining mineral spirits or paint particles. Gently squeeze the bristles to remove excess water. Shake the brush to flick out any trapped water. Finally, lay the brush flat or hang it with the bristles facing downward to allow it to air dry completely before storage.
Following these steps will ensure that your brushes are clean and free from enamel paint buildup. By taking the time to clean your brushes properly, you can extend their lifespan and maintain their performance for future painting projects.
Preparing the Brush for Cleaning
Before you begin the process of cleaning enamel paint off your brushes, it is important to properly prepare the brush to ensure effective removal of paint buildup. Taking a few minutes to prepare the brush will help streamline the cleaning process and yield better results. Here are the steps to prepare the brush for cleaning:
- Remove excess paint: Start by removing as much excess paint from the brush as possible. Wipe the brush gently against a piece of newspaper or a rag to remove any loose or wet paint. This will help prevent excessive paint from accumulating in the cleaning materials.
- Scrape off dried paint: If there are any areas of dried paint on the brush, use a paint scraper or the back edge of a knife to carefully scrape off the hardened paint. Be gentle to avoid damaging the bristles.
- Inspect the bristles: Take a close look at the bristles of the brush. Check for any clumps or hardened paint that may still be present. If you notice any, use your fingers or a comb to gently separate and loosen the bristles to ensure thorough cleaning.
- Protect your hands: Enamel paint can be difficult to remove from skin, so it’s essential to protect your hands before proceeding with the cleaning process. Wear disposable gloves to prevent direct contact with the paint and any chemicals you might be using.
- Gather the necessary materials: Ensure that you have all the required materials ready, including mineral spirits, a container or jar for soaking, an old toothbrush or paintbrush for scrubbing, soap or mild detergent, water for rinsing, and a brush conditioner to restore the brush after cleaning.
By properly preparing your brush before cleaning, you can make the process more efficient and ensure that all paint buildup is effectively removed. These simple steps will help you achieve better results and prolong the lifespan of your brushes for future painting projects.
Soaking the Brush in Mineral Spirits
One of the most effective methods for removing enamel paint buildup from brushes is soaking them in mineral spirits. This solvent is specifically designed to break down and dissolve paint, making it an essential component in the cleaning process. Here’s how to properly soak your brush in mineral spirits:
- Select a suitable container: Find a container or jar that is large enough to comfortably hold your brush. Ensure that it is made of a material that is resistant to chemical solvents, such as glass or metal.
- Pour in the mineral spirits: Fill the container with enough mineral spirits to completely submerge the bristles of the brush. The mineral spirits should be deep enough to cover the entire length of the bristles.
- Immerse the brush: Carefully place the brush into the container, making sure that the bristles are fully submerged in the mineral spirits. Gently press down on the brush to ensure it is completely covered.
- Allow the brush to soak: Let the brush soak in the mineral spirits for about 20 minutes. This will give the solvent enough time to penetrate the dried paint and dissolve it, making it easier to remove.
- Occasionally agitate the brush: Every few minutes, gently agitate the brush by moving it back and forth in the container. This will help the mineral spirits penetrate the bristles more effectively and dislodge any stubborn paint.
- Check the progress: After the soaking period, take the brush out of the mineral spirits and inspect the bristles. If some paint residue still remains, proceed to the next step of gently scrubbing the bristles with an old toothbrush or paintbrush.
Soaking your brush in mineral spirits is a crucial step in removing enamel paint buildup. The solvent works to break down the paint and make it easier to clean off. Remember to exercise caution when handling mineral spirits and ensure proper ventilation to avoid inhaling the fumes. By following these steps, you’ll be on your way to restoring your brushes to their optimal condition.
Removing Enamel Paint from the Brush Bristles
Removing enamel paint from the bristles of your brush is a crucial step in the cleaning process. By thoroughly cleaning the bristles, you ensure that no paint residue remains, allowing for better paint application in future projects. Here’s how to effectively remove enamel paint from the brush bristles:
- Take the brush out of the mineral spirits: Carefully remove the brush from the container of mineral spirits, making sure to let any excess liquid drip off. Be cautious not to spill any mineral spirits onto your work surface or skin.
- Gently scrub the bristles: Using an old toothbrush or paintbrush, start gentle scrubbing the bristles of the brush. Work in a circular motion, applying light pressure. This helps loosen and remove any remaining paint that may be trapped in the bristles.
- Rinse the brush under running water: Once you have scrubbed the bristles, hold the brush under running water to rinse away the loosened paint. Move your fingers through the bristles to ensure that all paint particles are thoroughly removed.
- Inspect for residue: After rinsing, inspect the bristles closely for any remaining paint residue. If you notice any persistent paint, go back and repeat the scrubbing process until the bristles are completely clean.
- Let the brush dry: Once the bristles are free of paint, gently squeeze out any excess water. Shake the brush vigorously to remove any trapped moisture. Lay the brush flat or hang it upside down with the bristles facing downward to allow it to air dry completely before storing.
By following these steps, you can effectively remove enamel paint from the brush bristles. Thoroughly cleaning the bristles ensures that your brush is ready for the next painting project and helps maintain its overall performance and longevity.
Removing Enamel Paint from the Brush Handle
While most of the focus is often on cleaning the bristles, it is also important to pay attention to the brush handle. Enamel paint can sometimes find its way onto the handle, and removing this paint residue will help maintain the overall cleanliness and functionality of the brush. Here’s how to remove enamel paint from the brush handle:
- Dampen a cloth with mineral spirits: Start by dampening a clean cloth with mineral spirits. Ensure that the cloth is not dripping wet, but has enough moisture to effectively remove the paint.
- Gently wipe the handle: With the damp cloth, gently wipe the handle of the brush. Use light pressure and circular motions to remove any paint residue that may be present. Be careful not to rub too vigorously, as this may damage the handle or any paint that may be covering it.
- Inspect for stubborn paint: After wiping the handle, inspect it closely for any remaining stubborn paint. If there are still traces of paint, repeat the wiping process with a fresh area of the cloth until the handle is completely clean.
- Wash the brush handle with soap: Once the paint has been removed, wash the brush handle with soap or mild detergent. Use warm water and gently scrub the handle to remove any remaining residue from the mineral spirits. Rinse the handle thoroughly to ensure all traces of soap and paint are removed.
- Dry the brush handle: After washing, gently pat dry the brush handle with a clean towel or allow it to air dry naturally. Ensure that the handle is completely dry before storing the brush.
By taking the time to remove enamel paint from the brush handle, you can maintain the cleanliness and integrity of the entire brush. A clean handle not only improves the overall appearance of the brush but also ensures a comfortable grip for precise brush control during painting projects.
Rinse and Dry the Brush Properly
Rinsing and drying the brush properly is a crucial final step in the process of cleaning enamel paint off brushes. By following these steps, you can ensure that your brush is thoroughly cleaned and ready for future painting projects:
- Rinse the brush under running water: Hold the brush under a stream of running water, ensuring that the water flows through the bristles from the base to the tip. Gently massage the bristles with your fingers to help remove any remaining paint or cleaning solvent.
- Check for clean bristles: Inspect the bristles closely to ensure that they are free from any paint residue. If you notice remaining paint, repeat the rinsing process until the bristles are completely clean.
- Squeeze out excess water: Once the brush is clean, gently squeeze the bristles to remove excess water. Start from the base and work your way to the tip, applying gentle pressure to avoid damaging the bristles.
- Shake the brush: Hold the brush at the base and give it a few vigorous shakes to remove any trapped water. This helps to prevent water from seeping into the ferrule, which can lead to rusting or damage to the brush over time.
- Allow the brush to air dry: Lay the brush flat or hang it with the bristles facing downward to allow it to air dry completely. Avoid placing the brush upright or storing it before it is fully dry, as this can lead to mold growth or deformation of the bristles.
It’s important to note that drying your brush properly is crucial to its longevity. Taking the time to ensure that the brush is completely dry before storing it will help prevent the growth of mold and maintain the shape and performance of the bristles.
By following these steps, you can effectively rinse and dry your brush, leaving it clean and ready for your next painting project.
Additional Tips to Maintain Brush Quality
Cleaning enamel paint off brushes is essential for maintaining their quality and ensuring optimal performance. Here are some additional tips to help you maintain the quality of your brushes:
- Clean brushes immediately after use: It’s important to clean your brushes as soon as you’re done using them. Leaving paint to dry on the bristles will make it more difficult to remove later on.
- Use brush conditioner: Applying a brush conditioner or a hair conditioner after cleaning can help soften the bristles and keep them in good condition. Simply apply a small amount to the bristles, work it in with your fingertips, and rinse thoroughly.
- Store brushes properly: Store your brushes carefully to prevent damage and maintain their shape. Hang them or store them with the bristles facing upward to prevent flattening or bending of the bristles.
- Protect brushes during transportation: When transporting brushes, ensure that they are properly protected. Use brush covers or wrap them in cloth to prevent the bristles from being bent or damaged.
- Avoid using brushes for tasks they are not meant for: Different brushes are designed for specific paint types and techniques. Avoid using a brush meant for watercolors with oil-based paints, as this can lead to irreversible damage to the bristles.
- Regularly inspect your brushes: Take the time to inspect your brushes regularly for any signs of wear or damage. If you notice any loose or frayed bristles, it may be time to replace the brush.
- Invest in quality brushes: Quality brushes may cost more upfront but will last longer and provide better results. Invest in brushes made of high-quality materials with tightly-packed bristles for better paint application and easier cleanup.
By following these additional tips, you can extend the lifespan of your brushes and ensure they maintain their quality over time. Proper care and maintenance will help you achieve better painting results and preserve your brushes for many future projects to come.