
Why Cleaning Your Acrylic Brush is Important
When it comes to working with acrylic paints, one of the most essential practices for any artist is cleaning their brushes. While it may seem like a hassle or an unnecessary step, cleaning your acrylic brush regularly has numerous benefits that can greatly improve your painting experience and the longevity of your brushes. Let’s explore why cleaning your acrylic brush is so important.
First and foremost, cleaning your acrylic brush ensures that you maintain the integrity of your paint colors. Acrylic paints can quickly dry and harden on the bristles if left uncleaned, resulting in a buildup of dried paint over time. This buildup can contaminate the colors of subsequent paintings, leading to muddy or undesirable results. By thoroughly cleaning your brush after each use, you remove any lingering paint and prevent color contamination, allowing for true and vibrant colors in your artwork.
Additionally, regular cleaning helps to preserve the health and functionality of your brush bristles. Acrylic paints contain pigments and binders that can accumulate and harden on the bristles, causing them to stiffen and lose their shape. Without proper cleaning, your brush bristles may become stiff and unusable, making it challenging to achieve precise brushstrokes. By cleaning your brush, you remove these paint particles, keeping the bristles soft, supple, and allowing for better control and accuracy in your artwork.
Furthermore, neglecting to clean your acrylic brush can lead to long-term damage and even the eventual ruin of your brushes. Acrylic paint contains chemicals and binders that, if left to dry on the bristles, can cause them to break or frizzle over time. Hardened paint can also become difficult to remove completely, resulting in a buildup that can permanently alter the shape and functionality of your brush. Regular cleaning prevents this buildup, allowing your brushes to maintain their shape, elasticity, and overall quality for a longer period.
Lastly, cleaning your acrylic brush shows respect for your tools and craft. As artists, it is important to take pride in our materials and treat them with care. Just as we clean and maintain our canvas or paint palette, we should also extend the same care to our brushes. Regular cleaning not only prolongs the life of your brushes but also demonstrates your dedication to your artistic pursuits.
Supplies Needed for Cleaning an Acrylic Brush
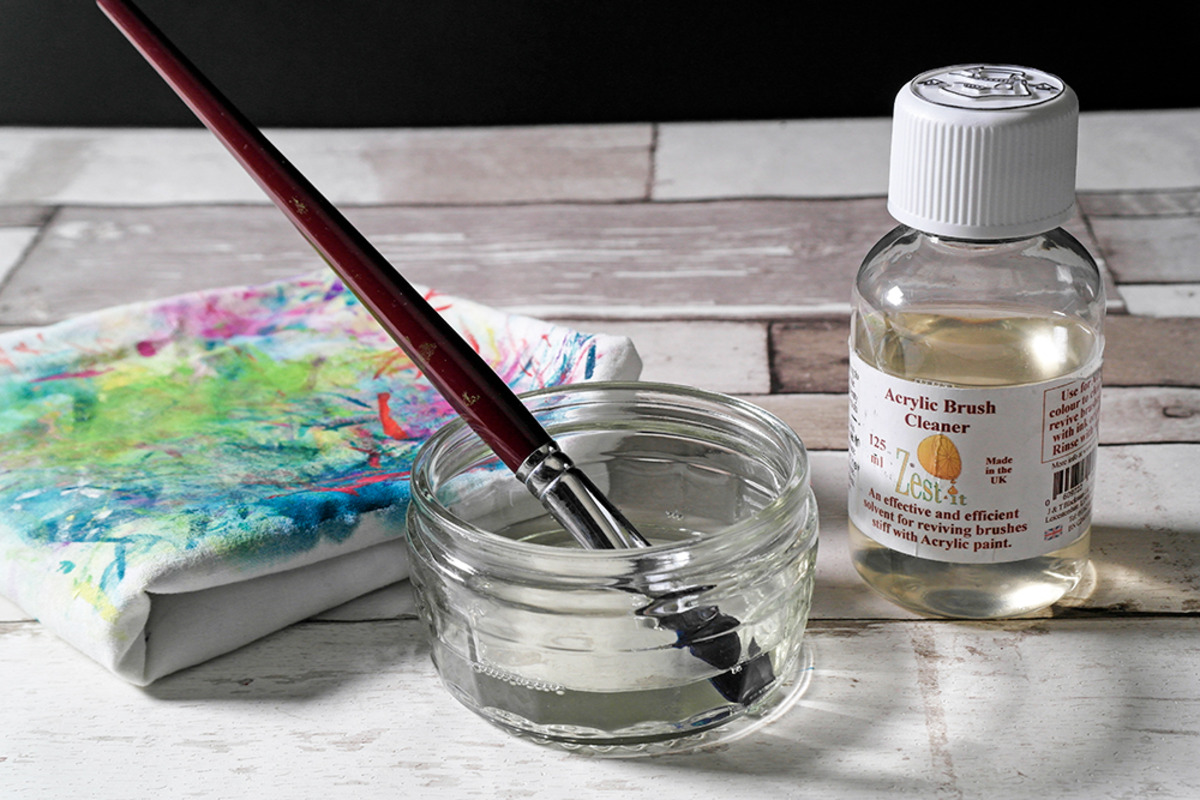
Before you embark on the task of cleaning your acrylic brush, it is important to gather the necessary supplies. Having the right tools at hand will make the cleaning process more efficient and effective. Here are the supplies you will need:
- Running Water: Running water is essential for rinsing and removing excess paint from the brush.
- Soap or Mild Cleanser: Choose a mild soap or brush cleanser specifically formulated for removing acrylic paint. Avoid using harsh chemicals or solvents that can damage the bristles.
- Brush Cleaning Container: Use a container to hold water and cleaning solution while you clean your brush. A small basin or a jar can work well for this purpose.
- Old Towels or Paper Towels: Keep some old towels or paper towels nearby to wipe and dry the brush during the cleaning process.
- Gloves (Optional): If you prefer to keep your hands clean or protect your skin, wearing gloves can be helpful.
- Brush Shaper or Comb (Optional): A brush shaper or comb can aid in reshaping the bristles after cleaning.
Having these supplies readily available will ensure a smooth cleaning process and help you maintain your acrylic brushes in optimal condition. Once you have gathered these materials, you are ready to start removing excess paint and giving your brushes a thorough cleaning.
Removing Excess Paint from the Brush
Before you can start cleaning your acrylic brush, it’s important to remove as much excess paint as possible. This step will make the cleaning process more manageable and efficient. Here’s how you can remove excess paint from your brush:
- Gently Squeeze Out the Excess Paint: Hold the brush over your paint palette or a paper towel and gently squeeze the bristles with your fingers or use a cloth to absorb any excess paint. Be careful not to squeeze too forcefully, as this can damage the bristles.
- Scrape Off Paint on Palette: If you have a significant amount of paint on the brush, you can gently scrape the bristles against the edge of your paint palette to remove excess paint. This technique can help remove stubborn or thick layers of paint.
- Blot with Paper Towel: Take a clean paper towel and press the brush onto it, gently blotting the bristles to remove any remaining paint. Continue blotting until no more paint transfers onto the towel.
By removing excess paint before cleaning, you prevent excessive amounts of paint from entering the water and contaminating the cleaning solution. This initial step will make the subsequent cleaning process more effective and ensure that your brushes are thoroughly cleaned.
Washing the Brush with Soap and Water
Now that you have removed the excess paint from your acrylic brush, it’s time to give it a thorough cleaning using soap and water. This step will help remove any remaining paint residues and ensure that your brush is clean and ready for future use. Follow these steps to wash your brush with soap and water:
- Wet the Brush Bristles: Run the brush under lukewarm water, making sure to wet the bristles completely. This will help remove any remaining paint and prepare the brush for cleaning.
- Apply Soap or Brush Cleanser: Squeeze a small amount of mild soap or brush cleanser onto the bristles of the brush. Gently work the soap into the bristles using your fingers, ensuring that every bristle is coated with soap.
- Gently Massage the Bristles: With the soap applied, gently massage the bristles using circular motions. This will help loosen any paint particles trapped within the bristles. Be careful not to apply too much pressure, as it could damage the bristles.
- Rinse the Brush: Rinse the brush under running water, continuously moving your fingers through the bristles to ensure that all soap residue is removed. Keep rinsing until the water runs clear and there are no visible traces of paint or soap.
During the washing process, it’s essential to be gentle with your acrylic brush to prevent any damage. Avoid bending or twisting the bristles forcefully, as this can lead to bristle breakage or deformities. Instead, use gentle motions to massage and rinse the brush thoroughly.
By washing your brush with soap and water, you effectively remove any remaining paint and ensure that your brush is clean and ready for future use. This step is crucial in maintaining the quality and longevity of your acrylic brushes.
Conditioning and Reshaping the Brush Bristles
After washing your acrylic brush, it’s important to condition and reshape the bristles to ensure they maintain their shape and functionality. This step will help prolong the life of your brush and ensure optimal performance. Here’s how you can condition and reshape the bristles of your acrylic brush:
- Gently Squeeze Excess Water: Use a clean towel or paper towel to gently squeeze out any excess water from the brush bristles. Be careful not to twist or pull on the bristles, as this can cause damage.
- Reshape the Bristles: While the bristles are still damp, gently reshape them to their original form. Use your fingers to carefully reshape the bristle tips, aligning them evenly. This step is crucial to maintain the brush’s precision and control.
- Brush Shaper or Comb (Optional): If you have a brush shaper or comb, you can utilize it to further shape and align the bristles. Run the brush through the brush shaper or comb, starting from the base and moving towards the tip. This will help ensure that the bristles are even and properly aligned.
By conditioning and reshaping the bristles, you prevent them from becoming misshapen over time. This step also allows for better paint application and more controlled brushstrokes.
It’s important to note that some brushes may have natural bristle curl or waviness, especially if they are made from natural hair. In such cases, it’s best to align the bristles as close to their original shape as possible without forcing them into an unnatural position.
Remember, properly conditioning and reshaping your brush bristles after cleaning contributes to the overall longevity and performance of your acrylic brush. With a well-shaped brush, you’ll be able to achieve more precise and controlled brushwork in your artwork.
Drying the Acrylic Brush Properly
After cleaning and reshaping your acrylic brush, it’s crucial to ensure it is dried properly to prevent any damage or mold growth. Proper drying not only maintains the brush’s shape but also helps prolong its lifespan. Here are some steps to follow when drying your acrylic brush:
- Remove Excess Water: Gently squeeze the bristles with a clean towel or paper towel to remove any remaining water. Avoid rubbing or pressing too hard, as this can distort the shape of the brush.
- Blot the Bristles: Use a dry paper towel or cloth to blot the bristles and absorb any leftover moisture. Press the towel against the bristles without twisting or bending them.
- Allow Air Drying: Place the brush on a clean, flat surface or hang it upside down with the bristles facing downwards. This allows air to circulate around the bristles and aids in faster drying. Avoid placing the brush upright, as water can accumulate at the base and damage the ferrule.
- Avoid Heat Sources: Refrain from using hot air dryers, heaters, or direct sunlight to dry your acrylic brush. Excessive heat can cause the bristles to become brittle and lose their shape.
- Check for Complete Dryness: Allow the brush to air dry completely before storing it. This may take a few hours, depending on the size and thickness of the brush. Ensure that both the bristles and the ferrule are dry to avoid any mold or mildew growth.
Properly drying your acrylic brush prevents the growth of bacteria and mold, which can damage the bristles and compromise their performance. It also helps maintain the shape and integrity of the brush for future use.
Remember to be patient during the drying process. Rushing can lead to improperly dried brushes, resulting in long-term damage. Taking the time to dry your brushes thoroughly will ensure they are in optimal condition for your next painting session.
Storing Your Clean Acrylic Brush
Once your acrylic brush has been properly cleaned and dried, it’s important to store it correctly to maintain its shape, protect the bristles, and prevent any damage. Here are some tips for storing your clean acrylic brush:
- Protect the Bristles: Cover the bristles of your brush with a protective cap or wrap them in a soft cloth to prevent them from getting bent or damaged. This will help maintain the shape and condition of the bristles.
- Avoid Crowded Spaces: Store your brushes in a well-ventilated area where they can be placed without touching or rubbing against other brushes or art supplies. This prevents any accidental bending or deformation of the bristles.
- Keep Brushes Upright: Store your brushes vertically or upright in a container or brush holder to maintain their shape and prevent any pressure on the bristles. Avoid storing brushes with the bristles facing down, as this can cause them to become misshapen over time.
- Choose Proper Containers: Use containers that have enough space to accommodate your brushes without crowding them. Make sure the container is clean and free from any residues that may transfer onto the bristles.
- Avoid Extreme Temperatures: Keep your brushes away from extreme temperature and humidity conditions. Avoid storing them in areas exposed to direct sunlight, as excessive heat can cause the bristles to become brittle.
By storing your clean acrylic brushes properly, you ensure their longevity and maintain their performance. Taking these precautions will help you preserve the shape and quality of your brushes, ensuring they are ready for use whenever inspiration strikes.
Remember, investing some time and effort into properly storing your clean acrylic brushes will pay off in the long run, as you’ll be able to enjoy their optimal performance for future painting projects.
Tips for Maintaining Your Acrylic Brush’s Longevity
To ensure the longevity and optimal performance of your acrylic brush, it’s important to follow some simple maintenance tips. By incorporating these practices into your routine, you can extend the lifespan of your brushes and continue to create artwork with precision and ease. Here are some tips for maintaining your acrylic brush’s longevity:
- Clean Your Brushes Immediately: After each painting session, clean your brushes promptly. Leaving acrylic paint to dry on the bristles can cause them to stiffen and become less effective over time. By cleaning them right away, you prevent the buildup of hardened paint.
- Use Brushes Only for Acrylics: Avoid using your acrylic brushes for other mediums, such as oil or watercolor paints. Different paints have different properties that can affect your brushes differently. Keeping separate brushes for each medium helps maintain the integrity and performance of your acrylic brushes.
- Avoid Excessive Pressure: When using your brushes, avoid applying excessive pressure that may cause the bristles to splay or bend. Acrylic paints are typically used with gentle pressure, and applying too much force can damage the bristles and affect their shape and performance.
- Rinse During Painting Sessions: If working on a long painting session, periodically rinse your brushes in water to prevent the paint from drying out on the bristles. This practice helps keep the paint wet and allows for easier cleaning afterwards.
- Store Brushes Properly: As mentioned earlier, store your brushes in an upright position to maintain their shape. Avoid storing them in a cramped area where the bristles can become bent or deformed. Using protective caps or covers can also help protect the bristles during storage.
- Condition Brushes Regularly: In addition to cleaning, periodically condition your brushes. Treat them with a brush conditioner or a light application of baby oil to keep the bristles soft and supple.
- Replace Worn-out Brushes: Over time, even with proper care, brush bristles may wear out or become damaged. If you notice frayed or irregular bristles, it may be time to replace the brush. Using brushes in good condition ensures better paint application and control.
- Seek Professional Brush Cleaning: If you have high-quality or specialty brushes, consider seeking professional brush cleaning services. They have the expertise and tools to effectively remove paint residues without damaging the brush bristles.
By following these tips, you can maintain the longevity and performance of your acrylic brushes. Proper cleaning, storage, and care are essential practices that will ensure your brushes remain reliable tools for your artistic endeavors.