
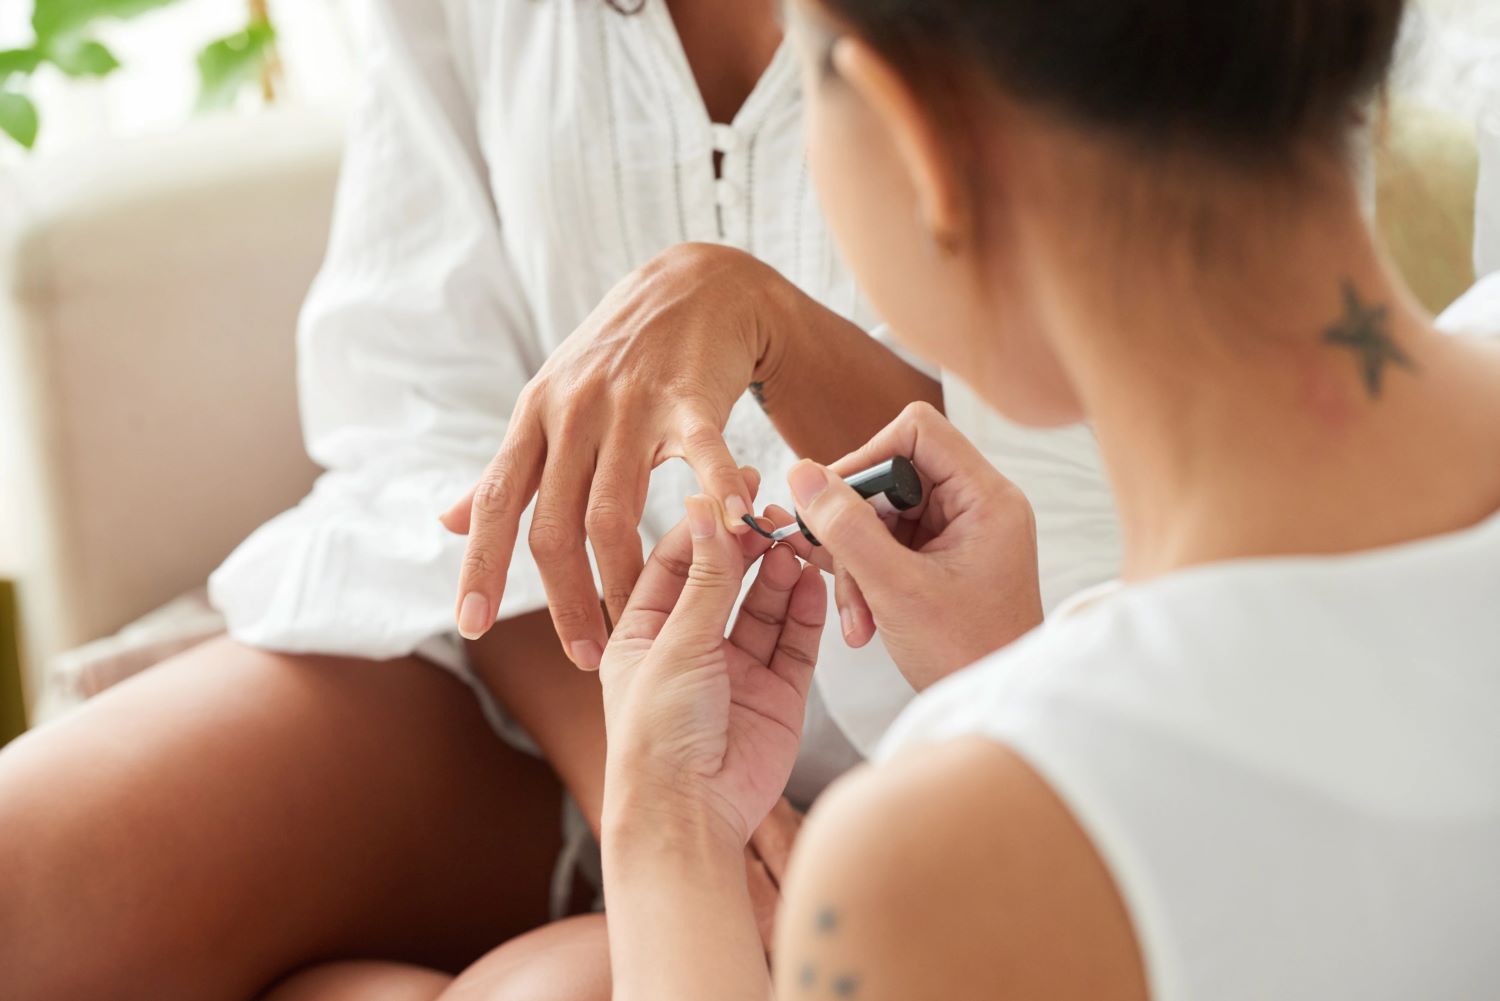
Benefits of using the right size brush for acrylic nails
Choosing the right size brush for your acrylic nails can make a significant difference in the quality and precision of your nail art. The brush size you use will affect the control you have over the application, the amount of product you can pick up, and the overall outcome of your design. Here are some key benefits of using the right size brush for acrylic nails:
- Improved control: Using a brush that is the correct size for your hand and nail length allows for more precise control. A smaller brush provides better maneuverability, enabling you to create intricate designs and fine details with ease. On the other hand, a larger brush can help you cover a larger area quickly, making it ideal for full coverage designs.
- Efficient product application: The right brush size allows you to pick up the optimal amount of acrylic powder or gel without wasting product. A smaller brush can hold a smaller amount, which is perfect for smaller nails or precise applications. Conversely, a larger brush can hold more product, making it more efficient for large nail extensions or filling in larger areas.
- Enhanced nail art versatility: Different brush sizes offer a variety of design possibilities. A thinner brush is ideal for creating detailed designs, like intricate patterns or delicate floral motifs. A wider brush, on the other hand, is better suited for achieving a gradient effect or creating bold, sweeping strokes.
- Greater ease of use: Using a brush that is the right size for you allows for a more comfortable and ergonomic grip. This reduces hand fatigue and makes it easier to control the brush, resulting in a smoother application process and cleaner lines. It also helps prevent strain or discomfort that can occur from using a brush that is too small or too large for your hand.
- Professional-looking results: The size of your brush plays a crucial role in the overall quality of your acrylic nail designs. Using the appropriate brush size ensures that your nails look neat, precise, and professionally done. It allows you to achieve clean lines, smooth application, and consistent results, enhancing the overall appearance of your nail art.
By understanding the benefits of using the right size brush for acrylic nails, you can elevate the quality of your nail art and achieve impressive results. Experiment with different brush sizes to find the ones that work best for your style and technique.
Factors to consider when choosing a brush size for acrylic nails
Choosing the right brush size for your acrylic nails is essential for achieving the desired results. Here are several factors to consider when selecting the appropriate brush size:
- Nail size and shape: The length and shape of your natural nails or extensions should influence your brush size choice. For shorter or narrower nails, a smaller brush size is typically more suitable, allowing for more precision. Conversely, larger brushes work well for longer or wider nails, filling in larger areas efficiently.
- Application technique: Consider your preferred application technique when choosing a brush size. If you prefer to work with a more detailed approach, such as creating intricate designs or nail art, a smaller brush size will give you better control. If you prefer a quicker application, a larger brush size will help cover more surface area with each stroke.
- Experience level: Beginners may find it easier to work with a slightly larger brush size as it offers more forgiveness in terms of control. Once you have developed more confidence and precision in your application, you can experiment with smaller brush sizes for more intricate designs.
- Personal preference: Each nail technician has their own personal preference when it comes to brush sizes. Some may enjoy the versatility of having a variety of brush sizes in their toolkit, while others may prefer working with one or two sizes that they have mastered. Experiment with different brush sizes to find what suits your style and delivers the best results for your clients.
- Comfort and grip: A brush that feels comfortable in your hand is crucial for a seamless application. Consider the weight, handle length, and grip of the brush when making your choice. Ensure that the brush is easy to hold and control for long periods without causing strain or discomfort.
By taking these factors into consideration, you can select a brush size that aligns with your needs and preferences. Remember, there is no one-size-fits-all approach, and it may take some experimentation to find the perfect brush size for your acrylic nail applications. Pay attention to the results you achieve and make adjustments accordingly to enhance your nail art techniques.
Common brush sizes for acrylic nails and their uses
Brushes for acrylic nails come in various sizes, each serving a different purpose. Understanding the different brush sizes and their uses can help you choose the right tool for your nail art creations. Here are some common brush sizes and their specific uses:
- Size 8: This is a smaller brush size that is ideal for intricate detailing and precise nail art designs. It allows for fine lines, delicate patterns, and intricate details.
- Size 10: Slightly larger than a size 8 brush, a size 10 offers similar precision for detailed designs and nail art. It provides a bit more coverage, making it versatile for both intricate work and broader strokes.
- Size 12: A size 12 brush is larger and great for medium-length nails. It can cover a larger surface area and is suitable for filling in color or creating simple designs.
- Size 14: This size is ideal for longer nails and efficient for covering larger surface areas quickly. It is commonly used for full coverage designs or applying acrylic to nail extensions.
- Size 16: Size 16 brushes are even larger and are primarily used for quick coverage of large nail extensions or filling in wide areas.
- Size 18 and higher: These larger brush sizes are typically used for acrylic overlay or extension applications. They provide efficient coverage for larger nails or extensions.
It’s important to note that these sizes may vary slightly depending on the brand or manufacturer. It’s recommended to experiment with different brands and sizes to find the ones that work best for you.
Remember, the size of the brush you choose depends on the specific nail art technique you are using and the desired outcome. It’s always a good idea to have a variety of brush sizes in your collection to allow for versatility and flexibility in your acrylic nail designs.
How to determine the best brush size for your acrylic nail application technique
Finding the best brush size for your acrylic nail application technique can greatly enhance your nail art results. Here are some steps to help you determine the ideal brush size for your needs:
- Consider your application style: Think about the type of acrylic nail designs you prefer and the level of detail you like to incorporate. If you enjoy intricate designs and fine details, a smaller brush size, such as an 8 or 10, may be more appropriate. If you prefer a quicker application or working on larger nails, a larger brush, like a 14 or 16, could be more suitable.
- Assess your nail length and width: Take into account the length and width of your natural nails or extensions. For shorter or narrower nails, a smaller brush size will provide better control and precision. On the other hand, if you have longer or wider nails, a larger brush will help cover a larger surface area more efficiently.
- Experiment with different sizes: It’s worth experimenting with various brush sizes to find the ones that work best for you. Consider purchasing a set of brushes with different sizes or consider borrowing brushes from fellow nail technicians to try them out before investing in new ones. This will allow you to test different sizes and determine which ones feel most comfortable and offer the desired application results.
- Take client requests into account: If you are a professional nail technician and frequently work on clients, their preferences may influence your choice of brush size. Some clients may have specific requests for certain designs or nail lengths that require particular brush sizes. Be open to adapting your technique and brush size to accommodate client preferences.
- Seek advice from experienced technicians: Don’t hesitate to reach out to more experienced nail technicians or participate in online forums and communities to learn from their expertise. They can provide valuable insights based on their own experiences working with different brush sizes and application techniques.
Remember that finding the best brush size for your acrylic nail application technique may involve some trial and error. Take your time to test different sizes, consider the factors mentioned above, and practice with each size to see which one allows you to achieve the desired results and feel most comfortable in your application technique.
Tips for using different brush sizes for specific acrylic nail designs
Utilizing different brush sizes can add versatility and creativity to your acrylic nail designs. Here are some helpful tips for using specific brush sizes for various nail art techniques:
- Smaller brush sizes (8-10): These sizes are perfect for intricate nail art designs. Use them for creating delicate lines, detailed patterns, or small embellishments. Dip the brush into acrylic powder or gel sparingly to achieve precise and fine details.
- Medium brush sizes (12-14): These sizes strike a balance between precision and coverage. They are ideal for filling in larger sections of color, creating ombre effects, or achieving medium-sized details. Experiment with different pressures on the brush to control the amount of product disbursed and achieve desired results.
- Larger brush sizes (16 and above): These brushes are great for covering larger nail surfaces, extensions, or creating bold designs. Use them for full coverage nail designs, placing acrylic or gel over extensions, or covering large areas quickly. The larger brush sizes allow for more product pickup, leading to faster application times.
- Blending with different brush sizes: To create seamless gradients or ombré effects, consider using multiple brush sizes. Start by applying the base color with a larger brush, then blend the colors together using a smaller brush. This will help achieve a smooth transition between colors and textures in your design.
- Experiment with brush angles: Varying the angle at which you hold the brush can create different effects. Holding the brush near perpendicular to the nail surface can provide better control and precision for detailed work. Tilting the brush at an angle can help create curved strokes, soft gradients, or sharper lines, depending on the design you are aiming for.
- Clean and reshape your brushes regularly: Proper maintenance of your brushes is essential for achieving optimal performance. Clean your brushes thoroughly using a brush cleaner or gentle soap after each use. Reshape the bristles while they are still damp to maintain their original shape and prevent splaying or fraying.
Remember to practice using different brush sizes and techniques to develop your skills and find the combinations that work best for your acrylic nail designs. With time and experimentation, you will gain confidence and achieve stunning nail art results.
Maintaining and cleaning your acrylic nail brushes
Caring for your acrylic nail brushes is crucial to ensure their longevity and optimal performance. Regular maintenance and thorough cleaning can help keep your brushes in excellent condition. Here are some essential tips for maintaining and cleaning your acrylic nail brushes:
- Clean your brushes after each use: After each acrylic nail application, it is important to remove any residual product from your brushes. Rinse the brush thoroughly under warm water to remove acrylic powder or gel. Gently massage the bristles with a brush cleaner or mild soap to break down any remaining product.
- Reshape the bristles: While your acrylic nail brush is still damp, reshape the bristles to their original shape. Use your fingers or a brush cap to carefully reshape and reform the bristles. This will help the brush maintain its structure and prevent splaying or fraying.
- Avoid harsh chemicals: When cleaning your brushes, avoid using harsh chemicals or acetone, as they can damage the bristles. Instead, use a brush cleaner specifically designed for acrylic brushes or a gentle soap. These products are formulated to effectively remove product buildup without causing damage.
- Dry brushes properly: After cleaning, pat dry your brushes with a clean towel or cloth. Gently squeeze out any excess water from the bristles. Avoid using a hairdryer or placing the brushes near a heat source, as this can cause the bristles to become brittle or misshapen.
- Store your brushes properly: Proper storage is essential to prevent damage and maintain the shape of your brushes. Store them upright in a brush case or holder with the bristles facing up. This will help prevent the bristles from bending or getting misshapen.
- Replace brushes when needed: Over time, brushes may become worn or lose their shape, affecting their performance. Regularly inspect your brushes and replace them when necessary. It’s better to invest in new brushes than to struggle with ones that are no longer working effectively.
By following these maintenance and cleaning tips, you can extend the lifespan of your acrylic nail brushes and ensure clean and precise application. Remember that proper care leads to better performance and allows you to create stunning nail art designs with ease.
Frequently asked questions about brush sizes for acrylic nails
Understanding the importance of brush sizes for acrylic nails can raise some questions. Here are answers to some frequently asked questions regarding brush sizes and their applications:
- What is the best brush size for beginners? For beginners, it is recommended to start with a medium-sized brush, such as a size 12. This size offers a balance between control and coverage, making it easier to learn and practice different techniques.
- Can I use the same brush for both acrylic and gel nails? While it is possible to use the same brush for both acrylic and gel nails, it is generally recommended to have separate brushes for each type. Acrylic and gel products have different consistencies and formulations, which can lead to cross-contamination and affect the performance of the product if mixed on the same brush.
- Can I use a larger brush size for small nails? Yes, you can use a larger brush size for smaller nails. However, it may require more skill and control to avoid product overload. If you are comfortable working with a larger brush and can maneuver it properly, you can achieve excellent results on small nails as well.
- Should I invest in a set of brushes or buy individual sizes? This decision depends on your preferences and budget. Investing in a set of brushes allows for more versatility and experimentation, as you have various sizes at your disposal. However, if you know the specific sizes that work best for you, purchasing individual brushes can be a cost-effective option.
- How often should I replace my acrylic nail brushes? There is no fixed timeline for when to replace your acrylic nail brushes. It depends on the quality of the brush, how well you maintain it, and how frequently you use it. As a general rule, if the brush starts to lose its shape, frays, or becomes harder to clean, it may be time to replace it.
- Can I cut the bristles of my brush to change the size? It is not recommended to cut the bristles of your brush to change the size. The bristles are carefully designed to provide the best application and control for the specific brush size. Altering the bristles can negatively impact the brush’s performance and result in inconsistent application.
These are just a few common questions about brush sizes for acrylic nails. If you have further inquiries or concerns, don’t hesitate to reach out to experienced nail technicians or join online communities to gather more insights and tips.