How to Test Your VPN and Make Sure It Is Not Leaking Your Data
Your VPN is connected. The padlock icon is green. You feel like your privacy is locked down. But a surprising number of active VPN connections are leaking real data right now, with no warning, no error message, and no visible sign that anything is wrong. Your actual IP address, your DNS requests, your physical location. All of it potentially visible to your ISP, advertisers, or anyone watching network traffic on your end.
The only way to know whether your VPN is doing its job is to test it yourself. And it takes less time than you might expect.
Your VPN can appear fully active while silently leaking your real identity through gaps you cannot see.
- IP address leaks, DNS leaks, and WebRTC leaks are the three most common ways your real data escapes an active VPN tunnel.
- These failures happen even with paid, reputable VPN services and generate no warnings inside the app.
- A live leak test takes minutes and shows exactly what is escaping, so you can take targeted action rather than guessing.
Why Even Trusted VPNs Can Fail You
There is a widely held belief that buying a well-reviewed VPN means your connection is airtight. That belief is understandable, but it misses a critical point. The reputation of a VPN provider has nothing to do with how your specific device is configured, how your browser handles certain types of traffic, or whether the protocol you’re using covers every path data can travel.
VPN leaks happen for a few distinct reasons. A browser or application can communicate outside the encrypted tunnel without you knowing. Your device might revert to a direct connection if the VPN drops for even a second. A protocol might not handle certain traffic categories the way you assume. Or the VPN client itself might contain a bug that hasn’t been patched in the version you’re running.
None of these failures announce themselves. Your VPN status icon stays green. Your connection keeps working normally. The only difference is that some portion of your real data is now exposed to the outside world. That gap between appearing to work and actually working is exactly why testing matters, and why checking once is not enough.
The Three Main Ways Your Identity Can Slip Through
IP Address Leaks
The core promise of a VPN is that it replaces your real IP address with one assigned to its server. Websites and services see the VPN’s IP, not yours. If that substitution breaks down for any reason, your real address gets exposed.
One of the most common causes is IPv6. Most VPNs handle IPv4 traffic reliably, routing it through their servers as expected. But IPv6 traffic sometimes bypasses the VPN tunnel entirely. If your device has an active IPv6 address and your VPN does not route or block it correctly, websites can see your real IPv6 address even if your IPv4 looks masked.
This matters because IPv6 addresses are often tied directly to your device and location with far more specificity than an IPv4 address.
DNS Request Leaks
Every time you type a website address into your browser, your device sends a DNS query to translate that domain name into an IP address. Under normal circumstances, those queries go to your ISP’s DNS servers. Your ISP can see exactly which domains you’re requesting, even if the actual content of your traffic is encrypted.
A properly configured VPN intercepts those DNS queries and routes them through its own encrypted servers. When that interception fails, DNS leaks occur. Your ISP continues logging every domain you visit, even though you believe your traffic is private. You’re paying for privacy and getting the appearance of it instead.
This is one of the most common leak types. Many connections that look clean at the IP level are still routing DNS requests through the ISP in the background.
WebRTC Leaks
WebRTC is a browser technology designed for real-time peer-to-peer communication. Think video calls in a browser tab, voice chat embedded in a website, or live collaboration tools. The underlying WebRTC standard requires direct connections between browsers, and to establish those connections, it requests your real IP address directly from the operating system, bypassing any VPN tunnel in the process.
This means a website running any WebRTC-based feature can retrieve your actual IP address while your VPN is fully active. You wouldn’t know it was happening. The VPN app has no visibility into it and no way to stop it unless it has specific WebRTC leak protection built in.
This leak type affects all major browsers to varying degrees and is one of the most underestimated privacy vulnerabilities in everyday VPN use.
How to Run a Leak Test on Your VPN
Testing is straightforward and requires no technical background. Here’s exactly what to do:
- Connect to your VPN as you normally would, choosing the server location you typically use.
- With the VPN active, run a VPN leak check to see your publicly visible IP address, active DNS servers, and any WebRTC data your browser is currently broadcasting in real time.
- Check the IP address shown and confirm it matches the country or city of your chosen VPN server, not your actual location.
- Review the DNS entries. They should point to servers owned or operated by your VPN provider. If you see your ISP’s name listed there, you have a DNS leak.
- Look at the WebRTC section. If your real home IP appears anywhere in that row, your browser is leaking through a channel that bypasses the VPN entirely.
- Disconnect the VPN, run the test again, and compare. Your real IP and ISP should now appear, confirming you can reliably tell the difference between a protected and unprotected state.
Save or screenshot both sets of results. Having the connected and disconnected states side by side makes it much easier to pinpoint exactly what is leaking and what is not.
Making Sense of Your Test Results
A clean result looks like this: the IP address matches your VPN server’s listed location, the DNS entries all point to your VPN provider’s infrastructure, and the WebRTC section shows the VPN’s IP address or nothing at all. That’s your target outcome.
If the location data reflects your real city or country while the VPN is connected, something is sending your real address outside the encrypted tunnel. That is a direct IP leak.
If the DNS section shows your ISP’s name or servers instead of your VPN provider’s, the VPN is not capturing your DNS queries. Your domain-level browsing activity is still visible to your ISP, regardless of what the rest of the connection looks like.
If your home IP appears anywhere in the WebRTC section, your browser is broadcasting your real address through its peer-to-peer mechanism, completely outside the VPN tunnel. That failure is browser-specific, and it has a targeted fix.
Each failure type has a distinct solution. Knowing which one you’re dealing with keeps the troubleshooting focused rather than scattershot.
How Different VPN Protocols Handle Leak Risk
The protocol your VPN uses has a direct effect on how likely leaks are to occur. Protocols differ in how they route traffic, handle dropped connections, and respond to edge cases your device creates.
VPN Protocol Leak Resistance at a Glance
| Protocol | Speed | Leak Risk | Best Use Case |
|---|---|---|---|
| OpenVPN | Moderate | Low | High-security privacy use |
| WireGuard | Fast | Low to Medium | Everyday use and mobile devices |
| IKEv2/IPsec | Fast | Medium | Mobile users who reconnect often |
| L2TP/IPsec | Moderate | Medium to High | Legacy setups only |
| PPTP | Very Fast | Very High | Not recommended for privacy |
| SSTP | Moderate | Low | Windows users on restricted networks |
If you’re currently running L2TP/IPsec or PPTP, switching to OpenVPN or WireGuard through your VPN app’s protocol settings is one of the fastest improvements you can make. Both are available in most major VPN clients and take about a minute to change.
Fixing Each Type of Leak You Found
Once you know which leak type your connection has, you can address it directly rather than guessing at solutions.
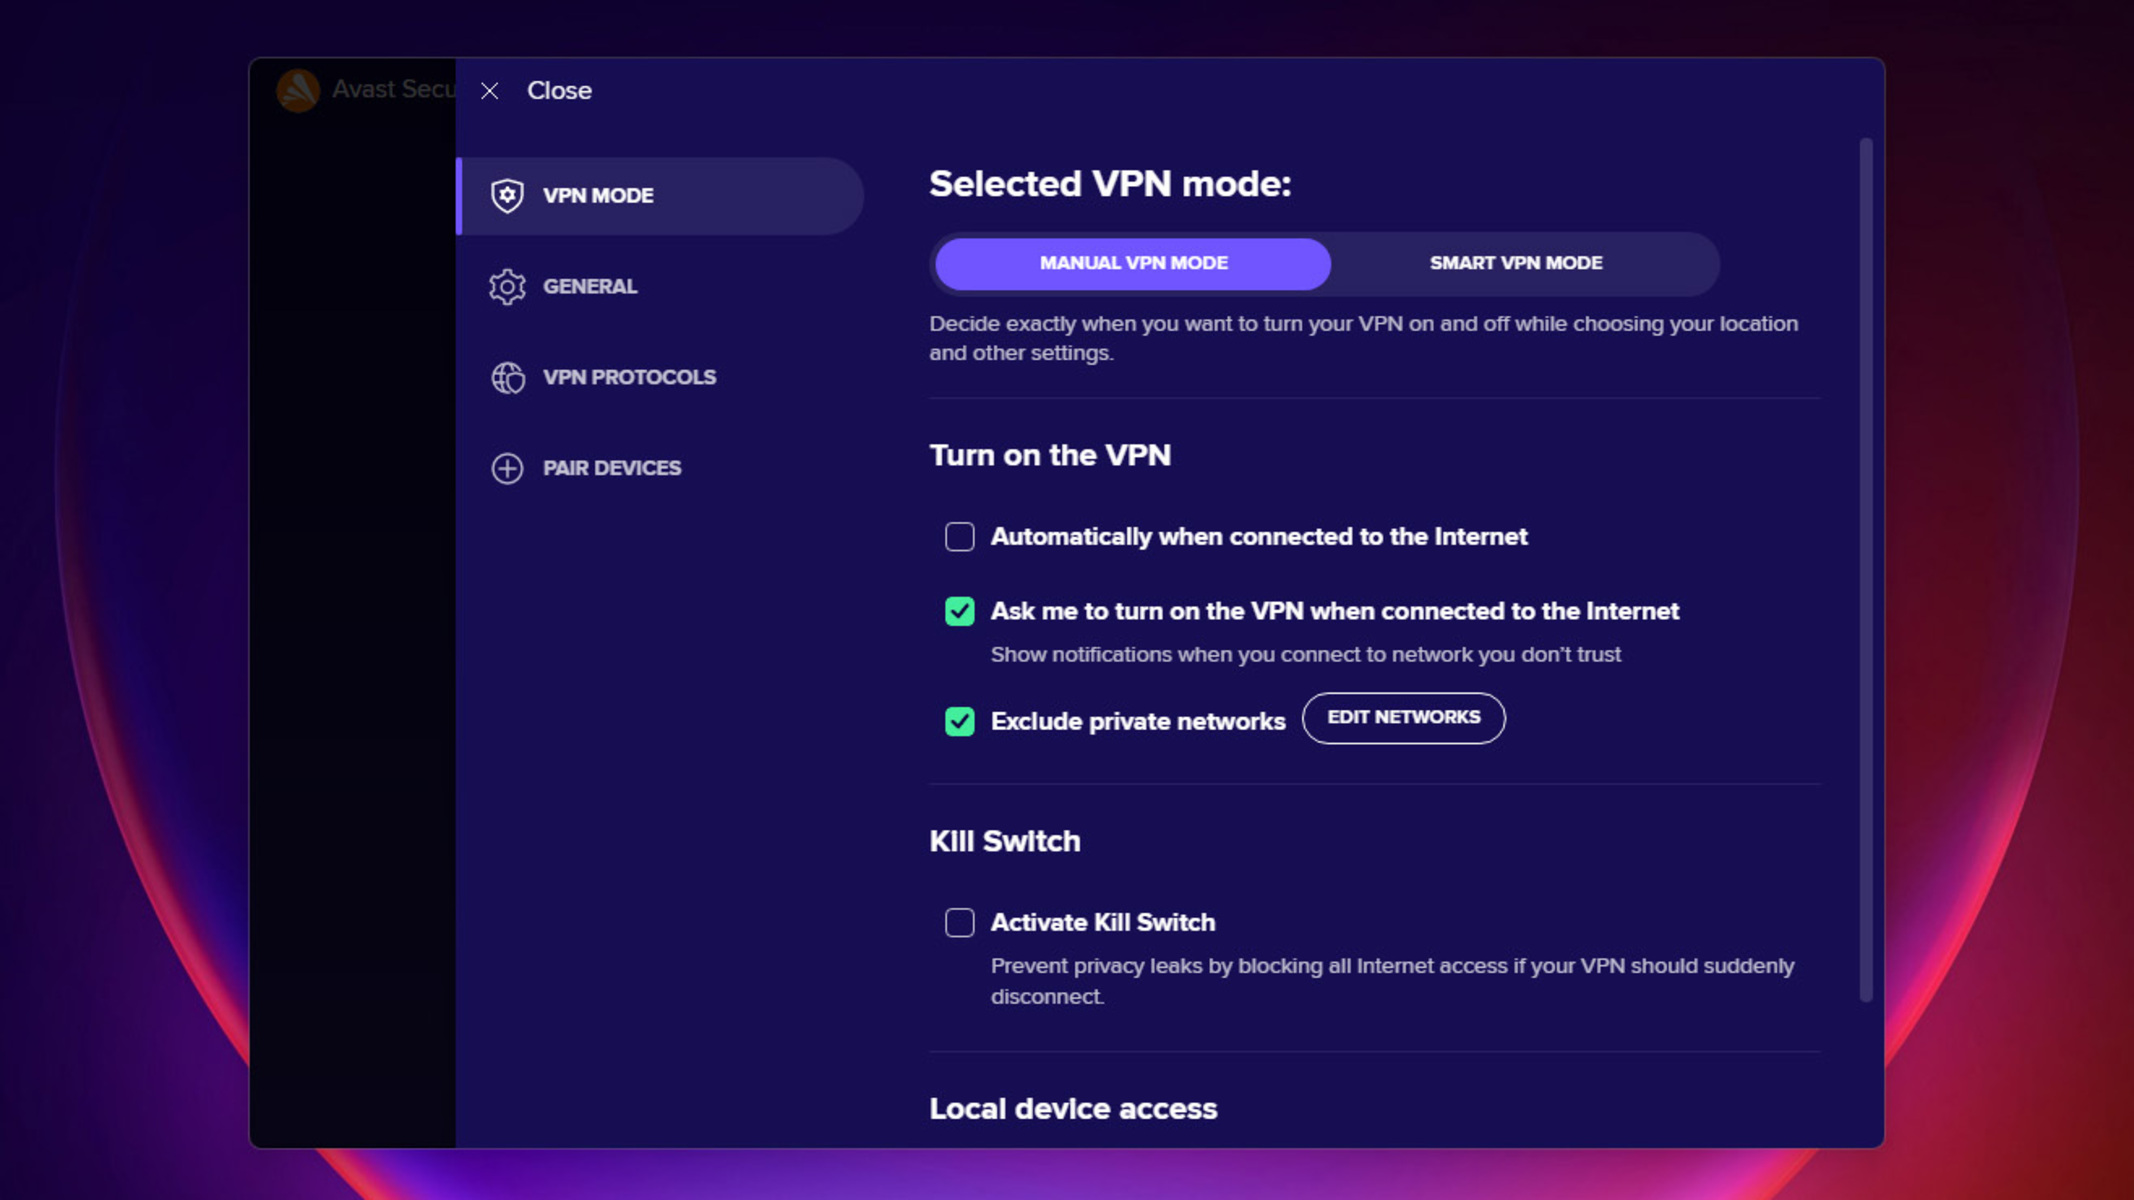
- For IP leaks: Enable the kill switch in your VPN app. This feature cuts your internet connection entirely if the VPN drops, preventing your device from reverting to a direct connection while you’re unaware. Most VPN apps call this “Kill Switch,” “Network Lock,” or something similar, usually found in the connection or general settings tab.
- For DNS leaks: Look for a “DNS leak protection” or “private DNS” toggle in your VPN app and turn it on. If the option does not exist, that is a meaningful sign about the provider’s commitment to privacy. You can also manually set your DNS servers to your VPN provider’s own infrastructure, though this varies by provider and requires checking their documentation.
- For WebRTC leaks in Firefox: Go to about:config in the address bar, search for media.peerconnection.enabled, and set its value to false. This disables WebRTC at the browser level without needing a third-party extension.
- For WebRTC leaks in Chrome or Chromium-based browsers: Install a browser extension that disables WebRTC, since Chrome does not offer a native toggle. Apply this fix to each browser you use regularly, not just your primary one.
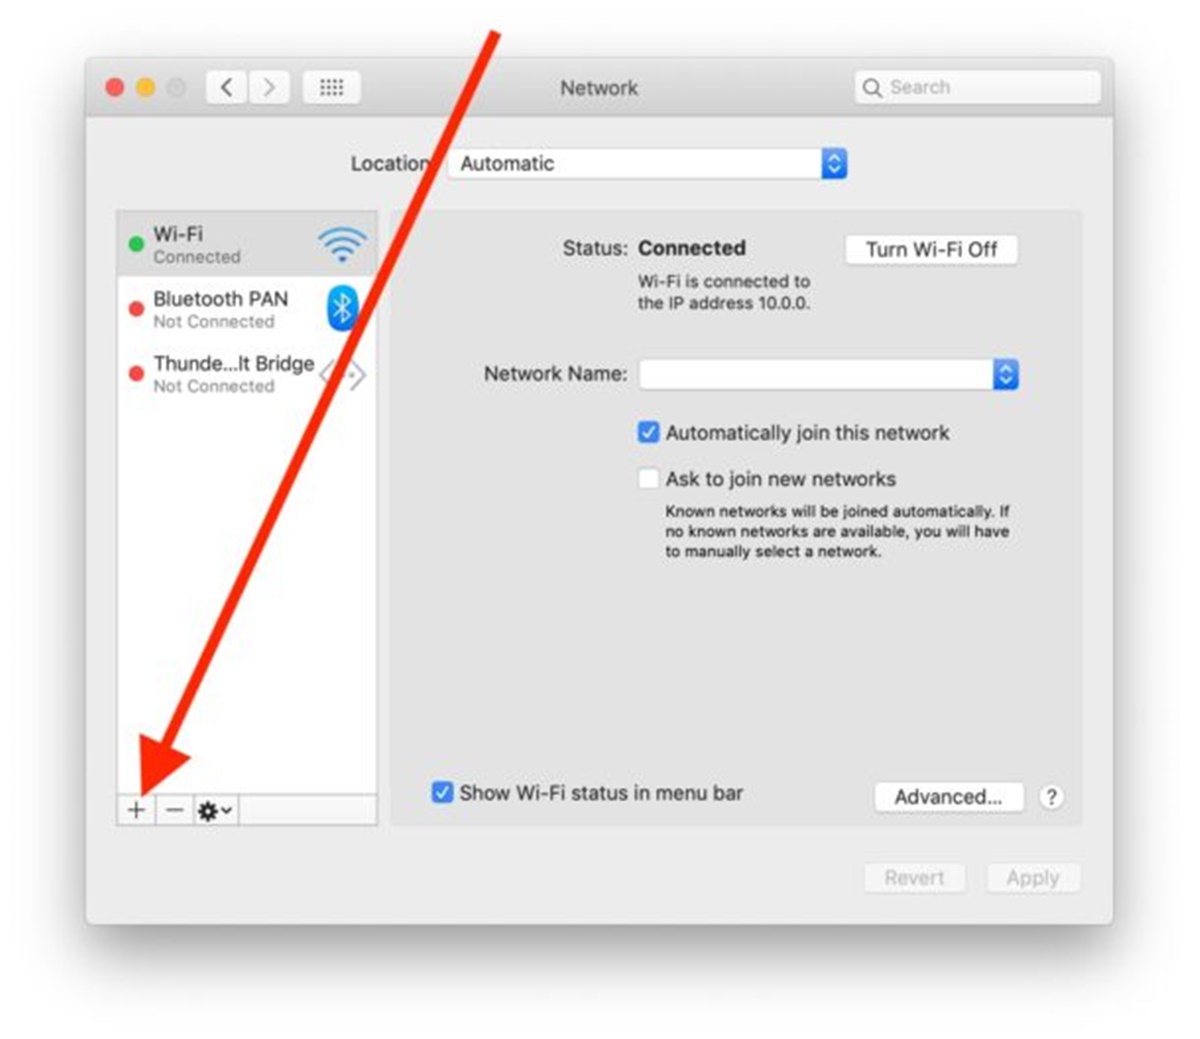
- For IPv6 leaks: Check whether your VPN provider blocks or routes IPv6 traffic. If it does neither, disable IPv6 at the operating system level. On Windows, this is done through Network Adapter settings. On macOS, you adjust it under Network Preferences for each network interface you use.
As a baseline step regardless of leak type, update your VPN app to the current version. A significant number of leaks are caused by bugs that have already been patched, and running an outdated client is one of the most common and most preventable causes of exposure.
What Sets a Privacy-First VPN Apart from the Rest
If your current VPN failed the test and lacks the settings to address it, that is useful information. Not every service deserves a workaround. Some providers have genuinely weak infrastructure and no visible effort to improve it.
When evaluating whether to stay with your current provider or make a change, look for independently published security audit reports. Reputable VPN companies hire third-party security firms to audit their apps and servers, and they publish the results. These audits specifically check for IP leaks, DNS leaks, and WebRTC exposure. The absence of published audits is itself something worth noting.
Look for kill switches and DNS leak protection as standard features, not optional add-ons or advanced settings you have to hunt for. Any provider serious about privacy treats these as defaults. Check whether the company runs its own DNS servers or relies on third-party infrastructure. In-house DNS means fewer handoffs and fewer opportunities for your query data to end up somewhere it shouldn’t.
Reading the Electronic Frontier Foundation’s privacy self-defense guide alongside any VPN evaluation also helps. It frames VPN use within a broader approach to digital privacy, making clear what a VPN protects against and what it does not. That context helps you make better decisions about which gaps still need addressing beyond the VPN itself.
From a Single Test to a Habit That Actually Protects You
Running a leak test once tells you what is happening right now. But VPN apps update, protocols change, servers rotate, and your device configuration shifts over time. A connection that tested clean last month might behave differently after a software update, after you move to a new server region, or after a change to your home network setup.
Build a habit of testing after any major VPN app update, after switching protocols or server locations, and after significant changes to your device or network. It takes a few minutes each time and removes the uncertainty that comes with assuming your coverage is still holding.
Privacy is not a checkbox you mark once. It is something you verify over time and adjust as things change. Your VPN can be a genuinely strong layer of protection, but only if you’re confirming it is doing what it claims. Five minutes of testing gives you that confirmation and tells you exactly what to fix when something has slipped. That is the difference between thinking you are protected and actually knowing it.