Easy drawings make learning how to draw a much less daunting experience. Not only will it allow you to become more familiar with the basic technique, it’ll give you the right starting point for developing your skills further. Whether you’re learning as a new hobby or because you’re looking to start a career in the field, start small then slowly work your way up. Below are some easy drawings for beginners, ranging from the most basic to the more challenging pictures to help keep you improving.
Easy Drawings for Kids
Young children tend to just let their imaginations run wild when creating drawings. You can help them get better at expressing their ideas by teaching them how to draw basic shapes. Let’s start with some easy drawing ideas young children can recreate.
How to Draw Among Us Game Characters
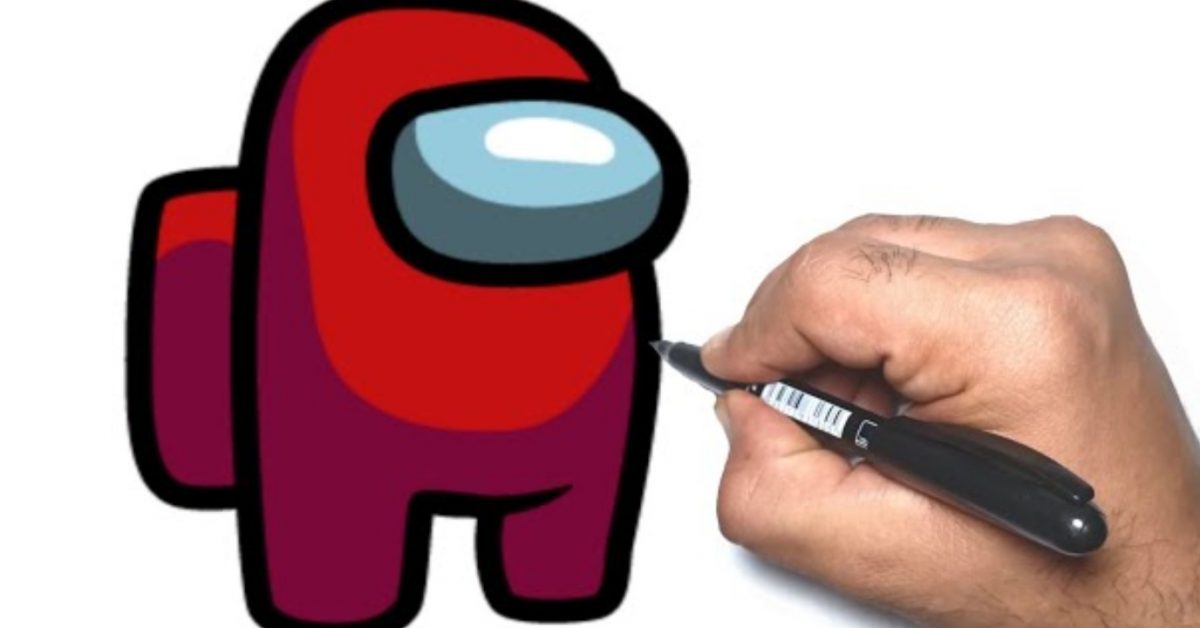
Among Us is a multiplayer game that’s very popular among people of all ages. Its characters follow simple basic shapes, but you can add more detail and color to it as you draw. Here’s how:
Materials:
- A pencil for sketching
- A fine-tipped drawing pen for outlining
- Colored pencils
- Smooth drawing paper
Instructions:
- Start by drawing an upside down letter U. Make it slightly wider than usual then add two stubby, peg-like legs. This should give you more of an A shape after.
- Next, add an oblong-shaped visor. Once that’s done, add another half oblong to the side of your character. This is going to be their backpack.
- When you’re happy with this basic shape, go ahead and use your drawing pen to make the outline bolder. Clean up your pencil sketch as well.
- Lastly, you can start coloring in your drawing according to our sample photo or your own preferences. Don’t forget to add “accessories” such as a small crown or a flower on top of their head! There are many easy drawings of flowers, such as daisies, that you can do.
Easy Cartoon Drawings
Cartoons tend to be more challenging since they have a few more components you need to copy. These are some of the easiest drawing ideas you can try. Remember, an exact likeness isn’t necessary.
How to Draw the Kool Aid Man

Similar to the Among Us character, the beloved Kool Aid Man is also pretty simple to draw. You’d be surprised at how many drawing websites use him for reference, too.
Materials:
- A pencil for sketching
- A fine-tipped drawing pen for outlining
- Colored pencils
- Smooth drawing paper
Instructions:
- Start with the main part of his body, which is a basic bulb or pear shape with a wider top. It doesn’t have to be perfectly symmetrical.
- Once you’re happy with your base shape, try drawing the spout or lip part of the pitcher. To do this, connect either side of the pitcher with a wavy line.
- Next, give your pitcher some arms. The Kool Aid Man has short arms that are shaped a bit like sausages. For his hands, you can either choose to draw in individual fingers (think smaller sausages) or opt for a mitten instead.
- The same steps apply to his legs and feet, except you don’t need to draw his toes. These are the least technical things to draw.
- Now, let’s move to the details. Start by drawing in three cubes or squares inside the pitcher, close to the top. Overlay another wavy line on top of these, similar to drawing the lip of the pitcher. These represent the ice cubes and the Kool Aid juice. Don’t forget to add a small C-shape to the right side of the pitcher, which serves as his handle!
- Happy with how everything looks? Add the final touch, which is his smiley-faced expression. It’s really no different from the emoji, but do add small “caterpillar” brows over each eye. After, outline your sketch with the drawing pen and clean up any remaining pencil lines. This will make your drawing pop out more.
- Lastly, color everything in according to the original, or choose from the 22 “flavor” colors that The Kool Aid man has.
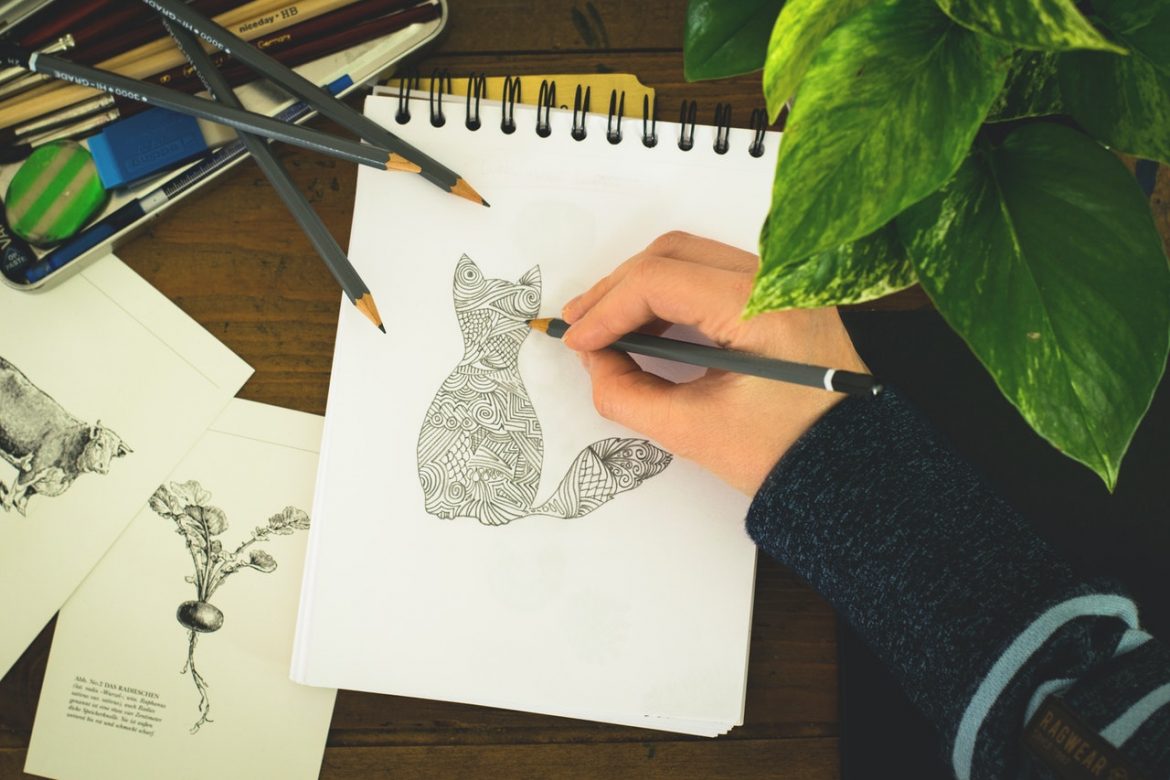
Easy Drawings of Animals
The thing about drawing animals is that you can choose to do a more cartoon version of them or something more realistic and anatomically accurate. Below is an example of one of the easy sketches you can try.
How to Draw an Owl
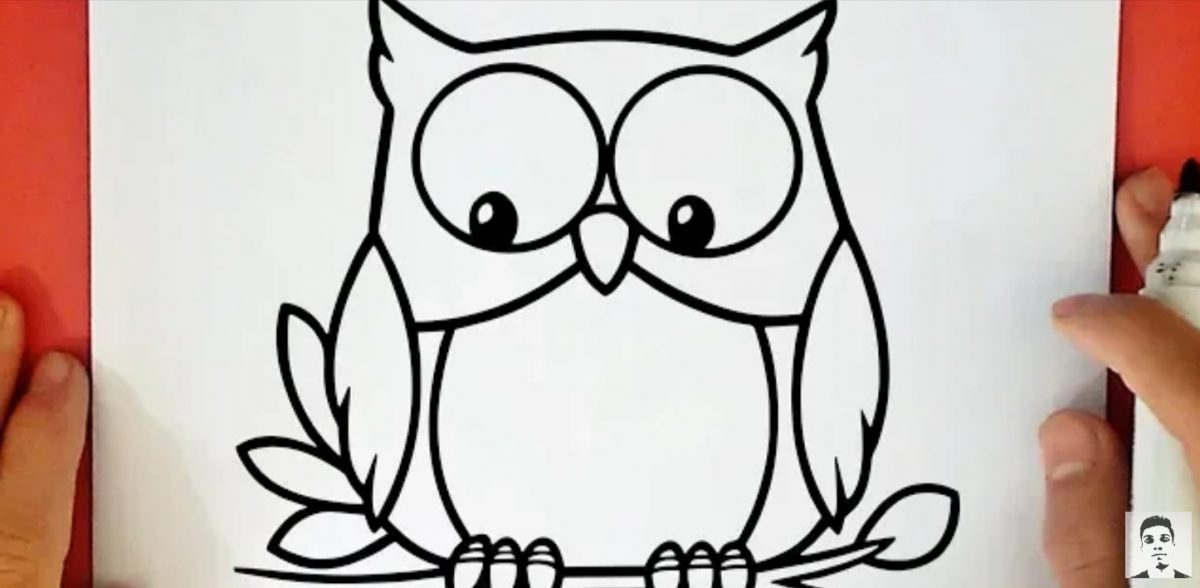
For this next guide, we chose an owl because it is comprised of basic shapes that are easy to draw. Let’s get started:
Materials:
- A pencil for sketching
- A fine-tipped drawing pen for outlining
- Colored pencils
- Smooth drawing paper
Instructions:
- Start by drawing a simple curving line going from left to right. Think of a smile, but slightly oversized. Right below this and close to its center, draw two large circles for the owl’s eyes. Between those, draw a capitalized “V” for the bird’s beak.
- Next, draw the body. This is similar to a pitcher shape, but more symmetrical compared to The Kool Aid Man. Connect this to your first curved line and make sure it tapers on either end. These pointy parts are the horn-like tufts of feathers sitting atop an owl’s head.
- After outlining the whole thing with a marker, draw on the details. To add wings, draw two curved lines inside the owl’s body. You can make these as small or as big as you want. For their feet, draw a three-pointed inverted crown on the bottom of their body. These should be smaller than their wings.
- Here’s the fun part! Flex your creativity further by decorating your owl as you see fit. You can keep it like our sample photo or add your own flair to it, like this one from Zenspire Designs.
Cool Easy Drawings
If you’re looking for bullet journal ideas, we’ve got one for you. Personalize its design by adding your own nature-inspired drawings on top of the stickers you already use. Try our easy to follow drawing guide below!
How to Draw a Bullet Journal Floral Border
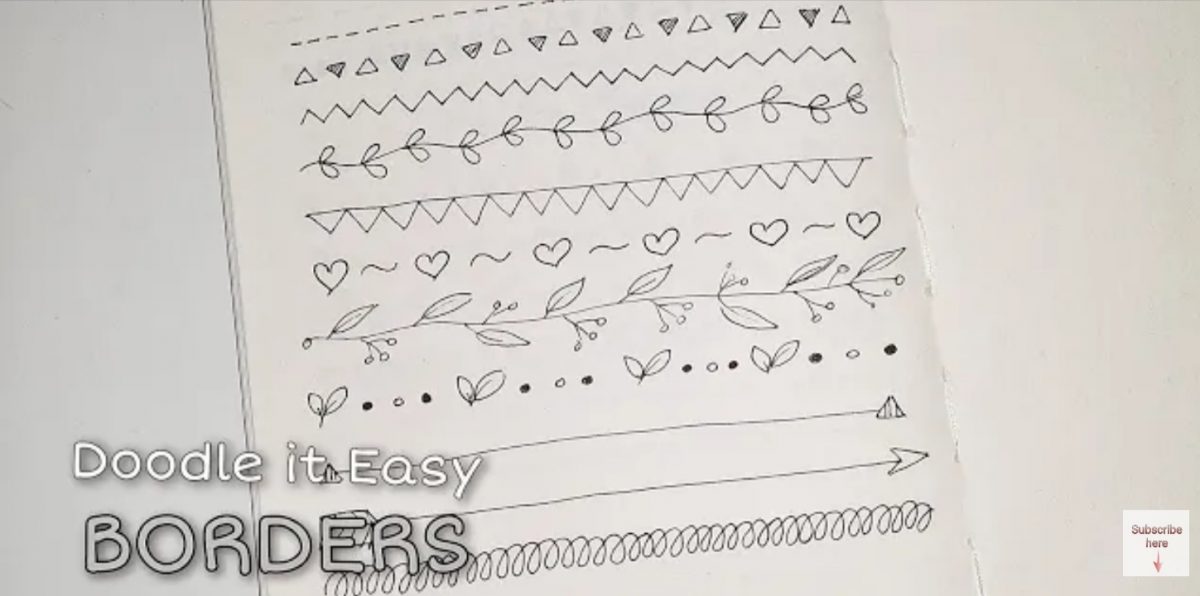
Borders can be used in a variety of ways when you’re journaling. These can be used to create edges around a page, to highlight a title, to frame a photo or a souvenir, or to just separate sections whenever you’re making notes. Instead of just using simple straight lines, why not spice things up and add a floral border to your BuJo? Here’s how:
Materials:
- A pencil for sketching
- A fine-tipped drawing pen for outlining
- Colored pencils
- Optional: Ruler or anything similar
Instructions:
- There are many things to draw for your BuJo and the easiest is the daisy. Start by drawing a small circle then carefully draw thin oblong shapes around it. Given that this needs to be quite small, around the size of a font size 12, you’ll need a fine-tip pen for it.
- Once you’ve gotten used to drawing your daisies, try doing simple drawings of leaves. This time, start with a heart shape and draw leaf veins on it.
- To put everything together, draw a straight line or a wavy one where you want the border. Next, alternate between drawing a daisy and a leaf on either side of your line. As an option, you can also use dashes and place the doodles between each one.
- You can color these in or make them just a bit bigger if they’re serving a more decorative purpose. Other easy botanical drawings you can try are: tulips, sunflowers, and even plant sprouts. If you want to learn more detailed but easy flower drawings, check out this video from Doodles by Sarah.
Cute Easy Drawings
Cute can mean different things for different people. We’ve covered the basic shapes and how to use them, so this time let’s tackle drawings with a bit more detail. Don’t be daunted by the idea of adding light and shadow to your work. It’ll make your drawing stand out more and give it dimension.
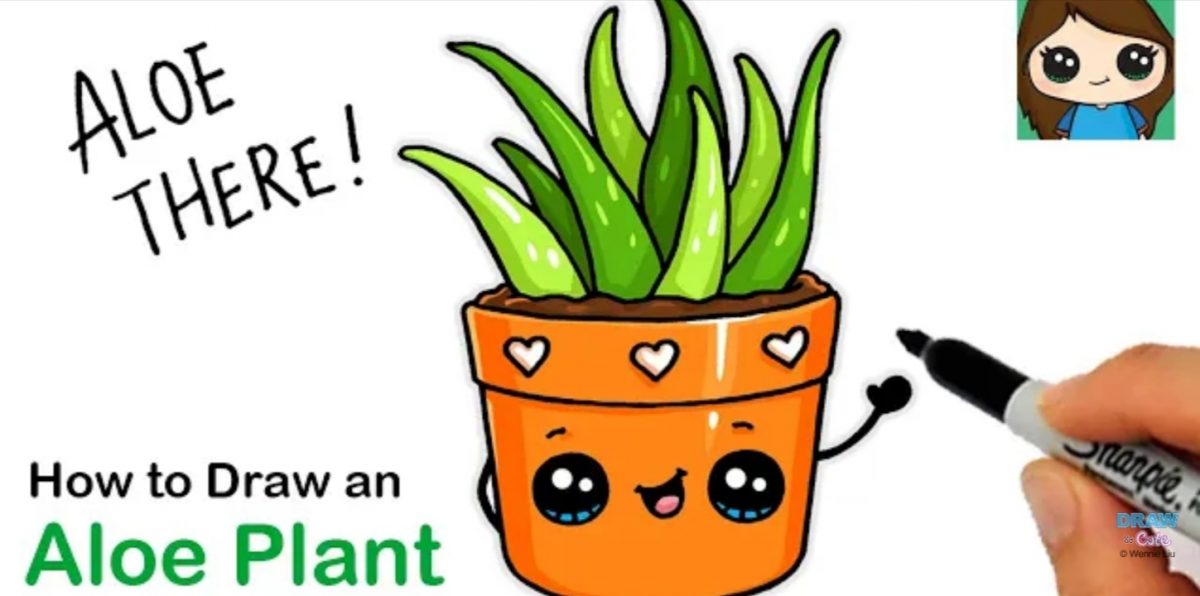
How to Draw a Cute Cactus (Aloe)
Materials:
- A pencil for sketching
- A fine-tipped drawing pen for outlining
- Colored pencils
- Drawing paper
Instructions:
- Start in the same way you would if you were actually planting. Draw the basic shape of your pot first. In this case, sketch a square with a curved bottom. Make sure it also slightly widens as you move to the top.
- Repeat the same curve you did at the bottom to close the top of your pot. For now, leave this as it is since you can add more details later.
- Next, add your soil. To do this, just draw wavy lines on top of your pot. Make sure that it is slightly raised, to give the illusion that the pot is full. Evenness is not necessary and any asymmetrical bits will give it more character.
- Want to learn to draw aloe plants? Remember that it is similar in shape to a banana, but with its tips tapering into a point. Remember to make each leaf unique. Some might be chunkier than others, while there are those that are less curvy like our example.
- Another great tip to keep in mind is leveling. Aloe leaves will not always have the same heights. They also tend to grow in different directions. Sketch out a few ideas on a separate piece of paper before you add to your current drawing.
- Once you’re done with your easy sketch and you’re happy with how it looks, outline your work with the drawing pen. It’s totally fine to take your time with this to avoid ruining the progress you have made.
- Next, you have the details. You can follow the sample photo or get creative with it. Adding patterns should help you practice more basic shapes, so you can try that.
- After, color everything in. For now, keep everything in flat colors. This means only using one color for each item or detail in your drawing. Create visual interest by varying the green hues you’re using for the aloe leaves. Some will be darker and others could be less green.
- Now, add your shading. Here’s a drawing tutorial:
- Add your highlights (the white / light tones) in the area where your light source (in the photo) is coming from. So, if it’s coming from the left, that side of the pot should be lighter than the rest of it. Now, make sure that this light side blends into the shadow side. Otherwise, it’ll still appear flat. This takes practice so just keep at it.
- The shadow side is the darkest of your drawing. Note that it should progressively get darker and not be just one tone. For example, if your light is coming from the left, then deepen the color of your pot as you get closer to its right side.
If this was a little confusing for you to picture, here’s an incredibly useful visual guide from Rhongdhonu Art and Drawing.
How to Draw Anime Eyes
Now that you have the basics of light and shading down, let’s practice what you’ve learned and move on to easy drawings of people. Your work may not get in the best anime list just yet, but this is a start!
How to Draw Basic Anime Eyes (Female)

If you’re looking for easy pencil drawings, give this one a try. Drawing anime eyes should give you ample practice when it comes to shading and how to create visual interest with the use of different tones in our work.
Materials:
- Pencil (one light, one dark if you have those available)
- Smooth drawing paper
Instructions:
- Draw a downward curving line for the upper lash line. It should look like a rotated C-shape. Add the corner of the eye by flicking the end of your line outwards, as if you’re drawing on some winged-eyeliner.
- Below this, draw another line that’s about a third in length of the curved line. This is your lower lash line so make sure it’s centered. You can adjust the size of the eye by moving this closer or further away from the upper lash line.
- Next, sketch an oval between the lash lines. Make sure the lines overlap. The bottom of your oval should also be the same length as your lower lash line. This will serve as your iris.
- These are very simple drawings so far, right? Next, draw another smaller oval on the top right or left side of the eye. This will be the reflecting of light in the eye so keep this one white. Make sure it is no more than a tenth of the iris’ size.
- Add a much smaller circle near the bottom left or right of your eye. This is another light reflection and will give your drawing more dimension once you’re done.
- Now, add an oval to the center of your iris. It should be about a fourth of the iris’ size and must be centered. Unlike the first two, color this in with your pencil all the way. This serves as your pupil. These smaller ovals can overlap, but you can also keep them separated. Each style will create a different effect, so you can experiment with this.
- Draw in the eyelashes by starting in the outer corner of the eye. Add three (or more) swooping lines in this area. Do something similar on the lower lash line, except keep the strokes short and light.
- Now comes shading. Like you’ve learned, the lightest part is where your light source is coming from. Since you’re only using pencil, however, add more pressure to it if you want a darker color and less to create lighter shades. See our example photo to get an idea of what that might look like.
Use these drawing tutorials as much as you can and then tweak it according to your preferences. Who knows? In time, you’ll be creating whole faces. Once you’ve learned how to draw anime, you can move on to something more challenging, like easy Disney drawings!
How to Draw – The Essential Art Materials and Tools You’ll Need
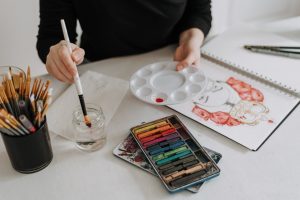
Learning about things to draw is as much about the art supplies you use as it is about your own innate talent. Now, this doesn’t mean that you have to buy the most expensive or the most popular art materials available. Instead, what you need to do is become familiar with what you have. By gaining a better understanding of what fits your needs, you won’t end up spending money on things you won’t even use.
Drawing Pencils
When choosing one, remember that harder graphites create a lighter mark. You don’t need to sharpen these as often as well. Pencils, such as the HB pencil, can be bought in sets, which is what we recommend so you have a whole arsenal at your disposal.
A Sketchbook
For beginners, finding one with quality paper should be enough because you’re likely to discard most of your easy drawing pieces. For this, consider: the kind of tooth or texture you prefer, its thickness if you’re using watercolor, and make sure it is acid free.
Erasers.
Even easy sketches need a bit of clean up. For graphite users, rubber erasers are your standard. Always buy quality ones that don’t leave streak marks on your paper’s surface. You might also need a kneaded eraser, which is used to lift material / dirt from your paper. If you’re using paper that’s prone to tearing, what you’ll need is a gum eraser. This crumbles as you use it, preserving the surface of your paper.
Drawing Pens
Technical drawing pens are a beginner’s best friend. These are the most affordable drawing pens and will provide you with plenty of use. The Staedtler Technical Ink Liners and Sakura Micron Pens are both excellent options to look into.
Felt tip pens are also a must for a beginner’s art kit. These would allow you to create a broad range of line thicknesses, depending on the need. However, these can cost a bit more than a technical drawing pen.
Lastly, for the daring sort, beginner fountain pens are also an option. Though more traditional and require a bit more skill, these can produce a variety of strokes depending on the nib you’re using. The resulting drawings, however, tend to have a more unique touch to them.
Blending Tortillions or Stumps
You’ll need this once you start getting into shading or if you take serious drawing lessons. These are meant to aid an artist when smudging or moving material around on paper. A tortillion make it easy to create gradations so you can do more cool drawing ideas. While the latter works just fine, the tortillion creates a cleaner finished product.
Quality Colored Pencils
There are many different types to meet the needs of each unique artist. Of course, price point should be one of your considerations. Given that you’re just learning how to draw with easy drawings, you would want to go with a basic set for now. The best beginner colored pencils are:
- Faber Castell Albrecht Durer Colored Pencils
Faber Castell makes some of the best colored pencils in the market, but these are also a little expensive. The Albrecht Durer set, however, should be worth its value. It makes for an exceptional choice for beginners, but will still be usable even after you’ve progressed.
- Derwent Inktense Watercolor Pencils
If you want to give watercolor a try without fully committing then this multi-tasking product is a great solution. They give a nice color pay off and are also water soluble. A bit pricier than most, but you’re essentially getting two products in one.
In Closing:
The fun thing about learning how to draw is that you don’t need much to get started. If you’re not too fussy or don’t want to spend money yet, all you really require are some easy drawings for beginners, a pencil, and some paper.
At the end of the day, you’re only limited by your own imagination and creativity. Why not keep an art journal while you’re at it? Remember, the joy of art is in creating, so just go for it!