
Tools and Materials Needed
Before you begin removing the glass from a picture frame, it is important to gather all the necessary tools and materials. Having everything prepared will make the process smoother and more efficient. Here are the tools and materials you will need:
- Protective gloves
- Eye protection
- Soft cloth or microfiber cloth
- Flathead screwdriver
- Needle-nose pliers
- Razor blade or glass cutter (depending on the type of frame)
- Isopropyl alcohol or glass cleaner
- Cotton swabs
- Newspaper or dropcloth (to protect your work area)
By having these tools and materials on hand, you will be well-equipped to safely and effectively remove the glass from your picture frame. Remember to wear protective gloves and eye protection to prevent any injuries during the process.
Step 1: Prepare a Clean Workspace
Before you start removing the glass from a picture frame, it is crucial to create a clean and organized workspace. This will help ensure that you can work efficiently and reduce the risk of any accidental damage or injury. Follow these steps to prepare your workspace:
- Choose a well-lit area: Find a spot in your home or studio with ample lighting. Natural light is ideal as it allows you to see any smudges or imperfections on the glass more easily.
- Lay down a protective covering: Place a dropcloth or newspaper on your work surface to protect it from any accidental spills or scratches.
- Clean the surrounding area: Clear away any clutter or objects that may obstruct your workspace. This will give you the room you need to safely maneuver the frame and glass.
- Gather your tools and materials: Ensure that you have all the necessary tools and materials within reach. This will prevent any unnecessary interruptions during the process.
- Put on protective gear: Before you begin handling the glass, remember to put on your protective gloves and eye protection. These will safeguard your hands and eyes from any potential injuries.
By taking the time to prepare a clean and well-organized workspace, you are setting yourself up for a successful glass removal process. It allows you to work safely, efficiently, and with attention to detail. Now that you have your workspace prepared, you’re ready to move on to the next steps of removing the glass from your picture frame.
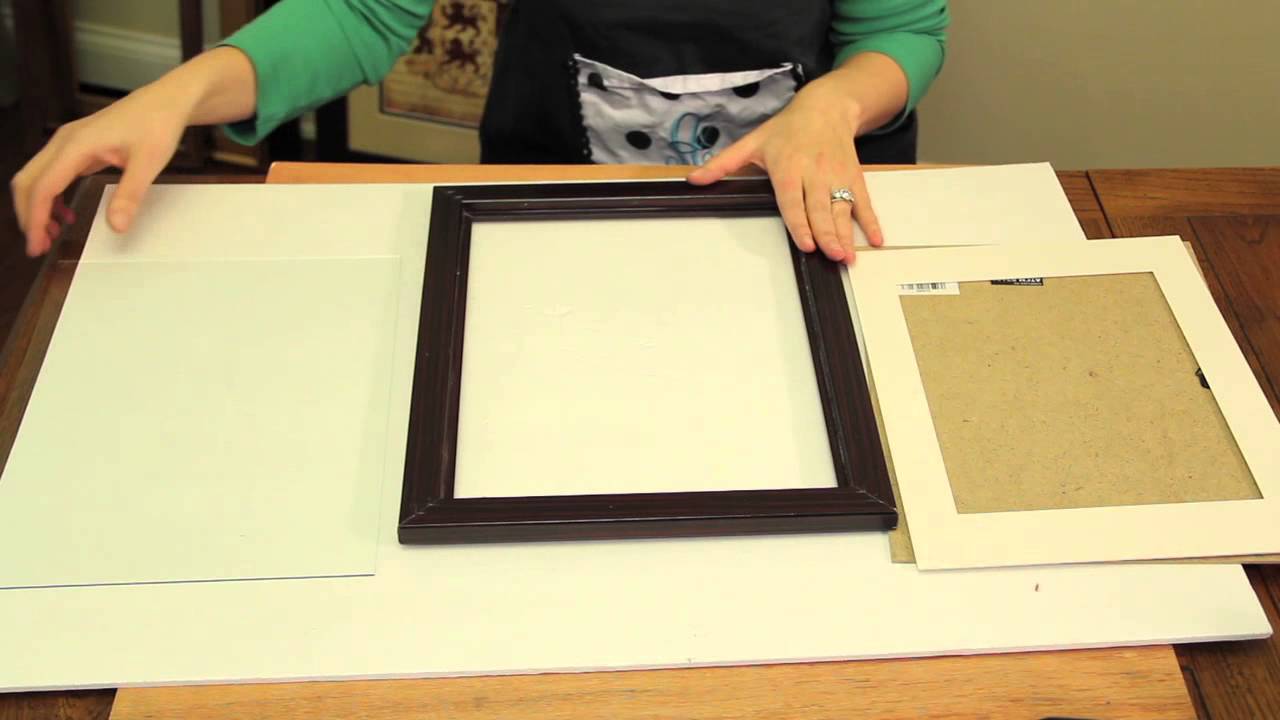
Step 2: Remove the Backing and Matting
Once you have prepared your workspace, the next step is to remove the backing and matting from the picture frame. This will give you easier access to the glass and make the removal process more straightforward. Follow these steps:
- Place the frame face down: Carefully turn the frame over and lay it on a soft surface, such as a towel or a clean, soft cloth. This will prevent any scratches or damage to the front of the frame.
- Remove the back panel: Look for any clips, screws, or tabs holding the back panel in place. Use a flathead screwdriver or needle-nose pliers to release or unscrew them. Once the securing mechanism is removed, gently lift off the back panel and set it aside.
- Take out the matting: If your picture frame has a matting, carefully lift it up and out of the frame. Be cautious not to bend or damage the matting as it may be reused in the future.
- Inspect for additional layers: Sometimes, there might be additional layers of paper or protective film covering the glass. If present, carefully peel them off to expose the glass surface.
With the backing and matting removed, you now have clear access to the glass within the frame. Take a moment to inspect the glass for any cracks, chips, or damage before proceeding to the next step. It’s important to address any issues with the glass before attempting to remove it from the frame.
Step 3: Inspect the Glass for Cracks or Damage
After removing the backing and matting, it’s crucial to thoroughly inspect the glass for any signs of cracks, chips, or other damage. This step is essential to ensure the safety of both the glass and yourself during the removal process. Follow these guidelines to inspect the glass:
- Examine the glass surface: Carefully inspect the entire surface of the glass. Look for any visible cracks, chips, or scratches. Pay close attention to the corners and edges where damage is more likely to occur.
- Check for structural integrity: Gently tap on the glass with your fingertip or a wooden object. Listen for any hollow or rattling sounds, which may indicate that the glass is loose or damaged.
- Assess the severity of damage: If you find any minor cracks or chips that do not compromise the overall integrity of the glass, you may proceed with caution. However, if the glass is significantly cracked or broken, it is recommended to seek professional assistance for the safe removal and replacement.
It’s important to note that handling cracked or broken glass can be hazardous. If you are unsure about the condition of the glass or feel uncomfortable proceeding, it is best to consult a professional or seek guidance from an expert in glass repair or restoration.
By carefully inspecting the glass, you can determine whether it is safe to proceed with removing it from the frame. If you have determined that the glass is in good condition, you can move on to the next step of gently removing it from the frame.
Step 4: Gently Remove the Glass from the Frame
With the glass inspected and deemed safe for removal, it’s time to proceed with extracting it from the picture frame. Follow these steps to gently remove the glass:
- Apply gentle pressure: If your frame has metal or plastic clips holding the glass in place, use your thumb or fingers to press and release these clips. This will loosen the grip on the glass.
- Slide the glass out: Once the clips are released, slowly slide the glass out from the frame. Take your time and be cautious not to force or bend the glass during this process. If there are any obstructions, gently maneuver the glass until it is free.
- Safely handle the glass: Always hold the glass by its edges to minimize the risk of leaving fingerprints or smudges on the surface. The use of gloves is recommended to prevent any accidental slips or cuts.
- Set the glass aside: Place the glass on a clean, soft cloth or surface, away from the workspace to prevent any accidental damage.
Removing the glass from a picture frame requires patience and gentle handling. By following these steps, you can safely and effectively detach the glass without causing any damage or injury.
If you plan to replace the glass or work on the framed artwork, be sure to keep the glass in a safe and secure location to prevent any accidental breakage or further damage.
Step 5: Clean the Glass and Frame
Once you have successfully removed the glass from the frame, it’s important to clean both the glass and the frame to ensure they are free from dust, fingerprints, and any other debris. Follow these steps to effectively clean the glass and frame:
- Clean the glass: Start by wiping the glass with a soft cloth or microfiber cloth to remove any loose dust or particles. Next, dampen a clean cloth with isopropyl alcohol or use a glass cleaner specifically designed for delicate surfaces. Gently wipe the glass in a circular motion, ensuring thorough coverage. For stubborn stains or smudges, use a cotton swab dipped in isopropyl alcohol to target small areas.
- Clean the frame: Use a separate clean cloth or a soft brush to remove any dust or dirt from the frame. Pay attention to the corners and intricate details, ensuring every nook and cranny is free of debris. If the frame is made of wood or a delicate material, you can lightly dampen the cloth with water or a mild soap solution to gently clean the surface. Wipe dry with a clean cloth to prevent water damage.
- Dry and polish: Once the glass and frame are clean, use a dry and lint-free cloth to gently dry and polish them. This will help achieve a streak-free and glossy finish.
It is important to handle both the glass and the frame with care during the cleaning process. Avoid using abrasive cleaners or excessive pressure, as they can cause damage. Always follow the manufacturer’s instructions and use suitable cleaning products for the specific materials of your frame.
By cleaning the glass and frame, you not only enhance their appearance, but you also ensure that the artwork or photograph inside the frame is displayed in the best possible way. Clean surfaces also prevent dust or debris from accumulating and potentially damaging the artwork or the glass in the future.
Step 6: Reassemble the Frame
Now that you have cleaned the glass and frame, it’s time to put everything back together and reassemble the picture frame. Follow these steps to ensure a proper reassembly:
- Position the glass: Carefully place the cleaned glass back into the frame, making sure it fits snugly. Align the edges with the frame and ensure it sits properly without any tilting or shifting.
- Reinstall the matting: If your picture frame has a matting, gently place it on top of the glass, ensuring that it aligns with the artwork or photograph. Be careful not to apply too much pressure or bend the matting.
- Attach the back panel: Line up the back panel with the frame and secure it in place using clips, screws, or tabs. Make sure it is properly aligned and flush with the frame to provide adequate support.
- Check for stability: Once the back panel is secured, give the frame a gentle shake to ensure that everything is stable and well-attached. If you notice any loose components or movement, double-check the fastening mechanisms.
By following these steps, you can successfully reassemble the frame and ensure that the artwork or photograph is securely held in place while being displayed.
Take a moment to admire your clean and reassembled picture frame. You have successfully removed and cleaned the glass, giving your artwork or photograph a fresh and pristine appearance.
Remember to handle the frame with care when moving or displaying it to prevent any accidental damage. Regular cleaning and maintenance will help keep your frame and the enclosed artwork or photograph looking their best for years to come.