Why do you need to remove the drip tray?
The drip tray in your Nespresso Vertuoline machine plays a crucial role in maintaining cleanliness and preventing any potential leaks or spills during the coffee brewing process. Over time, the drip tray can accumulate coffee residue, water stains, and even mold if not cleaned regularly. Removing the drip tray allows you to clean it thoroughly and ensure that your machine continues to deliver the perfect cup of coffee every time.
Here are a few reasons why you need to remove the drip tray from your Nespresso Vertuoline:
- Hygiene: Cleaning the drip tray helps maintain optimum hygiene standards. The accumulation of coffee residue, oils, and water stains can create a breeding ground for bacteria and mold. Regularly removing and cleaning the drip tray ensures that your coffee brewing process is sanitary and that you don’t compromise on the quality of your coffee.
- Preventing leaks: The drip tray is designed to collect excess coffee and water that may overflow during the brewing process. However, if the tray becomes full and is not emptied, it can result in leaks, causing a mess on your kitchen countertop. By removing the drip tray and emptying it regularly, you can prevent any potential leaks and keep your coffee brewing area clean and dry.
- Proper functioning: The drip tray is an essential component of the Nespresso Vertuoline machine. If the tray is full, it can hinder the proper functioning of the machine, affecting the extraction process and the taste of your coffee. Removing the drip tray allows you to keep it clean and free from any debris, ensuring that your machine operates smoothly and delivers the perfect cup of coffee every time.
Gathering the necessary tools
Before you begin the process of removing the drip tray from your Nespresso Vertuoline, it’s important to gather the necessary tools. Having these tools at hand will make the task easier and ensure that you don’t encounter any difficulties during the process. Here are the tools you will need:
- Flat-head screwdriver: This tool will come in handy when removing certain components of the machine, such as the water tank or the drip tray itself. Look for a screwdriver with a slim and flat tip to fit into tight spaces.
- Clean cloth or sponge: You’ll need a soft, clean cloth or sponge to clean the drip tray once it’s removed. This will help remove any residue or stains from the tray effectively.
- Warm, soapy water: To ensure thorough cleaning of the drip tray, prepare a mixture of warm water and mild dish soap. This solution will help break down any stubborn coffee stains or residue.
- Towel or drying mat: After cleaning the drip tray, you’ll need a towel or drying mat to place it on while it dries. Choose a clean, absorbent cloth to prevent any water spots from forming.
By gathering these tools beforehand, you’ll have everything you need to successfully remove and clean the drip tray of your Nespresso Vertuoline machine. It’s important to ensure that these tools are clean and in good condition, as this will contribute to a more efficient and effective cleaning process.
Step 1: Turn off the machine and unplug it
Before you begin the process of removing the drip tray from your Nespresso Vertuoline machine, it’s essential to ensure that the machine is turned off and unplugged. This will help prevent any accidents while working on the machine and ensure your safety. Here’s how to do it:
- Switch off the machine: Locate the power button on your Nespresso Vertuoline machine and turn it off. This will ensure that no power is running through the machine while you handle its components.
- Unplug the machine: Once the machine is switched off, unplug it from the electrical outlet. This step is crucial to prevent any electrocution or damage to the machine.
- Allow the machine to cool down: It’s also important to let the machine cool down before you start working on it. This will help prevent any burns or injuries that may occur due to hot surfaces.
By following these steps, you ensure that the machine is in a safe state for you to proceed with removing the drip tray. Taking precautions like switching off the machine and unplugging it not only protect your safety but also prevent any potential damage to the machine’s electrical components.
Step 2: Prepare a clean, flat surface
Creating an organized and clean workspace is essential when removing the drip tray from your Nespresso Vertuoline machine. By preparing a suitable surface, you can ensure that the process goes smoothly and that you have enough space to work comfortably. Follow these steps to prepare a clean, flat surface:
- Clean the area: Start by cleaning the area where you plan to work. Remove any clutter or debris from the countertop or table to create a clean and spacious workspace.
- Find a flat surface: Locate a flat surface near your machine where you can place the removed parts during the cleaning process. This could be a kitchen countertop or a table that provides enough space for the drip tray and other components.
- Use a protective mat or towel: To protect the surface from any potential scratches or spills, consider placing a protective mat or towel underneath the machine and the parts that you’ll be working on.
- Ensure good lighting: Adequate lighting is important during the disassembly and cleaning process. Make sure that the area is well-lit to help you see and handle the components effectively.
By preparing a clean, flat surface, you create an organized and safe workspace for removing and cleaning the drip tray. Having enough space and good lighting will make the process more efficient, ensuring that you can easily access and clean the necessary components of your Nespresso Vertuoline machine.
Step 3: Removing the water tank
In order to access and remove the drip tray from your Nespresso Vertuoline machine, you’ll first need to remove the water tank. Follow these steps to safely remove the water tank:
- Ensure the machine is turned off and unplugged: Before removing the water tank, make sure that the machine is switched off and unplugged to prevent any accidents or electrical hazards.
- Lift the water tank lid: On the top of the machine, locate the water tank lid. Lift the lid to expose the water tank and its components.
- Gently lift the water tank: Using both hands, firmly but gently lift the water tank upwards. The tank should come off easily, as it is designed to be detachable for easy refilling and cleaning.
- Set aside the water tank: Once the water tank is removed, set it aside on your prepared flat surface. Take care not to spill any water that may be inside the tank.
Removing the water tank is a crucial step in accessing the drip tray of your Nespresso Vertuoline machine. Setting the water tank aside allows you to focus on removing and cleaning the drip tray effectively, without any obstructions. Remember to handle the water tank with care to avoid any spills or damage.
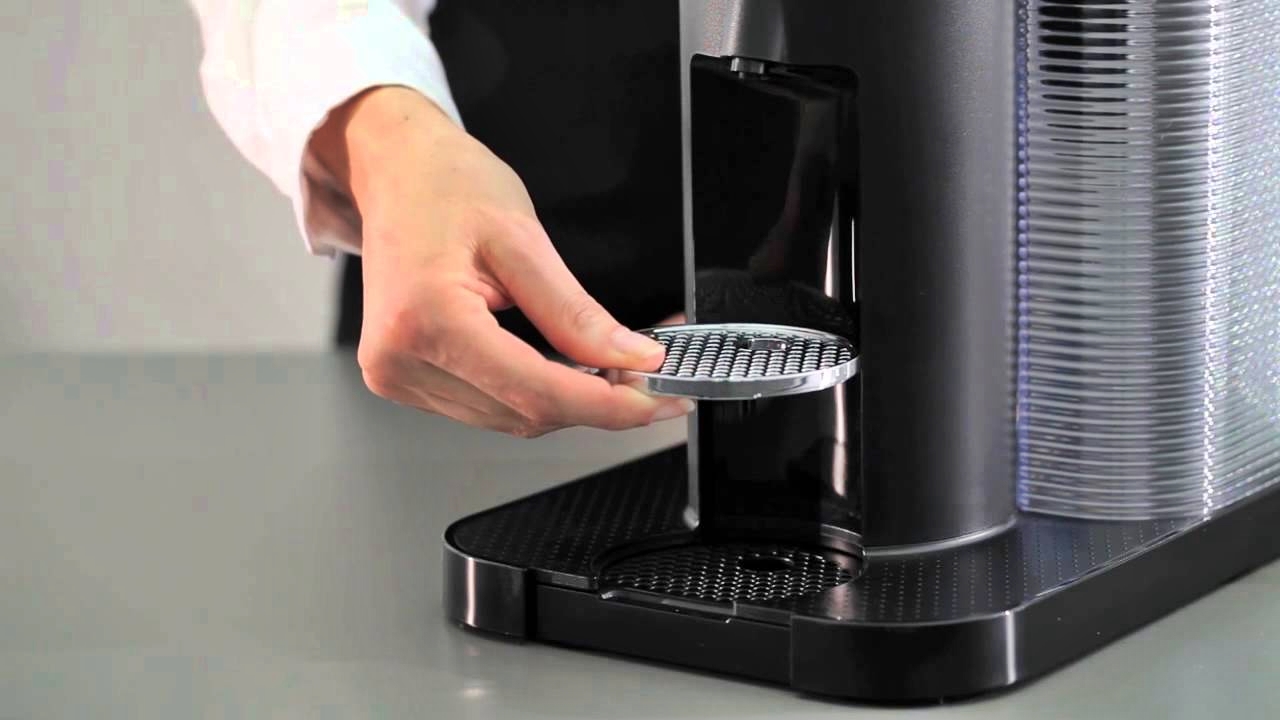
Step 4: Locate and remove the drip tray
With the water tank removed, you can now locate and remove the drip tray from your Nespresso Vertuoline machine. The drip tray is where the excess coffee and water are collected during the brewing process. Here’s how to proceed:
- Locate the drip tray: Depending on the model of your machine, the drip tray is usually located beneath the coffee outlet or on the front panel. Look for a tray that is fitted snugly into the machine.
- Gently pull out the drip tray: Using both hands, grip the drip tray firmly and pull it outwards towards you. The tray may be connected to an empty capsule container or a grill, so be careful not to damage them as you remove the drip tray.
- Empty the contents: Once the drip tray is removed, empty any residual coffee, water, or waste that may have accumulated in it. Dispose of the contents appropriately.
- Inspect the drip tray: Take a moment to inspect the drip tray for any signs of residue or stains. This is a good opportunity to check for any remaining debris that needs to be cleaned.
By following these steps, you can easily locate and remove the drip tray from your Nespresso Vertuoline machine. Taking care while handling the tray will ensure that you don’t damage any connected components. It’s important to regularly remove and clean the drip tray to prevent any build-up and keep your machine in optimal condition for brewing delicious coffee.
Step 5: Cleaning the drip tray
Now that the drip tray is removed from your Nespresso Vertuoline machine, it’s time to clean it thoroughly. The drip tray can accumulate coffee residue, water stains, and even mold, so regular cleaning is essential. Follow these steps to ensure a deep and effective cleaning of the drip tray:
- Prepare warm, soapy water: Fill a basin or sink with warm water and add a small amount of mild dish soap. Mix them together to create a soapy solution.
- Submerge the drip tray: Place the drip tray into the soapy water and let it soak for a few minutes. This will help loosen any stubborn stains or residue.
- Scrub the drip tray: Using a soft sponge or cloth, gently scrub the drip tray to remove any remaining residue or stains. Pay special attention to the corners and crevices where coffee and debris tend to accumulate.
- Rinse thoroughly: Once you’ve scrubbed the drip tray, rinse it under clean running water to remove any soap residue. Ensure that all traces of soap are washed away.
- Dry the drip tray: Use a clean towel or drying mat to dry the drip tray thoroughly. Make sure that it is completely dry before reassembling your Nespresso Vertuoline machine.
By following these steps, you can effectively clean the drip tray of your Nespresso Vertuoline machine. Regular cleaning prevents the accumulation of residue and maintains the hygiene of your machine. Remember to be gentle while scrubbing and take your time to ensure a thorough clean.
Step 6: Reassembling the machine
After cleaning the drip tray of your Nespresso Vertuoline machine, it’s time to reassemble the components and get your machine ready for brewing delicious coffee. Follow these steps to properly reassemble your machine:
- Ensure the drip tray is dry: Before proceeding with reassembly, ensure that the drip tray is completely dry. Any leftover moisture could impact the functionality of the machine and cause issues down the line.
- Position the drip tray back in place: Take the dry drip tray and position it back into its original position in the machine. Make sure it fits snugly and securely.
- Insert the water tank: Place the water tank back into its designated area, ensuring that it is correctly aligned and firmly seated. Push it down gently until it clicks into place.
- Close the water tank lid: Lower the water tank lid back into its closed position. Ensure that it is securely closed to avoid any water leakage during the brewing process.
- Plug in the machine and turn it on: Once the components are reassembled, plug the machine back into an electrical outlet. Turn on the machine to ensure that it is functioning properly.
- Run a test brew: To make sure everything is functioning correctly, run a test brew without inserting a coffee capsule. This will help flush out any remaining residue and ensure the machine is ready for use.
By following these steps, you can successfully reassemble your Nespresso Vertuoline machine after cleaning the drip tray. This will ensure that the machine is functioning optimally and ready to brew a fresh cup of coffee for your enjoyment.