
Materials Needed
Before you embark on making a frame for your mirror, gather the following materials:
- Wooden boards or molding – Choose a type of wood that suits your style and desired look for the frame.
- Measuring tape – Accurate measurements are crucial to ensure a properly fitting frame.
- Saw – A handheld saw or a miter saw can be used to cut the wood pieces.
- Sandpaper – Different grits of sandpaper, such as coarse and fine, will be needed to smooth and refine the wood surface.
- Wood glue – This adhesive is essential for securely joining the wood pieces together.
- Clamps – Clamps will help hold the wood pieces in place during the assembly process.
- Stain or paint – Choose a stain or paint color that complements your room’s décor.
- Brushes or a foam roller – These are used to apply the stain or paint evenly onto the wood.
- Mirror – Ensure the size of the mirror matches the dimensions you’ve measured for the frame.
- Hanging hardware – Depending on the weight of your mirror, you may need picture frame hanging hardware or D-rings.
Having these materials ready will ensure a smooth and efficient process when making your mirror frame. Now that you have everything you need, let’s move on to the next step: measuring and purchasing supplies.
Step 1: Measure and Purchase Supplies
The first step in making a frame for your mirror is to accurately measure the dimensions of the mirror and decide on the size of the frame. Take precise measurements of the height and width of the mirror, ensuring that you account for any beveled edges or decorative trim.
Once you have the measurements, you can determine the amount of wood you will need for the frame. Consider the thickness and width of the frame you desire, as well as the number of sides you want the frame to have.
With the measurements in hand, head to your local hardware store or online retailer to purchase the necessary supplies. Look for wooden boards or molding that matches your desired style and fits the dimensions you measured. Alternatively, you can have the wood cut to size at the store for added convenience.
It’s a good idea to bring your mirror measurements with you to the store or keep them handy for online shopping. This way, you can discuss your project with a store associate or ensure that the wood you select is the correct size.
Additionally, take this opportunity to gather the other materials needed for the project, such as sandpaper, wood glue, clamps, stain or paint, brushes or foam rollers, mirror hanging hardware, and any other items on your list.
By taking the time to measure accurately and select the right materials, you’ll set yourself up for success when creating a beautiful frame for your mirror. In the next step, we’ll prepare the wood for assembly.
Step 2: Prepare the Wood
Now that you have all the necessary supplies, it’s time to prepare the wood for your mirror frame. Here’s what you need to do:
- Inspect the wood: Take a close look at the wooden boards or molding you purchased. Check for any defects, such as cracks, knots, or warping. If you notice any imperfections, you may want to consider using a different piece of wood or making necessary repairs before proceeding.
- Cut the wood to rough lengths: Measure and mark the desired lengths for the frame sides using a pencil or marker. Use a saw to cut the wood at these markings, creating rough pieces for your frame. Remember to account for the width of each corner joint when determining the length.
- Smooth the cut edges: After cutting the wood, the edges may be rough or uneven. Use sandpaper to carefully smooth and refine the edges, making them smooth to the touch. Start with a coarse grit sandpaper and gradually move to finer grits for a polished finish.
- Bevel the inner edge (optional): If you want to add some decorative flair to your mirror frame, you can create a beveled inner edge. Use a router or a hand file to carefully shape the inner edge of each wood piece at a 45-degree angle. This will give the frame a more refined and elegant look.
By preparing the wood, you ensure that it is in the best possible condition before starting the assembly process. Taking the time to cut the wood to the right lengths and smooth the edges will result in a more professional-looking frame. If desired, adding a beveled inner edge can elevate the visual appeal of your mirror frame. With the wood ready, it’s time to move on to the next step: cutting the wood pieces to the correct angles for assembly.
Step 3: Cut the Wood Pieces
With the wood prepared, it’s time to cut the pieces to the correct angles for the frame assembly. Follow these steps to ensure precision:
- Set up a miter saw or miter box: A miter saw is the easiest tool to use for cutting angled pieces, but a miter box with a hand saw can work as well. Set the saw or box at the desired angle for your frame corners.
- Measure and mark the lengths: Measure and mark the lengths for each piece of the frame on the corresponding wood. Take into account the width of each corner joint so that the frame fits together precisely. Use a pencil or marker to make clear and accurate markings.
- Cut the wood at the marked angles: Place the wood carefully against the saw or in the miter box, aligning the marked angle with the appropriate cutting guide. Slowly and carefully cut each piece, ensuring the angles are accurate and clean.
- Double-check the angles and lengths: After cutting each piece, use a protractor or miter gauge to verify that the angles are correct. Measure the lengths of the pieces to ensure they match the required dimensions for your frame.
It’s important to take your time and be precise when cutting the wood pieces. Accuracy in the angles and lengths will ensure that the frame fits together seamlessly. Double-checking your work will help prevent issues later in the assembly process.
Once all the wood pieces have been cut to the correct angles, set them aside and move on to the next step: sanding the wood to create a smooth and polished surface.
Step 4: Sand the Wood
Now that you have cut the wood pieces for your mirror frame, it’s time to sand them to create a smooth and polished surface. Follow these steps for effective sanding:
- Start with coarse-grit sandpaper: Begin by using a coarse-grit sandpaper, such as 80 or 100 grit, to remove any rough surfaces, imperfections, or splinters. Sand along the length of the wood grain, applying even pressure to achieve an even result. Focus on the cut edges, corners, and any uneven areas.
- Switch to finer-grit sandpaper: After using the coarse-grit sandpaper, switch to a finer-grit sandpaper, such as 120 or 150 grit. This will help refine the surface and create a smoother finish. Sand the entire surface of each wood piece, following the direction of the grain.
- Sand the edges and corners: Pay special attention to the edges and corners of the wood pieces, as they can be more challenging to sand evenly. Use sanding blocks or folded sandpaper to reach these areas and ensure a consistent finish.
- Remove dust: As you sand, dust and wood particles will accumulate on the surface. Periodically wipe away the dust using a clean cloth or a tack cloth. This will help maintain clarity and visibility throughout the sanding process.
- Smooth the surface: Continue sanding with increasingly finer-grit sandpaper, such as 180, 220, or even 320 grit, until the surface feels smooth and has a silky touch. This will create a polished and professional look for your mirror frame.
Remember to take your time and be patient when sanding the wood. The smoother the surface, the better the end result will be. Double-check the wood pieces to ensure they are free from rough patches or imperfections before moving on to the next step.
Once the wood pieces are sanded to your satisfaction, it’s time to move on to the exciting step of assembling the frame.
Step 5: Assemble the Frame
With the wood pieces sanded and ready, it’s time to assemble the frame for your mirror. Follow these steps for a successful assembly:
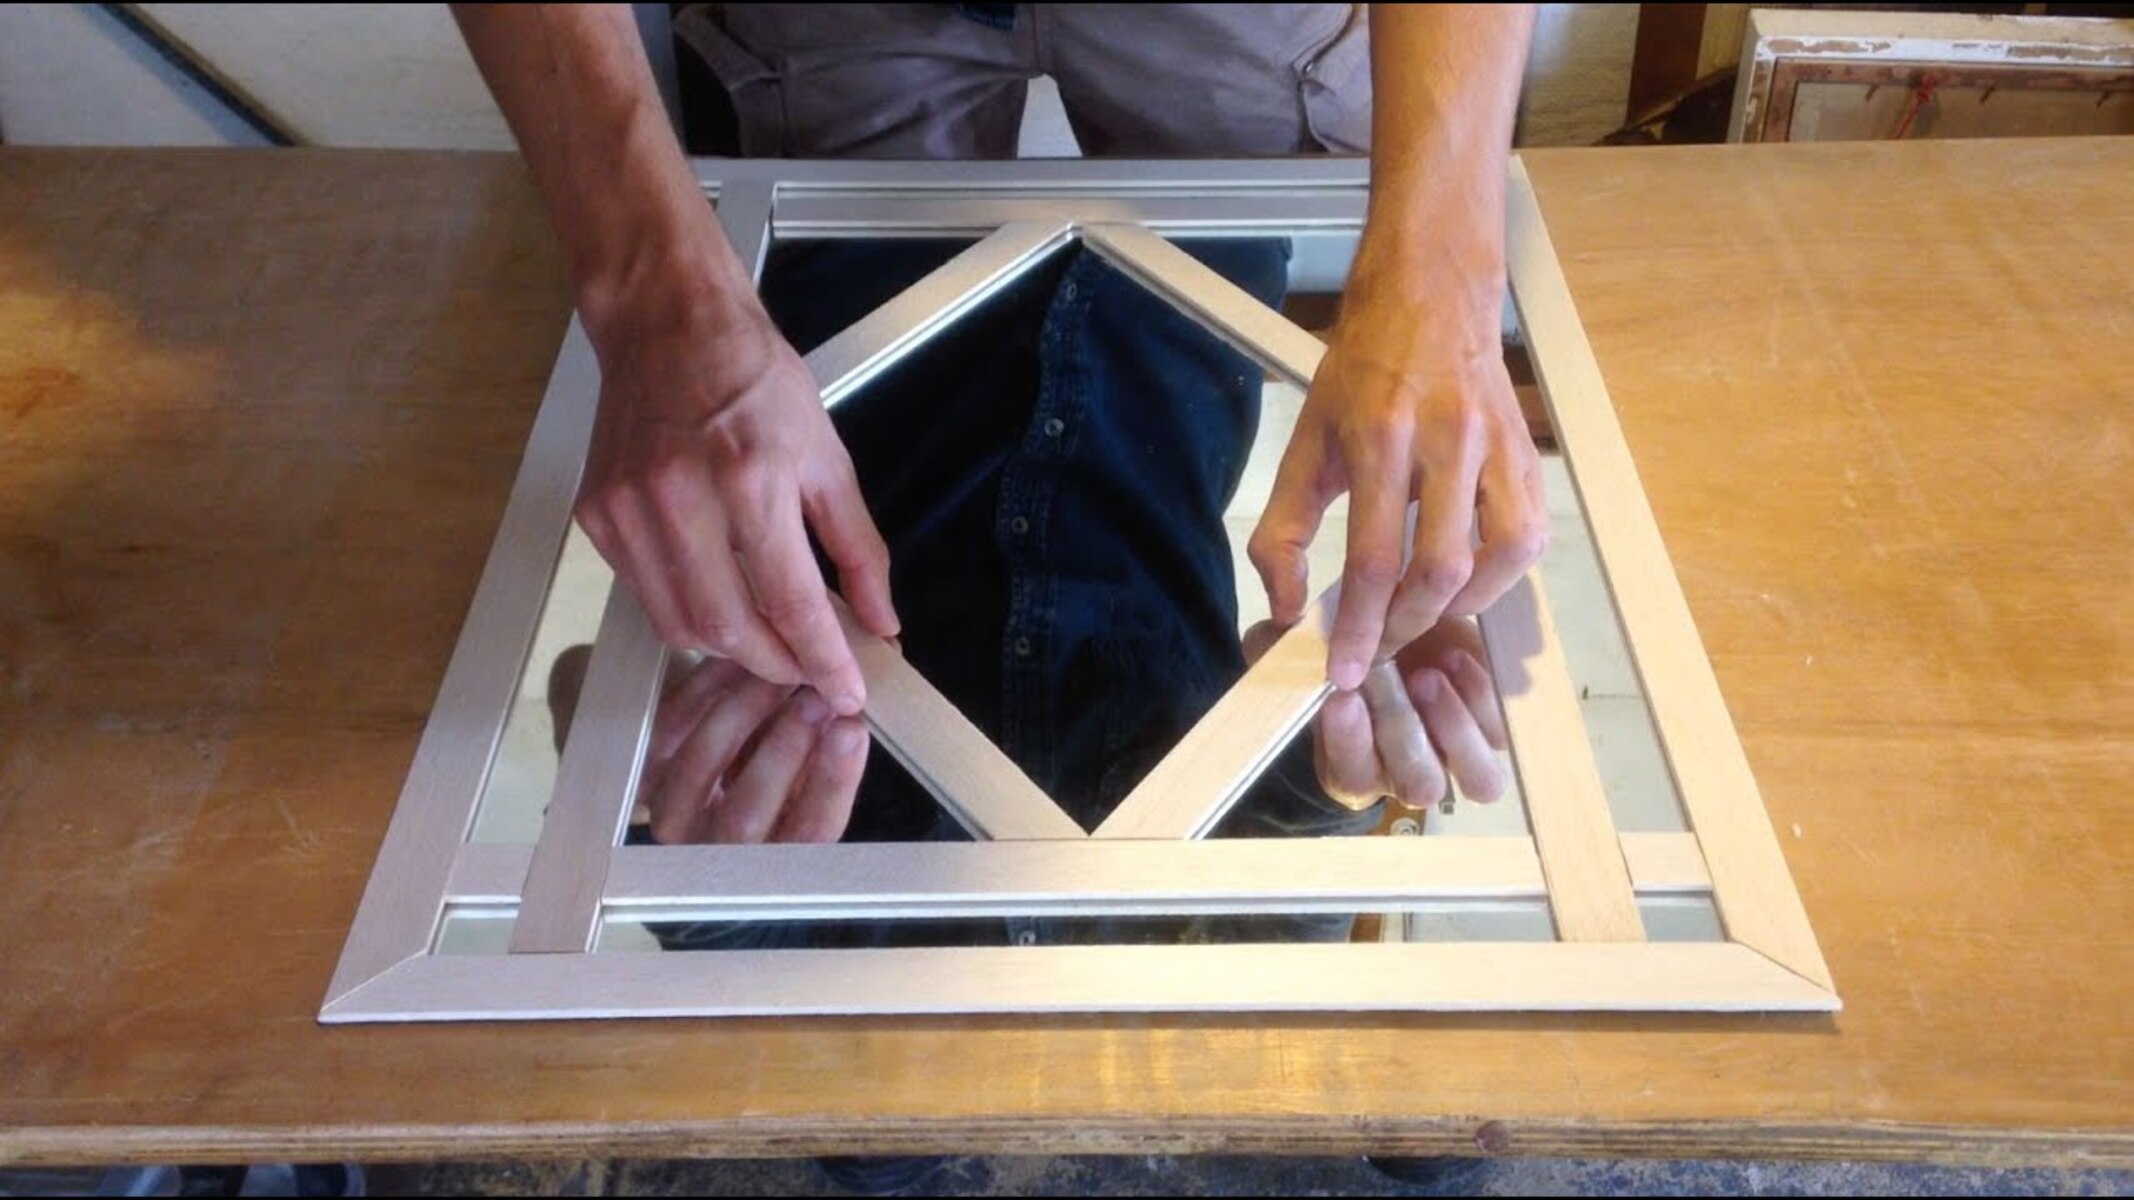
- Arrange the wood pieces: Lay out the wood pieces in the desired order, ensuring that the angles and lengths align properly. This will give you a visual representation of how the frame will come together.
- Apply wood glue: Starting with one corner, apply a small amount of wood glue to the angled surfaces that will be joined together. Use a brush or a small spatula to spread the glue evenly.
- Join the wood pieces: Carefully align the angled surfaces of the wood pieces and press them together firmly. Ensure that the corners meet evenly and that the frame is square. Use clamps to hold the pieces in place while the glue dries.
- Wipe away excess glue: As you proceed with assembling the remaining corners, keep a damp cloth or sponge nearby to quickly wipe away any excess glue that may squeeze out.
- Check for squareness: After assembling all the corners, use a carpenter’s square or a measuring tape to check that the frame is square. Adjust if necessary by shifting or tapping the pieces gently.
- Allow the glue to dry: Follow the instructions on the wood glue to determine the drying time. It is recommended to leave the frame clamped for at least a few hours or as specified by the glue manufacturer.
It’s important to work efficiently when applying the glue and joining the wood pieces together. The glue will bond the pieces, creating a strong and sturdy frame for your mirror. Double-check the squareness of the frame to ensure a precise and professional look.
Once the wood glue has dried and the frame is secure, you’re ready to move on to the next step: staining or painting the frame to enhance its appearance.
Step 6: Stain or Paint the Frame
After assembling the frame, it’s time to give it a finished look by staining or painting. Follow these steps to add a touch of color and protection to your mirror frame:
- Prepare the work area: Find a well-ventilated area or set up a workspace outdoors to avoid fumes and ensure proper ventilation. Lay down a drop cloth or newspaper to protect the surface underneath.
- Choose your stain or paint: Decide whether you want to enhance the natural beauty of the wood with a stain or add a pop of color with paint. Select a stain or paint that complements your room’s décor and personal taste.
- Apply the stain or paint: If using a stain, use a brush or a cloth to apply an even coat, following the direction of the wood grain. Allow it to penetrate the wood for the recommended time, and then wipe away any excess with a clean cloth. If using paint, apply thin and even coats, allowing each coat to dry before applying the next.
- Add multiple coats (optional): Depending on the desired depth of color or coverage, you may choose to apply multiple coats of stain or paint. Follow the manufacturer’s instructions for drying time between coats.
- Allow for proper drying: Once you have achieved the desired color and coverage, allow the stain or paint to dry completely. This may take several hours or even overnight, depending on the product and environmental conditions.
- Consider adding a protective finish (optional): To provide additional durability and protection to your frame, you may choose to apply a clear topcoat or sealant. This will safeguard the stain or paint from scratches and moisture.
Take your time when staining or painting the frame to ensure a professional and even finish. Be mindful of any drips or runs and make necessary corrections as you go. It’s also important to follow the manufacturer’s instructions for the stain, paint, and any additional protective finishes you choose to apply.
Once the stain or paint has dried and any optional protective finish has been applied, you’re ready to move on to the next step: attaching the mirror securely to the frame.
Step 7: Attach the Mirror
Now that you have a beautifully stained or painted frame, it’s time to securely attach the mirror. Follow these steps to ensure a safe and stable attachment:
- Prepare the frame: Double-check that the frame is clean and free from any dust or debris. Wipe it down with a clean cloth to ensure a smooth surface for attaching the mirror.
- Apply mirror adhesive or double-sided mirror tape: Depending on the weight and size of your mirror, choose an appropriate mirror adhesive or double-sided mirror tape. Follow the manufacturer’s instructions for application.
- Position the mirror: Carefully center the mirror within the frame, ensuring equal spacing on all sides. Adjust as needed until you are satisfied with the placement.
- Secure the mirror: If using mirror adhesive, apply it sparingly to the back of the mirror, ensuring even coverage. Gently press the mirror onto the frame, applying even pressure to ensure a strong bond.
- Allow proper curing time: Follow the instructions on the mirror adhesive or double-sided tape regarding the recommended curing time. Allow the adhesive to fully dry and set before moving or hanging the mirror.
It’s crucial to handle the mirror with care to avoid any cracks or damage. Take your time when positioning and securing the mirror to ensure a straight and secure attachment. Always prioritize safety and follow the manufacturer’s instructions for the specific adhesive or tape you are using.
Once the mirror is securely attached to the frame, you’re ready for the final step: adding any finishing touches and hanging the mirror.
Step 8: Final Touches and Hanging the Mirror
After attaching the mirror to the frame, it’s time for the final touches and hanging the mirror in its designated spot. Follow these steps to complete your mirror project:
- Inspect the frame: Take a moment to inspect the frame and ensure everything is secure and in place. Check for any loose corners or areas that may need additional reinforcement.
- Add decorative elements (optional): If desired, you can enhance the appearance of your mirror frame by adding decorative elements such as trim, embellishments, or a decorative border. Get creative and personalize it to your style!
- Clean the mirror: Before hanging the mirror, give it a thorough cleaning using a glass cleaner or a mixture of vinegar and water. Wipe away any fingerprints, smudges, or dust to ensure a clear reflection.
- Install hanging hardware: Depending on the weight and size of your mirror, install appropriate hanging hardware on the back of the frame. Follow the provided instructions to ensure a secure attachment.
- Measure and mark the hanging location: Use a measuring tape to determine the desired height and position for your mirror. Mark the hanging location on the wall with a pencil or painter’s tape.
- Securely hang the mirror: With the assistance of another person, carefully hang the mirror on the wall using the marked hanging location as a guide. Adjust as needed to ensure it is straight and level.
- Double-check for stability: Once the mirror is hung, give it a gentle shake or tap to ensure it is securely mounted. Make any necessary adjustments to ensure stability.
Take the time to ensure that the mirror is securely and properly hung to minimize the risk of accidents or damage. If you are unsure about the weight or size of the mirror, consider consulting a professional for assistance.
With the mirror securely in place, step back and admire your handiwork. You have successfully made and hung a beautiful frame for your mirror, adding both functionality and style to your space. Now, enjoy the reflection of your hard work!