
Why does mirror backing need to be fixed?
Mirror backing serves an essential purpose in keeping mirrors intact and ensuring their longevity. Over time, the backing can become worn, damaged, or detached, leading to various issues that require attention and repair. Understanding why mirror backing needs to be fixed is crucial for maintaining the functionality and appearance of your mirror.
Firstly, a damaged or loose mirror backing can compromise the overall stability of the mirror. The backing provides support for the glass, keeping it securely in place within the frame. When the backing is compromised, the mirror may start to shift or tilt, making it less reliable and potentially dangerous.
Secondly, fixing mirror backing is crucial for preserving the mirror’s reflective qualities. The backing material, often made of silver or aluminum, helps to enhance the reflection of the glass. If the backing becomes scratched, discolored, or deteriorated, it can significantly impact the mirror’s reflective surface, resulting in a distorted or diminished reflection.
Moreover, a damaged mirror backing can lead to moisture accumulation between the glass and the backing material. This moisture can cause corrosion and tarnish the mirror’s reflective surface. Over time, this tarnishing can spread and further degrade the mirror’s appearance.
Additionally, a loose or damaged mirror backing can make the mirror more vulnerable to breakage. Without proper support, the glass may be more prone to cracking or shattering, posing a safety risk to those nearby. By fixing the backing, you can help reinforce the mirror’s structure and prevent accidents.
Lastly, maintaining the integrity of the mirror backing is essential for aesthetic purposes. The backing material often provides a clean and finished appearance to the back of the mirror, enhancing its overall look. When the backing is damaged or missing, the mirror may appear incomplete or unattractive, detracting from the overall appeal of the piece.
Tools needed for fixing mirror backing
Before you can begin fixing mirror backing, it’s important to gather the necessary tools to ensure a smooth and successful repair. Having the right tools on hand will make the process easier and more efficient. Here are the essential tools you’ll need:
- Safety goggles: Protect your eyes from any broken glass or debris that may be present during the repair.
- Gloves: Wear gloves to prevent cuts or injuries while handling the mirror and tools.
- Screwdriver: Depending on the type of frame your mirror has, you may need a screwdriver to remove any screws or fasteners holding the mirror in place.
- Razor blade or scraper: Use a razor blade or scraper to carefully remove the old backing material from the mirror’s surface. This will ensure a clean and smooth surface for the new backing.
- Adhesive: Choose an adhesive that is specifically designed for mirror backing repair. Make sure it is suitable for the type of backing material you are using.
- Brush or roller: Use a brush or roller to apply the adhesive evenly on the back of the mirror and the new backing material.
- Clean cloth: Have a clean cloth on hand to wipe away any excess adhesive or debris throughout the repair process.
- Measuring tape: Measure the dimensions of the mirror backing and the space within the frame to ensure a proper fit.
- Caulk gun (if needed): If you are using adhesive caulk for the repair, a caulk gun will help you apply the adhesive with precision.
- Masking tape: Use masking tape to secure the mirror in place while the adhesive dries. This will prevent any shifting or movement during the repair.
By having these tools ready before you start, you can save time and avoid unnecessary interruptions during the mirror backing repair process. Remember to prioritize safety by wearing protective gear and handling tools with care.
Removing the mirror from its frame
Before you can start fixing the mirror backing, you’ll need to remove the mirror from its frame. This step is crucial to access the backing and properly clean or replace it. Follow these steps to safely remove the mirror:
- Prepare your workspace: Find a spacious, well-lit area where you can work comfortably. Lay down a soft cloth or protective surface to place the mirror on during the removal process.
- Put on safety gear: Wear safety goggles and gloves to protect your eyes and hands from any potential hazards.
- Inspect the frame: Take a close look at the frame to determine how the mirror is secured. Look for screws, clips, or any other fasteners that may be holding the mirror in place.
- Remove the fasteners: Use a screwdriver or the appropriate tools to loosen and remove any screws or fasteners you identified in the previous step.
- Be cautious: Once the fasteners are removed, carefully lift the mirror out of the frame. Mirrors can be heavy, so it’s recommended to have someone assist you during this step.
- Place the mirror safely: Lay the mirror on the prepared surface, ensuring it is secure and won’t slip or fall.
Remember to handle the mirror with care throughout the removal process. Avoid applying excessive pressure or bending the mirror to prevent damage. If your mirror is particularly fragile or valuable, it may be best to seek professional assistance to safely remove it from the frame.
By following these steps, you can safely detach the mirror from its frame, allowing you to proceed with the necessary repairs to the mirror backing.
Cleaning the old backing
Once you have removed the mirror from its frame, the next step in fixing mirror backing is to clean the old backing. Over time, the backing material may have accumulated dirt, dust, or adhesive residue, which can affect the adhesion of the new backing. Follow these steps to effectively clean the old backing:
- Gather cleaning supplies: Prepare the necessary cleaning materials, such as a mild detergent or glass cleaner, a soft cloth or sponge, and a razor blade or scraper for any stubborn residue.
- Dampen the cloth or sponge: Moisten the cloth or sponge with water or the chosen cleaning solution. Ensure it is not dripping wet, as excess moisture can seep into the edges of the mirror and cause damage.
- Gently wipe the backing: Carefully wipe the old backing material with the damp cloth or sponge. Use gentle, circular motions to remove dirt and grime. Avoid applying excessive pressure to prevent scratching the mirror surface.
- Tackle stubborn residue: If there are adhesive remnants or stubborn residue on the backing, use a razor blade or scraper to scrape it off gently. Be cautious not to scratch the mirror while doing so.
- Inspect for cleanliness: After cleaning, inspect the backing to ensure it is free of dirt, adhesive, or any other debris. If needed, repeat the cleaning process until the backing is thoroughly clean.
- Allow time to dry: Before applying the new backing, give the cleaned area sufficient time to fully dry. This will ensure proper adhesion of the new backing material.
By following these steps, you can effectively clean the old backing, providing a clean and smooth surface for the new backing material. Properly cleaning the backing is essential to ensure a strong and durable bond when applying the new backing.
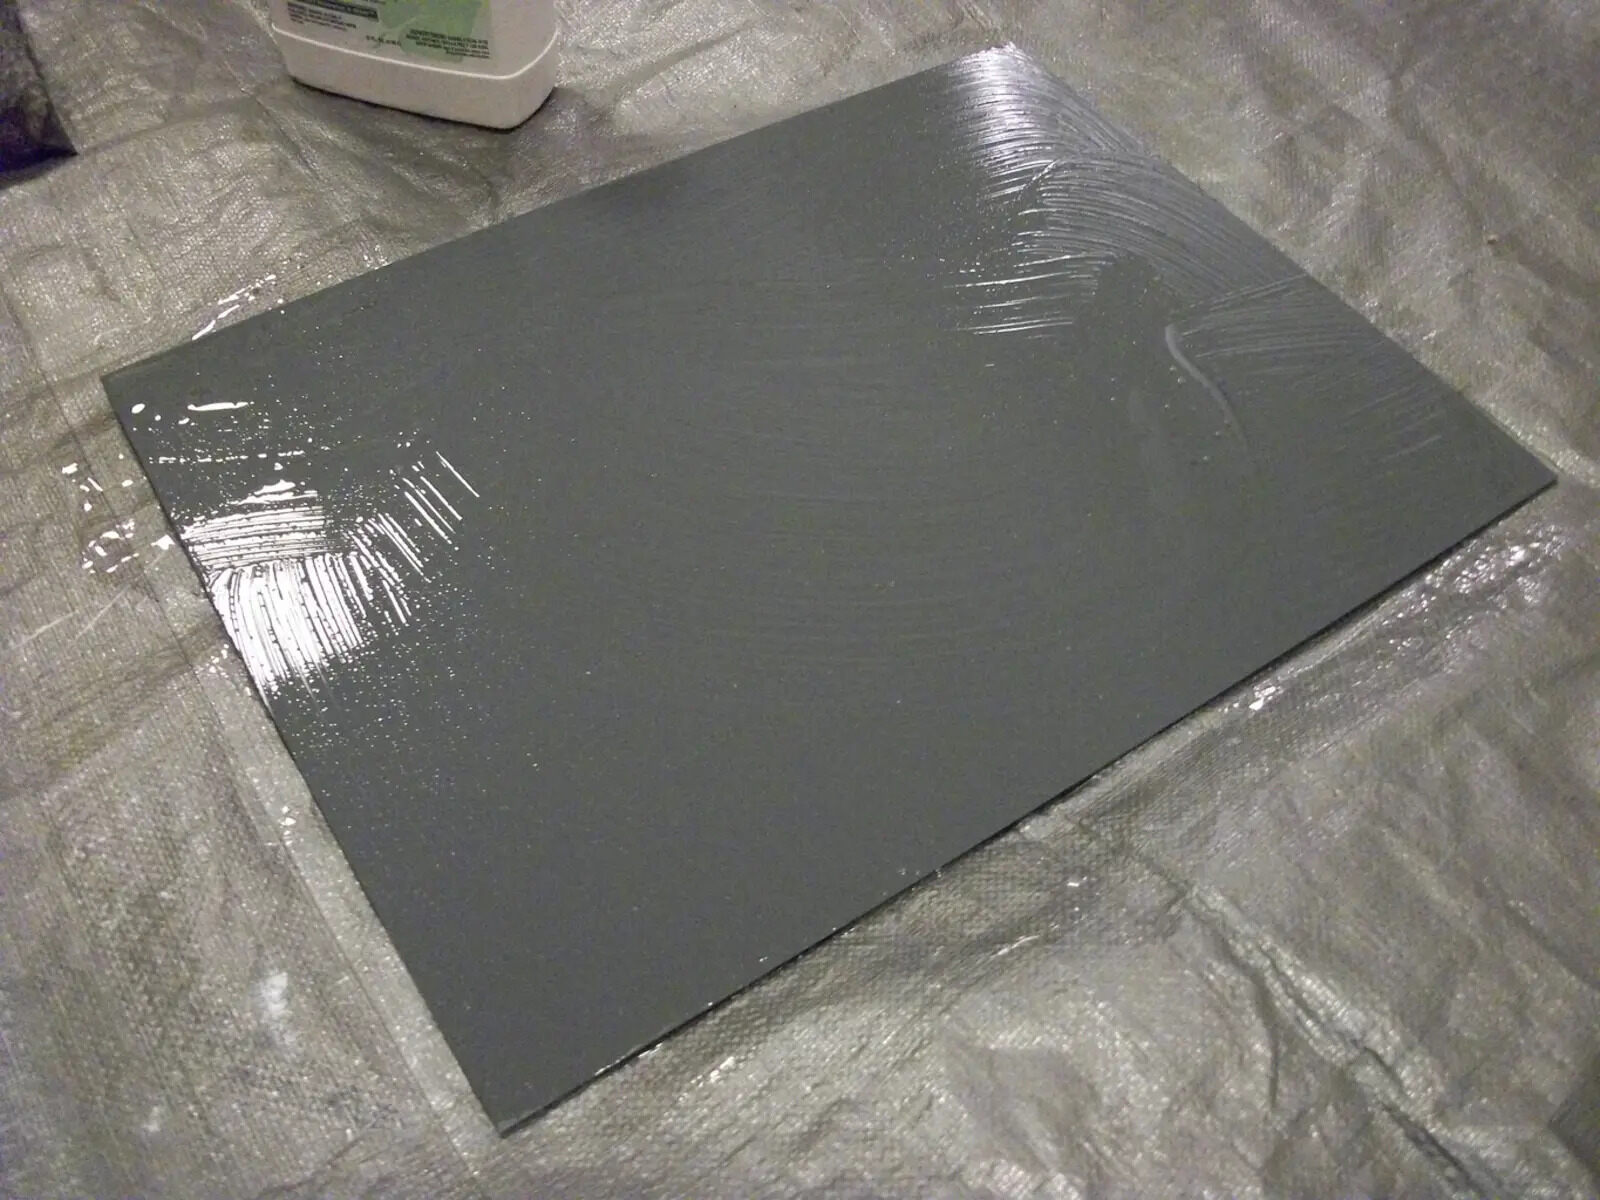
Applying the new backing
After cleaning the old backing, the next step in fixing mirror backing is to apply the new backing material. This process involves carefully adhering the new backing to the back of the mirror to provide support and enhance its reflective qualities. Follow these steps to effectively apply the new backing:
- Choose the right backing material: Select a suitable backing material for your mirror, such as adhesive-backed silver or aluminum mirror tape. Ensure that the material is compatible with your mirror’s surface and size.
- Measure and cut the backing material: Measure the dimensions of the mirror and cut the new backing material to fit. Leave a slight overlap around the edges to ensure complete coverage.
- Prepare the surface: Clean the back of the mirror with a soft cloth to remove any dust or debris. Ensure that the surface is dry and free from any moisture before proceeding.
- Peel the backing material: Carefully peel off the backing from the adhesive side of the new backing material. Start at one edge and slowly remove the backing, ensuring that the adhesive side does not come into contact with any surfaces until applied.
- Align and apply the backing: Align the new backing material with the back of the mirror, starting from one edge. Gradually press the backing onto the mirror’s surface, applying even pressure to ensure proper adhesion. Smooth out any wrinkles or air bubbles as you go.
- Secure the edges: Once the new backing is applied, press along the edges to ensure a firm bond. If necessary, use a clean cloth or roller to firmly press down the edges and remove any remaining air bubbles.
- Trim the excess material: using a sharp utility knife or scissors, carefully trim any excess backing material that extends beyond the mirror’s edges. Aim for a clean and neat finish.
Be patient and meticulous during the application process to ensure proper adhesion and a smooth finish. Take care not to stretch or distort the backing material while applying it to the mirror. By following these steps, you can successfully apply the new backing material, restoring the mirror’s support and enhancing its reflective qualities.
Securing the mirror back into the frame
Once you have applied the new backing to the mirror, the next step in fixing mirror backing is to secure the mirror back into its frame. Properly securing the mirror ensures stability and prevents any accidental shifting or damage. Follow these steps to securely place the mirror back into the frame:
- Inspect the frame: Before placing the mirror, examine the frame for any debris, sharp edges, or loose components. Make any necessary repairs or adjustments to ensure a safe and stable frame.
- Position the mirror: Carefully place the mirror back into the frame, aligning it accurately. Ensure that the mirror is centered and level within the frame. Have someone assist you if necessary, especially for larger or heavier mirrors.
- Use mounting hardware: If the frame has specific mounting hardware, such as brackets or clips, follow the manufacturer’s instructions to attach them securely. Use appropriate screws or fasteners to ensure a stable hold.
- Tighten screws: If the mirror is held in place by screws, use a screwdriver to securely tighten them. Ensure that the mirror is snugly held within the frame, without applying excessive pressure that could damage the mirror.
- Add additional support: For larger mirrors or frames with multiple attachment points, consider using additional support methods such as mirror adhesive or bracket reinforcements. These can provide extra stability and prevent the mirror from shifting.
- Check for proper alignment: Once the mirror is secured, step back and check its alignment within the frame. Ensure that it is level, centered, and securely fixed. Make any necessary adjustments for a perfect fit.
By following these steps, you can effectively secure the mirror back into its frame, ensuring stability and preventing any unwanted movement. Take your time during this process to ensure a secure and safe installation.
Tips for preventing future mirror backing damage
After fixing mirror backing, it’s essential to take steps to prevent future damage to ensure the longevity and durability of your mirror. By implementing the following tips, you can maintain the integrity of the mirror backing and minimize the risk of further issues:
- Handle mirrors with care: When moving or cleaning your mirror, always handle it with caution. Avoid placing excessive pressure or unnecessarily bending the mirror, as this can strain the backing material.
- Avoid exposing mirrors to moisture: Moisture can be the cause of backing deterioration. Keep your mirror away from high humidity areas, such as bathrooms or kitchens, or install adequate ventilation in those spaces.
- Clean mirrors gently: Use a soft, lint-free cloth or a microfiber cloth to clean the mirror’s surface. Avoid using harsh chemicals or abrasive cleaners that could damage the backing or the reflective surface.
- Protect mirror edges: The edges of a mirror are more vulnerable to damage. Consider using edge protectors or framing the mirror to add an extra layer of protection and prevent any potential breakage or damage to the backing.
- Check and replace loose or damaged backing: Regularly inspect the mirror backing for any signs of wear, looseness, or deterioration. If you notice any issues, promptly replace the backing to prevent further damage or instability.
- Hang mirrors securely: When hanging your mirror, use appropriate hanging hardware and ensure that it is securely fastened to the wall. This will prevent unnecessary movement and reduce the risk of stress on the mirror backing.
- Avoid extreme temperature changes: Rapid temperature fluctuations can cause the mirror backing to expand or contract, leading to potential damage. Keep your mirror away from direct sunlight or heat sources to prevent such fluctuations.
- Regularly dust the mirror: Dusting the mirror regularly will prevent the accumulation of dirt or debris that can potentially degrade the backing over time. Use a soft cloth or a duster to gently remove dust from the mirror’s surface.
By following these tips, you can maintain the quality of your mirror backing and minimize the need for future repairs. Taking proactive measures to protect your mirror can help it maintain its functionality, appearance, and reflective qualities for years to come.