
Assessing the Damage
Before attempting to fix a scratch in a mirror, it’s important to assess the extent of the damage. This will help determine the appropriate course of action and ensure the best possible outcome.
Start by examining the scratch closely. Is it a superficial, shallow scratch, or a deeper one? Superficial scratches are typically easier to fix and may not require extensive repair. On the other hand, deep scratches may require more advanced techniques and materials.
Next, consider the location of the scratch. Is it in a highly visible area, such as the center of the mirror, or is it in a less noticeable spot? This will help you determine the level of precision required for the repair and the potential impact it may have on the mirror’s overall appearance.
Take note of the length and width of the scratch. Longer and wider scratches that cover a larger surface area may require additional effort to fix properly. Keep in mind that extremely deep or extensive scratches may be more challenging to repair, and professional help may be needed.
Another factor to consider is the type of mirror. Different mirrors, such as those with a protective coating or those made of different materials, may require specific repair methods and materials. Assessing the type of mirror will ensure that you choose the correct approach to fix the scratch.
Lastly, evaluate the overall condition of the mirror. Are there any existing chips, cracks, or other damage? If the mirror is already compromised, fixing the scratch may not be the best solution, as it could potentially worsen the overall condition or result in an uneven surface.
By thoroughly assessing the damage, you’ll have a better understanding of the necessary steps to take and the potential outcomes. This will enable you to make an informed decision on whether to tackle the repair on your own or seek professional assistance.
Gathering the Necessary Materials
Before beginning the process of fixing a scratch in a mirror, it’s essential to gather all the necessary materials. Having everything on hand will ensure a smooth and uninterrupted repair process. Here are the materials you’ll need:
1. Microfiber cloth: This soft and lint-free cloth is ideal for cleaning and prepping the mirror surface. Avoid using abrasive materials or harsh chemicals that can further damage the mirror.
2. Glass cleaner: Choose a mild glass cleaner specifically formulated for mirrors. This will help remove any dirt, grime, or fingerprints before starting the repair process.
3. Masking tape: Use masking tape to protect the surrounding area of the scratch. This will prevent any accidental damage to the mirror while working on the repair.
4. Scratch repair kit: Invest in a quality scratch repair kit that is suitable for the type of mirror you are fixing. These kits typically include materials like resins, sandpaper, and polishing compounds.
5. Sandpaper: Depending on the severity of the scratch, you may need different grits of sandpaper. For shallow scratches, finer grits like 2000 or 3000 are sufficient. Deeper scratches may require starting with a coarser grit and gradually moving to finer grits.
6. Resin: The scratch repair kit should include a suitable resin for filling the scratch. The resin helps to level the surface and minimize the appearance of the scratch.
7. Polishing compound: After you’ve repaired the scratch, a polishing compound can be used to restore the mirror’s shine and clarity. Look for a compound that is specifically designed for use on mirrors.
8. Plastic putty knife or scraper: You’ll need a plastic putty knife or scraper to carefully apply the resin to the scratch and level it to match the surrounding surface of the mirror.
Remember, it’s essential to use materials specifically designed for mirror repair. Using the wrong products or abrasive materials can cause further damage to the mirror’s surface and negate the repair efforts.
By gathering all the necessary materials beforehand, you’ll be well-equipped to begin the process of fixing the scratch in your mirror efficiently and effectively.
Preparing the Mirror
Before you begin the process of fixing a scratch in a mirror, it’s crucial to properly prepare the surface. Preparing the mirror ensures optimal results and helps the repair materials adhere to the scratch effectively. Here are the steps to prepare the mirror:
1. Clean the mirror: Start by cleaning the entire mirror surface using a mild glass cleaner and a microfiber cloth. This will remove any dirt, grime, or fingerprints that could interfere with the repair process. Ensure the mirror is completely dry before proceeding to the next step.
2. Protect the surrounding area: Use masking tape to create a border around the scratch, protecting the surrounding mirror surface. This will prevent accidental damage to the rest of the mirror while working on the repair.
3. Smooth the scratch area: If the scratch has any rough edges or protrusions, carefully sand the area using a fine-grit sandpaper. This will create a smooth and even surface for the subsequent repair process. Be gentle and avoid applying excessive pressure to prevent further damage to the mirror.
4. Clean the scratch: Once the scratch area is smooth, clean it again using glass cleaner and a microfiber cloth. This step ensures the scratch is free from any debris, allowing the repair materials to adhere properly.
5. Dry the scratch area: Make sure the scratch and the surrounding area are completely dry before proceeding to apply the repair materials. Any moisture on the surface can affect the adhesion and effectiveness of the repair process.
By following these steps to prepare the mirror, you’ll create an ideal surface for fixing the scratch. A clean, smooth, and dry surface will allow the repair materials to bond effectively, resulting in a more seamless and successful repair.
Fixing Shallow Scratches
If you’ve encountered a shallow scratch on your mirror, you’re in luck as they are generally easier to fix. Follow these steps to repair shallow scratches:
1. Apply resin: Begin by applying a small amount of resin from the scratch repair kit onto the scratch. Use a plastic putty knife or scraper to spread the resin evenly over the scratch, filling it completely. Be cautious not to apply too much resin to avoid an uneven surface.
2. Level the resin: After applying the resin, use the plastic putty knife or scraper to level and smooth the surface. Gently scrape away any excess resin, ensuring the scratch area is flush with the surrounding mirror surface. Take your time and be careful not to damage the surrounding area.
3. Allow curing: Give the resin sufficient time to cure and harden. Follow the manufacturer’s instructions regarding the curing time, as it may vary depending on the product used. Avoid touching or disturbing the repair during this curing period.
4. Polish the repair: Once the resin has cured, use a soft, lint-free cloth and a small amount of polishing compound to buff the repaired area. Apply gentle pressure in a circular motion to restore the mirror’s shine and blend the repaired area with the rest of the mirror.
5. Clean the mirror: Finally, give the entire mirror surface a thorough cleaning using a glass cleaner and a microfiber cloth. This will remove any residue or polishing compound, leaving your mirror looking clean and pristine.
Remember, shallow scratches are often superficial, and with the right technique and materials, they can be successfully repaired. However, if the scratch is particularly deep or extensive, it may be challenging to fix it completely on your own. In such cases, seeking professional assistance may be the best option.
By following these steps, you can effectively repair shallow scratches on your mirror, restoring its appearance and functionality.
Fixing Deeper Scratches
Deeper scratches on a mirror require a slightly different approach to achieve optimal results. Follow these steps to repair deeper scratches:
1. Select a suitable resin: Begin by choosing a resin from a scratch repair kit that is specifically designed for deeper scratches. These kits usually include resins with higher viscosity for filling and leveling deeper scratches effectively.
2. Clean the scratch: Thoroughly clean the scratch and the surrounding area using a mild glass cleaner and a microfiber cloth. Ensure that no dirt or debris is present, as it can interfere with the repair process.
3. Apply the resin: Using a plastic putty knife or scraper, carefully apply the resin onto the scratch. Fill the scratch completely and ensure that the resin slightly overlaps the edges of the scratch to ensure a seamless repair.
4. Level the resin: Use the plastic putty knife or scraper to level the resin and create a smooth surface. Work gently and take your time to ensure that the resin is evenly distributed and flush with the surrounding mirror surface. Remove any excess resin carefully to avoid creating an uneven finish.
5. Allow curing: Give the resin enough time to cure and harden according to the manufacturer’s instructions. This may involve waiting for several hours or even overnight. Avoid touching or disturbing the repair during this curing period.
6. Sand the surface: Once the resin has fully cured, use fine-grit sandpaper to lightly sand the repaired area. This helps to blend the repair with the surrounding mirror and create a smooth and even surface. Start with a coarser grit and gradually move to finer grits for a polished finish.
7. Polish the repair: After sanding, use a soft, lint-free cloth and a small amount of polishing compound to buff the repaired area. Apply gentle pressure and use circular motions to restore the mirror’s shine and minimize the visibility of the repair.
8. Clean the mirror: Finally, give the entire mirror surface a thorough cleaning using a glass cleaner and a microfiber cloth. This will remove any residue or polishing compound, leaving your mirror looking fresh and rejuvenated.
Keep in mind that deeper scratches may be more challenging to fix and may require multiple repair attempts to achieve desired results. If the scratch persists or you are unsure of your ability to repair it effectively, it’s advisable to consult a professional.
By following these steps, you can effectively repair deeper scratches on your mirror, restoring its appearance and functionality.
Applying the Resin
Applying resin is a crucial step in repairing scratches on a mirror. The resin helps fill the scratch and create a level surface. Follow these steps to apply the resin effectively:
1. Prepare the area: Clean the scratch and the surrounding area using a mild glass cleaner and a microfiber cloth. Ensure that the surface is free from dirt, debris, and any previous repair materials.
2. Mix the resin (if necessary): Some scratch repair kits require mixing the resin components before application. Follow the instructions provided with your kit to properly mix the resin. Take note of the mixing ratios and any specific instructions provided by the manufacturer.
3. Apply the resin: Using a plastic putty knife or scraper, carefully apply the resin onto the scratch. Start at one end of the scratch and work your way to the other, ensuring that the resin fills the entire length and width of the scratch. Apply enough resin to slightly overfill the scratch to ensure proper leveling.
4. Level the resin: Once the resin is applied, use the plastic putty knife or scraper to level the surface. Gently scrape off any excess resin, ensuring that the repair is flush with the rest of the mirror surface. Take care not to damage the surrounding area while leveling the resin.
5. Check for air bubbles: After leveling the resin, inspect the repaired area for any trapped air bubbles. If you notice any bubbles, gently tap the surface with the plastic putty knife or scraper to release them. This will ensure a smooth and even surface for the repair.
6. Allow curing: Give the resin enough time to cure and harden according to the manufacturer’s instructions. This usually involves waiting for several hours or overnight. Avoid touching or disturbing the repair during this curing period to allow the resin to set properly.
7. Check the levelness: Once the resin has fully cured, inspect the repaired area to ensure that it is level with the surrounding mirror surface. If needed, you can lightly sand down any uneven areas using fine-grit sandpaper to achieve a smooth finish.
By following these steps and properly applying the resin, you can effectively fill the scratch and create a leveled surface on your mirror.
Leveling the Surface
After applying the resin to the scratch on your mirror, the next step is to level the surface to ensure a smooth and seamless repair. Follow these steps to properly level the surface:
1. Assess the repair: Take a close look at the repaired area to identify any unevenness or excess resin that needs to be leveled. Pay attention to the edges of the repair, as well as the overall surface surrounding the scratch.
2. Prepare sandpaper: Depending on the depth of the scratch and the type of resin used, select an appropriate grit of sandpaper. For shallow scratches, a finer grit such as 2000 or 3000 is usually sufficient. Deeper scratches may require starting with a coarser grit, such as 1000, and progressively moving to finer grits.
3. Sand the surface: Using light pressure, gently sand the repaired area in a circular motion. Start with the coarsest grit and gradually work your way to finer grits. Keep the sandpaper moist to prevent debris from accumulating and scratching the surface further. Be mindful to sand the surrounding area as well to ensure a smooth transition between the repair and the rest of the mirror surface.
4. Check the levelness: Periodically stop and check the levelness of the surface by running your fingers over the repaired area. Pay attention to any rough spots or unevenness. Continue sanding until the surface feels smooth and consistent with the rest of the mirror.
5. Clean the surface: Once you are satisfied with the levelness of the repaired area, clean any debris or sanding residue from the surface. Use a mild glass cleaner and a microfiber cloth to ensure the mirror is clean and free from any sanding particles. This will also help you assess the quality of the repair and determine if any additional sanding is needed.
6. Repeat if necessary: In some cases, deeper scratches or larger repairs may require multiple sanding sessions to achieve a completely level surface. If the repair still appears uneven after the initial sanding, repeat the process, starting with a finer grit and gradually progressing until the desired levelness is achieved.
By properly leveling the surface, you will ensure a seamless repair that blends in with the rest of the mirror. Take your time and be patient during this step to achieve the best results.
Buffing the Mirror
Once you have repaired the scratch on your mirror and leveled the surface, the next step is to buff the mirror to restore its shine and clarity. Follow these steps to effectively buff the mirror:
1. Gather the materials: You will need a soft, lint-free cloth and a polishing compound specifically designed for use on mirrors. Ensure that the cloth is clean and free from any debris that could potentially scratch the mirror surface.
2. Apply the polishing compound: Put a small amount of polishing compound onto the cloth. Ensure that you use a gentle and non-abrasive compound that is safe for use on mirrors. Too much polishing compound can create a mess, so start with a small amount and add more if needed.
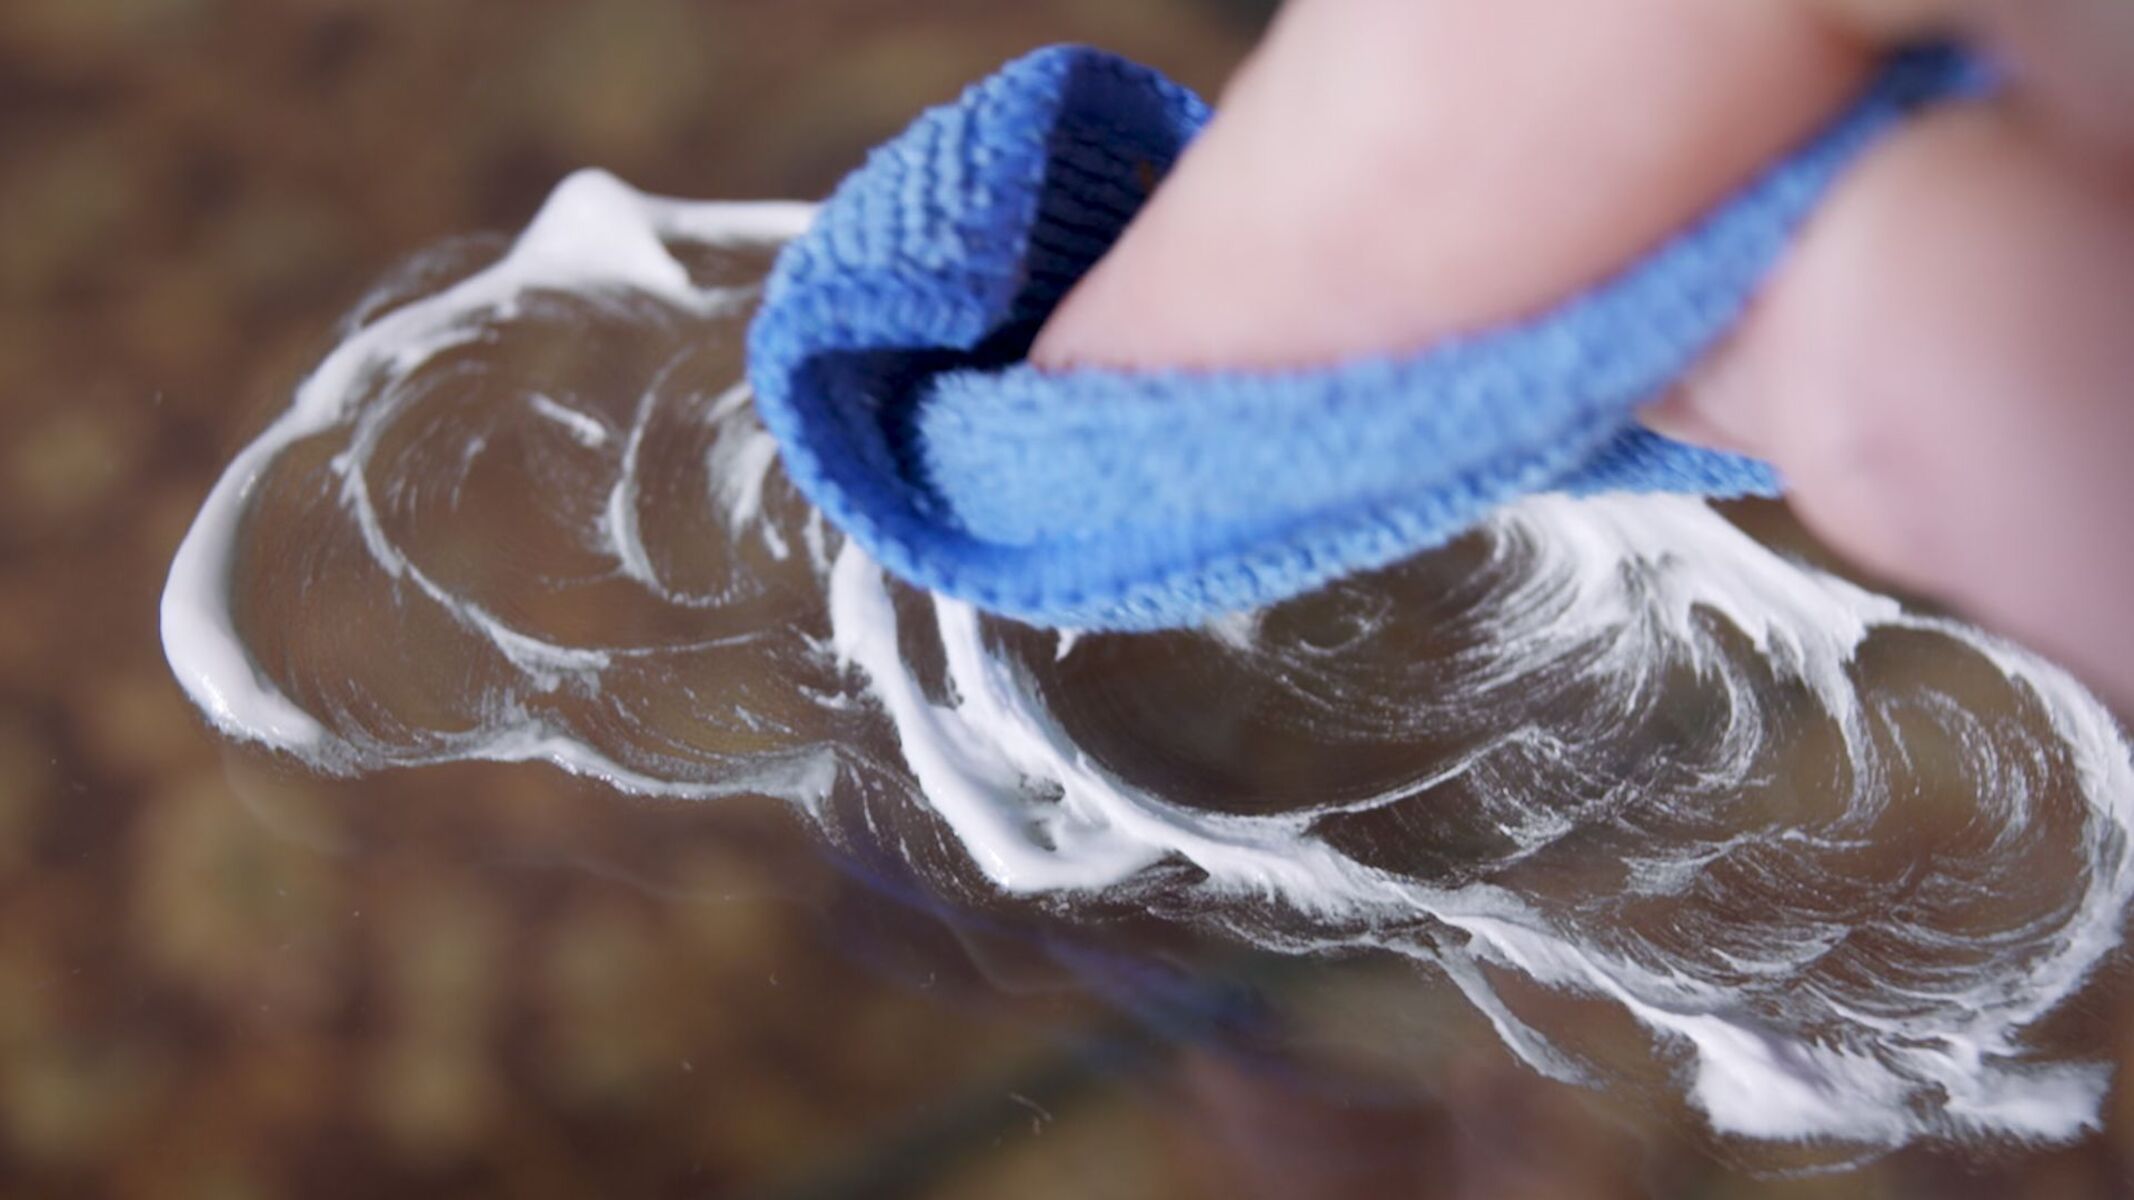
3. Begin buffing: Using the cloth with the polishing compound, apply gentle pressure and make circular motions over the repaired area and the surrounding mirror surface. Continue buffing until you see the scratch becoming less visible and the mirror’s shine being restored. Be patient and diligent during this process to achieve optimal results.
4. Check the progress: Periodically stop buffing and assess the progress. Wipe away the excess polishing compound and examine the repaired area from different angles and lighting conditions. If necessary, repeat the buffing process to further minimize the appearance of the scratch and enhance the overall clarity of the mirror.
5. Buff the entire mirror (optional): If desired, you can extend the buffing process to the entire mirror surface to ensure a consistent shine. Use the same circular motion and gentle pressure to buff the entire mirror, taking care not to focus on any specific area for too long.
6. Clean the mirror: Once you are satisfied with the buffing, clean the mirror using a mild glass cleaner and a fresh microfiber cloth. This will remove any residue from the polishing compound and leave your mirror looking clean and sparkling.
Buffing the mirror after repairing the scratch not only enhances the appearance but also helps blend the repaired area with the rest of the surface. Ensure that you use gentle pressure and non-abrasive materials to avoid causing any further damage to the mirror.
Cleaning the Mirror
After repairing and buffing the scratch on your mirror, it’s essential to give it a thorough cleaning to remove any residue or smudges. Follow these steps to effectively clean your mirror:
1. Gather the materials: You will need a mild glass cleaner, a soft, lint-free cloth, and a fresh microfiber cloth. Avoid using harsh chemicals or abrasive materials that could damage the mirror’s surface.
2. Spray the glass cleaner: Spray a small amount of the mild glass cleaner onto the mirror surface. Be cautious not to overspray, as excessive moisture can seep into the edges and cause damage to the mirror backing.
3. Wipe the surface: Using the soft, lint-free cloth, gently wipe the mirror surface in a vertical or horizontal motion. Start from one side and work your way across the mirror, ensuring that you cover the entire surface.
4. Focus on smudges and streaks: Pay special attention to any smudges or streaks that may be present on the mirror. Use gentle and circular motions to remove them, applying slight pressure if necessary. If stubborn spots persist, dampen a small section of the cloth with the glass cleaner and target those areas directly.
5. Dry the mirror: Once you have wiped down the entire surface, use a clean, dry microfiber cloth to dry the mirror gently. This will help prevent any water spots or streaks from forming as the mirror dries naturally.
6. Inspect the mirror: Take a step back and inspect the mirror from different angles and lighting conditions. Look for any missed smudges or streaks and touch them up as needed, using the mild glass cleaner and the soft cloth.
7. Maintain regular cleaning: To keep your mirror looking its best, establish a routine cleaning schedule. Regularly dust the surface with a dry cloth to prevent the accumulation of dirt and debris. Periodically use the mild glass cleaner to remove any fingerprints or marks.
Properly cleaning your mirror after the repair process will not only enhance its appearance but also ensure its longevity. Avoid using abrasive materials or harsh chemicals that can damage the mirror’s surface. By following these steps, you can maintain a clean and clear mirror that adds beauty and functionality to your space.
Preventing Future Scratches
While fixing a scratch on your mirror is possible, it’s always better to prevent scratches from occurring in the first place. Here are some preventive measures you can take to protect your mirror and minimize the risk of future scratches:
1. Handle with care: When handling a mirror, be gentle and avoid placing excessive pressure on the surface. Use both hands to lift and move the mirror, and avoid dragging it across rough surfaces.
2. Proper cleaning techniques: Use soft, lint-free cloths and mild glass cleaners specifically designed for mirrors when cleaning. Avoid using abrasive materials, harsh chemicals, or rough scrubbing motions that can scratch the mirror’s surface.
3. Protective measures: Consider applying a protective film or a mirror edge guard to vulnerable areas. These products help provide an extra layer of protection against accidental scratches and impact.
4. Avoid hanging objects on the mirror: Refrain from hanging heavy objects directly on the mirror. Instead, use appropriate wall anchors or hooks to distribute the weight and prevent any strain on the mirror surface.
5. Keep away from sharp objects: Keep sharp or abrasive objects away from your mirror to prevent accidental contact and potential scratches. Be cautious when combing your hair or handling items near the mirror.
6. Regular maintenance: Keep up with regular cleaning and maintenance to remove dust and debris that can cause micro-scratches over time. Regularly dusting the mirror with a soft cloth helps prevent buildup that may lead to more severe scratches.
7. Avoid excessive moisture: Be mindful of excessive moisture, as it can seep into the edges of the mirror and cause damage to the reflective backing. Wipe away any moisture that may accumulate on the mirror promptly.
By taking these preventive measures, you can significantly reduce the risk of future scratches on your mirror and maintain its pristine appearance for years to come.