
Materials Needed
Before you start making an easel back for a picture frame, it’s important to gather all the necessary materials. Here’s a list of items you’ll need:
- Cardboard or foam board: You’ll need a sturdy material to create the easel back. Cardboard or foam board works well due to its durability and thickness.
- Ruler: A ruler will help you ensure accurate measurements when cutting the easel back.
- Pencil: Use a pencil to mark the positions and lines on the cardboard or foam board.
- Scissors or utility knife: Depending on the thickness of the material, you can use scissors or a utility knife to cut the easel back.
- Glue or adhesive: You’ll need glue or adhesive to attach the easel back to the picture frame securely.
- Decorative paper or fabric (optional): If you want to add a decorative touch to the easel back, you can use decorative paper or fabric to cover the cardboard or foam board.
- Decorative embellishments (optional): To further enhance the aesthetics of the easel back, you can use decorative embellishments such as stickers, ribbons, or beads.
Having these materials readily available will ensure a smooth and efficient process when making the easel back for your picture frame.
Step 1: Measure and Mark the Position
Begin by measuring and marking the position on the back of your picture frame where you want the easel to be placed. This will determine the height and angle of the easel back.
Using a ruler, carefully measure the desired height of the easel, considering how much of the picture frame you want to be displayed. Mark this measurement using a pencil on both sides of the frame.
Next, determine the angle at which you want the picture frame to lean. This will depend on your personal preference and the size of the frame. Generally, a 15-20 degree angle is a good starting point. Mark this angle on both sides of the frame using a protractor or by estimating with your eye.
Once you have marked the height and angle, connect the markings on each side of the picture frame to create a line. This line will be the guideline for cutting the easel back. Make sure the line is straight and centered on the frame.
Double-check your measurements and markings to ensure that they are accurate. Taking the time to measure and mark the position correctly will result in a well-aligned easel back.
Step 2: Cut the Easel Back
Once you have measured and marked the position for the easel back on your picture frame, it’s time to cut the cardboard or foam board to create the actual easel.
Using a sharp pair of scissors or a utility knife, carefully cut along the marked line that you made in Step 1. Take your time to ensure clean and precise cuts. If you are using thicker material like foam board, a utility knife may be more effective for cutting through the thickness.
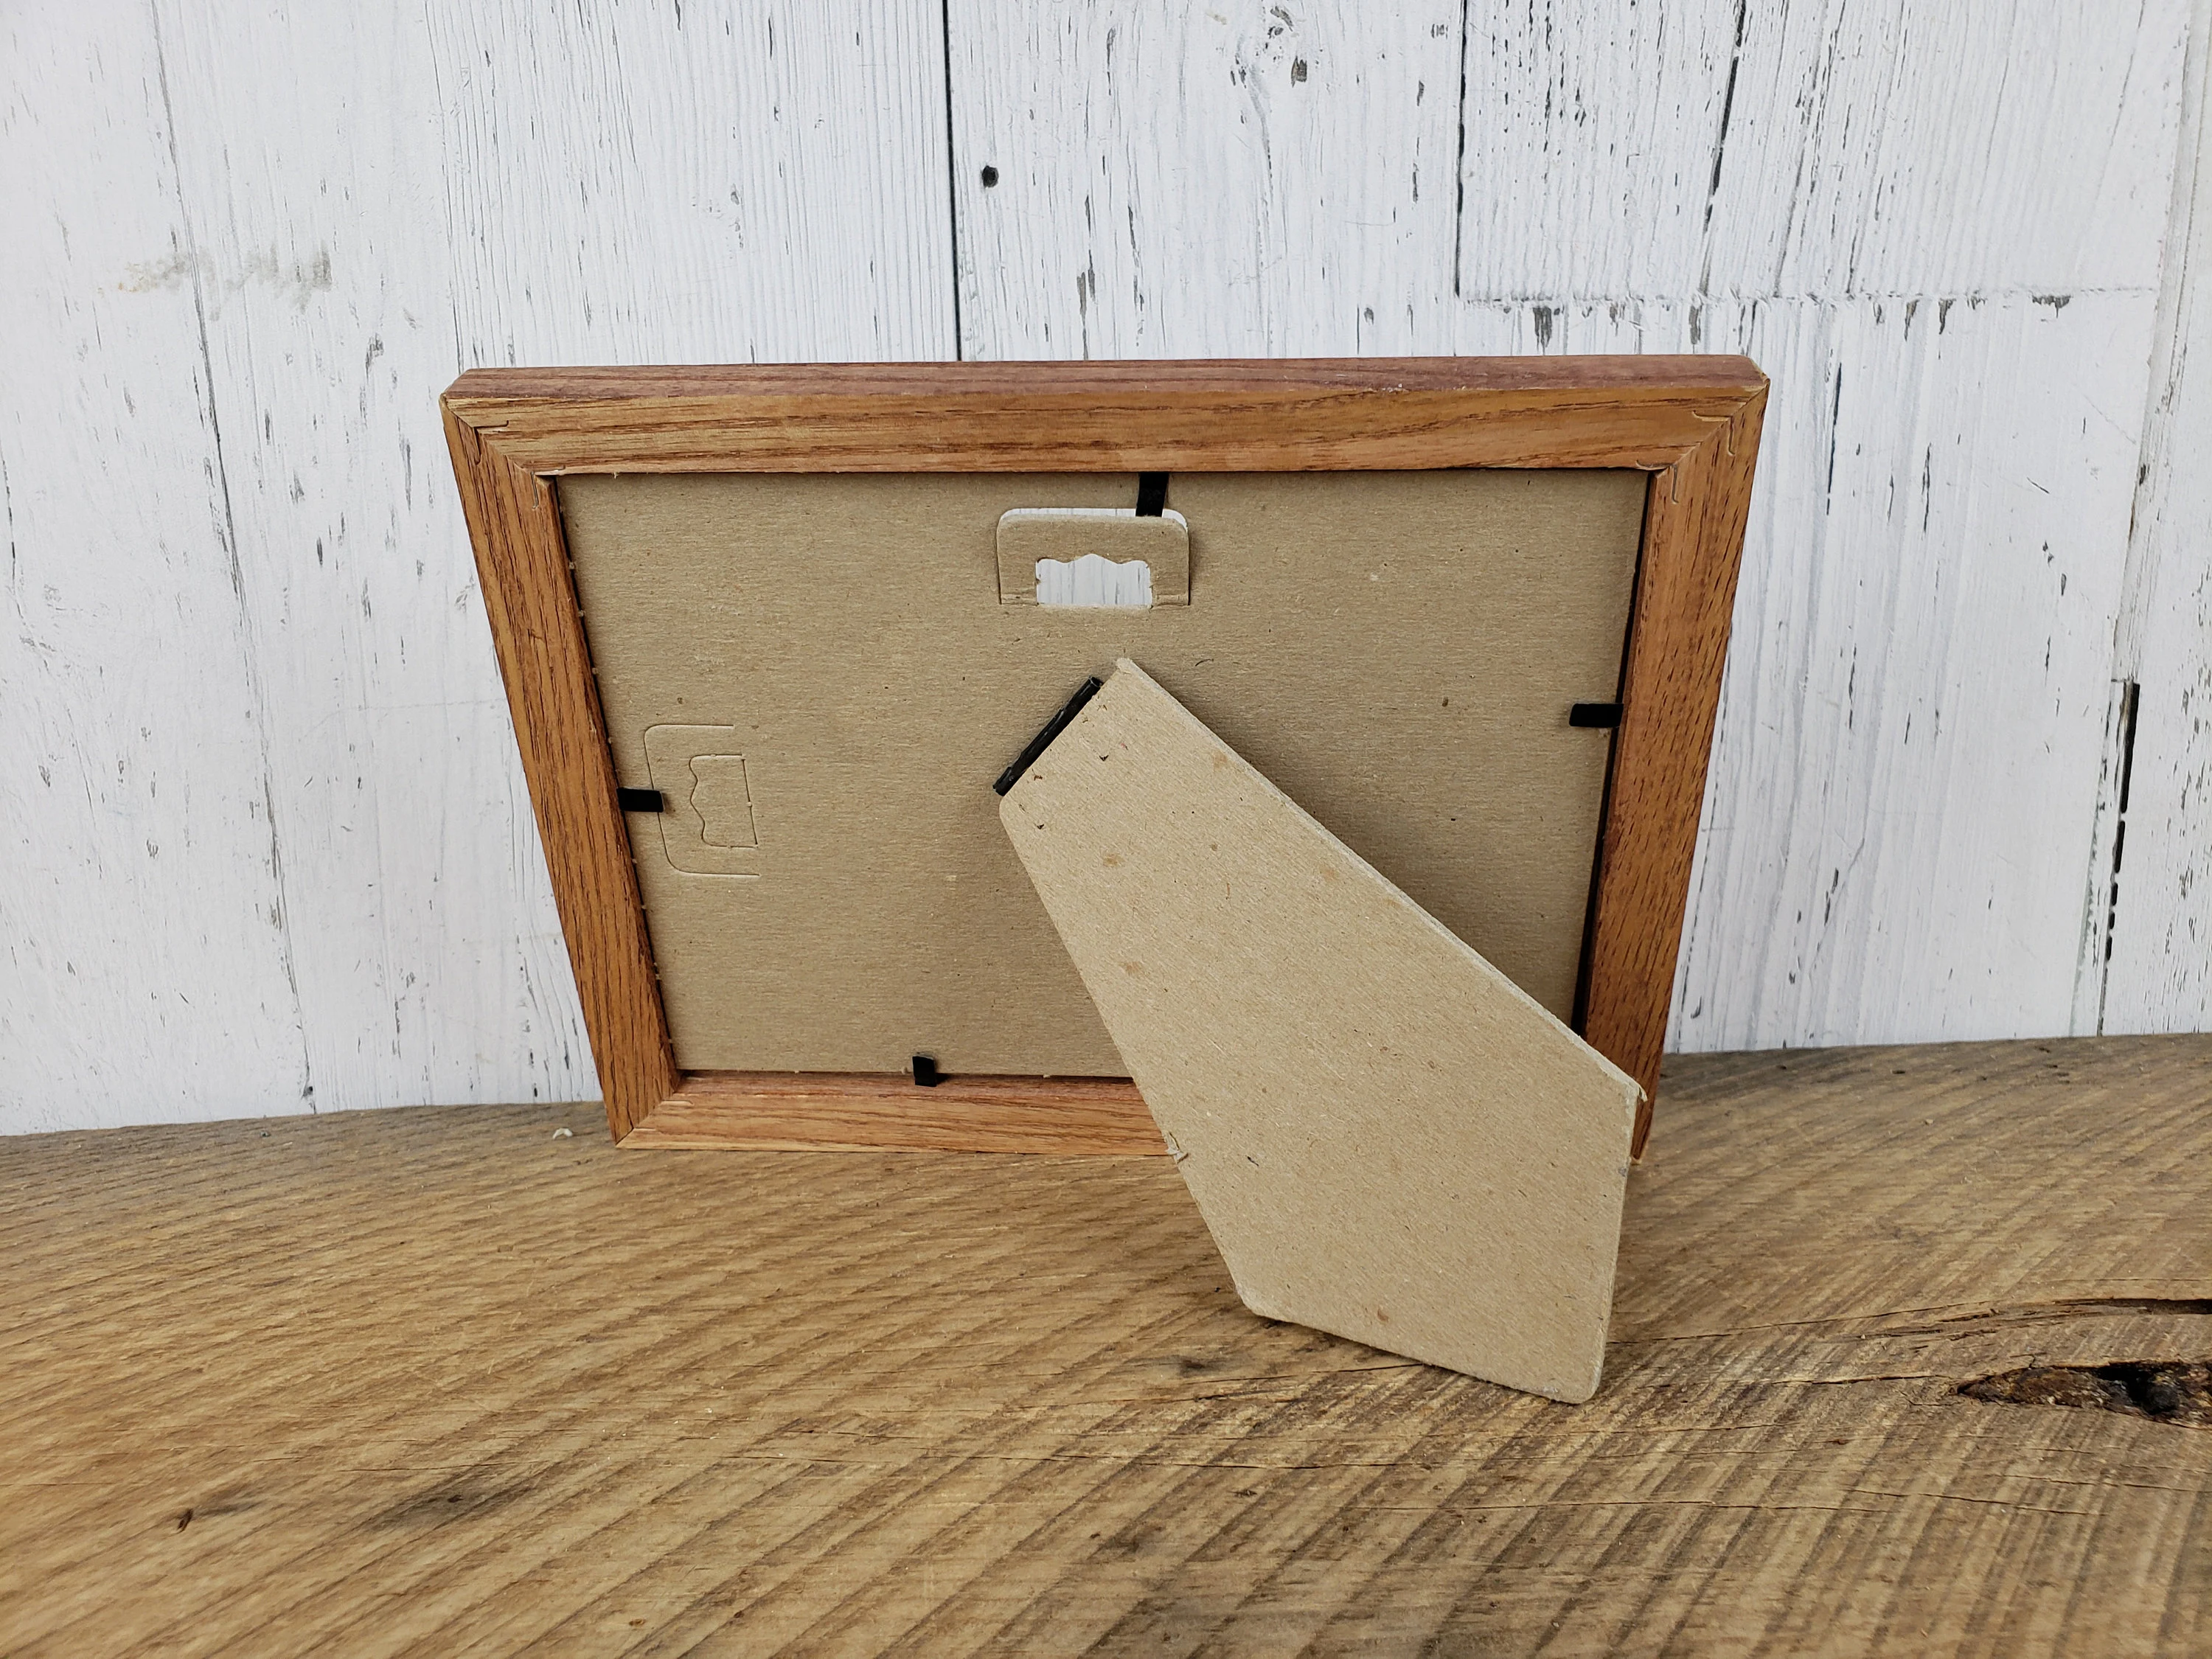
After cutting along the marked line, you should have a piece of cardboard or foam board that is shaped like a triangle, with the base corresponding to the width of the picture frame and the height matching the desired height of the easel.
If you want to add a decorative touch to the easel back, now is the time to cover the cardboard or foam board with decorative paper or fabric. Cut the paper or fabric to fit the size of the easel, leaving a small border around the edges. Use glue or adhesive to attach the decorative material to the cardboard or foam board, ensuring a smooth and secure bond.
Remember to let the glue or adhesive dry completely before proceeding to the next step. This will make it easier to handle and attach the easel back to the picture frame.
Step 3: Attach the Easel Back to the Frame
With the easel back cut and decorated, it’s time to attach it to the picture frame. This step will ensure that your frame stands upright and displays your desired artwork or photograph at the desired angle.
First, apply a thin line of glue or adhesive along the bottom edge of the easel back. Make sure the glue is evenly spread to ensure a secure bond. Avoid using excessive glue, as it can cause the cardboard or foam board to warp.
Next, position the easel back on the back of the picture frame, aligning the bottom edge with the bottom edge of the frame. Gently press the easel back onto the frame to secure it in place. Make sure the angle of the easel aligns with the markings you made in Step 1.
Apply gentle pressure for a few moments to allow the glue to set. You can also use clamps or clothespins to hold the easel back in place while the glue dries. This will ensure a strong and secure attachment.
Allow the glue to dry completely before testing the stability of the easel back. Avoid moving or adjusting the frame until the glue has fully dried, as this can compromise the bond between the easel back and the frame.
Once the glue has dried, check the stability of the easel back by gently tilting the frame to different angles. It should hold the frame in place without wobbling or collapsing. If you find that the easel back is not sturdy enough, you can reinforce it by applying additional glue or adhesive along the edges or adding extra support with small pieces of cardboard or foam board.
Step 4: Test and Adjust the Easel Back
After attaching the easel back to your picture frame, it’s important to test and make any necessary adjustments to ensure that it functions properly and displays your artwork or photograph at the desired angle.
First, place your picture frame on a flat surface and adjust the easel back to the desired angle. Tilt the frame forward and backward to see if it remains stable and maintains the desired position. If the frame easily falls forward or backward, you may need to adjust the angle of the easel back slightly.
To adjust the angle, carefully lift the frame and easel back together and gently push or pull the easel to achieve the desired tilt. You may need to experiment with different angles until you find the most suitable position.
Once you have adjusted the angle, test the stability of the easel back by placing the frame on a variety of surfaces, such as a table or shelf, to ensure it stands steadily. If the frame wobbles or doesn’t sit straight, you may need to reinforce the easel back by adding additional support or adjusting the positioning of the existing support.
Make sure to check the balance of the frame from different angles and adjust as needed. The easel should hold the frame securely and display it at the desired angle without any instability.
Once you are satisfied with the stability and positioning of the easel back, your picture frame is ready to be displayed. Stand back and admire your completed project, showcasing your favorite artwork or photograph with style and elegance.