
Choosing the Right Sawtooth Hanger
When it comes to hanging a picture frame with sawtooth hangers, choosing the right hanger is essential for ensuring stability and security. There are a few factors to consider when selecting the appropriate hanger for your frame.
First and foremost, assess the weight of the picture frame. Different sawtooth hangers have weight recommendations, so it’s crucial to know the weight of your frame to choose a hanger that can support it adequately. Ideally, opt for a hanger with a weight capacity slightly higher than the weight of your frame to provide a margin of safety.
Consider the material of the frame and the wall surface where it will be hung. If your frame is made of a lightweight material like plastic or a thin wooden frame, a small and lightweight sawtooth hanger should suffice. However, if you have a heavy wooden or metal frame, it’s best to opt for a heavy-duty hanger that can handle the weight and securely attach to the wall.
Another essential aspect is the mounting method. Some sawtooth hangers require screws for installation, while others have adhesive backing for easy attachment. If you prefer not to drill holes or want a temporary hanging solution, adhesive-backed hangers are a convenient option. However, if you’re looking for a more secure and long-lasting installation, opt for hangers that require screws.
Lastly, consider the aesthetics of the hanger. Sawtooth hangers come in various designs, finishes, and sizes. Choose a hanger that complements the style and color scheme of your picture frame. Keep in mind that the hanger should not overshadow the beauty of the frame but rather enhance its overall presentation.
Gathering the Necessary Tools and Materials
Before you begin hanging a picture frame with sawtooth hangers, it’s important to gather all the necessary tools and materials. Having everything prepared beforehand will make the process smoother and more efficient. Here are the essential items you’ll need:
- Sawtooth hanger: Choose the appropriate hanger based on the weight, material, and mounting method that best suits your frame.
- Screws: If your hanger requires screws, make sure to have the right size and length that will securely attach the hanger to the frame.
- Screwdriver or drill: Depending on the type of hanger, you’ll need either a screwdriver or a drill with the appropriate bit for installing the hanger.
- Level: A small level will help ensure that your picture frame hangs straight on the wall.
- Tape measure: Use a tape measure to accurately measure the distance between key points on the wall for precise hanging.
- Pencil or marker: Marking the wall for proper placement and alignment requires a pencil or marker that can easily be wiped off later.
- Hammer: If your hanger requires nails instead of screws, a hammer will be necessary for driving the nails into the wall.
- Wall anchors (if needed): For hanging heavier frames on drywall or other fragile surfaces, wall anchors can provide extra support and prevent damage.
Having these tools and materials ready will save you time and frustration during the hanging process. It’s always a good idea to double-check that you have everything you need before starting to ensure a smooth and successful installation.
Measuring and Marking the Wall
Prior to hanging a picture frame with sawtooth hangers, it’s crucial to measure and mark the wall to ensure the frame hangs at the desired height and in the correct position. Here are the steps to follow:
- Decide on the height: Determine where you want your picture frame to hang on the wall. Consider the height of nearby furniture or other frames for visual balance.
- Locate the center: Measure the width of your picture frame and divide it by two to find the center point. Use a pencil to mark this point on the wall.
- Measure downward: Measure the distance from the top of your frame to the hanging point (the hole on the back of the frame where the sawtooth hanger will attach). Subtract this measurement from the desired height at which you want your picture frame to hang. This will determine the distance at which your mark should be placed.
- Mark the spot: Make a small dot on the wall at the determined height and alignment according to the measurements. Use a level to ensure the mark is straight.
- Repeat for multiple hangers: If your picture frame requires multiple sawtooth hangers, repeat the above steps for each hanger. Ensure that the marks are spaced evenly to provide stability and balance.
By carefully measuring and marking the wall, you can effectively position your picture frame with sawtooth hangers at the desired height and alignment. Taking the time to do this correctly will ensure a visually pleasing and professional-looking result when you hang your frame.
Preparing the Picture Frame
Before hanging a picture frame with sawtooth hangers, it’s important to prepare the frame to ensure a secure and stable installation. Here are the steps to follow:
- Clean the frame: Wipe down the frame using a soft cloth or duster to remove any dust or debris. This will ensure a clean surface for attaching the sawtooth hangers.
- Inspect the frame: Check the back of the frame for any loose nails, screws, or other fasteners. Tighten or replace them if necessary to ensure the frame is sturdy.
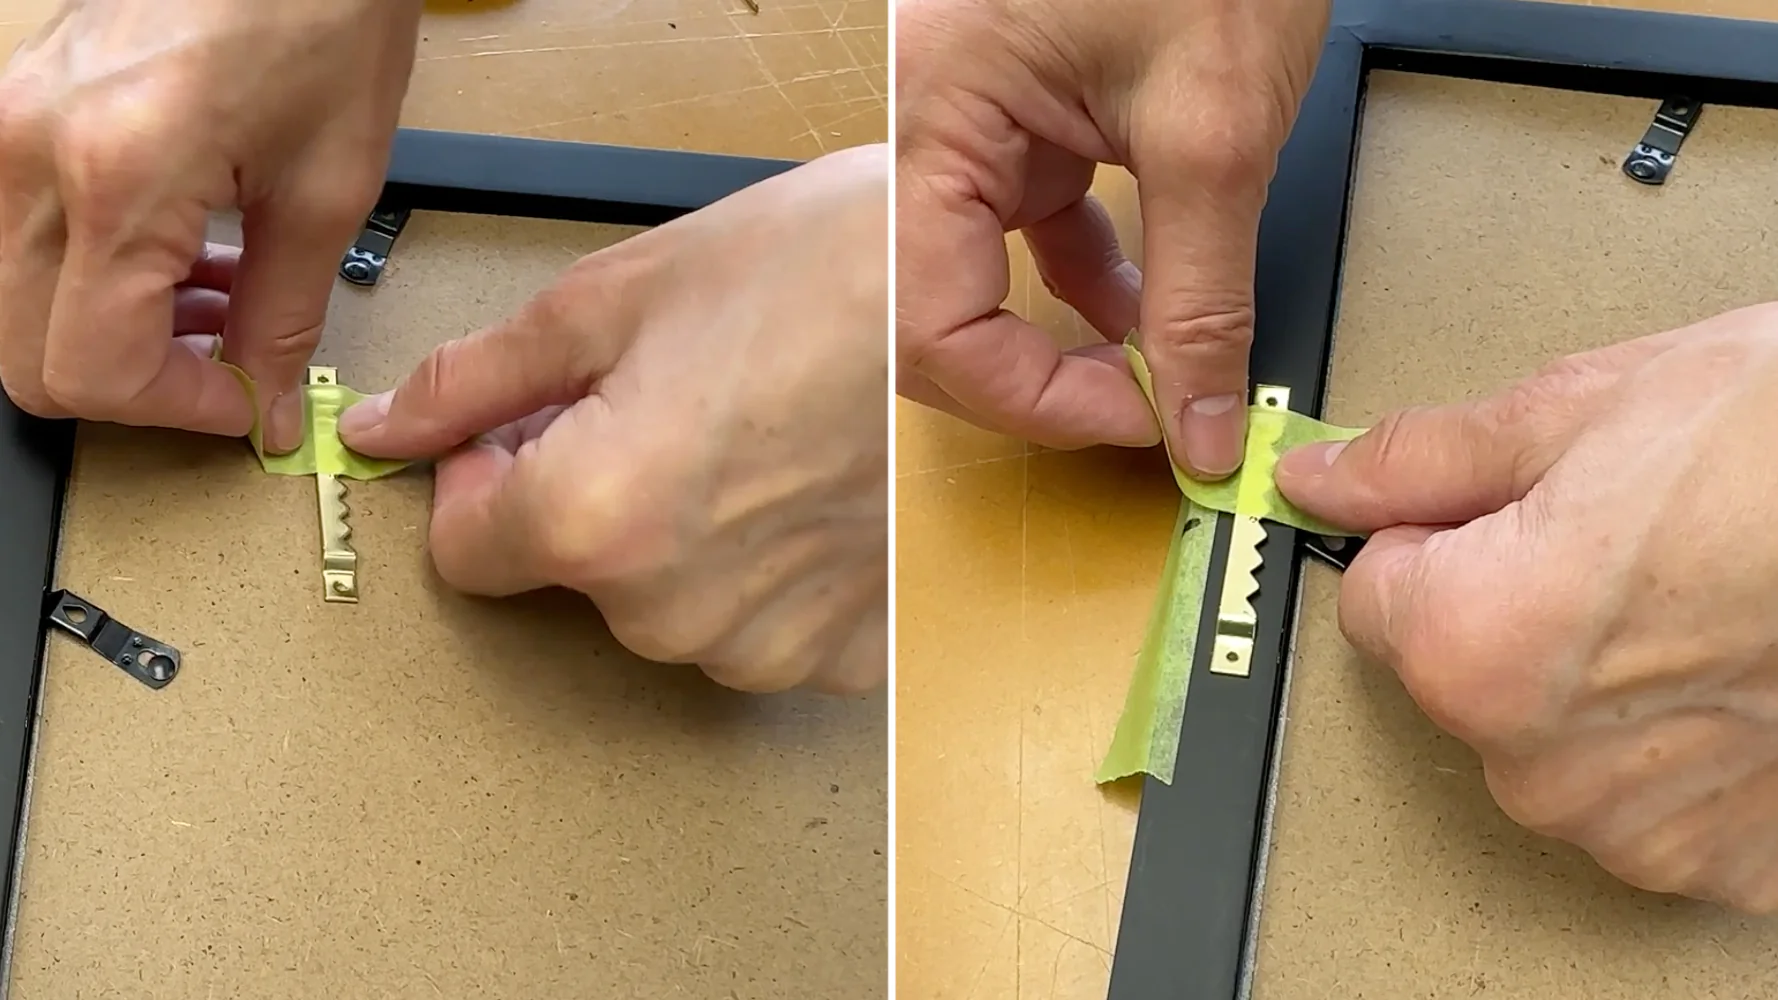
- Attach the sawtooth hangers: Position the sawtooth hangers on the back of the frame, aligning them with the top edge on each side. Make sure they are evenly spaced and centered for proper balance.
- Secure the hangers: Depending on the type of hanger, either screw or nail them into the frame using the appropriate tools. Ensure that they are firmly attached and flush with the back of the frame.
- Reinforce with glue (optional): For additional stability, you can apply a small amount of strong adhesive or wood glue between the frame and the sawtooth hangers. This can provide extra reinforcement and prevent the hangers from coming loose over time.
- Allow the glue to dry (if applicable): If you used glue, follow the manufacturer’s instructions on drying time. Allow the adhesive to fully dry and cure before proceeding with hanging the frame.
By properly preparing the picture frame before hanging, you ensure that it is in optimal condition and ready for a secure installation. Taking the time to clean, inspect, and attach the sawtooth hangers will result in a stable and stylish display of your frame on the wall.
Attaching the Sawtooth Hangers
Attaching the sawtooth hangers to your picture frame is a crucial step in ensuring a secure and stable installation. Here’s how to properly attach them:
- Position the hangers: Decide where you want the hangers to be placed on the back of the frame. Typically, they should be positioned evenly and centered along the top edge.
- Align the hangers: Hold the hangers against the back of the frame, aligning the top edge of the hangers with the top edge of the frame. Make sure they are straight and level.
- Mark the screw or nail holes: Use a pencil or marker to mark the positions of the screw or nail holes on the back of the frame through the pre-drilled holes or slots on the hangers.
- Attach the hangers: Depending on the type of hanger, either screw or nail them into the frame using the appropriate tools. Make sure to apply even pressure to ensure that the hangers are firmly attached to the frame.
- Check for stability: Gently shake the frame to ensure that the hangers are securely attached and the frame remains stable. If necessary, tighten the screws or nails to ensure a snug fit.
It’s important to attach the sawtooth hangers with precision and ensure that they are securely fastened to the frame. This will provide the necessary support and stability to hang your picture frame without any concerns of it falling or shifting over time.
Determining the Placement on the Wall
Determining the placement of your picture frame on the wall is essential to create a harmonious and visually pleasing display. Here are the steps to consider when determining the ideal placement:
- Evaluate the wall space: Take a step back and assess the wall space where you intend to hang your picture frame. Consider the overall composition of the room and how the frame will fit within the existing décor.
- Consider eye-level: A general rule of thumb is to hang the center of your picture frame at eye level, which is typically around 57-60 inches from the floor. This ensures optimal viewing for most people, but you may need to adjust based on your specific needs and the height of the frame.
- Account for furniture: If you’ll be hanging the picture frame above furniture, such as a sofa or table, aim to maintain a balanced distance between the furniture and the bottom edge of the frame. Typically, there should be about 6-8 inches of space to avoid overcrowding or having the frame appear disconnected from the furniture.
- Consider the size and orientation: Take into account the size and orientation of your picture frame. Larger frames or horizontally oriented frames may require more wall space, while smaller or vertically oriented frames can be grouped or spaced closer together.
- Visualize the arrangement: If you plan to hang multiple picture frames together, try visualizing their arrangement on the wall. You can use paper cutouts or painter’s tape to mark their positions before making any holes in the wall.
- Get a second opinion: Seek the opinion of a friend or family member to get a fresh perspective on the placement. They can provide valuable insights and ensure the arrangement harmonizes well with the overall room design.
By carefully considering the wall space, eye-level, furniture placement, frame size, and getting a second opinion, you can determine the optimal placement for your picture frame. This will ensure that it becomes a focal point in the room’s design and creates an aesthetically pleasing display.
Marking the Placement on the Wall
Once you have determined the ideal placement for your picture frame, it’s time to mark the wall to ensure accurate and precise installation. Here’s how to mark the placement on the wall:
- Gather your tools: Ensure that you have a pencil or marker, a measuring tape, and a level handy.
- Locate the hanging point: Measure the distance from the top of your picture frame to the hanging point (usually the hole on the back of the frame where the sawtooth hanger will attach).
- Measure from the floor: Starting at the determined height for your picture frame (e.g., eye level), use the measuring tape to measure the distance down from the floor to the hanging point that you calculated previously.
- Mark the spot: Using the measurements obtained in the previous step, make a small mark on the wall with your pencil or marker. Ensure that the mark is in alignment with the other measurements and level using the level tool.
- Repeat for multiple frames: If you’re hanging multiple frames, repeat the above steps for each frame, making sure to maintain proper spacing between them.
- Add additional markings: To ensure precise alignment, you can mark the width of the frame on the wall as well. Use the measuring tape to measure the width of the frame, and mark the corresponding distances on either side of the center mark.
By marking the placement on the wall, you establish reference points that will facilitate the proper alignment and installation of your picture frame. These markings will serve as a guide when it’s time to hang the frame, ensuring a professional and visually appealing display.
Hanging the Picture Frame
With the wall marked and the preparation complete, it’s time to hang your picture frame. Follow these steps to ensure a successful and secure installation:
- Double-check markings: Before proceeding, verify that the wall markings are aligned and level. Adjust them if necessary to ensure proper placement.
- Prepare the tools: Have a hammer, screwdriver, or drill ready, depending on the type of fasteners used with your sawtooth hangers.
- Start with one side: Align one sawtooth hanger with its corresponding mark on the wall. Use a screwdriver or drill to insert screws or fasten the hanger securely in place.
- Move to the other side: Align the second sawtooth hanger with its mark on the opposite side of the wall. Ensure that it is level with the first hanger and attach it firmly with screws or fasteners.
- Hang the picture frame: Lift the picture frame and carefully align the sawtooth hangers with their corresponding hooks on the wall. Gently lower the frame onto the hooks, ensuring a flush fit against the wall.
- Check for balance: Step back and examine the picture frame to ensure that it is level and balanced. Make any necessary adjustments by gently lifting and repositioning the frame.
By following these steps, you can hang your picture frame securely and precisely. Take your time during the process to ensure that the frame is level and properly aligned for maximum visual impact on your wall.
Adjusting the Picture Frame
After hanging your picture frame, it’s important to make any necessary adjustments to ensure that it is properly aligned and level. Follow these steps to fine-tune the position of your frame:
- Step back and assess: Take a few steps back and observe the picture frame from a distance. Assess its position and alignment in relation to the wall and other surrounding elements.
- Check for levelness: Use a level tool to ensure that the frame is perfectly level. Adjust as needed by gently lifting and shifting the frame slightly until it is perfectly balanced.
- Consider the surrounding area: Take into account any nearby furniture, architectural features, or other picture frames in the vicinity. Make sure the frame fits harmoniously within its surroundings.
- Seek a second opinion: If unsure about the positioning, ask for a second opinion from a friend or family member. They may provide valuable insights and help ensure the frame is placed optimally.
- Make incremental adjustments: If the frame needs to be shifted slightly, do so in small increments. Gently lift and reposition the frame, checking for levelness and balance each time.
- Secure any loose fasteners: If you notice any loose screws or nails, tighten them to ensure the frame remains securely attached to the wall.
By taking the time to adjust your picture frame, you can achieve a visually pleasing and well-balanced display. Keep in mind that minor adjustments may be necessary over time due to factors such as settling of the wall or changes in humidity. Regularly inspect and readjust the frame as needed to maintain its optimal position.
Ensuring Proper Stability and Security
Once your picture frame is hung and adjusted, it’s important to ensure that it is stable and securely attached to the wall. Follow these guidelines to ensure the proper stability and security of your frame:
- Check for wobbling: Gently tap the frame and observe if it wobbles or shifts. If it does, carefully lift the frame and adjust the sawtooth hangers or hooks to ensure a snug fit against the wall.
- Verify weight capacity: Double-check that the weight of your picture frame is within the recommended capacity of the sawtooth hangers. Exceeding the weight limit may compromise the stability of the frame.
- Consider additional support: For heavier frames, consider using wall anchors or additional mounting hardware to provide extra support and distribute the weight evenly.
- Inspect periodic tightening: Regularly inspect the screws or nails that secure the sawtooth hangers and frame to the wall. If they become loose over time, tighten them gently to ensure the frame remains securely attached to the wall.
- Maintain a secure hanging position: If necessary, you can use adhesive putty or strips to prevent the frame from shifting or accidentally being bumped out of place.
- Check for wall damage: Periodically inspect the area around the picture frame for any signs of wall damage. If you notice any cracks, holes, or other issues, address them promptly to ensure the stability and safety of both the frame and the wall.
By following these steps, you can ensure that your picture frame is secure, stable, and properly attached to the wall. Regular maintenance and inspection will help protect your frame from accidents and maintain its longevity and aesthetic appeal.