
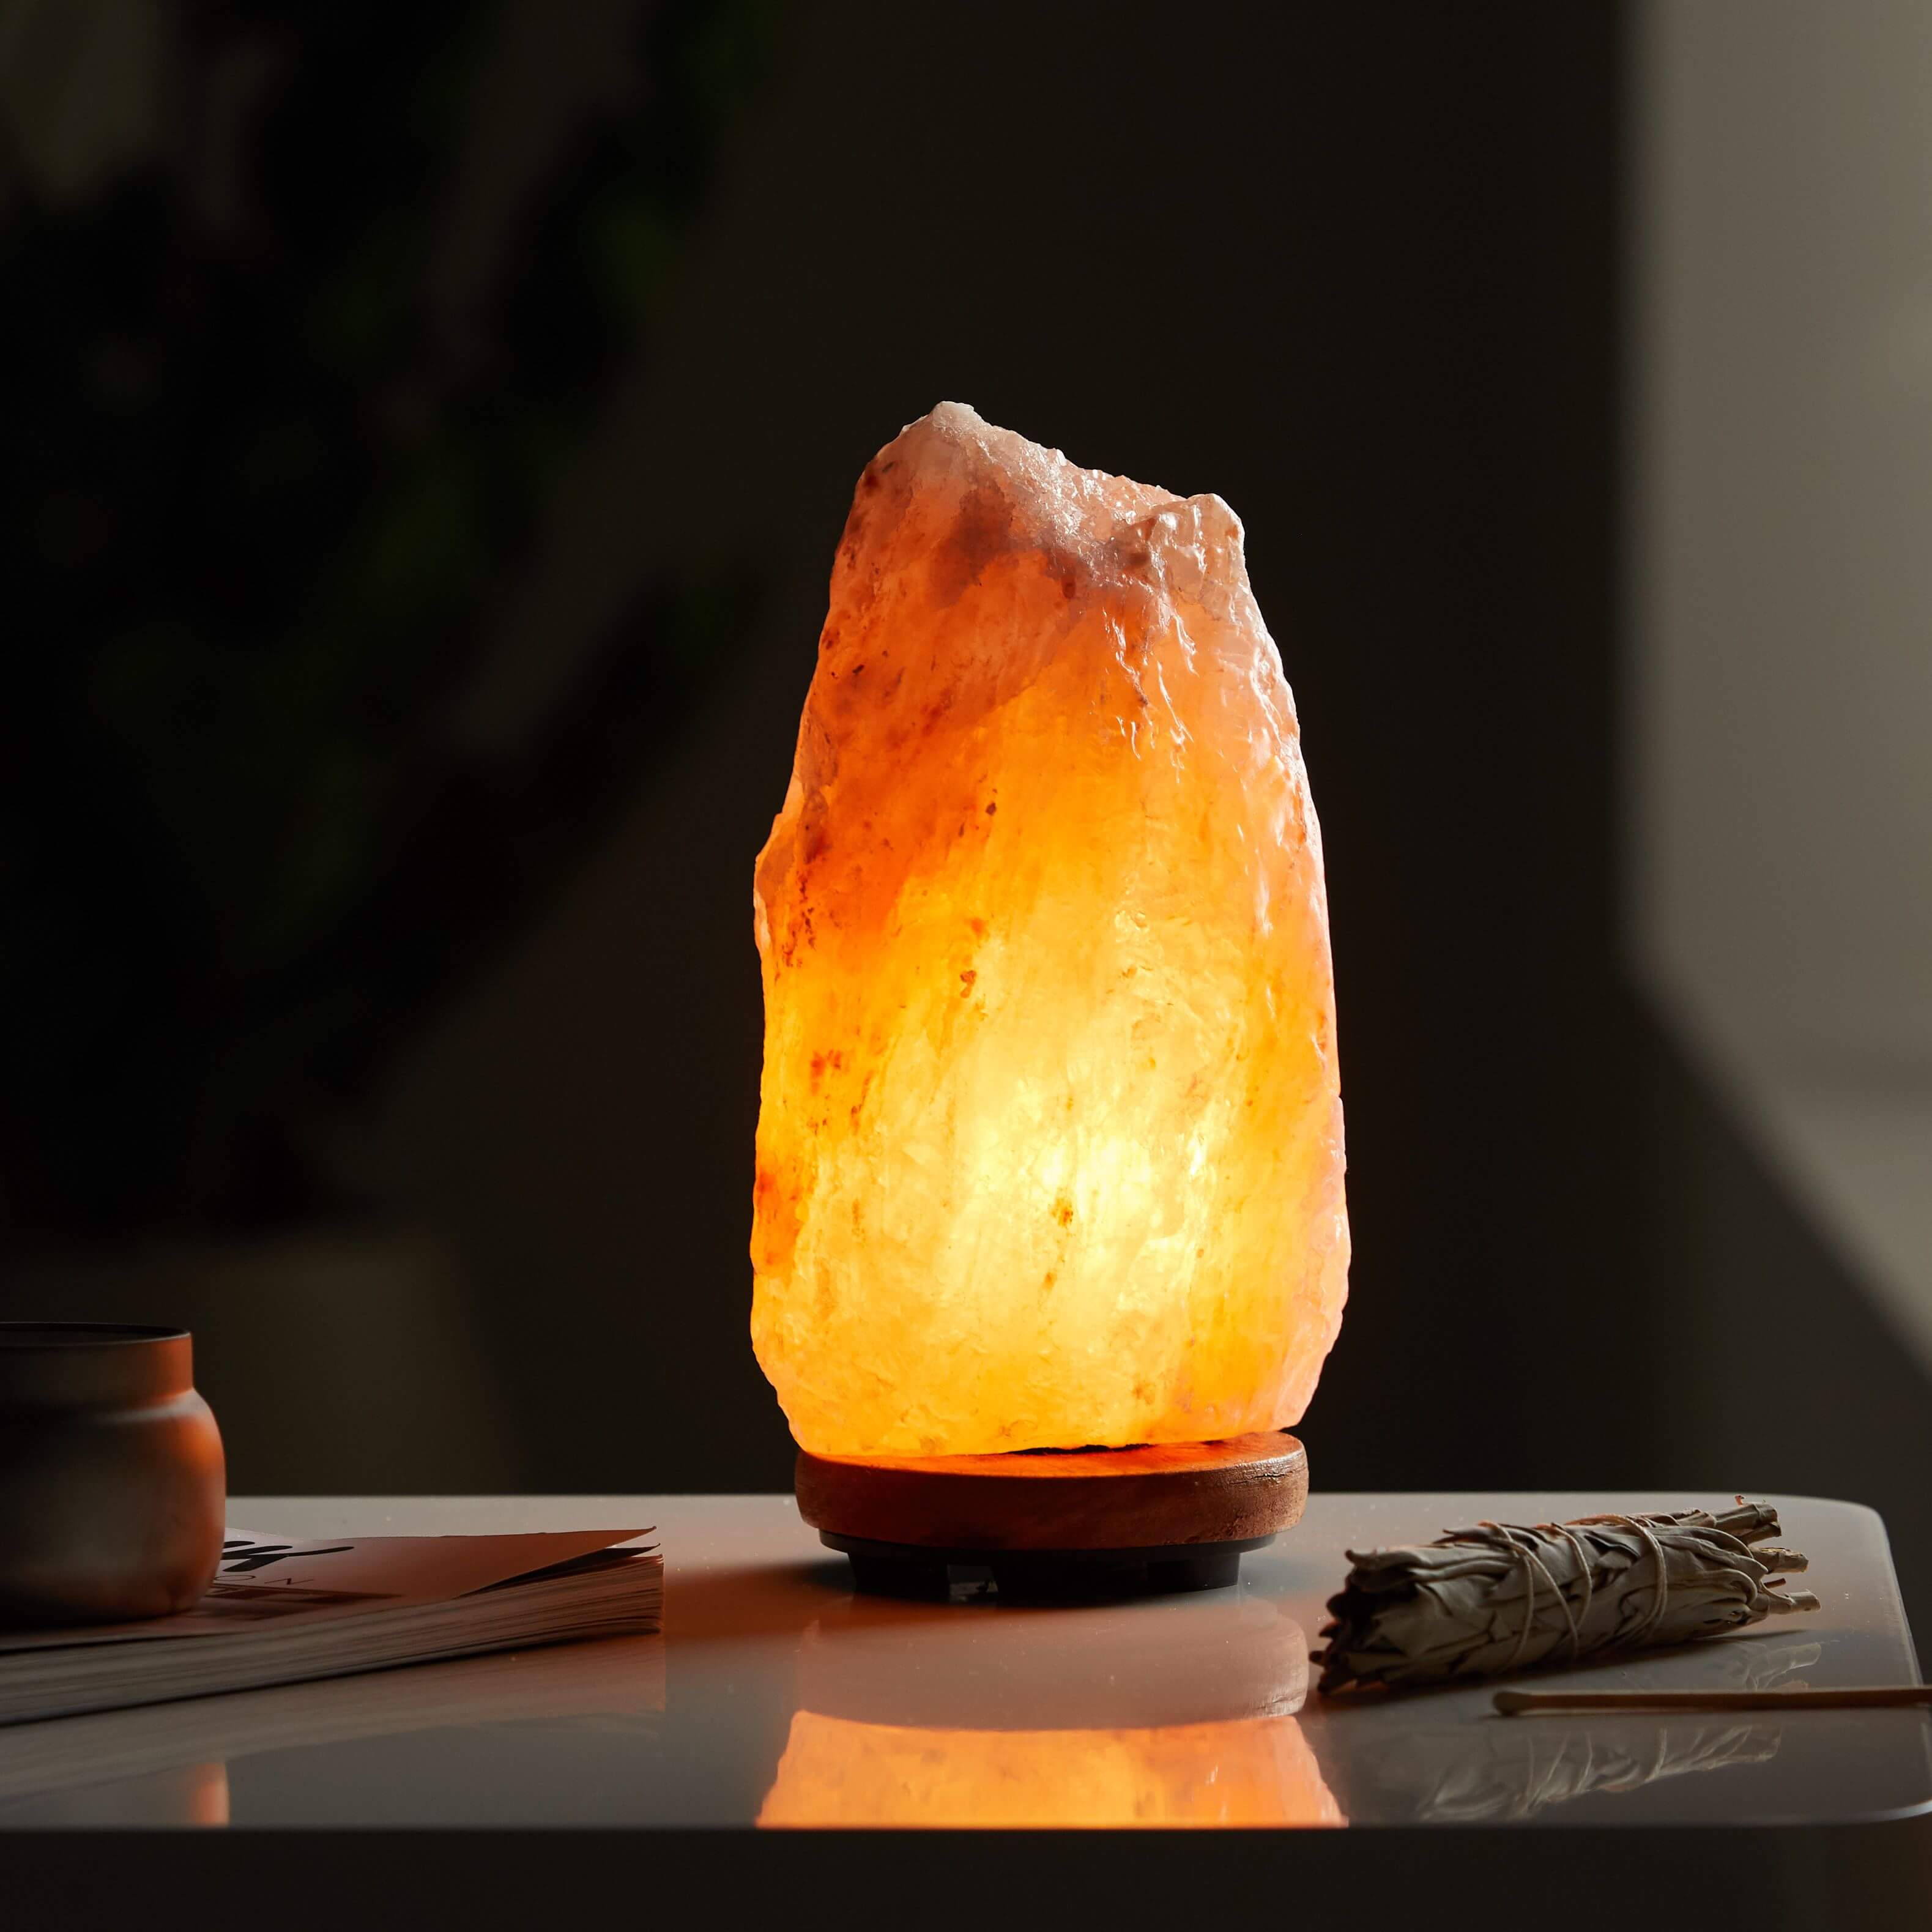
Why Change the Bulb in a Salt Lamp?
Salt lamps have gained popularity for their soothing glow and potential health benefits. However, like any other light source, the bulb in a salt lamp will eventually need to be replaced. Here are a few reasons why changing the bulb in your salt lamp is important:
- Maintaining optimal brightness: Over time, the bulb in your salt lamp may start to dim or lose its brightness. Changing the bulb ensures that your salt lamp continues to emit the warm and gentle glow that creates a cozy and inviting ambiance in your space.
- Ensuring proper functionality: A faulty or burned-out bulb can impact the overall performance of your salt lamp. By replacing the bulb, you can ensure that your lamp functions as intended and provides the desired benefits, such as improving air quality and promoting relaxation.
- Extending the lifespan of your salt lamp: Regularly changing the bulb in your salt lamp can help prolong its lifespan. As the bulb ages, it may generate excessive heat, which can affect the structural integrity of the lamp. By replacing the bulb in a timely manner, you can safeguard the longevity of your salt lamp.
- Potentially improving air ionization: Salt lamps are believed to release negative ions, which can help purify the air and reduce allergens. The effectiveness of the ionization process may be compromised if the bulb is not functioning at its best. Changing the bulb ensures that your salt lamp continues to provide optimal air purification benefits.
Remember, the bulb in a salt lamp is not only an essential component for its functionality but also contributes to the overall aesthetic and well-being benefits it offers. By regularly changing the bulb, you can ensure that your salt lamp remains a calming and beneficial addition to your space.
What You Will Need
Before you start the process of changing the bulb in your salt lamp, gather the following items to ensure a smooth and hassle-free experience:
- A replacement bulb: Determine the type and wattage of the bulb needed for your specific salt lamp. Replacement bulbs are typically available at hardware stores or online.
- A clean cloth or glove: Since salt lamps are made of delicate salt crystals, it is important to handle them with care. Using a clean cloth or glove will prevent smudges or stains on the lamp surface as you handle it.
- A screwdriver or lamp removal tool: Depending on the design of your salt lamp, you may need a screwdriver or a lamp removal tool to safely remove the existing bulb. Check the lamp’s instructions or consult the manufacturer to determine the necessary tool.
- A clean and safe workspace: Prepare a suitable workspace with ample lighting. Ensure that the area is free from any obstructions or hazards that could pose a safety risk during the bulb replacement process.
- An extension cord (optional): If your salt lamp is not easily accessible or if the power cord is short, consider using an extension cord to provide flexibility during the bulb replacement.
Having these items ready will help streamline the process of changing the bulb in your salt lamp. It’s always better to be prepared and have everything you need on hand before starting the task.
Step 1: Turn Off and Unplug the Lamp
Before you begin changing the bulb in your salt lamp, make sure to turn off the lamp and unplug it from the power source. This is a crucial step to ensure your safety and avoid any electrical accidents. Here’s how you can do it:
- Locate the power switch: Look for the power switch on your salt lamp. It is typically located near the base or on the power cord itself. Switch it to the “Off” position.
- Unplug the lamp: Once you have turned off the lamp, gently unplug it from the power outlet. This will prevent any potential electrical shocks or accidents while you handle the bulb.
- Allow the lamp to cool: Salt lamps can become warm after extended use. Give the lamp enough time to cool down before proceeding to the next step. This will help prevent burns or injuries while handling the bulb.
Remember, safety should always be a top priority when working with electrical devices. By taking the time to turn off and unplug your salt lamp, you can ensure a safe and smooth bulb replacement process.
Step 2: Allow the Lamp to Cool
After turning off and unplugging your salt lamp, it is essential to allow it sufficient time to cool down. This step is crucial to ensure your safety and prevent any accidental burns while handling the lamp during the bulb replacement process. Follow these instructions to properly cool down the lamp:
- Leave the lamp undisturbed: Once the lamp is turned off and unplugged, avoid touching or moving it immediately. Let it sit in its current position and allow the heat to dissipate naturally.
- Patience is key: The cooling duration can vary depending on the size of the lamp and the amount of time it has been used. As a general rule, it is recommended to wait at least 15-30 minutes or until the lamp feels cool to the touch.
- Avoid using water or external cooling methods: While it may be tempting to speed up the cooling process by using water or external cooling methods, this should be avoided. Water can damage the delicate salt crystals and compromise the overall integrity of the lamp.
- Ensure the lamp is completely cool: Before proceeding to the next step, double-check that the lamp is completely cool to the touch. This will help prevent any accidental burns or injuries during the bulb replacement process.
Taking the time to let your salt lamp cool down is crucial for your safety and the longevity of the lamp itself. Resist the urge to rush the process and ensure that the lamp is cool to the touch before moving on to the next step.
Step 3: Remove the Existing Bulb
Once your salt lamp has cooled down, you can proceed to remove the existing bulb. Follow these steps to safely remove the bulb from your salt lamp:
- Put on protective gloves: Before handling the bulb, it’s a good idea to wear protective gloves to avoid any potential injuries or smudges on the bulb surface.
- Locate the bulb housing: Look for the area where the bulb is housed in your salt lamp. This is typically located at the center or top of the lamp.
- Check for securing mechanisms: Some salt lamps may have securing mechanisms, such as clips or screws, holding the bulb in place. If your lamp has any of these, carefully loosen or unscrew them to release the bulb.
- Gently remove the bulb: Once any securing mechanisms are loosened, gently grip the base of the bulb and slowly pull it out from the socket. Be careful not to apply excessive force or twist the bulb, as this can result in breakage.
- Inspect the socket: Take a moment to inspect the socket and ensure that there are no broken pieces or debris present. If you notice any issues, clean or address them before proceeding to the next step.
Removing the existing bulb from your salt lamp is a delicate process. By following these steps carefully, you can successfully remove the bulb without damaging the lamp or injuring yourself. The next step will provide guidance on selecting a suitable replacement bulb for your salt lamp.
Step 4: Select a New Bulb
After removing the old bulb from your salt lamp, it is time to select a suitable replacement. Choosing the right bulb is crucial to ensure proper functionality and the desired ambiance. Follow these guidelines to select a new bulb for your salt lamp:
- Refer to the lamp’s specifications: Check the manufacturer’s instructions or the labeling on your salt lamp to find the recommended bulb type and wattage. This information is important to ensure compatibility and prevent any potential damage to the lamp.
- Consider the bulb shape and size: Salt lamps usually require small, candelabra-based bulbs. Ensure that the replacement bulb matches the shape and size of the original bulb to ensure a proper fit in the lamp’s socket.
- Choose the right wattage: The wattage of the bulb determines its brightness. Consider the desired level of illumination and ambiance for your space when selecting the wattage. Typically, salt lamps use low-wattage bulbs ranging from 7-15 watts.
- Opt for a dimmable option (optional): If you prefer to adjust the brightness of your salt lamp, you may consider choosing a dimmable bulb. This will allow you to customize the lighting to your preference.
- Quality and energy efficiency: Look for bulbs that are of high quality and energy-efficient. LED bulbs are a popular choice for their longevity, energy efficiency, and low heat output.
By considering these factors, you can select a new bulb that is compatible with your salt lamp and meets your specific lighting needs. Once you have chosen the right bulb, you’re ready to proceed to the next step and install it in your salt lamp.
Step 5: Install the New Bulb
Now that you have selected a suitable replacement bulb for your salt lamp, it’s time to install it. Follow these steps to safely and correctly install the new bulb in your salt lamp:
- Ensure the lamp is still turned off and unplugged: Before proceeding with the installation, double-check that the lamp is turned off and unplugged to avoid any potential electrical accidents.
- Remove any packaging from the new bulb: Open the packaging of the new bulb and remove any protective covering or packaging materials.
- Align the prongs or base: Take a close look at the new bulb and align the prongs or base with the socket of your salt lamp. Make sure the new bulb is inserted in the same orientation as the old one.
- Gently push the bulb into the socket: Hold the new bulb by its base and apply gentle pressure to push it into the socket. Avoid using excessive force to prevent any damage to the bulb or the lamp.
- Secure the bulb if necessary: Some salt lamps may have securing mechanisms, such as clips or screws, that need to be tightened to hold the new bulb in place. Check if your lamp has any of these mechanisms and secure the bulb accordingly.
- Test the installation: Once the new bulb is securely in place, plug in the lamp and turn it on to ensure that it is functioning properly. If the bulb illuminates, you have successfully installed the new bulb.
Taking care during the installation process will ensure that the new bulb fits properly and functions as intended. By following these steps, you can confidently install the new bulb and continue enjoying the soothing glow and benefits of your salt lamp.
Step 6: Plug in the Lamp
After successfully installing the new bulb in your salt lamp, it’s time to plug the lamp back into a power source. Follow these steps to safely plug in your salt lamp:
- Ensure the lamp is in a stable position: Before plugging in the lamp, make sure it is placed in a stable position on a flat surface. This will prevent any accidental falls or damage while connecting the power cord.
- Locate the power cord: Locate the power cord of your salt lamp. It is typically attached to the base of the lamp or located near the lamp’s on/off switch.
- Insert the plug into a power outlet: Carefully insert the plug of the power cord into a nearby power outlet. Ensure that it is fully inserted and secure in the outlet.
- Check for a working power source: Verify that the power outlet you have plugged the lamp into is working. You can do this by testing the outlet with another small device or using a circuit tester.
- Switch on the lamp: Once the lamp is plugged in, locate the on/off switch and turn it on. You should see the new bulb illuminate and the soothing glow of your salt lamp fill the space.
By following these steps, you can safely and successfully plug in your salt lamp and restore its calming illumination. Now that your lamp is powered on, you can move on to the final step to ensure that the new bulb is functioning as expected.
Step 7: Test the New Bulb
After plugging in your salt lamp and turning it on, it is important to test the new bulb to ensure it is functioning properly. Here’s how you can test the new bulb in your salt lamp:
- Observe the illumination: Take a moment to observe the illumination of the new bulb. Check if it emits a warm and inviting glow, similar to the previous bulb. Ensure that the brightness is at the desired level and that there are no flickering or dimming issues.
- Check for any abnormalities: Carefully inspect the new bulb for any abnormalities, such as discoloration, cracks, or strange smells. If you notice any of these issues, turn off the lamp immediately and replace the bulb with a new one.
- Assess the ambiance: Step back and assess the ambiance created by the new bulb in your salt lamp. The soothing glow should contribute to a relaxing and comforting atmosphere in your space.
- Monitor the lamp’s performance: Over the next few days, keep an eye on the lamp’s performance. Ensure that the bulb remains stable, the brightness is consistent, and there are no signs of overheating.
Testing the new bulb ensures that it is working as intended and enhances the overall experience of your salt lamp. If you experience any issues or notice abnormalities, it may be necessary to troubleshoot or consult the manufacturer for further assistance.
Important Tips and Safety Precautions
When changing the bulb in your salt lamp, it’s important to keep in mind the following tips and safety precautions to ensure a smooth and safe process:
- Always unplug the lamp and allow it to cool before changing the bulb. This will minimize the risk of electrical shock or burns.
- Handle the salt lamp with care. The delicate salt crystals can chip or break if mishandled. Use a clean cloth or glove when handling the lamp to avoid smudges or stains.
- Refer to the manufacturer’s instructions or labeling for the recommended type and wattage of the replacement bulb. Using a bulb that does not meet the lamp’s specifications can lead to damage.
- Ensure that the lamp is placed on a stable surface and away from flammable materials or liquids. This will prevent the risk of accidents and fire hazards.
- Avoid over-tightening the bulb or using excessive force during installation. This can cause damage to the lamp or result in breakage.
- If you are unsure about any steps involved in changing the bulb, consult the manufacturer’s instructions or seek professional assistance to ensure a safe and proper process.
- Regularly inspect the lamp and its components for any signs of damage or wear. Replace any damaged parts promptly to maintain the safety and performance of the salt lamp.
- If you experience any unusual smells, excessive heat, or other abnormalities after changing the bulb, turn off the lamp and consult a professional for further assistance.
- Keep the lamp away from children and pets to prevent accidental breakage or injuries.
By following these tips and safety precautions, you can ensure a successful and safe bulb replacement process. Remember, the proper maintenance and care of your salt lamp will help you enjoy its soothing glow and potential health benefits for years to come.