
Choosing the Right Location
When it comes to hanging a mirror on the wall, selecting the perfect location is key. Consider the following factors to ensure that your mirror is positioned in the optimal spot:
- Height: Choose a height that is suitable for viewing purposes and complements the surrounding décor. Typically, mirrors are hung at eye level or slightly higher.
- Lighting: Take into account the lighting in the room. Hanging a mirror across from a window or near a light source can help reflect and amplify natural or artificial light, brightening up the space.
- Functionality: Determine the purpose of the mirror. Is it for decorative purposes or for practical use, such as in a bathroom or a dressing room? Consider placing it in a location that is convenient and serves its intended purpose.
- Proportions: Consider the size and shape of the mirror in relation to the available wall space. A large mirror can make a small room appear more spacious, while smaller mirrors can be grouped together to create an interesting focal point.
- Style: The mirror should complement the overall style and aesthetics of the room. Choose a location that allows the mirror to blend seamlessly with the surrounding elements, such as furniture, artwork, or architectural features.
By carefully considering these factors, you can determine the ideal location for your mirror. This will ensure that it not only serves its functional purpose but also enhances the visual appeal of the room. Take your time in selecting the right spot, as it can make a significant difference in the overall ambiance and functionality of the space.
Gathering the Necessary Tools and Materials
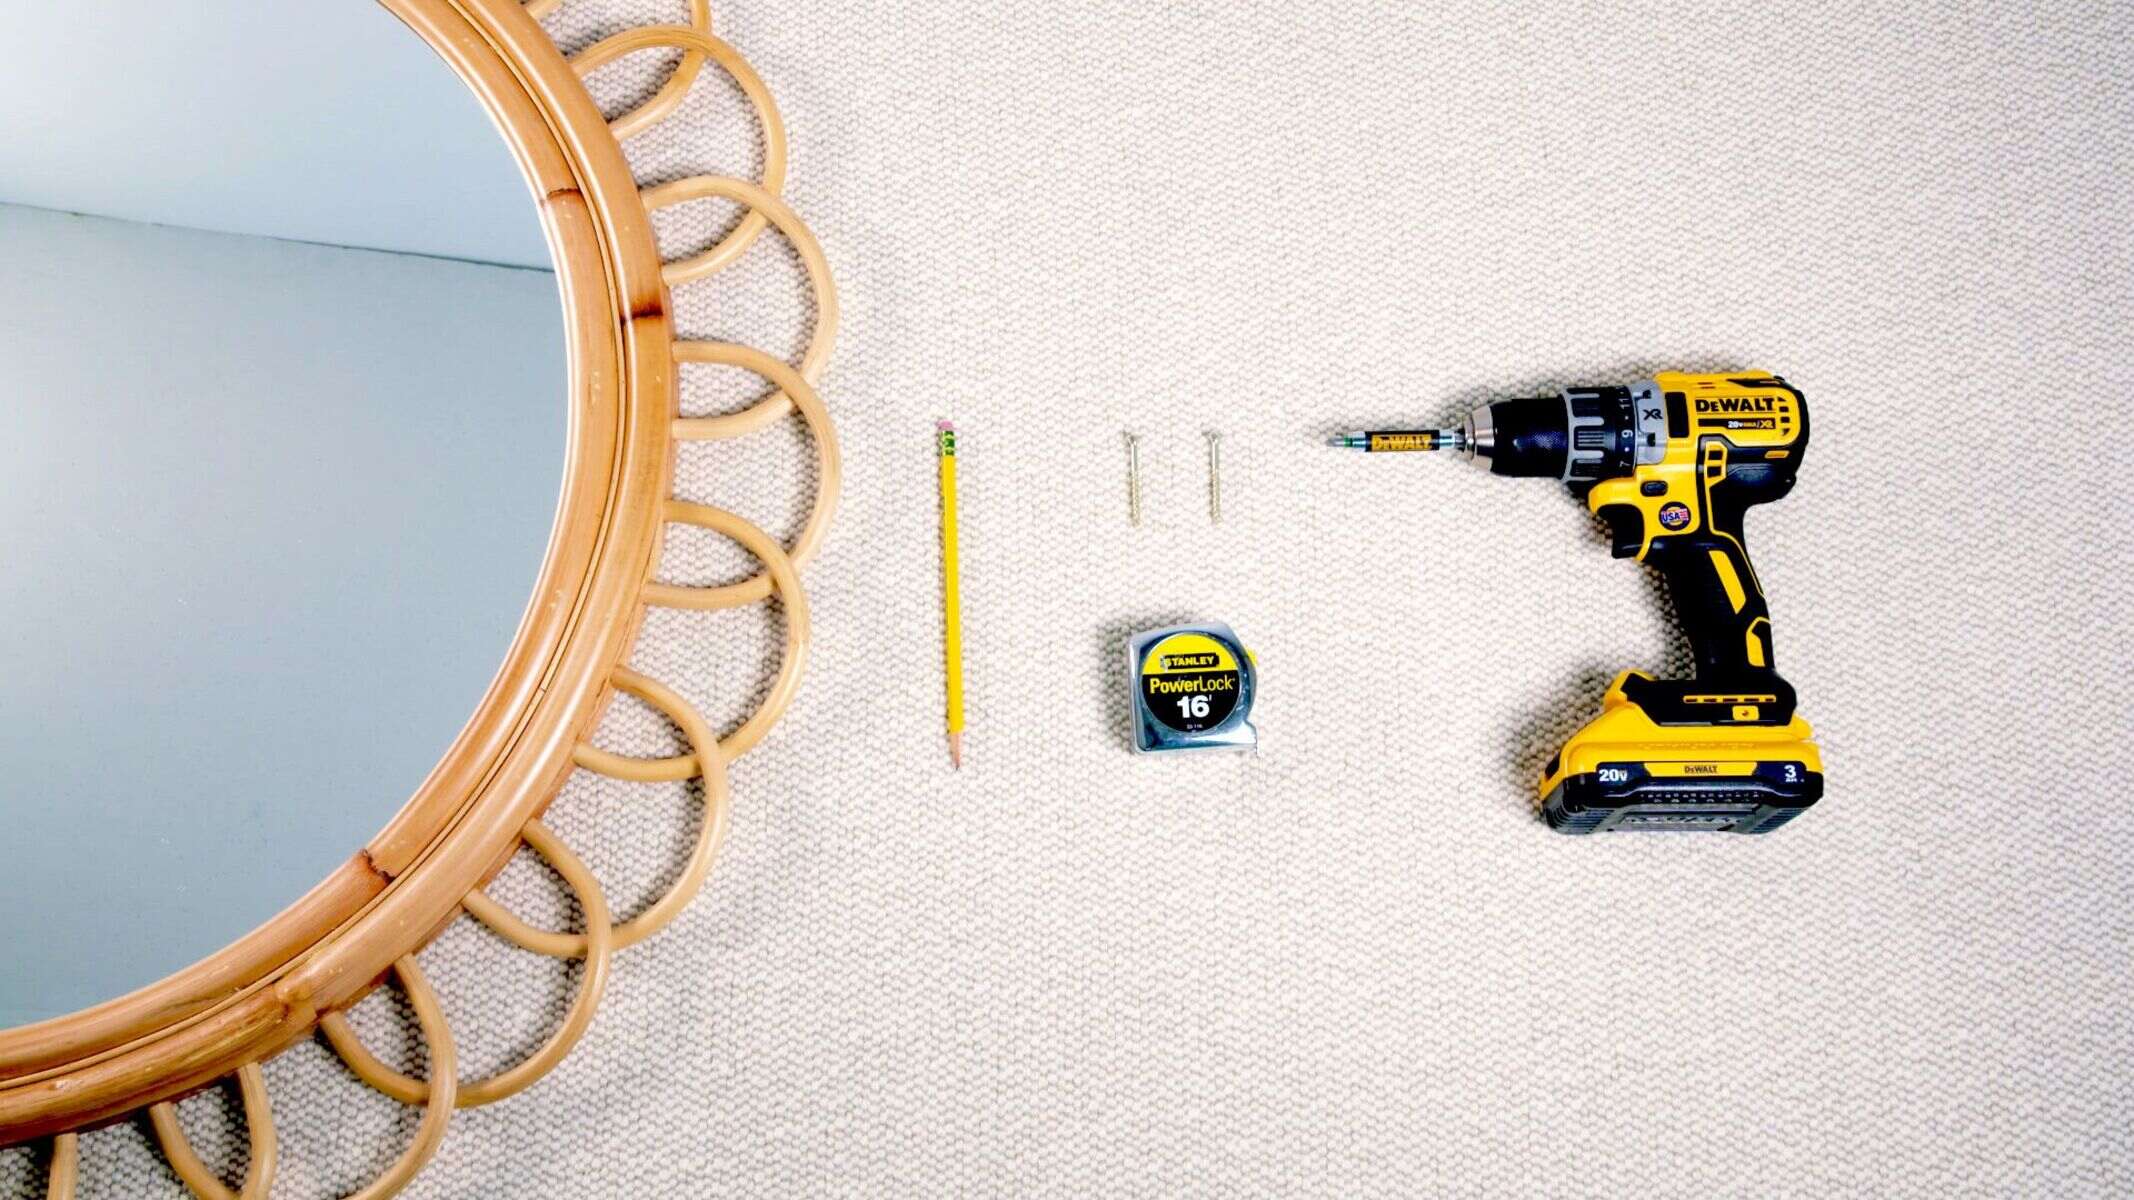
Before you begin hanging a mirror on the wall, make sure you have all the necessary tools and materials at hand. Here is a list of items you will likely need:
- Measuring tape: A measuring tape is essential for determining the placement and leveling of the mirror.
- Pencil: Use a pencil to mark the desired location on the wall.
- Stud finder: If you’re planning to hang a heavy mirror, a stud finder will help you locate the wall studs for added support.
- Screws and anchors: Depending on the type of wall surface, you may need screws and anchors to securely mount the mirror.
- Level: A level will ensure that the mirror is straight and properly aligned.
- Drill or screwdriver: You’ll need a drill or screwdriver to attach the mirror hooks, brackets, or clips to the wall.
- Wire or adhesive hooks: These will be used to suspend the mirror on the wall.
- Mirror clips: If your mirror has a frame, mirror clips can be used to hold it in place.
- Adhesive strips or adhesive putty: For frameless mirrors or lightweight options, adhesive strips or putty can provide a secure attachment.
- Protective gloves and safety goggles: It’s important to protect your hands and eyes when handling tools and materials.
By gathering all of these tools and materials before starting the hanging process, you’ll save time and make the job easier. It’s always best to be fully prepared to avoid any unnecessary trips to the hardware store.
Measuring and Marking the Wall
Accurate measurements and precise markings on the wall are crucial for properly hanging a mirror. Follow these steps to ensure that your mirror is positioned correctly:
- Measure the mirror: Begin by measuring the width and height of the mirror. This will help you determine the desired placement on the wall.
- Choose the location: Based on the measurements and the factors mentioned earlier, decide where you want to hang the mirror.
- Find the center: Use a measuring tape to find the center of the wall where you’ll be hanging the mirror. Mark this spot with a pencil.
- Measure down: Measure the distance from the top of the mirror to the hanging wire or hooks. Use this measurement to determine how far down from the center mark you need to place the hardware.
- Position the mirror: Hold the mirror against the wall, centered on the designated spot. Adjust the height if necessary to achieve the desired placement.
- Mark the wall: Using a pencil, make small marks on the wall at the location where the hardware will be attached. Take care to ensure that the markings are level and aligned with your desired placement.
- Double-check: Before proceeding, double-check the position and alignment of the marks. This will help avoid any mistakes or uneven installation.
By measuring accurately and marking the wall carefully, you can ensure that your mirror is hung in the desired location. Taking the time to do this step correctly will result in a visually pleasing and functional installation.
Preparing the Mirror for Hanging
Before you hang the mirror on the wall, it’s important to take a few steps to ensure that it is properly prepared and protected. Follow these guidelines to get your mirror ready for hanging:
- Inspect the mirror: Carefully examine the mirror for any cracks, chips, or other damage. If you notice any issues, address them before proceeding with the hanging process.
- Clean the mirror: Use a gentle glass cleaner and a lint-free cloth to clean the mirror surface. Make sure it is free from any dirt, smudges, or fingerprints.
- Apply protective covering: To prevent any damage to the back of the mirror or the wall, consider applying a protective covering. This can be in the form of adhesive felt pads, rubber bumpers, or foam tape.
- Secure the hanging hardware: Depending on the type of mirror, you may need to attach hanging wire, hooks, clips, or brackets. Follow the manufacturer’s instructions or use appropriate hardware for your specific mirror.
- Test the stability: Before proceeding with hanging, carefully hold the mirror by the hanging hardware to ensure that it feels secure and stable. Make any necessary adjustments if it feels unsteady.
By properly preparing the mirror for hanging, you minimize the risk of any accidents or damage. Taking these steps will help ensure that your mirror is secure, protected, and ready to be hung on the wall.
Using Hooks and Wire
If you’re hanging a mirror with a wire or hooks, follow these steps to securely mount it on the wall:
- Locate the wall studs: Use a stud finder to determine the position of the wall studs. Mark their locations with a pencil. Mounting the hooks or wire on the studs will provide maximum stability.
- Attach the hooks: Depending on the weight and size of your mirror, select appropriate hooks or D-rings. Use a drill or screwdriver to attach the hooks to the back of the mirror, ensuring they are positioned evenly and securely.
- Measure and cut the wire: Measure the distance between the hooks and cut a piece of wire accordingly. Leave some extra length for knotting and adjustments.
- Tie the wire: Thread the wire through the hooks and secure it tightly, leaving enough slack to hang the mirror at the desired height.
- Test the stability: Lift the mirror by the wire to test its stability. If it feels secure and level, proceed to the next step.
- Mark and drill: Position the mirror against the wall at the desired location. Use a pencil to mark the wall through the hooks or wire. This will indicate where you need to attach the corresponding screws or wall anchors.
- Secure the hooks or wire: Using a drill or screwdriver, attach the screws or wall anchors to the marked spots on the wall. Make sure they are securely fastened.
- Hang the mirror: Carefully hang the mirror on the hooks or wire, ensuring it is level and aligned with your markings.
- Check for stability: Give the mirror a gentle shake to check its stability. Make any necessary adjustments to ensure it is firmly in place.
By properly attaching hooks and wire to your mirror, you can confidently hang it on the wall, knowing it will be stable and secure for years to come.
Using Adhesive Hooks
If you’re looking for a convenient and damage-free option for hanging a mirror, adhesive hooks can be a great solution. Follow these steps to securely mount your mirror using adhesive hooks:
- Choose the right hooks: Select adhesive hooks that are specifically designed to hold the weight of your mirror. Pay attention to the weight capacity indicated on the packaging.
- Clean the surface: Before applying the hooks, clean the wall surface with a mild cleaner and allow it to dry thoroughly. This will help ensure a strong adhesive bond.
- Mark the placement: Position the mirror on the wall and use a pencil to make light marks where the top corners of the mirror will be.
- Remove the adhesive backing: Peel off the adhesive backing from the hooks, exposing the sticky side.
- Align and press: Align the hooks with the marked spots on the wall and firmly press them against the surface. Hold each hook in place for a few seconds to ensure proper adhesion.
- Wait for the adhesive to set: Follow the manufacturer’s instructions regarding the recommended wait time for the adhesive to fully set and cure. Avoid hanging the mirror until the adhesive is fully bonded.
- Hang the mirror: Once the adhesive hooks are fully set, carefully hang the mirror on the hooks. Make sure it is level and aligned with the marked spots on the wall.
- Check for stability: Gently shake the mirror to check its stability. If it feels secure and there are no signs of the hooks loosening, your mirror is successfully hung using adhesive hooks.
Using adhesive hooks can be an excellent option for renters or those who prefer not to drill holes in the wall. However, always check the weight limit and ensure proper cleaning and application for optimal adhesive strength.
Using Mirror Clips
If you have a framed mirror, using mirror clips is a straightforward and secure method for hanging it on the wall. Follow these steps to effectively use mirror clips:
- Measure the mirror: Start by measuring the width and height of the framed mirror. This will help you determine the appropriate size and number of mirror clips needed.
- Choose the right clips: Select mirror clips that match the thickness of your mirror frame. Ensure that they provide a secure grip without putting too much pressure on the frame.
- Mark the clip placement: Position the mirror against the wall and mark the desired placement of the clips on the wall, taking into account the measurements and the frame size.
- Attach the clips: Use a drill or screwdriver to attach the clips to the wall at the marked spots. Make sure they are aligned and level.
- Prep the mirror frame: Place the mirror face-down on a soft and protected surface. Apply small adhesive pads or clear silicone dots to the back of the mirror where the clips will make contact. This will prevent the frame from being scratched or damaged.
- Hang the mirror: Carefully lift and position the mirror onto the clips, ensuring that it is securely held in place.
- Adjust and level: Once the mirror is hanging on the clips, make any necessary adjustments to ensure it is level and properly aligned.
- Check for stability: Give the mirror a gentle shake to check for stability. Make sure it is securely held by the clips and doesn’t wobble or move excessively.
Using mirror clips provides a secure and aesthetically pleasing way to hang framed mirrors. The clips distribute the weight evenly and help keep the mirror in place, allowing you to enjoy it without any concerns.
Installing a Mirror Bracket
If you have a heavy or large mirror that requires extra support, using a mirror bracket is an effective way to ensure its stability. Follow these steps to properly install a mirror bracket:
- Choose the right bracket: Select a mirror bracket that is appropriate for the size and weight of your mirror. Consider the material of the wall and the strength of the bracket for optimal support.
- Mark the height: Determine the desired height for your mirror and mark it on the wall using a pencil.
- Find the wall studs: Use a stud finder to locate the wall studs within the marked area. This will provide a solid anchor point for the mirror bracket.
- Position the bracket: Hold the mirror bracket against the wall, aligning it with the marked height and the studs. Ensure that it is level and centered.
- Mark and pre-drill the holes: Mark the screw hole positions on the wall using a pencil. Then, pre-drill small pilot holes at the marked spots to guide the screws during installation.
- Attach the bracket: Securely attach the mirror bracket to the wall by driving screws through the pre-drilled holes. Make sure to tighten them properly, ensuring a sturdy installation.
- Test the stability: Gently place the mirror onto the installed bracket and check for stability. Ensure the mirror is level and securely held by the bracket.
Installing a mirror bracket provides essential support for heavy mirrors, preventing any accidents or damage. By following these steps, you can hang your mirror with confidence and enjoy its beauty without any concerns about stability.
Hanging a Heavy Mirror
When it comes to hanging a heavy mirror, it’s important to take extra precautions to ensure its stability and safety. Follow these steps to hang a heavy mirror securely:
- Locate the wall studs: Use a stud finder to locate the wall studs within the area where you wish to hang the mirror. These studs provide maximum support for heavy objects.
- Mark the stud positions: Mark the locations of the wall studs using a pencil. This will guide you during the installation process.
- Choose a hanging method: Depending on the mirror’s weight and your preferences, select a hanging method that offers the necessary support. This can include mirror brackets, D-rings, or heavy-duty anchors.
- Pre-drill pilot holes: Use a drill to pre-drill pilot holes into the wall at the marked stud positions. This will prevent the wall from splitting and make it easier to insert the screws or anchors.
- Install the hanging hardware: Attach the chosen hanging hardware to the back of the mirror following the manufacturer’s instructions. Make sure to place them securely and evenly.
- Attach the mirror to the wall: With the help of a partner, carefully lift and align the mirror against the wall, ensuring that the hanging hardware lines up with the pre-drilled pilot holes.
- Drive screws or insert heavy-duty anchors: Using a drill, drive screws through the hanging hardware and into the pilot holes in the wall studs. If using heavy-duty anchors, insert them into the pilot holes and tighten them securely.
- Check for stability: Gently shake the mirror to check for any wobbling or movement. If the mirror feels secure and stable, it is successfully hung.
- Consider additional support: To provide extra stability, you may choose to install additional screws or anchors at the sides or bottom of the mirror, if possible.
Hanging a heavy mirror requires careful planning and implementation to ensure its safety and stability. Following these steps will help you securely hang your heavy mirror and enjoy it for years to come.
Hanging a Mirror with a Frameless Design
Hanging a mirror with a frameless design requires a slightly different approach compared to framed mirrors. Follow these steps to effectively hang a frameless mirror:
- Measure and mark the location: Start by measuring the width and height of the mirror. Determine the desired location on the wall and mark it using a pencil.
- Clean the wall: Before hanging the mirror, clean the wall surface with a mild cleaner and allow it to dry completely. This will ensure proper adhesion.
- Choose the hanging method: There are a few options for hanging frameless mirrors, such as adhesive strips, adhesive putty, or mirror clips. Select the method that suits your mirror and wall surface.
- Using adhesive strips: If you choose adhesive strips, follow the manufacturer’s instructions for applying them to the mirror and the wall. Ensure proper alignment and press firmly for a secure hold. This option is suitable for lightweight frameless mirrors.
- Using adhesive putty: Adhesive putty can also be used to hang a frameless mirror. Apply small amounts of putty to the corners and the midpoint of the mirror, then press it firmly against the wall. This method is ideal for small and lightweight mirrors.
- Using mirror clips: Another option is to use mirror clips. Position the clips at the top and bottom of the mirror, ensuring that they are level and aligned with your markings. Screw the clips into the wall and adjust them as needed to hold the mirror securely.
- Check for stability: Once the frameless mirror is hung using your chosen method, gently give it a light shake to check for stability. Make sure it is securely held and doesn’t move or wobble excessively.
Hanging a mirror with a frameless design can create a sleek and modern look in any space. By following these steps and choosing the appropriate hanging method, you can securely and stylishly display your frameless mirror.
Removing and Rehanging a Mirror
There may be instances when you need to remove and rehang a mirror, whether due to relocation or redecorating purposes. Follow these steps to safely remove and rehang a mirror:
- Prepare the tools: Gather the necessary tools such as a screwdriver, hammer, putty knife, adhesive remover, and a soft cloth or towel.
- Protect the mirror: Place a soft cloth or towel on the floor beneath the mirror to protect it from any potential damage during the removal process.
- Identify the mounting method: Determine how the mirror is currently attached to the wall. It could be held by screws, adhesive, or mirror clips.
- Removing screws: If the mirror is secured with screws, carefully unscrew them using a screwdriver. Have someone help you support the mirror as you remove the last screws to prevent it from falling.
- Removing adhesive: For mirrors held by adhesive, use a putty knife to gently pry the mirror away from the wall. If there is any adhesive residue, apply adhesive remover on a soft cloth and wipe it clean.
- Removing mirror clips: If the mirror is held by clips, use a screwdriver or a hammer to carefully loosen and remove the clips from the wall. Be cautious and support the mirror as you remove the last clip.
- Inspect the mirror and wall: After removing the mirror, check for any damage or marks on the mirror itself and the wall surface. Clean or repair any imperfections before rehanging the mirror.
- Choose a new location: Determine the new desired location for the mirror. Take into account factors such as lighting, height, and overall aesthetics of the room.
- Prepare the new hanging location: Use a level and measuring tape to ensure accurate placement. Mark the new location on the wall using a pencil or painter’s tape.
- Rehang the mirror: Based on the mirror’s weight, size, and the desired location, select the appropriate method of hanging – whether it’s using screws, adhesive, or mirror clips. Follow the steps for hanging discussed in previous sections.
- Check for stability: After rehanging the mirror, gently shake it to check for stability. Ensure it is securely held in place and doesn’t wobble or shift.
By following these steps, you can safely remove and rehang a mirror, ensuring a secure and visually pleasing installation in its new location.