
Check the current time
Knowing the current time is an essential step before making any changes to your Galaxy Watch’s time settings. Here’s how you can easily check the current time on your device:
- Wake up your Galaxy Watch by pressing the home button or rotating the bezel.
- On the watch face, you will find the time displayed prominently at the center. Take note of the hour and minute hands or digital time display.
- If your watch is in sleep mode, simply tap the screen or press any button to wake it up and display the current time.
- In some cases, you might need to swipe left or right on the watch face to find a dedicated widget or screen that shows the current time.
It’s important to double-check the current time before proceeding with any adjustments to ensure accurate time synchronization with your Galaxy Watch. Remember, having the correct time is crucial for staying on schedule and tracking your activities effectively.
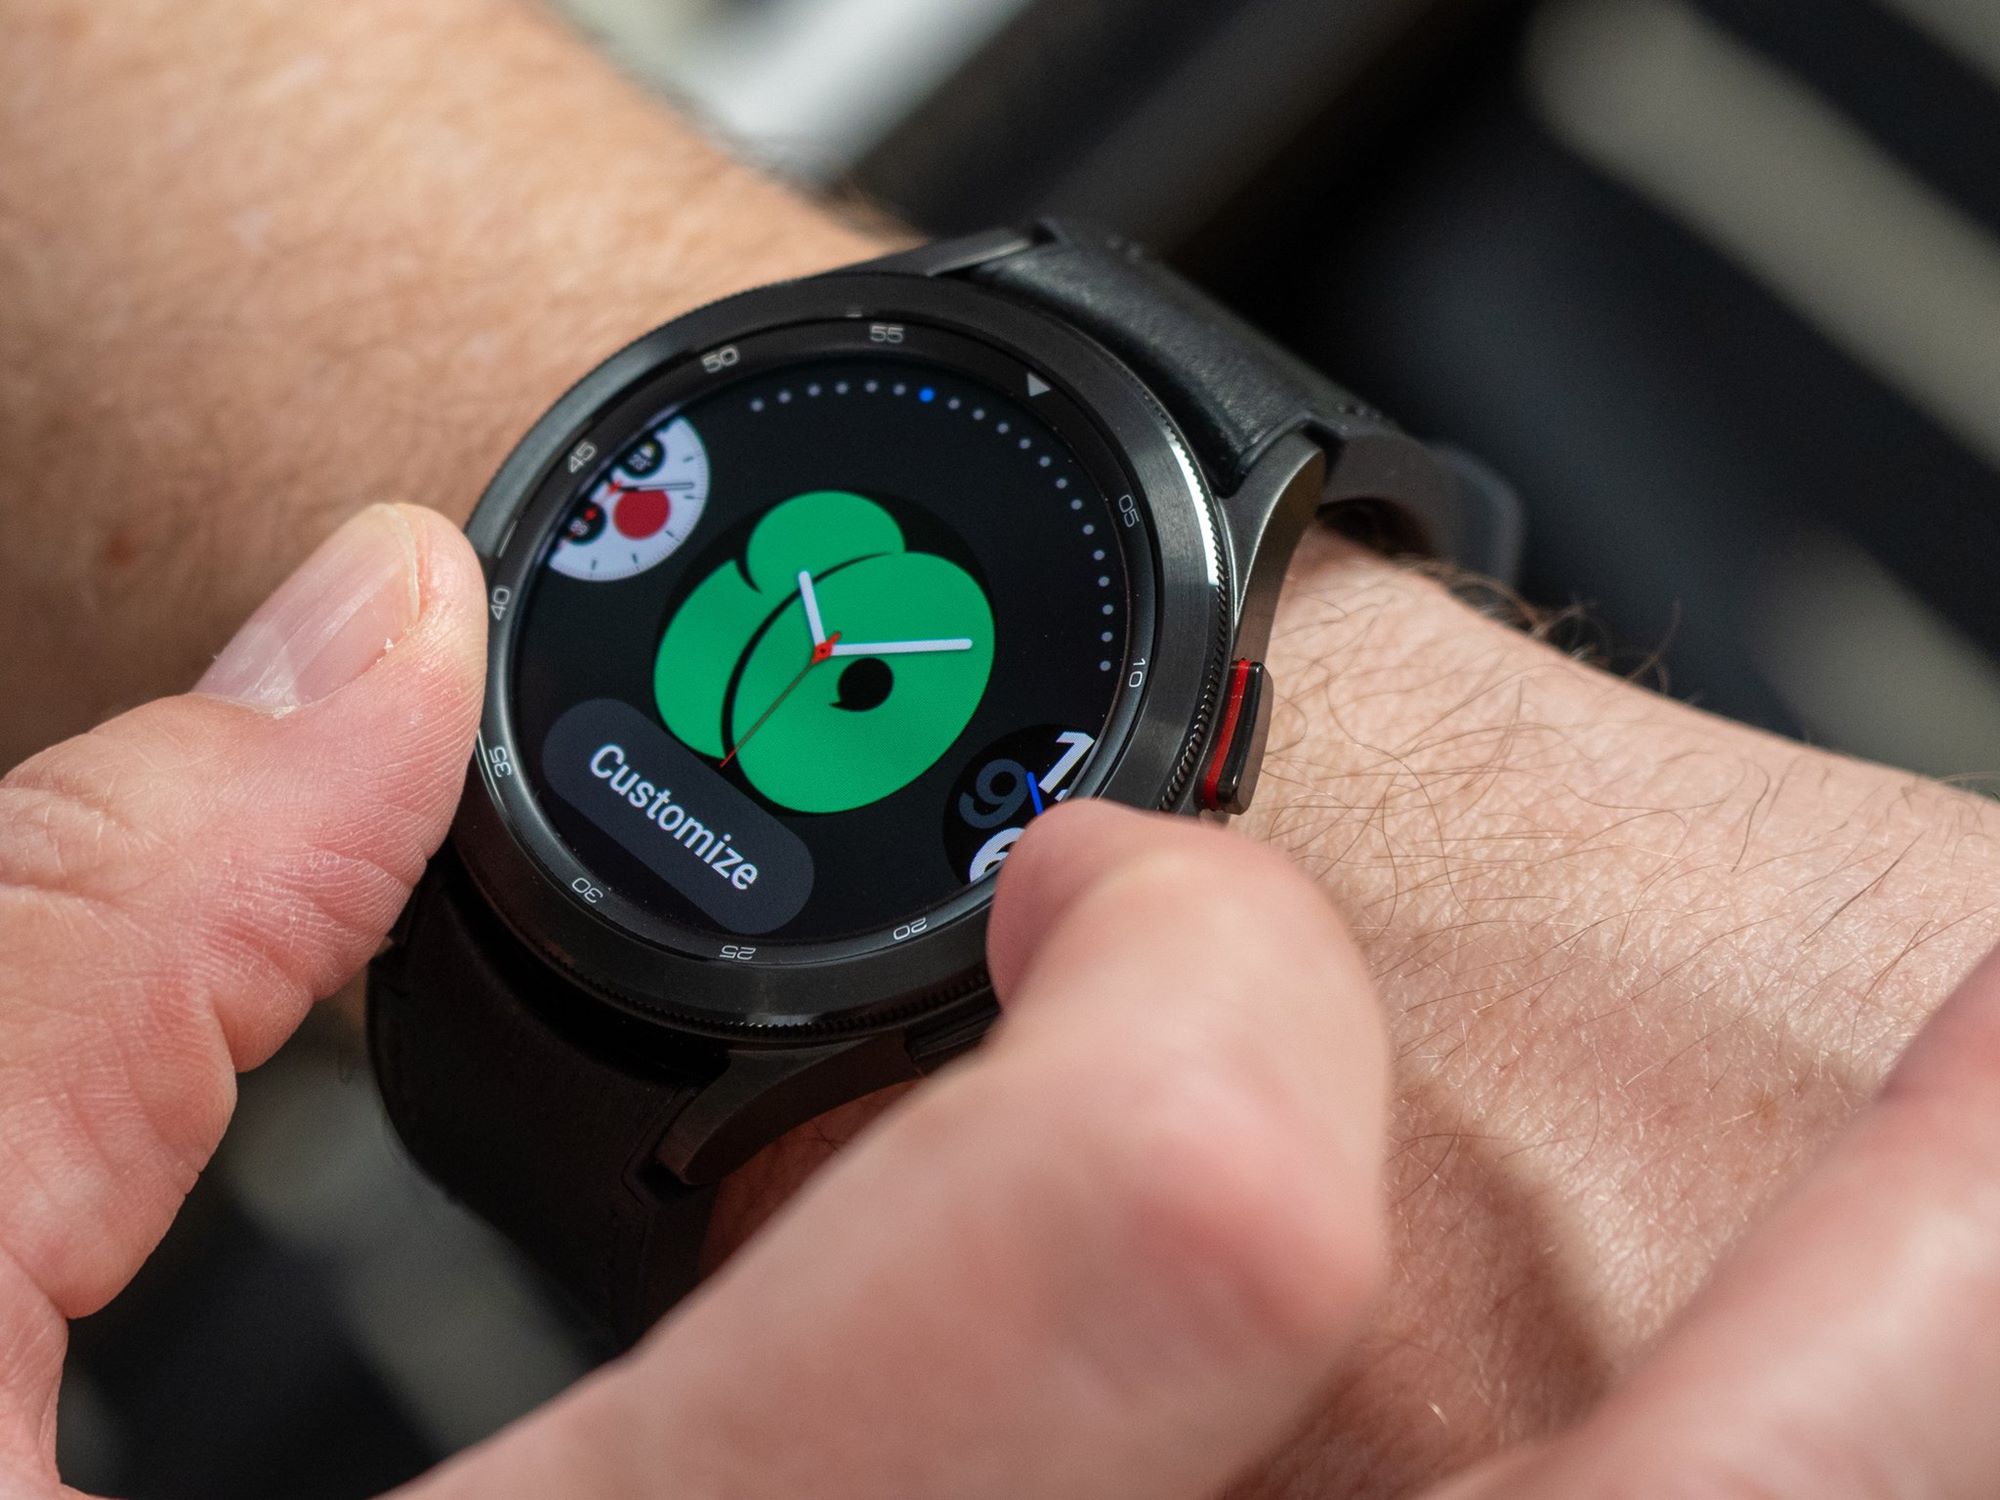
Access the settings menu
In order to change the time on your Galaxy Watch, you’ll need to access the settings menu. Follow these steps to access the settings:
- Wake up your Galaxy Watch if it’s in sleep mode by pressing the home button or rotating the bezel.
- Swipe down on the watch face to open the quick settings panel.
- Tap on the gear icon or the “Settings” option to enter the settings menu.
- Alternatively, you can access the settings menu by pressing and holding the home button, then tapping on the gear icon that appears.
Once you’re in the settings menu, you’ll have access to various options and settings that allow you to customize your Galaxy Watch according to your preferences. It’s worth exploring the different menus and submenus to familiarize yourself with the available features and settings.
Remember, accessing the settings menu is the first step towards changing the time on your Galaxy Watch. Next, we’ll guide you through the process of navigating to the “Date and time” option where you can make the necessary time adjustments.
Navigate to the “Date and time” option
Once you’re in the settings menu of your Galaxy Watch, the next step is to find the “Date and time” option. The specific steps may vary slightly depending on the model of your watch and the version of the operating system, but here are the general instructions:
- Scroll down or swipe up on the settings menu screen to browse through the available options.
- Look for the “System” or “General” category and tap on it.
- Within the system settings, you should find the “Date and time” option. Tap on it to proceed.
Alternatively, if your Galaxy Watch has a search or a voice command feature, you can simply use these functions to search or ask for “Date and time” to be directed to the correct menu quickly.
Once you have successfully navigated to the “Date and time” option, you are now ready to adjust the time on your Galaxy Watch according to your preference. The next section will guide you through the process of manually changing the time.
Adjust the time manually
If you prefer to manually adjust the time on your Galaxy Watch, follow these steps:
- In the “Date and time” menu, you will find an option to set the time manually. Tap on it to access the manual time adjustment feature.
- You will typically see separate fields for hours and minutes. Use the provided selectors or touch screen controls to adjust the time accordingly.
- Scroll or swipe through the available options until you reach the desired hour and minute.
- Once you’ve selected the correct time, tap on the “Save” or “OK” button to apply the changes.
By following these steps, you can easily and quickly adjust the time on your Galaxy Watch manually. This feature is particularly useful when you need to make precise changes, such as when traveling to a different time zone or resetting the time after a power outage.
It’s important to note that when adjusting the time manually, you are responsible for ensuring its accuracy. If you want to avoid setting the time manually, you can choose to enable the automatic time and date settings feature, which we will explore in the next section.
Use automatic time and date settings
If you want your Galaxy Watch to automatically adjust the time based on your location or the network, you can enable the automatic time and date settings feature. Here’s how:
- In the “Date and time” menu, look for the option that enables automatic time and date settings. This option is often labeled as “Automatic time zone” or “Network-provided time.”
- Toggle the switch or checkbox next to the automatic time and date setting option to enable it.
- Once enabled, your Galaxy Watch will connect to the network or use GPS to determine your current location and automatically adjust the time accordingly.
Enabling automatic time and date settings offers convenience, especially when you frequently travel across different time zones or if your network provider provides an accurate time signal. With this feature enabled, you won’t need to manually adjust the time on your Galaxy Watch every time you change locations.
However, keep in mind that your watch needs a stable network or GPS signal to update the time accurately. If you’re in an area with poor signal reception, it’s recommended to switch to manual time adjustment or consider using other methods discussed in later sections to ensure the correct time on your Galaxy Watch.
Enable or disable 24-hour format
Your Galaxy Watch gives you the option to display the time in either a 12-hour format (AM/PM) or a 24-hour format (military time). Here’s how you can enable or disable the 24-hour format:
- In the “Date and time” menu, search for the option that allows you to set the time format.
- Tap on the time format option to open the available selection.
- Select the desired time format, either 12-hour or 24-hour, based on your preference.
- Save the changes, and your Galaxy Watch will update the time display accordingly.
Enabling the 24-hour format can be useful for those who are accustomed to military time or prefer a more precise time indication. On the other hand, if you’re more comfortable with the conventional 12-hour format, you can choose to disable the 24-hour format and switch back to AM/PM time.
Remember to choose the time format that suits your preference best, as it will affect how the time is displayed on your Galaxy Watch throughout various apps and watch faces.
Customize the time zone
Your Galaxy Watch allows you to customize the time zone to ensure that the displayed time corresponds to your current location accurately. Follow these steps to customize the time zone:
- In the “Date and time” menu, locate the option for setting the time zone.
- Tap on the time zone option to open the available selection.
- Scroll or swipe through the list of available time zones to find your specific location.
- Select the appropriate time zone that corresponds to your current location.
- Save the changes, and your Galaxy Watch will update the time to match the selected time zone.
Customizing the time zone is particularly useful when traveling to different regions or countries with different time zones. By setting the correct time zone, your watch will automatically adjust the displayed time to reflect the local time of your current location.
It’s important to keep the time zone updated to ensure accurate time synchronization for various activities, including event reminders, alarms, and notifications. So, whenever you move to a different time zone, remember to customize the time zone setting on your Galaxy Watch.
Update time using GPS
Your Galaxy Watch can update the time automatically using the Global Positioning System (GPS) feature. This ensures that your watch displays the most accurate time based on your current location. Here’s how you can update the time using GPS:
- In the “Date and time” menu, look for the option to update the time using GPS.
- Toggle the switch or checkbox next to the GPS time update option to enable it.
- Once enabled, your Galaxy Watch will use GPS signals to determine your location and update the time accordingly.
- Ensure that your watch has a clear view of the sky to establish a strong GPS signal for accurate time updates.
Updating the time using GPS is a reliable method to ensure precise time synchronization, especially when you’re in an area with a strong GPS signal. This feature can be particularly useful when traveling to different time zones or regions where network time signals might not be readily available.
Keep in mind that the accuracy of GPS time updates depends on the strength of the GPS signal. If you’re indoors or in an area with limited GPS reception, it’s recommended to use other methods, such as manual time adjustment or network-provided time signals, to ensure the correct time on your Galaxy Watch.
Use the World Clock feature
The World Clock feature on your Galaxy Watch allows you to keep track of time in multiple locations around the globe. Here’s how you can use the World Clock feature:
- Access the apps or widgets menu on your Galaxy Watch by either rotating the bezel or tapping the screen.
- Locate and open the “World Clock” app.
- Tap on the “+” or “Add” button to add a new city or location to your World Clock list.
- Scroll or search through the available cities or enter the name of the desired location.
- Select the desired city or location from the list of search results.
- Repeat the above steps to add additional cities or locations to your World Clock list.
- Once you have added all the desired locations, each city’s local time will be displayed in the World Clock app.
The World Clock feature is particularly helpful when you frequently communicate with people or have activities in different time zones. It allows you to easily keep track of the time in various locations without the need for manual calculations.
In the World Clock app, you can also view additional information such as the date, daylight saving time status, and the time difference between your current location and the selected city.
By utilizing the World Clock feature on your Galaxy Watch, you can effortlessly stay connected globally and manage your time effectively.
Sync time with your smartphone or tablet
Your Galaxy Watch offers the convenience of syncing the time with your smartphone or tablet, ensuring that both devices display the same accurate time. Here’s how you can sync the time:
- Ensure that your Galaxy Watch is connected to your smartphone or tablet via Bluetooth.
- On your Galaxy Watch, navigate to the settings menu and find the option for “Time sync” or “Sync with phone/tablet.”
- Tap on the time sync option to initiate the synchronization process.
- Your Galaxy Watch will communicate with your connected smartphone or tablet to update the time and synchronize it with the device.
- Wait for the process to complete, and your Galaxy Watch will display the same time as your smartphone or tablet.
Syncing the time between your Galaxy Watch and smartphone or tablet ensures that you have consistent time information across your devices. This can be particularly useful when you rely on both devices for scheduling, notifications, and time-sensitive activities.
By syncing the time, you eliminate any discrepancies that may occur due to differences in device clocks or time settings. It’s worth noting that the time sync process may take a few moments to complete, so be patient while your Galaxy Watch updates the time.
Keep in mind that the time synchronization requires a stable connection between your Galaxy Watch and your smartphone or tablet. If you experience issues with time synchronization, ensure that Bluetooth is enabled on both devices and try reestablishing the connection.
Troubleshooting common issues
While changing the time on your Galaxy Watch is usually a straightforward process, you may encounter some common issues along the way. Here are a few troubleshooting steps to help you address these issues:
- Time not updating: If your Galaxy Watch’s time is not updating automatically or manually, try restarting your watch and check if the issue persists. Ensure that you have a stable network or GPS signal if you’re relying on automatic time updates.
- Incorrect time display: Verify that you have selected the correct time format (12-hour or 24-hour) in the settings menu. Additionally, double-check the time zone settings to ensure accurate time display.
- Connection issues: If you’re trying to sync the time with your smartphone or tablet and encountering connection issues, make sure that Bluetooth is enabled on both devices. Try disabling and re-enabling Bluetooth or restarting both devices to establish a stable connection.
- Time delay: In some cases, you may experience a slight time delay between your Galaxy Watch and other devices due to factors like network latency. This delay is generally minimal and shouldn’t cause significant issues in most situations.
- Software updates: Occasionally, issues with time settings can be resolved by updating the software on your Galaxy Watch. Check for any available updates in the settings menu and install them if necessary.
If you continue to experience issues with changing the time on your Galaxy Watch, referring to the user manual or contacting the official support channels of Samsung can provide further assistance and guidance.
Troubleshooting common issues ensures that you can adjust the time on your Galaxy Watch accurately and resolve any potential obstacles that may arise in the process.