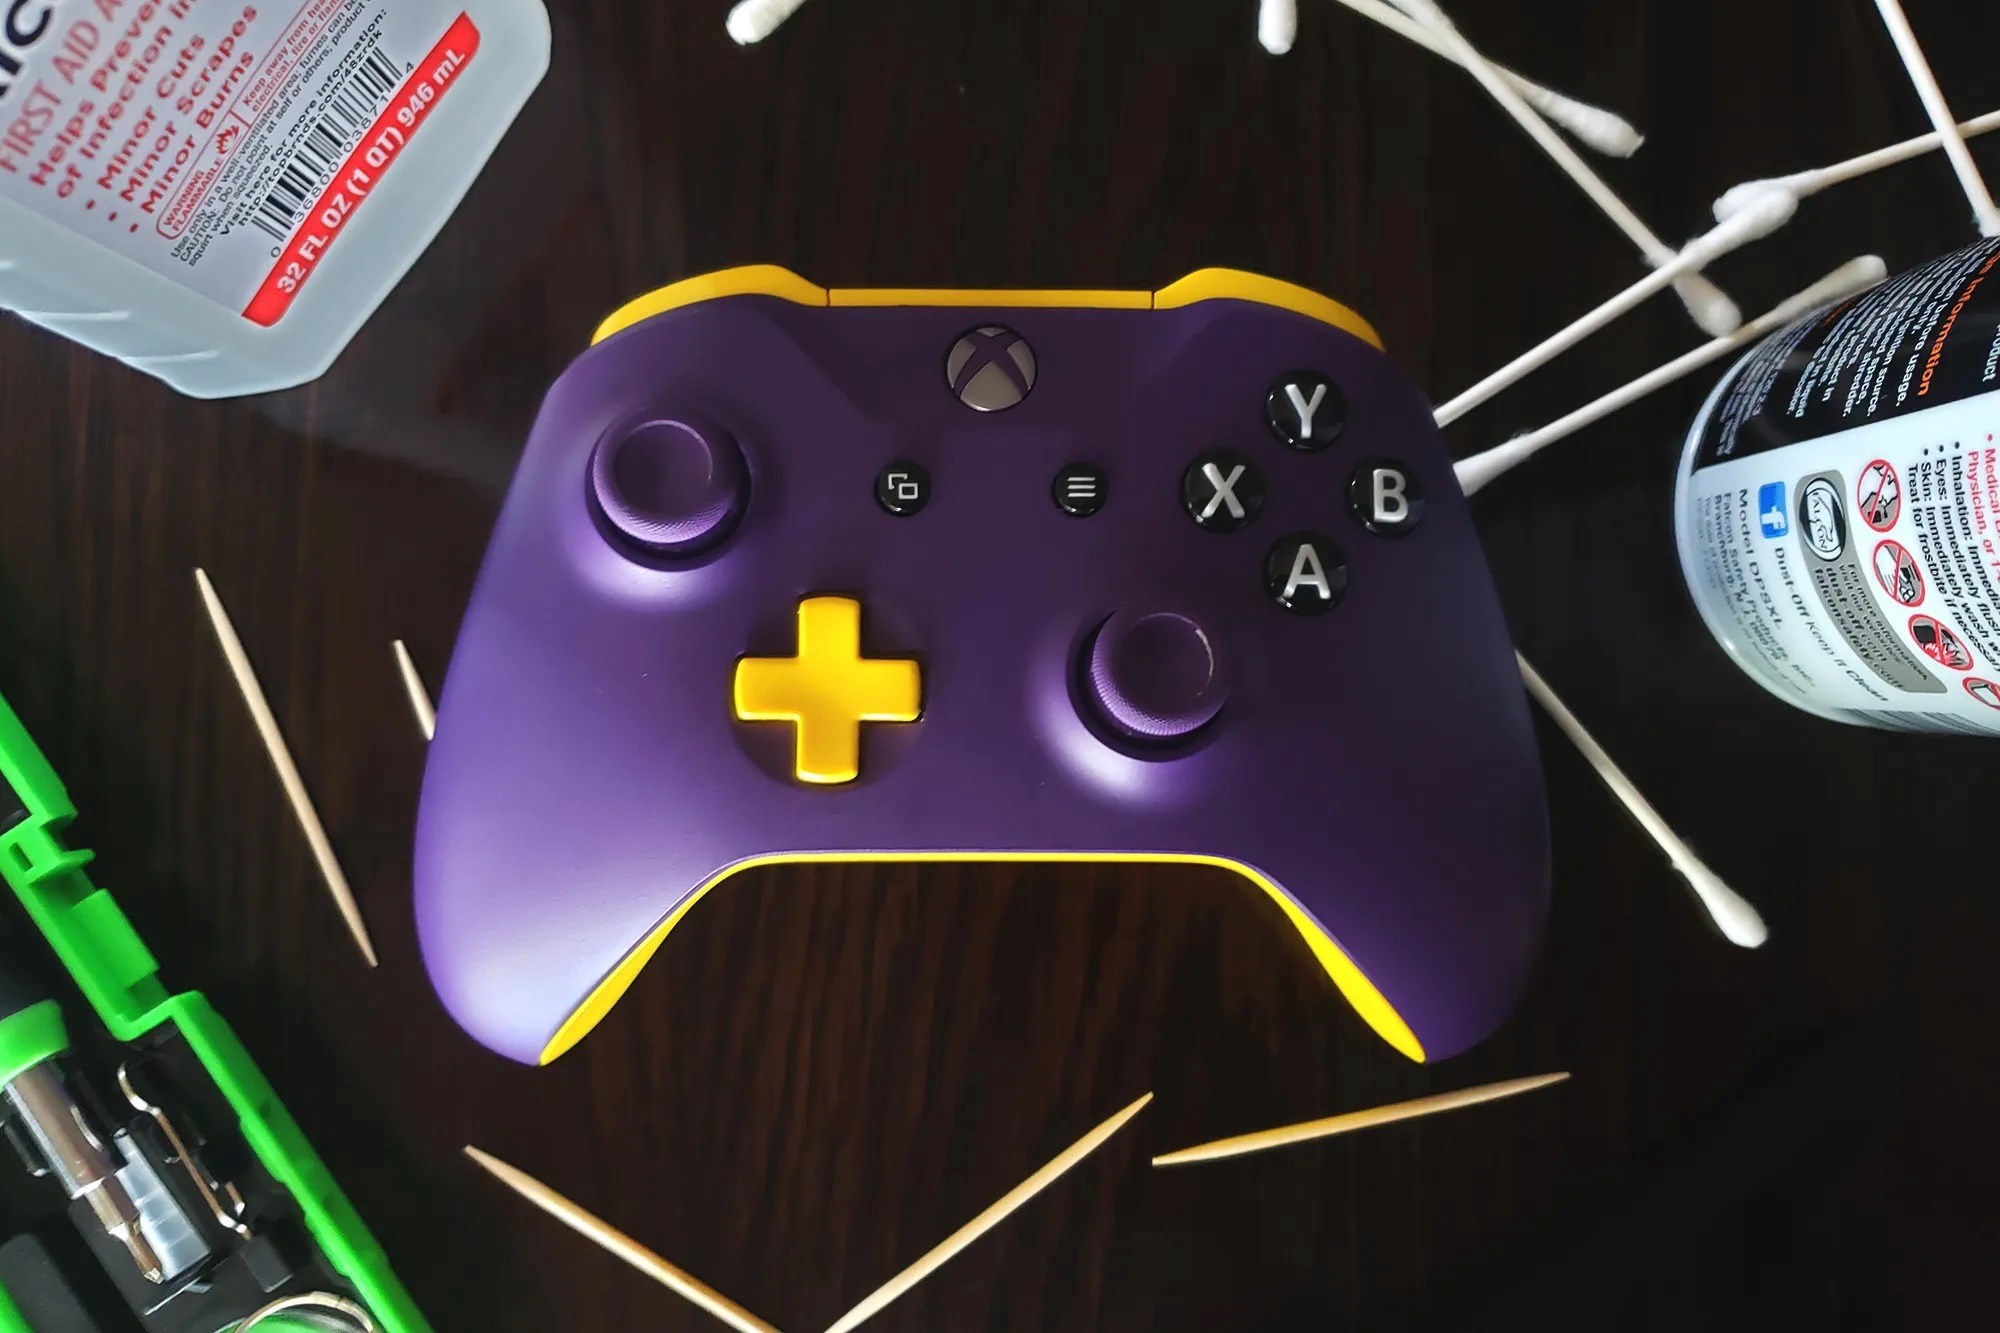
Checking for Dust and Debris
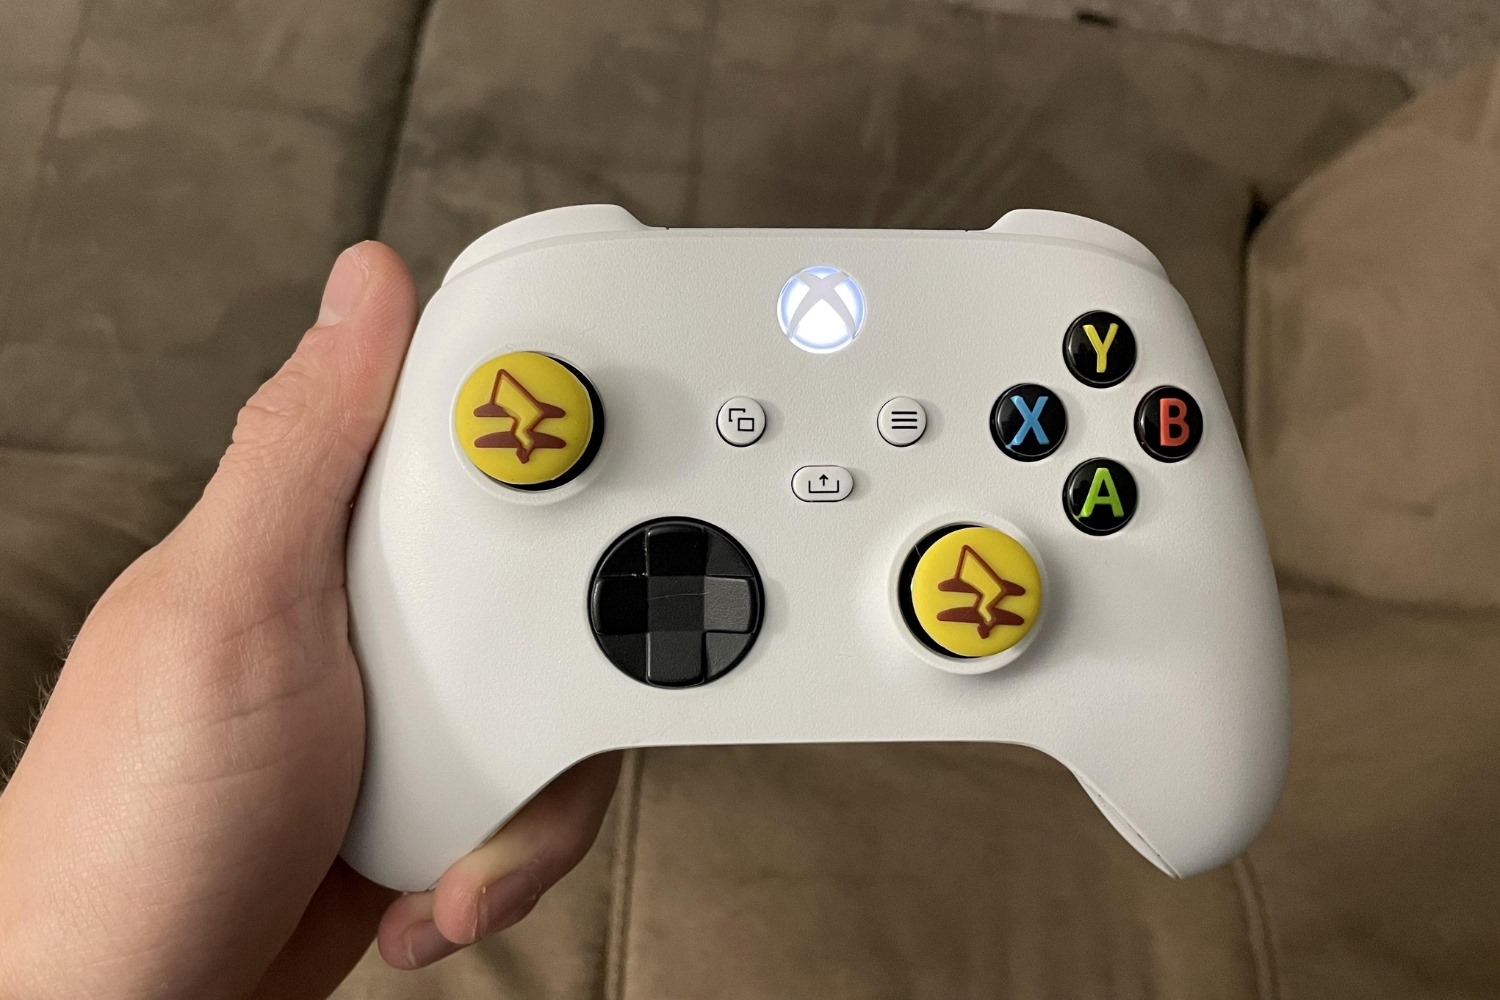
Regular maintenance of your Xbox One joystick is crucial to ensure optimal performance and longevity. One of the first steps in maintaining your joystick is to check for dust and debris that may have accumulated over time. Dust and debris can interfere with the functionality of the joystick, leading to unresponsiveness or erratic behavior.
Begin by visually inspecting the joystick for any visible dust or debris. Use a flashlight to illuminate the joystick and look for any buildup in the crevices and around the buttons. Dust and debris can often accumulate around the joystick base and under the buttons, affecting the overall performance.
If you notice dust or debris, use a can of compressed air to gently blow away the particles. Hold the joystick in a stable position and use short bursts of air to dislodge any trapped dust or debris. Be sure to keep the can of compressed air upright to prevent any liquid from escaping, as this can cause damage to the joystick.
For stubborn debris that cannot be removed with compressed air alone, consider using a small, soft-bristled brush to carefully dislodge the particles. Be gentle to avoid causing any damage to the joystick components. Once the visible dust and debris have been removed, proceed to the next steps to ensure a thorough cleaning of the joystick.
Cleaning the Exterior of the Joystick
The exterior of your Xbox One joystick is prone to accumulating dirt, oils, and residues from prolonged use. Regularly cleaning the exterior not only maintains its appearance but also ensures a hygienic gaming experience. Here’s how to effectively clean the exterior of your joystick:
- Use a Lint-Free Cloth: Begin by wiping the exterior surfaces of the joystick with a lint-free cloth. This will help remove any surface-level dirt and smudges. Ensure that the cloth is slightly damp with water or a mild cleaning solution specifically designed for electronic devices.
- Focus on Button Openings: Pay special attention to the openings around the joystick buttons. These areas are prone to collecting grime and oils from fingertips. Gently wipe around the button openings to remove any buildup that may affect the responsiveness of the buttons.
- Clean the Thumbsticks: The thumbsticks are integral to the functionality of the joystick. Use a cotton swab lightly dampened with rubbing alcohol to clean around the base and under the thumbsticks. This will help remove any stubborn residues that may hinder the smooth movement of the thumbsticks.
- Inspect the Surface: After cleaning, inspect the surface of the joystick for any remaining dirt or residues. If necessary, repeat the cleaning process to ensure that the exterior surfaces are free from any buildup.
By regularly cleaning the exterior of your joystick, you can maintain its visual appeal and ensure that the buttons and thumbsticks function smoothly. This simple maintenance routine can contribute to a more enjoyable gaming experience while prolonging the lifespan of your Xbox One joystick.
Cleaning the Joystick Buttons
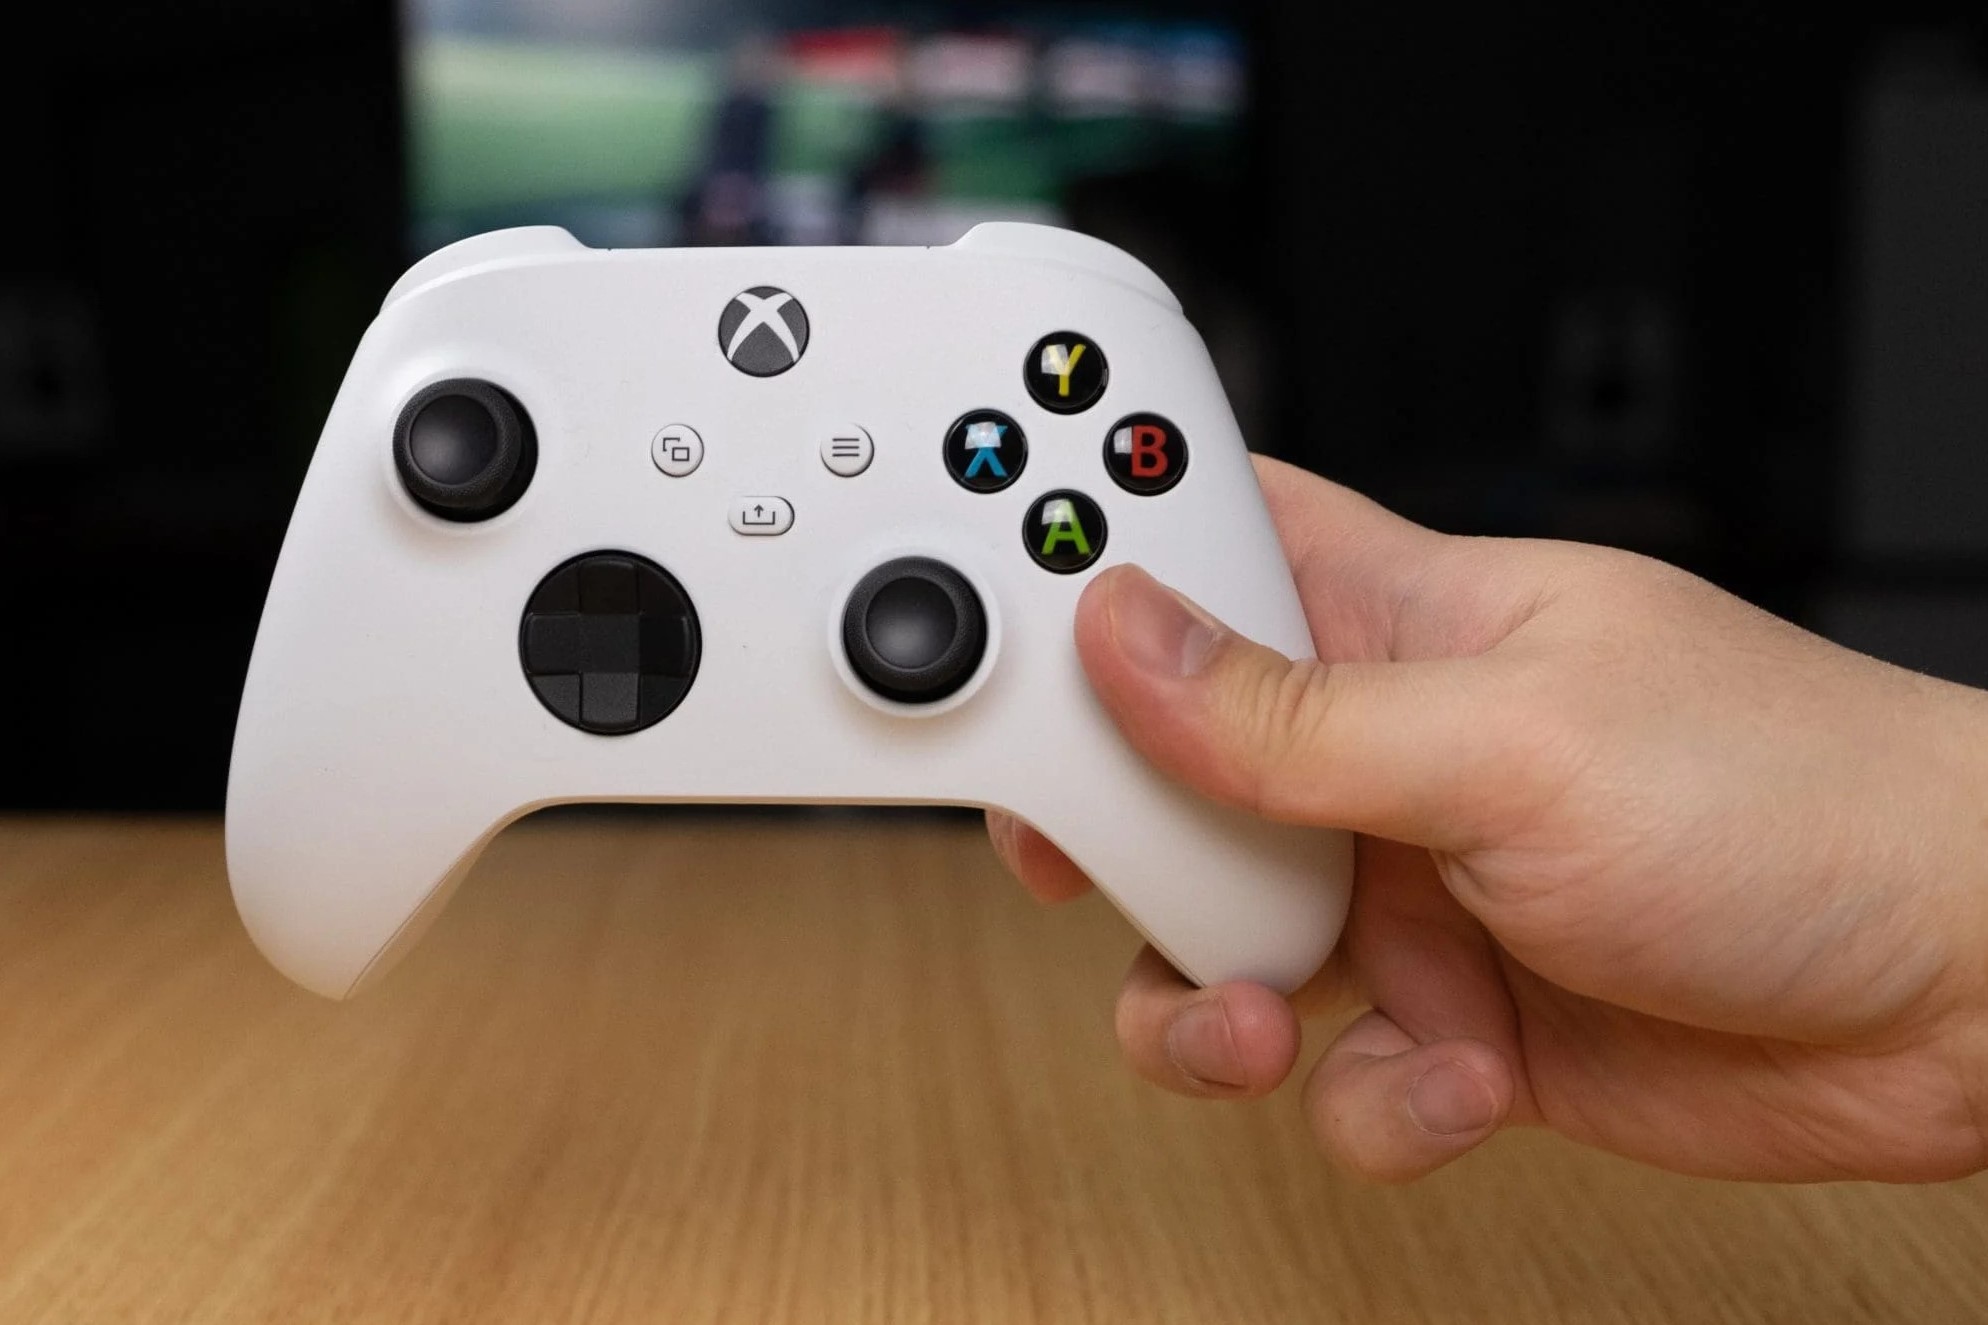
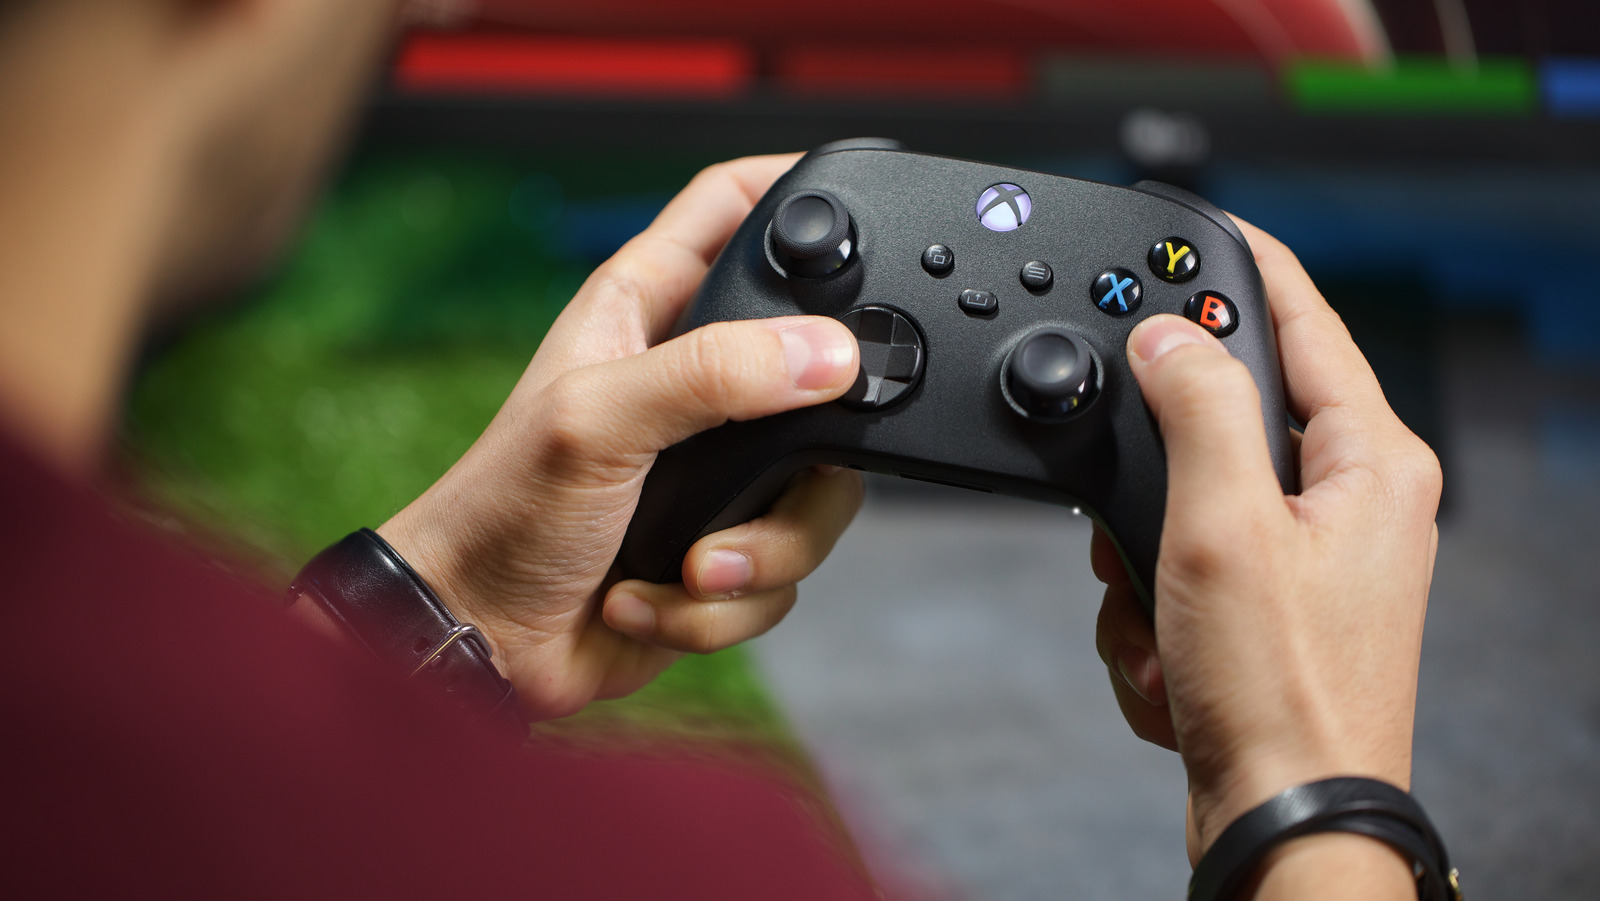
The buttons on your Xbox One joystick are essential for navigating through games and executing commands. Over time, these buttons can accumulate dirt, oils, and debris, leading to sticky or unresponsive behavior. Cleaning the joystick buttons is a crucial part of maintenance to ensure optimal performance. Here’s how to effectively clean the buttons:
- Use Compressed Air: Begin by using a can of compressed air to blow away any loose debris around the buttons. Direct short bursts of air around each button to dislodge any particles that may be affecting their responsiveness.
- Apply Isopropyl Alcohol: Dampen a cotton swab with isopropyl alcohol and gently swab around the edges and surfaces of the buttons. This will help dissolve any accumulated oils and residues that may be hindering the button’s movement.
- Allow for Drying: After cleaning with isopropyl alcohol, allow the buttons to air dry for a few minutes. This will ensure that any remaining moisture evaporates before you resume using the joystick.
- Test the Buttons: Once the buttons are dry, test each one to ensure they move freely and register commands accurately. Press each button multiple times to verify that they are responsive and free from any sticking or resistance.
Regularly cleaning the joystick buttons can prevent issues such as sticking or unresponsiveness, providing a seamless gaming experience. By incorporating this simple maintenance routine into your gaming habits, you can prolong the lifespan of your Xbox One joystick and ensure that the buttons remain in optimal condition.
Cleaning the Joystick Housing
The housing of your Xbox One joystick is a critical component that encases the internal mechanisms and provides structural support. Keeping the housing clean is essential for maintaining the overall functionality and aesthetics of the joystick. Here’s how to effectively clean the joystick housing:
- Inspect for Dirt and Residues: Begin by visually inspecting the housing for any visible dirt, residues, or grime. Pay attention to the seams and crevices where dirt may accumulate over time.
- Use a Soft Brush: Employ a soft-bristled brush to gently dislodge any dirt or residues from the housing. Ensure that the brush is suitable for electronic devices and won’t cause any damage to the plastic or metal surfaces.
- Wipe with a Damp Cloth: Dampen a lint-free cloth with a mild cleaning solution or water and gently wipe the exterior surfaces of the housing. Focus on areas where dirt is more likely to accumulate, such as around the base and along the seams.
- Clean the Joystick Base: The base of the joystick is susceptible to collecting dust and residues. Use a cotton swab lightly dampened with isopropyl alcohol to clean around the base and remove any stubborn residues.
- Dry Thoroughly: After cleaning, ensure that the housing is thoroughly dried to prevent any moisture from affecting the internal components. Allow the joystick to air dry in a well-ventilated area before reassembling and using it.
Regularly cleaning the joystick housing not only maintains its appearance but also contributes to the overall hygiene and functionality of the joystick. By incorporating this maintenance routine into your gaming regimen, you can ensure that your Xbox One joystick remains in optimal condition for an enhanced gaming experience.
Maintaining the Joystick Connection
Ensuring a stable and reliable connection is crucial for an uninterrupted gaming experience with your Xbox One joystick. Over time, the connection between the joystick and the console can be affected by various factors, including dust, debris, and wear and tear. Here’s how to maintain the joystick connection to optimize performance:
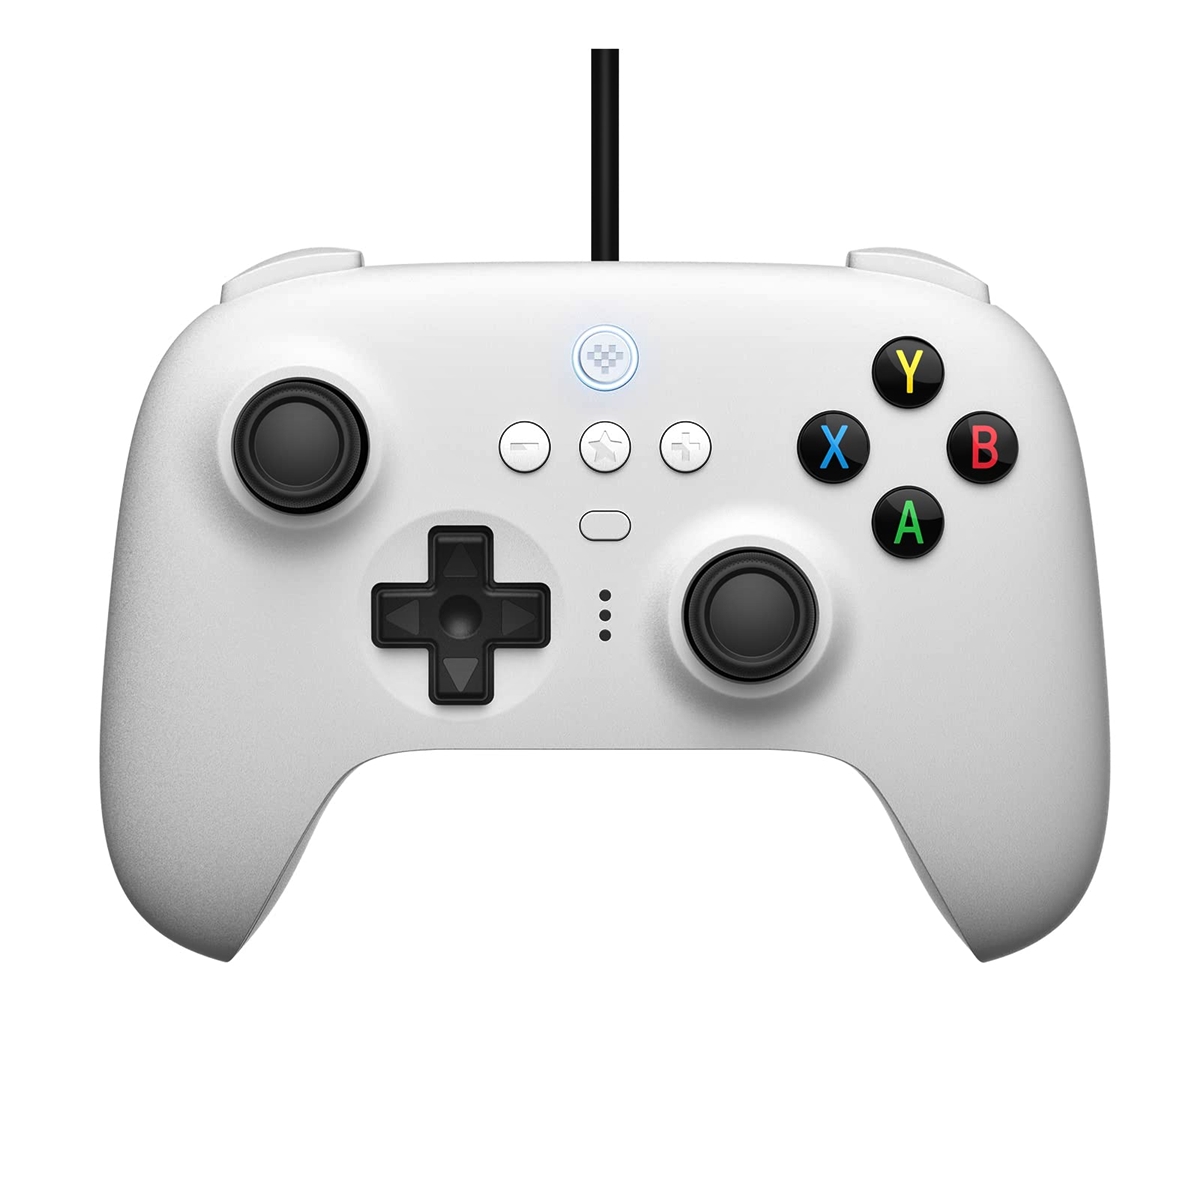
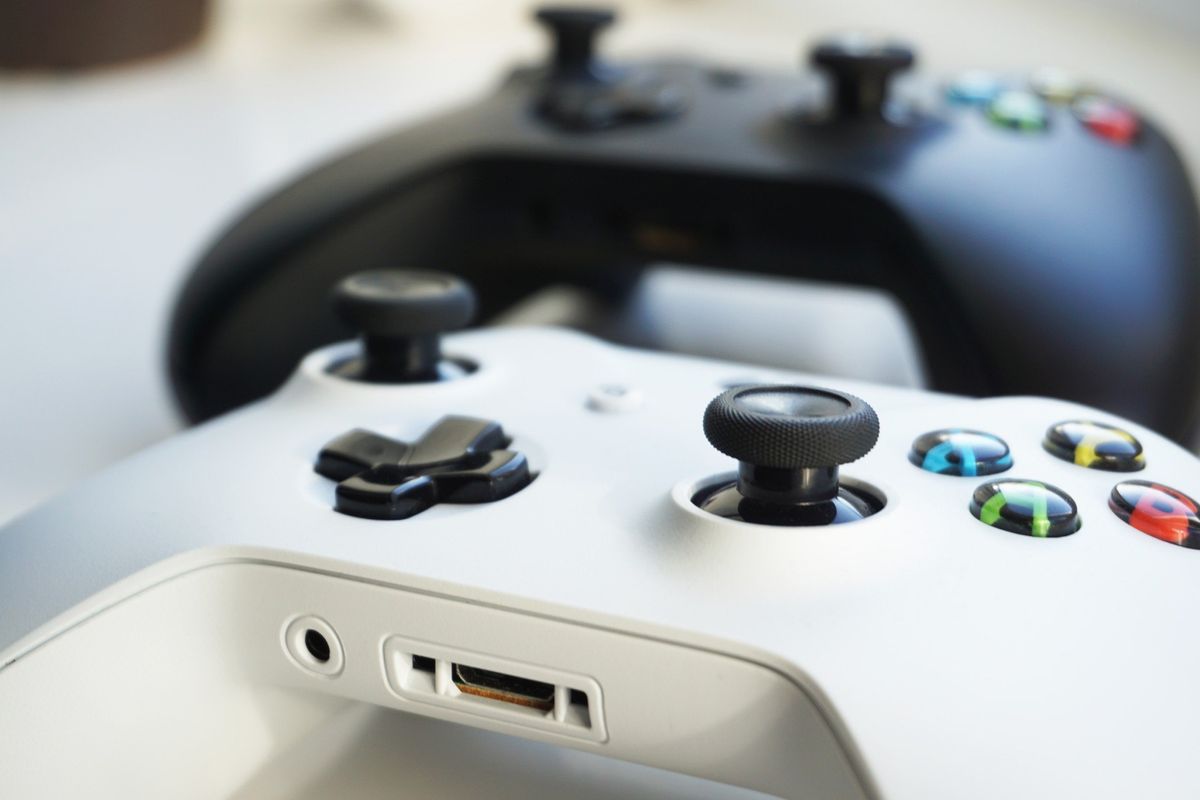
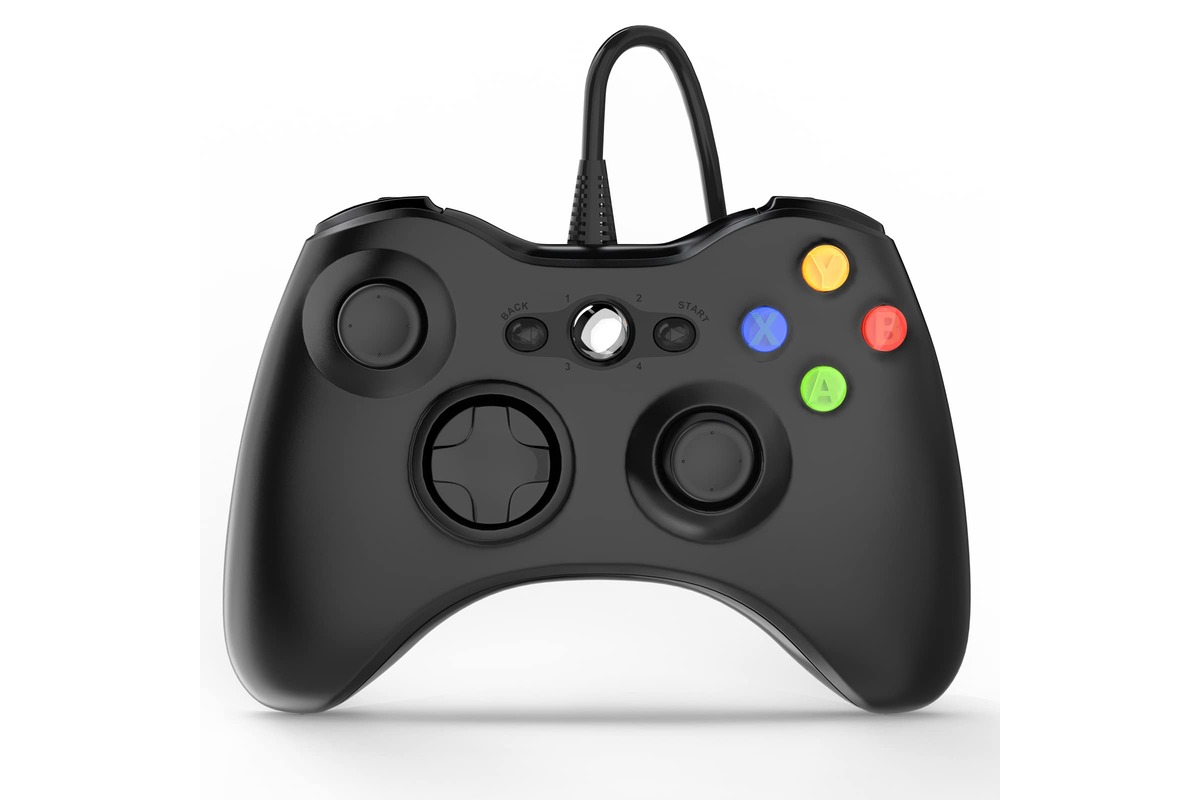
- Inspect the Cable and Port: Begin by inspecting the cable that connects the joystick to the console. Check for any signs of damage, fraying, or bent connectors. Similarly, examine the port on the console for any debris or obstructions that may hinder a secure connection.
- Use Compressed Air: If you notice any dust or debris in the joystick port or cable connectors, use a can of compressed air to gently blow away the particles. Ensure that the port and connectors are clean before attempting to reconnect the joystick.
- Secure Connections: When connecting the joystick to the console, ensure that the cable is securely plugged in without applying excessive force. A secure connection is essential for stable communication between the joystick and the console.
- Prevent Cable Strain: Avoid placing strain on the cable by ensuring that it has sufficient slack and is not bent at sharp angles. Cable strain can lead to damage over time and affect the integrity of the connection.
- Regular Inspections: Make it a habit to periodically inspect the cable and port for any signs of wear, damage, or obstructions. Address any issues promptly to maintain a reliable connection.
By maintaining the joystick connection, you can minimize the risk of connectivity issues and ensure a seamless gaming experience. A stable connection not only enhances gameplay but also prevents potential damage to the joystick cable and port, ultimately prolonging the lifespan of your Xbox One joystick.
Replacing Worn Out Joystick Parts
Over time, the components of your Xbox One joystick may experience wear and tear, leading to diminished performance and responsiveness. It’s essential to identify and replace worn-out parts to maintain the optimal functionality of the joystick. Here’s how to effectively address worn-out joystick parts:
- Identify Worn Components: Begin by identifying any components that show signs of wear, such as the thumbsticks, buttons, or the joystick housing. Look for physical damage, loss of grip on the thumbsticks, or reduced responsiveness in the buttons.
- Replacement Parts: Check with the manufacturer or authorized retailers for replacement parts specific to your Xbox One joystick model. Ensure that you obtain genuine parts to guarantee compatibility and optimal performance.
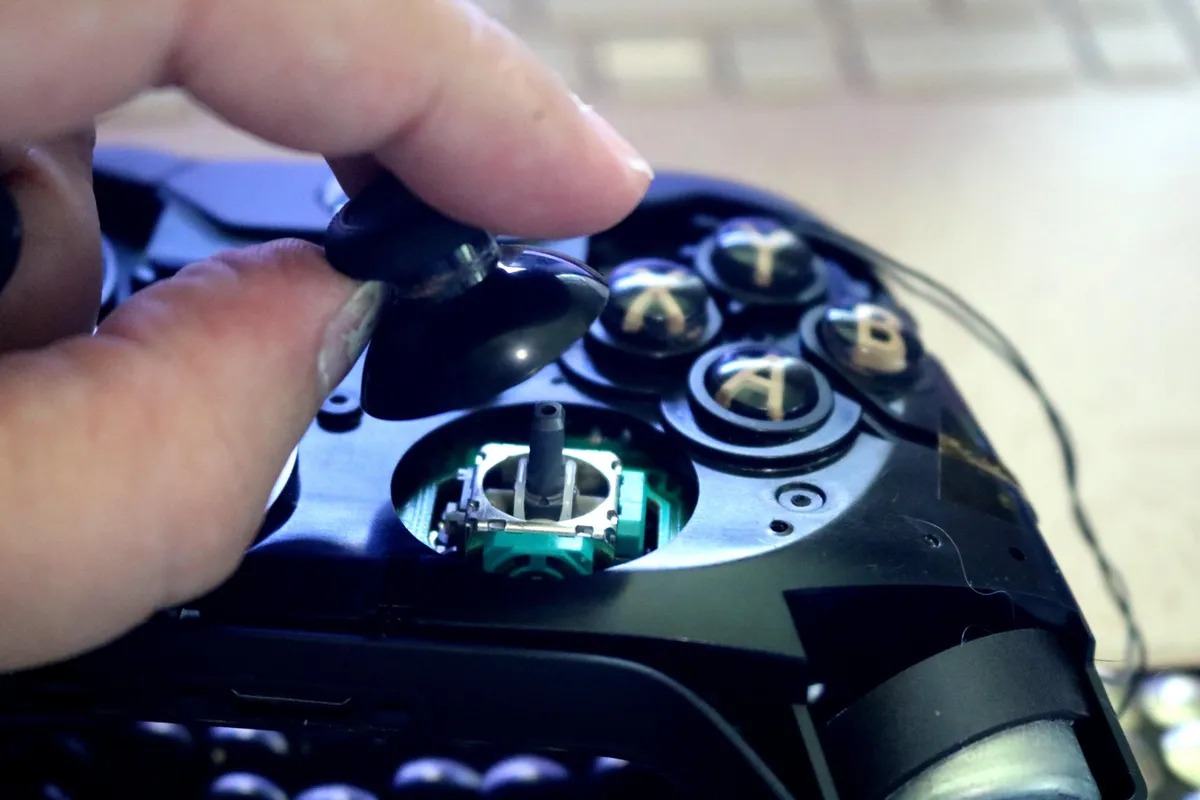
- Thumbstick Replacement: If the thumbsticks show significant wear or have lost their grip, consider replacing them with new ones. Follow the manufacturer’s guidelines for disassembling the joystick and installing the replacement thumbsticks.
- Button Replacement: For worn-out buttons that exhibit unresponsiveness or sticking, replacing them with new buttons can restore the joystick’s functionality. Exercise caution when disassembling the joystick to access the buttons and follow the replacement instructions meticulously.
- Housing Replacement: In the case of damaged or worn housing, replacing the housing can rejuvenate the appearance and structural integrity of the joystick. Ensure that you have the necessary tools and follow the recommended procedures for housing replacement.
- Professional Assistance: If you are unsure about replacing worn-out parts or encounter challenges during the process, consider seeking assistance from professional technicians or authorized service centers. They can provide expert guidance and ensure that the replacement is carried out accurately.
By promptly replacing worn-out joystick parts, you can rejuvenate the functionality and appearance of your Xbox One joystick, extending its lifespan and ensuring a satisfying gaming experience. Regular maintenance and part replacement contribute to the longevity of your joystick, allowing you to continue enjoying seamless gameplay.