
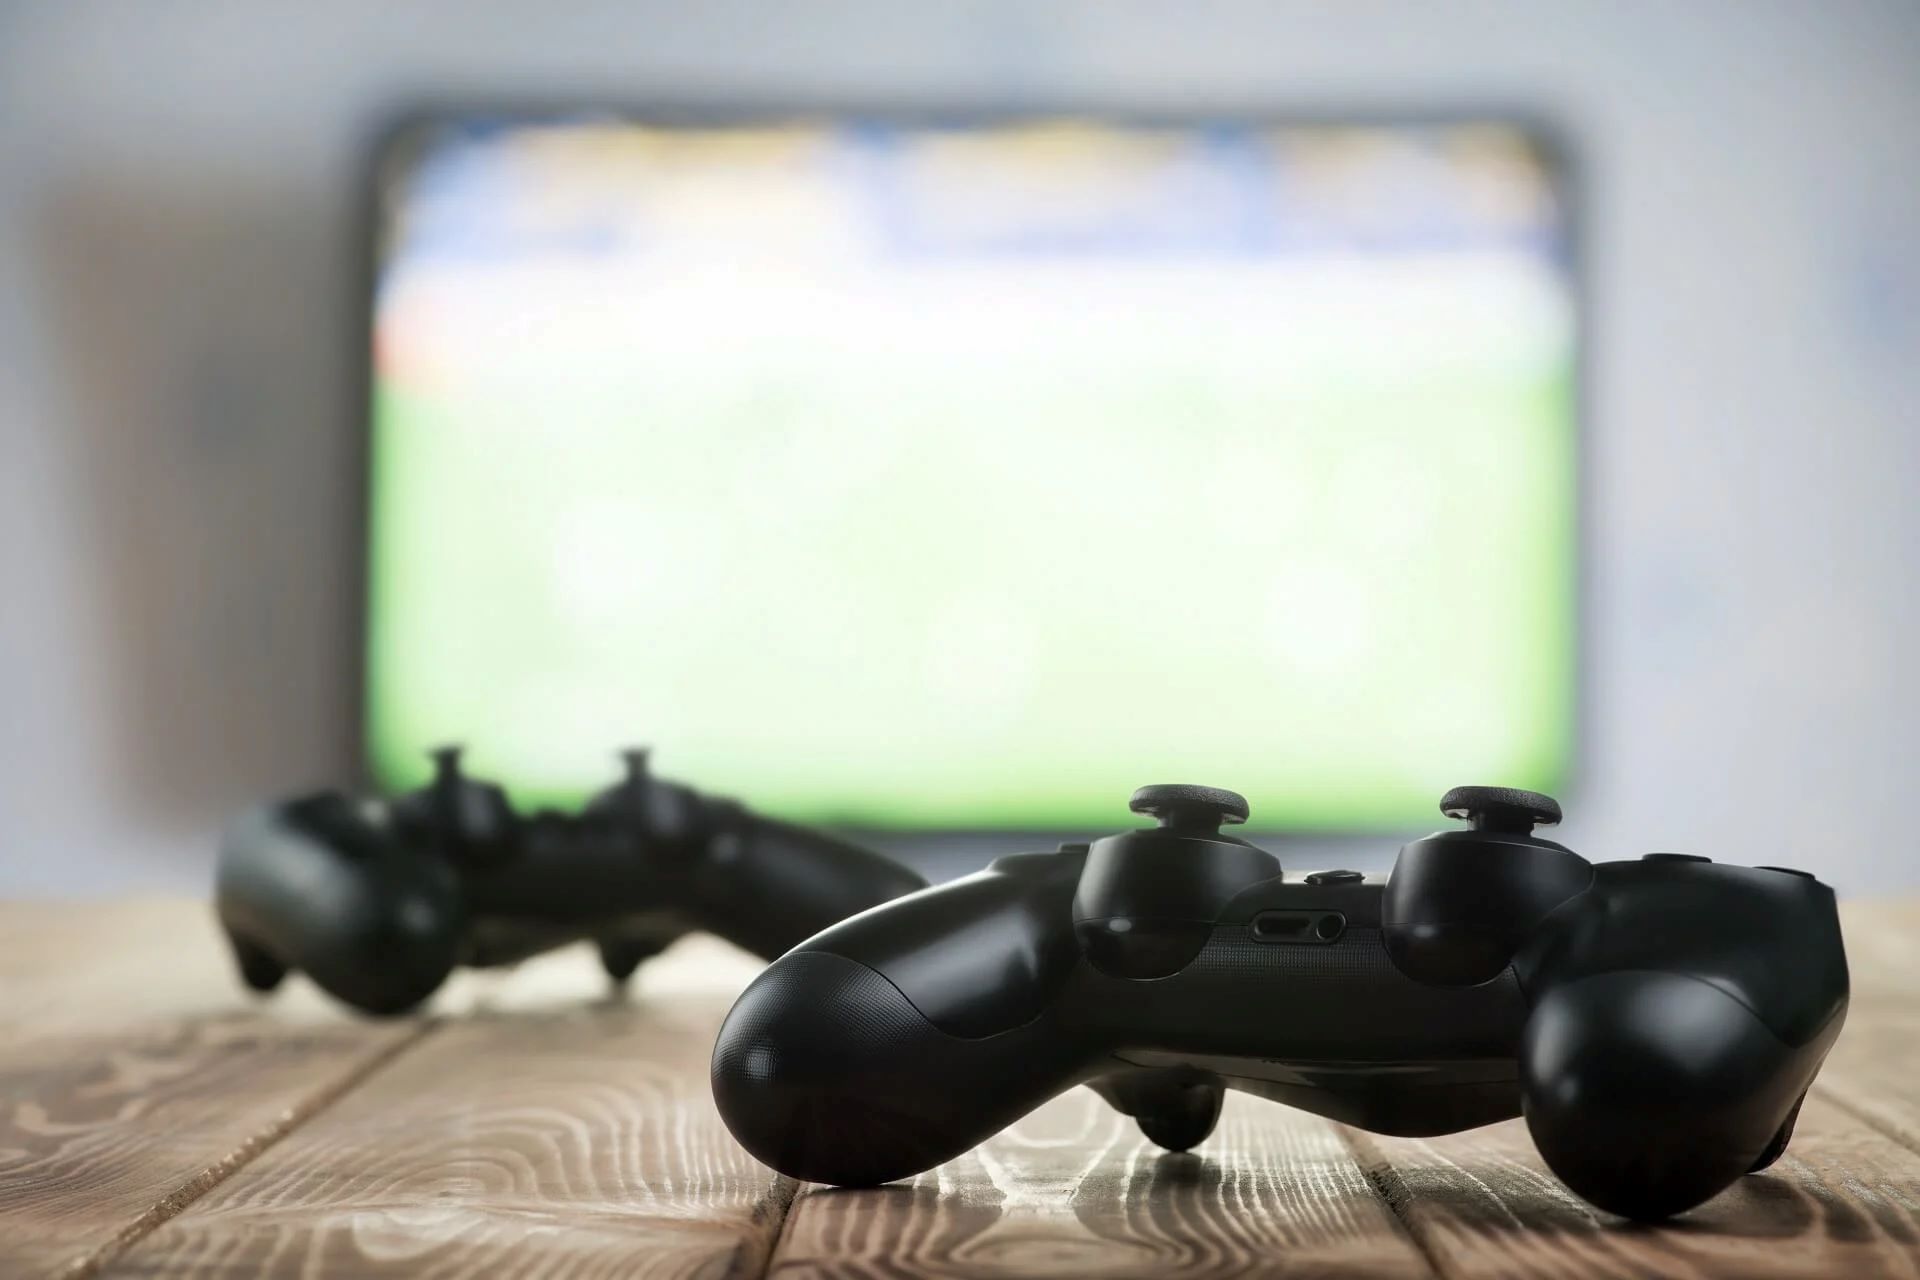
What is Gamepad Calibration?
Gamepad calibration is the process of fine-tuning the sensitivity and responsiveness of your gamepad to ensure precise and accurate input during gaming sessions. This calibration is essential for optimizing the performance of your gamepad and enhancing your overall gaming experience. By calibrating your gamepad, you can mitigate issues such as input lag, dead zones, and inconsistent button response, ultimately allowing for more seamless and enjoyable gameplay.
When you connect a gamepad to your computer, it may not always function optimally right out of the box. Factors such as wear and tear, manufacturing variations, and environmental conditions can affect the performance of your gamepad over time. Calibration provides a solution to these issues by allowing you to customize the sensitivity and dead zones of the analog sticks and triggers, ensuring that your gamepad accurately translates your physical input into on-screen actions.
Additionally, gamepad calibration is particularly crucial for competitive gaming, where split-second reactions and precision control can make the difference between victory and defeat. By fine-tuning your gamepad through calibration, you can gain a competitive edge and elevate your gaming performance to new heights.
Why Calibrate Your Gamepad?
Calibrating your gamepad is essential for optimizing its performance and ensuring an immersive and responsive gaming experience. Here are several compelling reasons why calibrating your gamepad is beneficial:
- Enhanced Precision: Calibration allows you to fine-tune the sensitivity and dead zones of your gamepad’s analog sticks and triggers, resulting in more precise and accurate input recognition. This heightened precision can significantly improve your gameplay, particularly in fast-paced and competitive gaming scenarios.
- Reduced Input Lag: By calibrating your gamepad, you can minimize input lag, the delay between pressing a button or moving a stick and the corresponding action occurring on-screen. This reduction in input lag can make your gaming experience more responsive and immersive, particularly in games that demand quick reflexes and precise control.
- Elimination of Dead Zones: Gamepad calibration enables you to eliminate dead zones, which are areas of minimal or no response around the center position of analog sticks or triggers. By calibrating these dead zones, you can ensure that your gamepad accurately registers even the slightest movements, providing a seamless and consistent gaming experience.
- Customized Settings: Through calibration, you can customize the sensitivity and responsiveness of your gamepad to align with your personal preferences and gaming style. This customization empowers you to tailor the gamepad’s performance to suit your unique gaming needs, ultimately enhancing your comfort and control during gameplay.
- Extended Lifespan: Regular calibration can help maintain the optimal performance of your gamepad, potentially extending its lifespan by mitigating wear and tear and ensuring that the input mechanisms remain responsive and accurate over time.
Overall, calibrating your gamepad is a proactive measure that can significantly enhance your gaming experience, providing you with greater control, responsiveness, and precision while prolonging the longevity of your gaming peripheral.
How to Calibrate Your Gamepad on Windows 10
Calibrating your gamepad on Windows 10 is a straightforward process that allows you to optimize its performance for gaming. Follow these simple steps to calibrate your gamepad:
Step 1: Open the Control Panel
Begin by opening the Control Panel on your Windows 10 system. You can access the Control Panel by searching for it in the Windows search bar or by right-clicking the Start button and selecting “Control Panel” from the context menu.
Step 2: Select "Hardware and Sound"
Within the Control Panel, navigate to the “Hardware and Sound” section. This category houses various settings related to devices and audio, including the option to configure game controllers.
Step 3: Click on "Devices and Printers"
Under the “Hardware and Sound” section, click on “Devices and Printers.” This will open a window displaying all the devices and printers connected to your computer, including your gamepad.
Step 4: Right-click on Your Gamepad and Select "Game Controller Settings"
Locate your gamepad in the list of devices, right-click on it, and select “Game controller settings” from the context menu. This action will open the “Set up USB game controllers” window, where you can configure and calibrate your gamepad.
Step 5: Select Your Gamepad and Click "Properties"
In the “Set up USB game controllers” window, select your gamepad from the list of installed devices and click the “Properties” button. This will open the gamepad’s properties window, allowing you to access its calibration settings.
Step 6: Calibrate Your Gamepad
Within the gamepad’s properties window, navigate to the “Settings” or “Calibrate” tab, depending on the specific model of your gamepad. Follow the on-screen instructions to calibrate the analog sticks, triggers, and other input mechanisms to your desired sensitivity and responsiveness.
Step 7: Test Your Gamepad Calibration
After calibrating your gamepad, it’s essential to test its performance to ensure that the settings meet your gaming needs. Open a game or utilize the built-in testing features within the gamepad properties window to verify that the calibration adjustments have improved the responsiveness and accuracy of your gamepad.
By following these steps, you can effectively calibrate your gamepad on Windows 10, optimizing its performance and responsiveness for an enhanced gaming experience.
Step 1: Open the Control Panel
Opening the Control Panel is the initial step in the process of calibrating your gamepad on Windows 10. The Control Panel serves as a centralized hub for accessing various system settings and configurations, including those related to hardware and devices.
To open the Control Panel, you can utilize the following methods:
- Using the Search Bar: Click on the Windows search bar located next to the Start button and type “Control Panel.” Select the “Control Panel” option from the search results to open the Control Panel window.
- Through the Start Menu: Right-click on the Start button in the bottom-left corner of the screen to reveal a context menu. From this menu, select “Control Panel” to launch the Control Panel window.
- Using Run Command: Press the Windows key + R to open the Run dialog box. Type “control” and press Enter to open the Control Panel.
Once the Control Panel is open, you can proceed to the next steps in the gamepad calibration process, ultimately optimizing its performance for an enhanced gaming experience on your Windows 10 system.
Step 2: Select “Hardware and Sound”
After opening the Control Panel, the next step in calibrating your gamepad on Windows 10 is to navigate to the “Hardware and Sound” settings. This section of the Control Panel houses various configurations related to devices, audio, and other hardware components, providing access to essential settings for optimizing your gaming peripherals.
Here’s how to access the “Hardware and Sound” settings:
- Control Panel Categories: In the Control Panel window, you will find different categories for organizing settings. Look for the category labeled “Hardware and Sound” and click on it to access the corresponding settings.
- View by Large or Small Icons: If your Control Panel is set to display categories by default, you can switch to the “Large icons” or “Small icons” view to reveal all available settings at once. This will allow you to locate the “Hardware and Sound” category more easily.
Once you have successfully navigated to the “Hardware and Sound” section, you are ready to proceed to the subsequent steps in the gamepad calibration process, ultimately fine-tuning your gamepad’s performance for an optimal gaming experience on your Windows 10 system.
Step 3: Click on “Devices and Printers”
After accessing the “Hardware and Sound” settings in the Control Panel, the next step in calibrating your gamepad on Windows 10 involves clicking on “Devices and Printers.” This action allows you to access a window displaying all the connected devices and printers, including your gamepad, and provides the necessary interface for configuring and calibrating your gaming peripheral.
Here’s how to navigate to the “Devices and Printers” section:
- Within “Hardware and Sound”: Once you are in the “Hardware and Sound” category of the Control Panel, look for the subcategory labeled “Devices and Printers” and click on it to proceed. This will open the window displaying the connected devices and printers on your system.
Upon successfully clicking on “Devices and Printers,” you will gain access to the interface where your gamepad is listed among the connected devices. This marks a crucial step in the gamepad calibration process, bringing you closer to optimizing its performance for an enhanced gaming experience on your Windows 10 system.
Step 4: Right-click on Your Gamepad and Select “Game Controller Settings”
Following the navigation to the “Devices and Printers” section in the Control Panel, the next step in calibrating your gamepad on Windows 10 involves right-clicking on your gamepad and selecting “Game Controller Settings.” This action opens the “Set up USB game controllers” window, providing access to the configuration and calibration settings for your gamepad.
Here’s how to proceed with this step:
- Locate Your Gamepad: Within the “Devices and Printers” window, locate your gamepad among the listed devices. It may be identified by its model name or as an unspecified game controller.
- Right-Click on Your Gamepad: Once you have located your gamepad, right-click on its icon or name to reveal a context menu of options related to the device.
- Select “Game Controller Settings”: From the context menu, choose the option labeled “Game controller settings.” This action will open the “Set up USB game controllers” window, where you can configure and calibrate your gamepad for optimal performance.
By successfully right-clicking on your gamepad and selecting “Game Controller Settings,” you gain access to the interface where you can fine-tune and calibrate the sensitivity, dead zones, and other performance parameters of your gamepad. This marks a pivotal step in the gamepad calibration process, bringing you closer to optimizing its responsiveness for an enhanced gaming experience on your Windows 10 system.
Step 5: Select Your Gamepad and Click “Properties”
After accessing the “Set up USB game controllers” window by following the previous steps, the next crucial step in calibrating your gamepad on Windows 10 is to select your gamepad from the list of installed devices and click “Properties.” This action opens the gamepad’s properties window, providing access to its calibration settings and allowing you to fine-tune its performance for an optimal gaming experience.
Here’s how to proceed with this step:
- Locate Your Gamepad: Within the “Set up USB game controllers” window, locate your gamepad from the list of installed devices. It may be identified by its model name or as an unspecified game controller.
- Select Your Gamepad: Click on your gamepad to highlight it in the list of installed devices. This action indicates that you are configuring the properties for the selected gamepad.
- Click “Properties”: Once your gamepad is selected, click the “Properties” button within the “Set up USB game controllers” window. This action opens the gamepad’s properties window, where you can access its calibration settings and configure its performance parameters.
By successfully selecting your gamepad and clicking “Properties,” you gain access to the interface where you can fine-tune and calibrate the sensitivity, dead zones, and other performance parameters of your gamepad. This pivotal step brings you closer to optimizing your gamepad’s responsiveness for an enhanced gaming experience on your Windows 10 system.
Step 6: Calibrate Your Gamepad
After accessing the gamepad’s properties window, the next step in calibrating your gamepad on Windows 10 involves initiating the calibration process to fine-tune its sensitivity and responsiveness. This crucial step allows you to customize the performance of your gamepad, ensuring precise and accurate input recognition during gaming sessions.
Here’s how to proceed with this step:
- Navigate to the Calibration Settings: Within the gamepad’s properties window, locate the tab or section that pertains to calibration or settings adjustment. This may be labeled as “Settings,” “Calibrate,” or a similar descriptor, depending on the specific model of your gamepad.
- Follow On-Screen Instructions: Once you have accessed the calibration settings, follow the on-screen instructions provided by the calibration wizard or interface. This typically involves adjusting the sensitivity and dead zones of the analog sticks, triggers, and other input mechanisms to align with your gaming preferences.
- Perform Calibration: Utilize the calibration tools and options available within the interface to fine-tune the performance parameters of your gamepad. This may involve manipulating sliders, performing test movements, or engaging in interactive calibration exercises to optimize the responsiveness and accuracy of the gamepad.
By successfully calibrating your gamepad, you can customize its performance to suit your gaming style and preferences, ensuring enhanced precision and responsiveness during gameplay. This step is instrumental in optimizing your gamepad for an immersive and enjoyable gaming experience on your Windows 10 system.
Step 7: Test Your Gamepad Calibration
Following the calibration of your gamepad on Windows 10, it is essential to test its performance to ensure that the calibration adjustments have effectively optimized its responsiveness and accuracy. Testing your gamepad calibration allows you to verify that the settings meet your gaming needs and provide a seamless and enjoyable gaming experience.
Here’s how to proceed with this step:
- Open a Game or Testing Application: Launch a game that utilizes gamepad input or utilize built-in testing features within the gamepad properties window to assess its performance. Choose a game that requires a range of movements and actions to thoroughly evaluate the responsiveness and accuracy of the calibrated gamepad.
- Engage in Gameplay: Utilize the calibrated gamepad to navigate through the game, perform various in-game actions, and assess its responsiveness to your input. Pay attention to the accuracy of movements, button presses, and trigger activations, ensuring that the calibrated settings result in precise and consistent on-screen actions.
- Observe for Improved Responsiveness: Evaluate whether the calibration adjustments have minimized input lag, eliminated dead zones, and enhanced the overall responsiveness of the gamepad. Note any improvements in precision and control, particularly in scenarios that demand quick reflexes and accurate input recognition.
Through thorough testing of your gamepad calibration, you can confirm that the adjustments have optimized its performance for an immersive gaming experience. By ensuring that the calibrated settings meet your gaming requirements, you can confidently engage in gameplay, knowing that your gamepad is finely tuned to deliver precise and responsive input during gaming sessions on your Windows 10 system.