
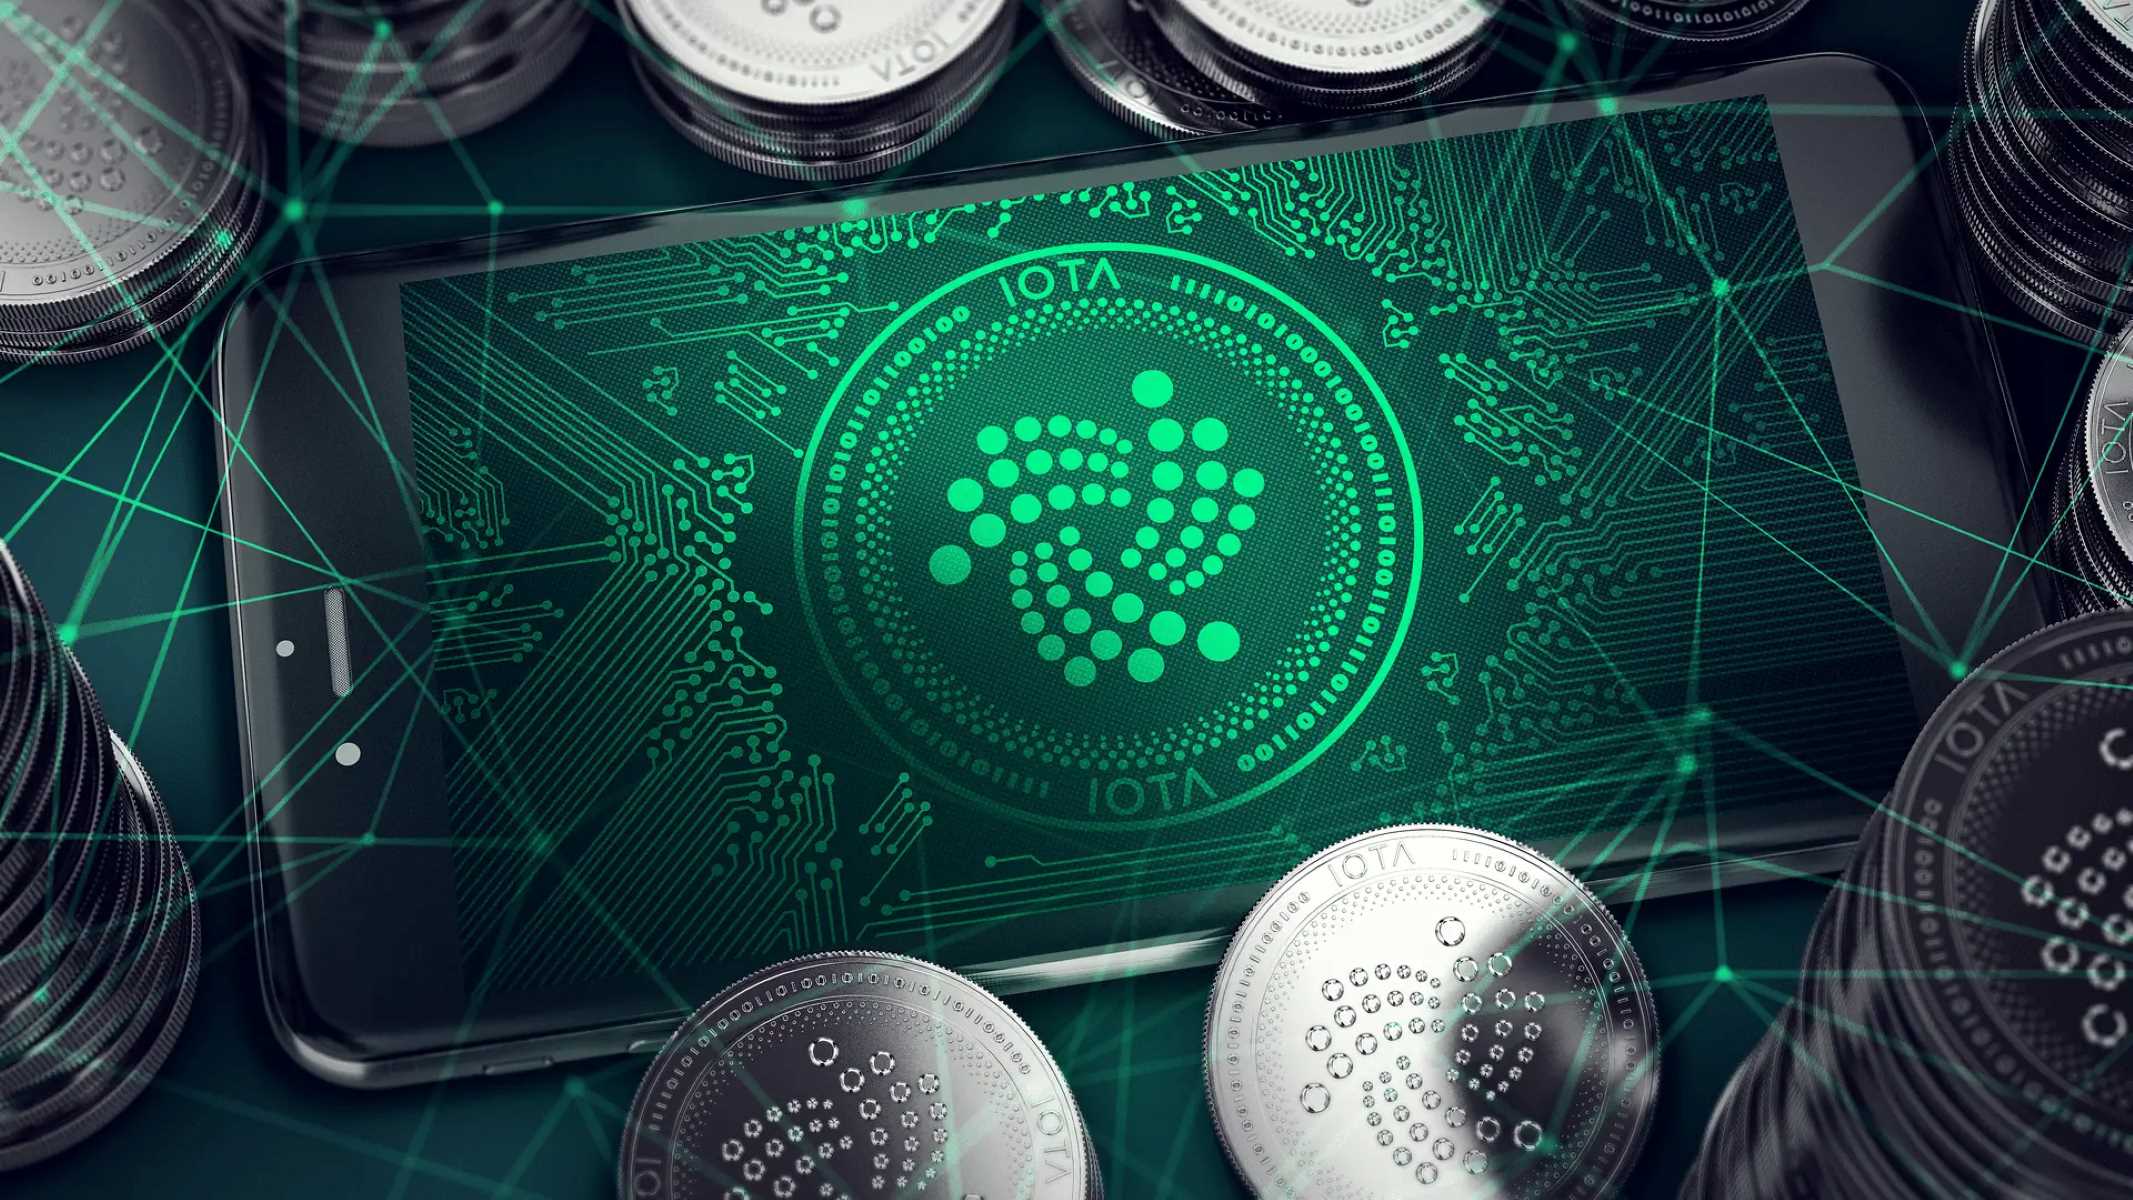
What is Iota (MIOTA)?
Iota (MIOTA) is a unique cryptocurrency that focuses on enabling machine-to-machine transactions and communication in the emerging Internet of Things (IoT) industry. Launched in 2015, Iota aims to revolutionize the way devices connected to the internet interact and transact with each other, without the need for traditional blockchain technology.
Unlike other cryptocurrencies that use a blockchain, Iota utilizes a decentralized distributed ledger technology called the Tangle. The Tangle is a directed acyclic graph (DAG) that enables Iota transactions to be processed without fees and at high scalability.
One of the key features of Iota is its ability to facilitate nano-transactions. Traditional blockchain-based cryptocurrencies struggle with low transaction throughput and high fees, making it impractical for micropayments. With Iota, users can transact in extremely small amounts, which is crucial for microtransactions within the IoT ecosystem.
Another important aspect of Iota is its focus on data integrity and security within the IoT environment. Devices in the IoT are constantly generating and exchanging massive amounts of data, and Iota provides a secure and immutable infrastructure for this data exchange.
Furthermore, Iota is designed to be lightweight, making it ideal for resource-constrained devices in the IoT ecosystem. The protocol operates efficiently even on low-powered devices, allowing for seamless integration of Iota into various IoT applications.
As the IoT industry continues to grow and more devices become interconnected, Iota aims to provide the underlying infrastructure for secure and scalable machine-to-machine transactions. Its unique Tangle technology sets it apart from other cryptocurrencies, making it a promising solution for the future of the IoT ecosystem.
What is a Hardware Wallet?
A hardware wallet is a physical device, typically in the form of a small USB-like device, designed to securely store private keys and protect cryptocurrencies. It provides an extra layer of security compared to software wallets, which are susceptible to hacking and malware attacks.
Hardware wallets are specifically designed to keep your private keys offline, away from the reach of potential hackers. This ensures that even if your computer or smartphone is compromised, your cryptocurrency holdings remain safe and secure.
These wallets use advanced encryption algorithms to protect your private keys and authenticate transactions. The private keys never leave the device and transaction signing happens directly on the device itself, providing an added layer of security.
One of the main advantages of using a hardware wallet is that it protects against keyloggers and malware that may be present on the computer or smartphone. With a hardware wallet, the transaction details are displayed on the device’s screen, allowing you to verify and confirm the transaction securely.
Another benefit of hardware wallets is that they are highly portable and easy to use. Most hardware wallets come with a user-friendly interface and provide clear instructions for setting up and managing your cryptocurrency holdings. They are compatible with various desktop and mobile applications, making it convenient to access your funds whenever you need them.
Hardware wallets also offer backup and recovery options, ensuring that you can always regain access to your cryptocurrencies in case the device is lost or damaged. They provide a recovery phrase or seed, which can be used to restore your wallet and regain access to your funds on a new device.
Overall, a hardware wallet is a secure and reliable solution for storing your cryptocurrencies. Its offline storage and advanced security features make it an ideal choice for individuals who value the security of their digital assets.
Why should you store Iota on a Hardware Wallet?
When it comes to storing your Iota (MIOTA) cryptocurrency, using a hardware wallet offers numerous advantages and enhanced security compared to other storage methods. Here are the key reasons why you should consider storing your Iota on a hardware wallet:
- Enhanced Security: Hardware wallets provide a higher level of security compared to software wallets or exchanges. They store your private keys offline, reducing the risk of them being exposed to potential threats like hacking or malware.
- Protection against Keyloggers: Hardware wallets offer protection against keyloggers, which are malicious software that can capture your keystrokes and gain access to your sensitive information. With a hardware wallet, the transactions are signed within the device itself, keeping your private keys secure.
- Secure Transaction Confirmation: Hardware wallets have built-in screens that display transaction details, allowing you to verify and confirm transactions directly on the device. This feature ensures that you are not susceptible to fraudulent transactions or manipulations.
- Portability and Accessibility: Most hardware wallets are compact and portable, allowing you to carry your cryptocurrency holdings with you wherever you go. They are compatible with various desktop and mobile applications, providing easy access to your funds.
- Backup and Recovery Options: Hardware wallets come with backup and recovery options, typically in the form of a recovery phrase or seed. These backups enable you to restore your wallet and regain access to your funds in case your hardware wallet is lost, stolen, or damaged.
- Protection from Exchange Risks: Storing your Iota on a hardware wallet eliminates the risk of losing your funds due to hacking incidents or exchange failures. By having full control over your private keys, you are not reliant on the security measures of third-party exchanges.
How to Choose a Hardware Wallet for Storing Iota?
When it comes to selecting a hardware wallet for storing your Iota (MIOTA) cryptocurrency, it’s essential to consider several factors to make an informed decision. Here are some key points to keep in mind when choosing a hardware wallet:
- Compatibility: Ensure that the hardware wallet you choose supports Iota. Not all hardware wallets support all cryptocurrencies, so it’s crucial to verify compatibility before making a purchase.
- Security Features: Look for hardware wallets that prioritize security features. Consider factors such as secure element chips, passphrase support, firmware updates, and open-source software. These features contribute to the overall security of your funds.
- User Experience: Consider the user interface and overall user experience offered by the hardware wallet. Look for wallets that have a clear and intuitive interface, making it easy to set up and manage your Iota holdings.
- Reputation and Reviews: Research the reputation and credibility of the hardware wallet manufacturer. Read reviews from other users to gauge their experiences with the device. Look for wallets that have a strong track record and positive customer feedback.
- Backup and Recovery Options: Ensure that the hardware wallet offers reliable backup and recovery options. Look for wallets that provide a recovery phrase or seed, as this will enable you to restore your wallet and regain access to your Iota funds in case of loss or damage to the device.
- Additional Supported Cryptocurrencies: Consider whether you plan to store other cryptocurrencies in the future. Some hardware wallets support a wide range of cryptocurrencies, allowing for greater flexibility and convenience if you decide to expand your investment portfolio.
- Price: Consider the pricing of the hardware wallet. While it’s essential to prioritize security and features, it’s also important to ensure that the wallet fits within your budget. Compare prices across different wallets and consider their value for money.
By considering these factors, you can choose a hardware wallet that best suits your needs, provides a high level of security, and offers a seamless user experience for storing your Iota cryptocurrency.
Setting up your Hardware Wallet for Iota Storage
Once you have chosen a hardware wallet to store your Iota (MIOTA) cryptocurrency, the next step is to set up the device and prepare it for Iota storage. Here are the general steps to follow when setting up your hardware wallet:
- Choose a Reliable Source: Purchase your hardware wallet directly from the manufacturer’s official website or authorized resellers to ensure that you receive a genuine device without any tampering or vulnerabilities.
- Unbox the Hardware Wallet: Open the package and ensure that all the contents are included, such as the hardware wallet device, USB cable, instruction manual, and recovery seed card. Keep the recovery seed card stored in a safe place, as it will be used to recover your wallet if needed.
- Install the Manufacturer’s Software: Visit the manufacturer’s website and download the appropriate software for your hardware wallet. Install the software on your computer or mobile device by following the provided instructions.
- Create a New Wallet: Launch the software and select the option to create a new wallet. Follow the on-screen instructions to generate a new wallet address and set up a strong, unique password or PIN for accessing your wallet.
- Write Down the Recovery Seed: During the setup process, you will be presented with a recovery seed, which is a series of words. Write down these words and store them securely offline. This seed is essential for recovering your wallet if the device is lost or damaged.
- Connect and Sync the Hardware Wallet: Connect your hardware wallet to your computer or mobile device using the provided USB cable. Follow the instructions to establish a secure connection and ensure that the device is properly synced with the wallet software.
- Enable Iota Support: Access the settings or preferences within your hardware wallet software and enable support for Iota (MIOTA). This step allows the wallet to recognize and manage Iota transactions and balances.
- Verify the Device: Before using your hardware wallet, verify that it is genuine and has not been tampered with. Check for any signs of physical damage or manipulation, and cross-reference the device’s serial number with the manufacturer’s records if available.
Following these steps will help ensure that your hardware wallet is properly set up and ready to store your Iota cryptocurrency securely.
Steps to Storing Iota on a Hardware Wallet
Once you have set up your hardware wallet for Iota (MIOTA) storage, you can proceed with the steps to actually store your Iota on the device. Here are the general steps to follow:
- Ensure Software Compatibility: Before transferring your Iota to the hardware wallet, ensure that the software or wallet application you plan to use is compatible with your specific hardware wallet model. Check the manufacturer’s website for recommended software options.
- Open the Iota Wallet Software: Launch the Iota wallet software or application on your computer or mobile device. Make sure that you have the latest version of the software installed.
- Connect the Hardware Wallet: Connect your hardware wallet to your computer or mobile device using the provided USB cable. Follow any on-screen prompts to establish a secure connection.
- Enter PIN and Authenticate: On your hardware wallet’s screen, enter your PIN or password to authenticate access to the device. This step ensures that only you can authorize transactions on the wallet.
- Access the Iota Wallet: Within the Iota wallet software, select the option to connect or pair with a hardware wallet. Choose your specific hardware wallet model from the available options and follow any additional prompts.
- Authorize the Transaction: Initiate the transaction within the Iota wallet software, specifying the amount of Iota you wish to send to your hardware wallet. Review the transaction details carefully, including the recipient address, before confirming the transaction.
- Confirm on the Hardware Wallet: On your hardware wallet’s screen, review the transaction details presented. Verify that the recipient address and transaction amount match what you expected. If everything is correct, confirm and sign the transaction on the hardware wallet.
- Wait for Confirmation: After signing the transaction on the hardware wallet, wait for the transaction to be confirmed on the Iota network. The confirmation time can vary depending on network congestion, but you can monitor the progress within the Iota wallet software.
- Verify the Iota Balance: Once the transaction is confirmed, you can verify the updated Iota balance on your hardware wallet. The balance should reflect the amount you transferred from the software wallet.
- Securely Store the Hardware Wallet: Safely disconnect and store your hardware wallet in a secure location. Be sure to keep your recovery seed phrase or card in a separate, secure location as well.
By following these steps, you can securely store your Iota cryptocurrency on a hardware wallet, ensuring that your funds are protected from potential security threats and vulnerabilities.
Tips for Securely Storing Your Iota on a Hardware Wallet
When it comes to securely storing your Iota (MIOTA) cryptocurrency on a hardware wallet, it’s important to follow best practices to ensure the safety and integrity of your funds. Here are some tips to help you securely store your Iota on a hardware wallet:
- Keep Your Firmware Updated: Regularly update the firmware of your hardware wallet to ensure that you have the latest security patches and improvements. Check the manufacturer’s website or software for updates and follow the instructions for installation.
- Secure Your Recovery Seed: Your recovery seed is crucial for regaining access to your Iota wallet in case of loss or damage to your hardware wallet. Store the recovery seed phrase or card in a secure and offline location, separate from the device itself. Consider options like a fireproof safe or a safety deposit box.
- Use a Strong PIN or Password: Set a strong and unique PIN or password for your hardware wallet. Avoid using obvious combinations, such as birthdays or sequential numbers. Ensure that your PIN or password is known only to you and is not shared or written down anywhere.
- Beware of Phishing Attempts: Be cautious of phishing attempts and only interact with official wallet software or applications. Avoid clicking on suspicious links or providing your wallet information to untrusted sources. Always verify the authenticity and security of websites or software before entering your wallet details.
- Double-Check Addresses: When initiating transactions, double-check the recipient address to ensure its accuracy. Iota addresses are long and complex, making it crucial to avoid any typo or error that may result in the loss of funds. Consider copying and pasting the address whenever possible.
- Limit Exposure to Physical Threats: Protect your hardware wallet from physical threats by storing it in a secure place. Keep it away from potential hazards such as water, extreme temperatures, or direct sunlight. Additionally, be mindful of your surroundings when using the device in public places to prevent someone from physically accessing your wallet.
- Enable Additional Security Features: Take advantage of any additional security features offered by your hardware wallet, such as two-factor authentication or passphrase support. These features can provide an extra layer of security for your Iota holdings.
- Regularly Backup your Wallet: Make regular backups of your hardware wallet to ensure that you always have access to your Iota funds. Follow the manufacturer’s instructions for creating and securely storing backups, and update them whenever you make significant changes to your wallet.
- Stay Informed: Stay updated with the latest news and developments in the cryptocurrency space. Pay attention to security advisories, vulnerability disclosures, and best practices for storing and securing your digital assets. This awareness will help you stay ahead of potential threats and protect your Iota investment.
By following these tips, you can enhance the security of your Iota on a hardware wallet and minimize the risk of unauthorized access or loss of funds.
Recovering Your Iota from a Hardware Wallet Backup
In the event that your hardware wallet is lost, stolen, or damaged, you can still recover your Iota (MIOTA) funds by following the steps to restore from a backup. Here’s how to recover your Iota from a hardware wallet backup:
- Obtain a New Hardware Wallet: Purchase a new hardware wallet of the same model or a compatible one that supports Iota.
- Install the Manufacturer’s Software: Download and install the software provided by the hardware wallet manufacturer on your computer or mobile device. Ensure that you have the latest version of the software installed.
- Connect the New Hardware Wallet: Connect the new hardware wallet to your computer or mobile device using the provided USB cable. Follow any on-screen prompts to establish a secure connection.
- Select the Recovery Option: Within the manufacturer’s software, select the option to recover or restore a wallet from a backup. This option may be labeled differently depending on the software.
- Enter the Recovery Seed: Follow the instructions on the software interface to enter the recovery seed. Typically, these are a series of words that were provided to you when setting up the original hardware wallet. Enter the words in the correct order.
- Verify the Recovery Seed: After entering the recovery seed, the software will verify its validity. This step ensures that you are using the correct seed to recover your wallet. Double-check that you have entered the words correctly to prevent any mistakes.
- Create a New PIN or Password: Once the recovery seed is verified, you will be prompted to set a new PIN or password for the new hardware wallet. Choose a strong and unique PIN or password to secure your wallet.
- Sync and Verify: Allow the software to sync with the Iota network and verify your wallet’s balance. The software will retrieve the transaction history and display your Iota balance, confirming that the recovery was successful.
- Secure the New Hardware Wallet: Safely disconnect and store your new hardware wallet in a secure location. Make sure to update any backup copies or records of your recovery seed to reflect the new hardware wallet.
Following these steps will allow you to recover your Iota from a hardware wallet backup and regain access to your funds. It’s important to keep your recovery seed safe and secure to protect your Iota investment.
Frequently Asked Questions about Storing Iota on a Hardware Wallet
Here are some commonly asked questions about storing Iota (MIOTA) on a hardware wallet:
- 1. Is a hardware wallet the only secure way to store Iota?
- 2. Are all hardware wallets compatible with Iota?
- 3. Can I store other cryptocurrencies alongside Iota on a hardware wallet?
- 4. Can I send and receive Iota transactions directly from the hardware wallet?
- 5. What happens if I lose my hardware wallet or it gets damaged?
- 6. Can I store my Iota on multiple hardware wallets?
- 7. Can I use the same recovery seed for different hardware wallet models?
- 8. Can I use a hardware wallet for Iota stored on an exchange?
- 9. How often should I make backups of my hardware wallet?
- 10. Can I use a hardware wallet on multiple devices simultaneously?
While a hardware wallet offers enhanced security compared to other methods of storing Iota, it is not the only secure option. Paper wallets and offline cold storage can also be secure alternatives, but they require additional steps to ensure proper security.
No, not all hardware wallets support Iota. Before purchasing a hardware wallet, ensure that it is explicitly stated to support Iota on the manufacturer’s website or from authorized resellers.
Most hardware wallets support a variety of cryptocurrencies. Alongside Iota, you can typically store other popular cryptocurrencies such as Bitcoin, Ethereum, and Litecoin. Check the specifications of the hardware wallet to confirm the supported cryptocurrencies.
No, hardware wallets do not have built-in features for generating Iota transactions directly. You will need to use compatible software wallets or applications to initiate and authorize transactions, while the hardware wallet securely holds and signs the transaction using your private keys.
If you lose your hardware wallet or it gets damaged, you can recover your Iota funds by using the recovery seed that was provided during the initial setup. With a new or compatible hardware wallet, you can restore your wallet using the recovery seed and regain access to your funds.
Yes, it is possible to store your Iota on multiple hardware wallets. This can provide an additional layer of redundancy and security in case one of the hardware wallets becomes compromised or inaccessible.
No, recovery seeds are unique to each hardware wallet model and should not be used interchangeably. Each hardware wallet will have its own specific recovery seed, and using the wrong seed can lead to the loss of funds.
No, hardware wallets are designed for self-custody of your cryptocurrencies. If your Iota is currently stored on an exchange, you will need to withdraw it to your personal hardware wallet to ensure full control and security over your funds.
It is recommended to make regular backups of your hardware wallet, especially when significant changes are made to your wallet (e.g., adding new addresses or receiving transactions). This ensures that you have a backup of your private keys in case of any unforeseen circumstances.
While some hardware wallets may support multiple device usage, it is generally recommended to use one hardware wallet on a single device to minimize any potential security risks or conflicts.
These frequently asked questions provide insights into the considerations and usage of hardware wallets for storing Iota cryptocurrency securely.