
Features of PuTTY
PuTTY is a versatile and highly popular open-source terminal emulator and SSH client. It offers a wide range of features that make it a valuable tool for managing remote servers and network devices. Whether you are a system administrator, programmer, or simply someone in need of a reliable SSH client, PuTTY boasts several key features.
- Secure Shell (SSH) Protocol Support: PuTTY supports SSH protocols, including SSH1, SSH2, and SSH-2 RSA, providing secure and encrypted connections between local and remote systems.
- Portability: PuTTY is a lightweight software that can be easily installed on various operating systems, such as Windows, macOS, and Linux, making it accessible for users across different platforms.
- Session Management: With PuTTY, you can save sessions and configurations, allowing for quick and efficient connectivity to frequently accessed remote servers. It also supports session logging and the ability to resume sessions.
- Flexible Authentication Options: PuTTY supports various authentication methods, such as public key authentication, password authentication, and keyboard-interactive authentication, providing flexibility and enhanced security for remote access.
- X11 Forwarding: PuTTY allows for X11 forwarding, enabling the seamless display of remote graphical applications on your local computer.
- Proxy Support: PuTTY supports HTTP, SOCKS4, and SOCKS5 proxy protocols, making it possible to access remote servers through proxy servers or firewalls.
- Configurable Appearance: PuTTY offers customizable options for terminal appearance, including font style, colors, and cursor settings, allowing you to personalize the user interface to your preference.
- Automatic Reconnect: In the event of a dropped connection, PuTTY has an automatic reconnect feature that can attempt to re-establish the connection, minimizing downtime and disruptions.
These are just a few of the many features and functionalities that PuTTY offers. Its versatility, reliability, and user-friendly interface have contributed to its longstanding popularity among IT professionals and enthusiasts alike. Whether you need to securely manage your remote servers or establish encrypted connections, PuTTY is a reliable and robust choice.
Installing PuTTY on Windows
PuTTY is a powerful and easy-to-use terminal emulator and SSH client for Windows. Installing PuTTY on your Windows machine is a straightforward process that can be completed in just a few steps.
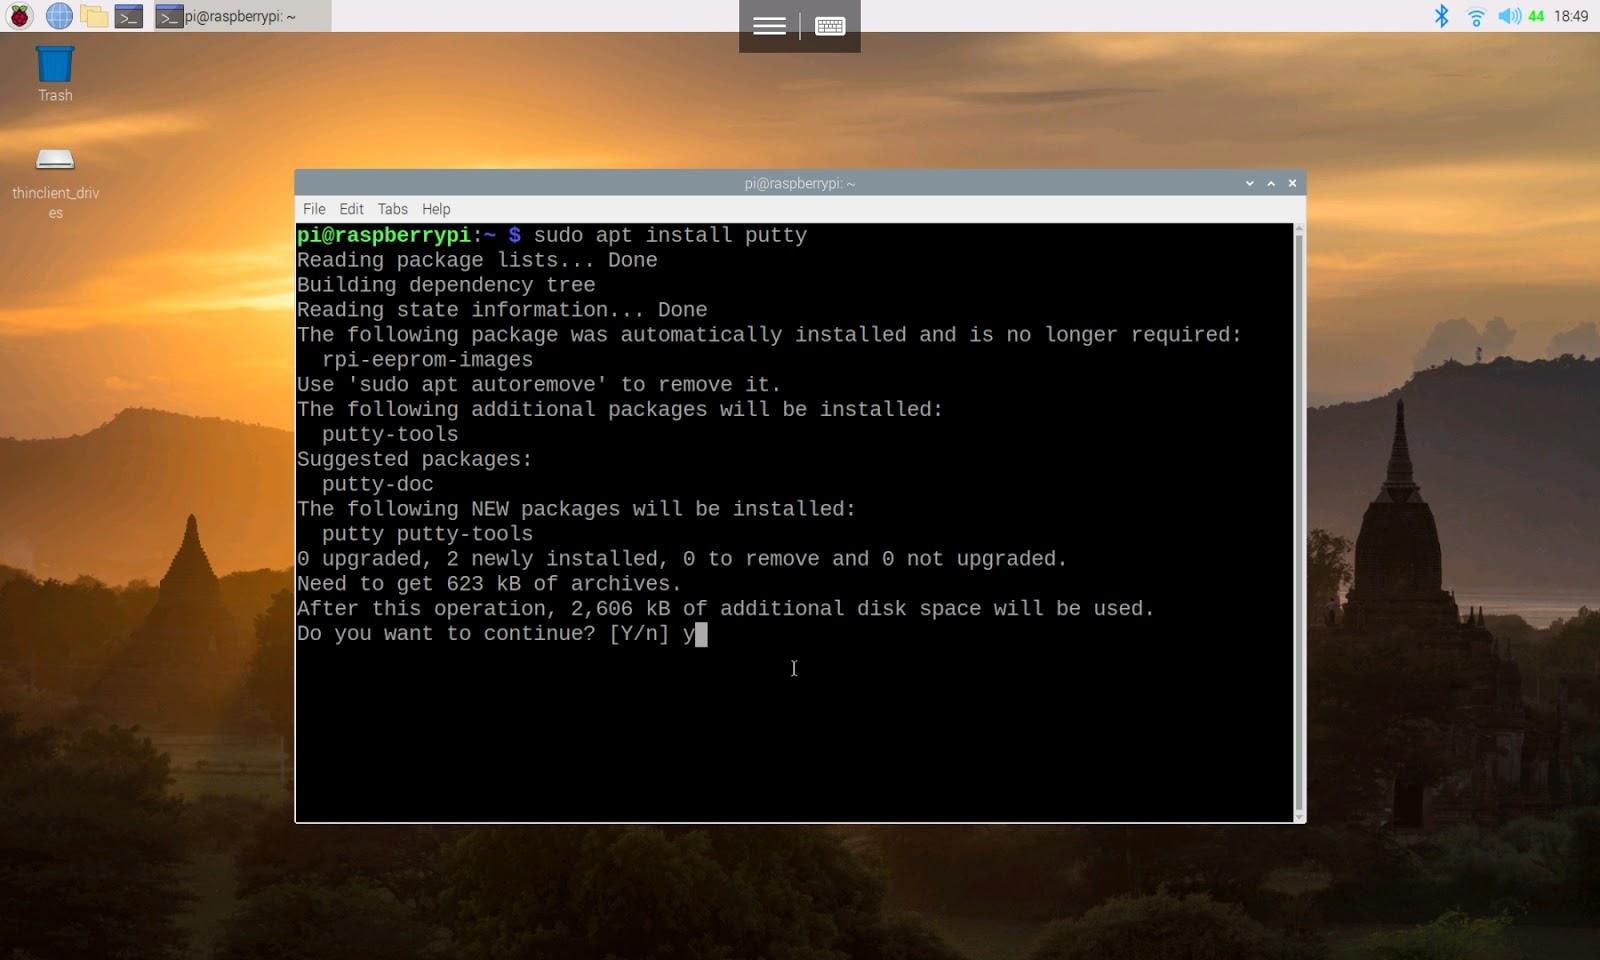
- Download the PuTTY Installer: Visit the official PuTTY website and navigate to the download section. Choose the version of PuTTY appropriate for your Windows system (32-bit or 64-bit). Download the installer package.
- Run the Installer: Once the installer package is downloaded, locate the file and double-click on it to start the installation process.
- Select Installation Options: The PuTTY installer will guide you through a series of installation screens. Review the options presented, such as choosing the components to install and the destination folder. You can generally accept the default options unless you have specific requirements.
- Choose Start Menu Folder: Select the folder in the Start Menu where you want the PuTTY shortcuts to be placed. You can keep the default folder or specify a different one.
- Shortcuts and Additional Tasks: Decide whether you want to create desktop shortcuts for PuTTY and other components, such as PuTTYgen. You can also choose to associate certain file types with PuTTY, enabling you to open PuTTY sessions directly from Windows Explorer.
- Completing the Installation: Once you have selected your preferred options, click on the “Install” button to begin the installation process. The installer will copy the necessary files and complete the installation.
- Launching PuTTY: After the installation is complete, you can launch PuTTY by locating the shortcut in the Start Menu or on the desktop. Double-click on the PuTTY icon to open the application.
That’s it! You have successfully installed PuTTY on your Windows machine. Now you can start using PuTTY to establish secure connections to remote servers and manage your network devices effortlessly. PuTTY’s user-friendly interface and powerful features make it an invaluable tool for IT professionals and enthusiasts alike.
Using PuTTY to Connect to a Remote Server
PuTTY provides a straightforward and intuitive interface for connecting to remote servers using various protocols, such as SSH, Telnet, and Serial. Follow these steps to establish a connection to a remote server using PuTTY:
- Launch PuTTY: Open PuTTY by double-clicking on the PuTTY shortcut or executing the PuTTY.exe file.
- Configure the Connection: In the PuTTY configuration window, enter the IP address or hostname of the remote server you want to connect to. Choose the appropriate connection type, such as SSH or Telnet.
- Specify Connection Settings: Set the port number for the connection. The default port for SSH is 22, while Telnet typically uses port 23. If required, you can also specify additional connection settings, such as enabling compression or defining a specific SSH version.
- Save the Session: To save the connection settings for future use, enter a name for the session in the “Saved Sessions” field and click on the “Save” button. This allows you to quickly reconnect to the server later without having to re-enter the connection settings.
- Establish the Connection: Once you have configured the connection, click on the “Open” button to establish the connection to the remote server.
- Enter Credentials: Depending on the server’s configuration, you will be prompted to enter your username and password to authenticate yourself. If you are using key-based authentication, you may need to provide the path to your private key.
- Interact with the Remote Server: Once the connection is established and you have successfully logged in, you can interact with the remote server using the PuTTY terminal window. Run commands, edit configuration files, transfer files, and perform other tasks as needed.
- Disconnect from the Server: To disconnect from the remote server, simply close the PuTTY terminal window. Alternatively, you can choose to terminate the connection by selecting “Close Session” from the “File” menu.
By following these steps, you can easily establish a connection to a remote server using PuTTY. Its user-friendly interface and comprehensive set of features make it a popular choice for managing remote servers and network devices.
Establishing Secure Connections with PuTTY
Security is of utmost importance when connecting to remote servers. PuTTY offers several features to ensure secure connections, protecting your data and sensitive information from unauthorized access. Here’s how you can establish secure connections using PuTTY:
- SSH Protocol: PuTTY supports the Secure Shell (SSH) protocol, an encrypted communication protocol that ensures the confidentiality and integrity of data transmitted over the network.
- Encryption: PuTTY uses strong encryption algorithms, such as AES or 3DES, to secure the data that is transmitted between the local and remote systems.
- Public Key Authentication: PuTTY supports public key authentication, which provides an extra layer of security by using a pair of cryptographic keys to authenticate the client and server. This method eliminates the need to enter a password for each login attempt.
- Password Authentication: PuTTY also supports password authentication for those who prefer to use passwords as a means of authentication.
- Keyboard-Interactive Authentication: PuTTY allows for keyboard-interactive authentication, which prompts the user for additional authentication information, such as one-time passwords or challenge-response questions.
- SSH Agent Forwarding: PuTTY supports SSH agent forwarding, allowing you to use your locally stored SSH key on the remote server without copying it to the remote machine.
- Tunneling: PuTTY enables port forwarding and tunneling, which allows you to securely access services on a remote server as if they were running on your local machine.
- Authentication Pageant: PuTTY incorporates Pageant, an SSH authentication agent, which securely stores your private keys and enables seamless key-based authentication across multiple PuTTY sessions.
- SSH Keepalive: PuTTY offers an SSH keepalive feature that prevents idle connections from being terminated by network devices or firewalls.
By taking advantage of these security features, you can establish secure connections to remote servers using PuTTY. Whether you are connecting to a Linux server, managing network devices, or accessing a remote database, PuTTY ensures that your data remains protected throughout the communication process.
PuTTY Configuration Options
PuTTY provides a wide range of configuration options that allow you to customize the behavior and appearance of the terminal emulator according to your preferences. These configuration options can be accessed through the PuTTY Configuration window. Here are some key configuration options available in PuTTY:
- Session: In the Session category, you can configure the basic settings for your session, including the hostname or IP address, connection type (SSH, Telnet, etc.), and port number.
- Connection: The Connection category allows you to configure various connection-specific settings, such as enabling compression, specifying the time intervals for sending keepalive packets, and defining the SSH protocol version.
- Window: In the Window category, you can adjust the terminal window’s appearance and behavior, including the font, size, and color settings. You can also enable features like blinking cursor, scrollback lines, and line wrap.
- Appearance: The Appearance category provides options to configure the appearance of the text within the terminal window, such as font quality, font spacing, and character set encoding.
- Terminal: The Terminal category offers advanced terminal settings, such as enabling certain terminal modes (e.g., application keypad mode), configuring the handling of backspace and delete keystrokes, and modifying the behavior of function keys.
- Proxy: If you need to connect to remote servers through a proxy server, the Proxy category allows you to configure proxy settings, including the proxy type (HTTP, SOCKS4, or SOCKS5) and the proxy server’s address and port number.
- SSH: The SSH category provides configuration options specific to SSH connections, such as enabling X11 forwarding, agent forwarding, and specifying the path to your private key for key-based authentication.
- Keyboard: The Keyboard category allows you to configure keyboard-related options, such as enabling and customizing keyboard function keys, adjusting the behavior of the Alt key, and defining keyboard shortcuts.
These are just a few examples of the configuration options available in PuTTY. By exploring the various categories and options in the PuTTY Configuration window, you can tailor PuTTY to your specific needs, enhancing your overall experience while using the terminal emulator.
PuTTY Keyboard Shortcuts
PuTTY provides a variety of keyboard shortcuts that can help streamline your workflow and improve your productivity while using the terminal emulator. Familiarizing yourself with these keyboard shortcuts can save you time and make your PuTTY experience more efficient. Here are some useful PuTTY keyboard shortcuts:
- Ctrl + C: Interrupt the currently running command or process.
- Ctrl + Shift + V: Paste text from the clipboard into the PuTTY terminal.
- Ctrl + Insert: Copy selected text to the clipboard.
- Shift + Insert: Paste text from the clipboard into the PuTTY terminal.
- Ctrl + S: Save the entire PuTTY session to a log file.
- Ctrl + R: Search through the command history for a previously entered command.
- Ctrl + Shift + F: Open the Find window to search for specific text within the terminal output.
- Ctrl + Shift + X: Force-close the PuTTY window without prompting for confirmation.
- Ctrl + Shift + N: Open a new PuTTY window or tab.
- Ctrl + Shift + L: Open the PuTTY system menu, which provides additional options and settings.
- Ctrl + PgUp/PgDn: Scroll through the command history or terminal output.
- Ctrl + +/- (Plus/Minus key): Increase or decrease the font size within the PuTTY terminal window.
These are just a few examples of the keyboard shortcuts available in PuTTY. You can refer to the PuTTY documentation or explore the PuTTY Preferences menu to discover more keyboard shortcuts and customize them to suit your preferences. By utilizing these keyboard shortcuts, you can navigate and interact with PuTTY more efficiently, enhancing your overall productivity while working in the terminal emulator.
Advanced PuTTY Features
PuTTY offers a range of advanced features that go beyond basic terminal emulation and SSH connectivity. These features provide additional functionality and flexibility for users with more complex requirements. Here are some of the advanced features offered by PuTTY:
- X11 Forwarding: PuTTY supports X11 forwarding, allowing you to run remote graphical applications and have them display on your local machine. This feature is useful when you need to run GUI-based tools or applications on a remote server.
- Port Forwarding: PuTTY allows for local and remote port forwarding, enabling you to securely access services running on a remote server from your local machine. This feature is particularly useful for accessing web interfaces, databases, or other applications that are only available on the remote server.
- Remote Command Execution: PuTTY allows you to execute remote commands directly from the command line, without having to log in to the remote server manually. This feature is useful for running one-time commands or executing scripts on the remote server.
- SCP and SFTP: PuTTY includes secure file transfer protocols, SCP (Secure Copy) and SFTP (SSH File Transfer Protocol), which allow you to securely transfer files between your local machine and a remote server.
- Port Knocking: PuTTY supports port knocking, a method of opening specific ports on a remote server by sending a sequence of connection attempts to predefined ports. This feature adds an extra layer of security by making the server’s ports invisible to potential attackers.
- Session Logging: PuTTY provides the option to log your session, including all input and output, to a file. This can be useful for auditing purposes, troubleshooting, or simply keeping a record of your session activity.
- Scriptability: PuTTY can be automated and scripted using command-line options or through the use of external tools such as Plink (PuTTY Link) and PSCP (PuTTY Secure Copy). This allows you to automate repetitive tasks or integrate PuTTY functionality into your own scripts or workflows.
- Dynamic Port Forwarding: PuTTY supports dynamic port forwarding through the use of SOCKS proxies. This feature allows you to set up a local SOCKS proxy server that tunnels network traffic through the remote server, providing you with a secure and encrypted connection.
These advanced features in PuTTY provide powerful capabilities for users with more complex networking and system administration requirements. Whether you need to access remote graphical applications, securely transfer files, or automate tasks, PuTTY offers the flexibility and functionality to meet your needs.
Troubleshooting PuTTY Issues
While PuTTY is a reliable and widely used terminal emulator, you may encounter issues or errors during its usage. Here are some common PuTTY issues and potential troubleshooting steps to resolve them:
- Connection Timeout: If you are experiencing connection timeouts or failed connections, check your network connectivity and ensure that the server you’re trying to connect to is accessible. Verify the correctness of the hostname or IP address, port number, and connection type (SSH, Telnet, etc.) in your PuTTY configuration.
- Authentication Problems: If you’re having trouble authenticating with the remote server, double-check your username and password. If you are using key-based authentication, make sure you have the correct private key file specified in the PuTTY configuration. If necessary, verify that your public key has been properly added to the server’s authorized keys file.
- Firewall or Proxy Issues: If you are connecting through a firewall or proxy server, make sure that the necessary ports are open and that the proxy settings in PuTTY are configured correctly. Consult with your network administrator if you require assistance with firewall or proxy configuration.
- Encryption Errors: If you encounter encryption-related errors, such as “Server refused our key” or “Unsupported encryption algorithm,” check the SSH protocol version and encryption settings in PuTTY. Ensure that both the server and PuTTY are configured to use compatible encryption algorithms.
- Terminal Display Issues: If you experience display issues within the PuTTY terminal, such as garbled or missing characters, try changing the character encoding settings in the PuTTY configuration. Experiment with different character sets until you find the one that correctly displays the expected characters.
- Session Disconnection: If your PuTTY session frequently disconnects or terminates unexpectedly, check for any network connectivity issues, such as intermittent network connections or router problems. You may also want to adjust the SSH keepalive settings in PuTTY to prevent idle connections from being terminated by network devices or firewalls.
- Log Files and Error Messages: Take note of any error messages or warnings that PuTTY displays. These can provide valuable information for troubleshooting purposes. Additionally, enabling session logging in PuTTY can help capture detailed logs of your session, which can assist in diagnosing any issues that arise.
If you are still experiencing difficulties with PuTTY or encounter specific errors that are not covered here, consulting PuTTY’s official documentation or seeking assistance from the PuTTY support community can be a helpful next step in troubleshooting the issue.