
How to Set Up Your Selfie Stick with Moto G
Setting up your selfie stick with your Moto G is a straightforward process that can significantly enhance your photography experience. Whether you're capturing solo or group shots, the selfie stick provides a convenient way to achieve better angles and perspectives. Here's a step-by-step guide to help you seamlessly set up your selfie stick with your Moto G:
-
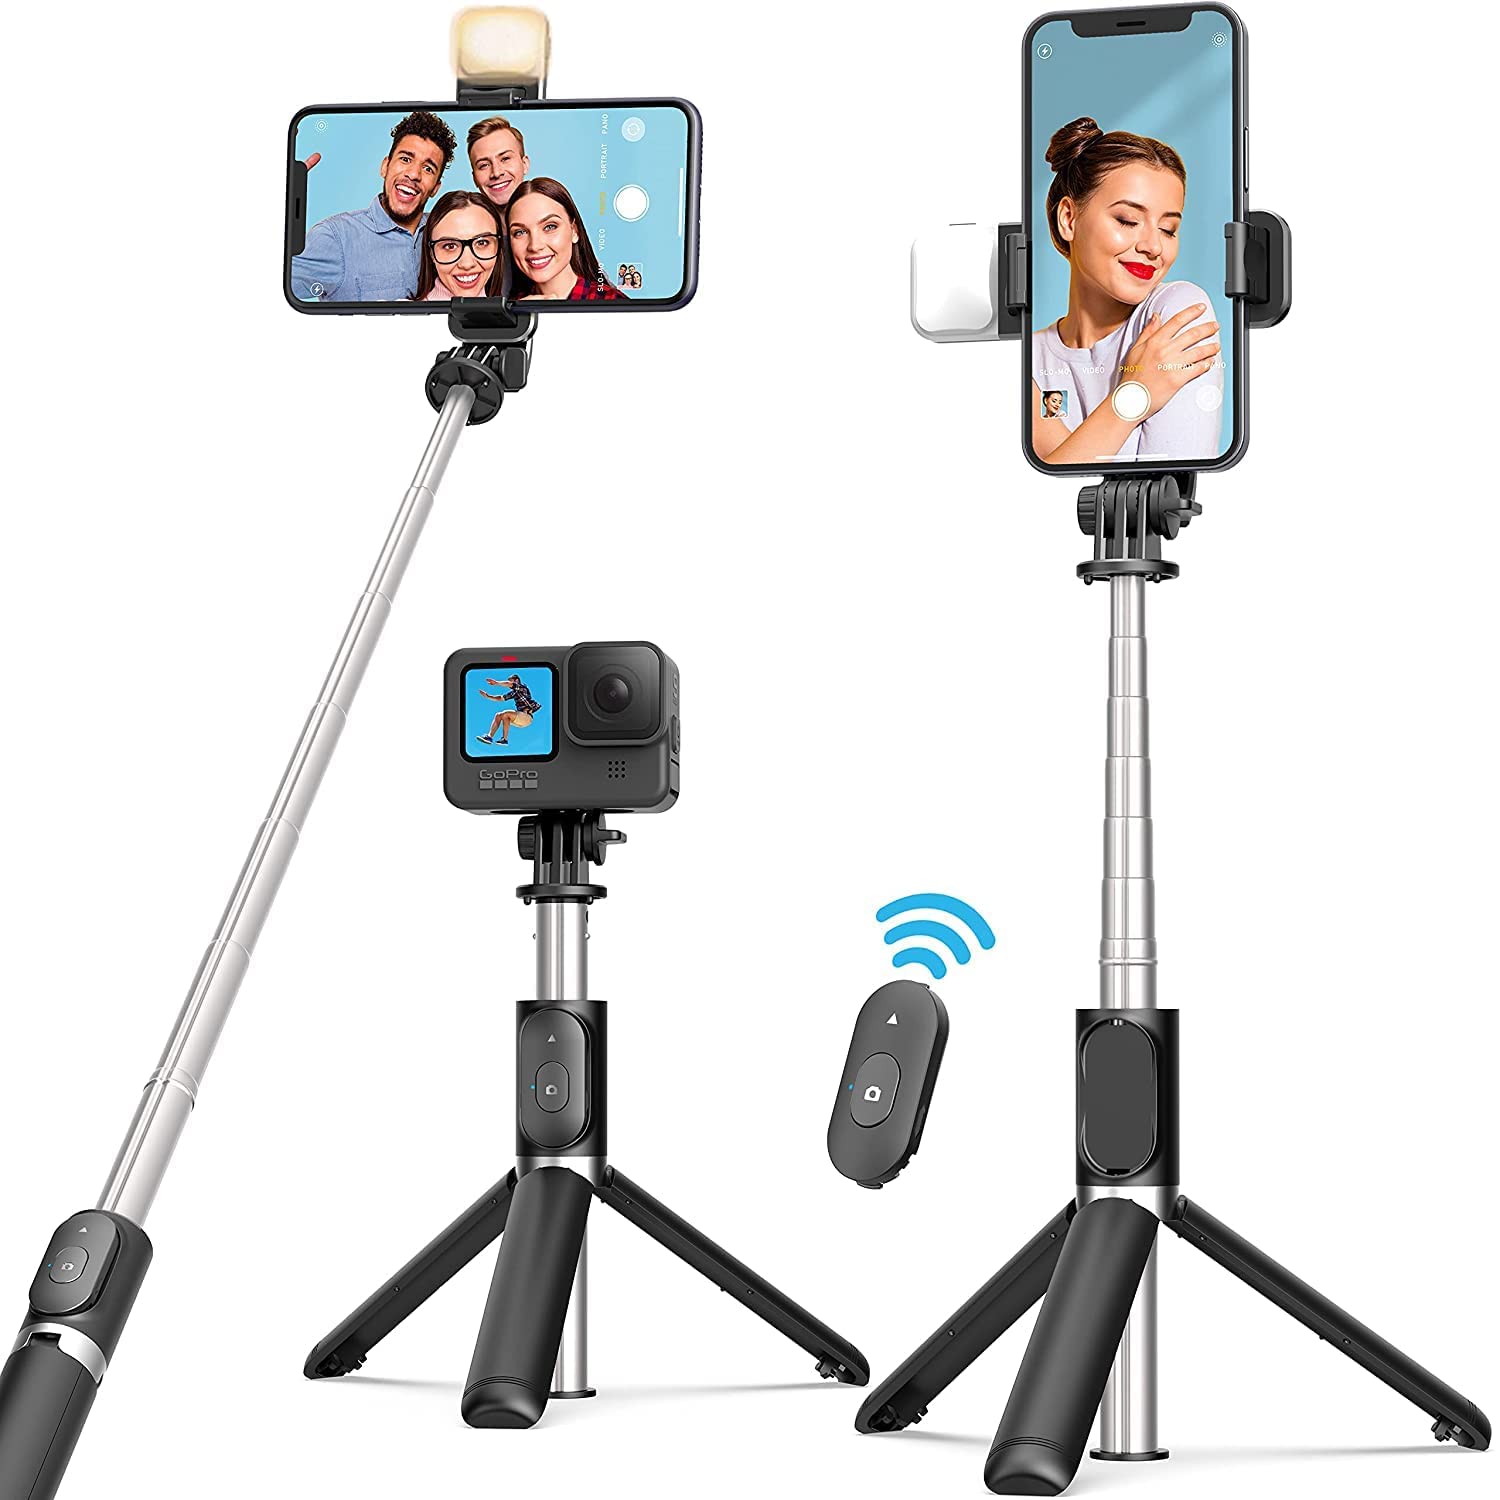
Check Compatibility: Before anything else, ensure that your selfie stick is compatible with the Moto G. Most selfie sticks feature a universal mount that can accommodate various smartphone models, including the Moto G. However, it's always best to double-check to avoid any compatibility issues.
-
Extend the Selfie Stick: Start by extending the selfie stick to your desired length. Many selfie sticks are telescopic, allowing you to adjust the length based on your preferences. Extending the stick provides you with greater flexibility in capturing wide-angle shots or getting closer to the subject.
-
Mount Your Moto G: Once the selfie stick is extended, locate the smartphone mount at the top of the stick. Gently secure your Moto G in the mount, ensuring that it is snug and stable. It's essential to position the phone securely to prevent any accidental slips or wobbling during use.
-
Connect via Bluetooth (if applicable): Some selfie sticks come with Bluetooth connectivity for remote operation. If your selfie stick features this functionality, follow the manufacturer's instructions to pair it with your Moto G. Bluetooth connectivity allows you to trigger the camera shutter remotely, adding convenience to your photography sessions.
-
Adjust the Angle: With your Moto G securely mounted, adjust the angle of the smartphone holder to achieve the desired orientation. Whether you prefer a traditional horizontal position or a vertical setup for portrait shots, the adjustable mount enables you to customize the angle according to your shooting needs.
-
Stabilize and Test: Before you start capturing photos, ensure that the selfie stick is stable and well-balanced. Hold the stick firmly to gauge its stability, making any necessary adjustments to prevent tilting or shaking. Once you're satisfied with the setup, test the functionality by taking a few practice shots to familiarize yourself with the controls and positioning.
By following these simple steps, you can seamlessly set up your selfie stick with your Moto G, unlocking a world of creative possibilities for capturing memorable moments with ease and precision.
Adjusting the Angle and Position of Your Moto G
Once your Moto G is securely mounted on the selfie stick, the next crucial step is to adjust the angle and position to achieve the perfect shot. This process allows you to customize the orientation of your smartphone, catering to different photography scenarios and creative preferences.
Finding the Ideal Angle
Before capturing your desired shot, it's essential to find the ideal angle for your Moto G. The adjustable mount on the selfie stick enables you to tilt and rotate the smartphone, providing flexibility in setting the perfect angle. Whether you're aiming for a classic horizontal composition or a dynamic diagonal perspective, adjusting the angle allows you to frame your subject with precision.
Portrait and Landscape Orientations
Depending on your photographic vision, you can seamlessly switch between portrait and landscape orientations by adjusting the position of your Moto G. For traditional landscape shots, position the smartphone horizontally to capture wide scenes and group photos. Conversely, for portrait-oriented compositions, such as individual portraits or vertical panoramas, simply rotate the smartphone holder to achieve the desired orientation.
Aligning with the Subject
When adjusting the angle and position of your Moto G, it's crucial to align the smartphone with your subject or focal point. This alignment ensures that your subject remains the central focus of the composition, resulting in well-balanced and visually appealing photographs. Whether you're capturing a breathtaking landscape, a group selfie, or a close-up portrait, aligning the Moto G with the subject enhances the overall composition and storytelling within the frame.
Precision and Stability
As you fine-tune the angle and position of your Moto G, prioritize precision and stability to achieve professional-looking results. Ensure that the smartphone is securely held in place, minimizing any potential tilting or slippage during the photo session. By maintaining stability, you can confidently experiment with different angles and compositions, knowing that your Moto G is securely positioned for optimal image capture.
Experimenting with Perspectives
Adjusting the angle and position of your Moto G opens up a world of creative possibilities, allowing you to experiment with unique perspectives and unconventional angles. Whether it's capturing a bird's-eye view from above, a ground-level shot for dramatic effect, or a candid side-angle composition, the adjustable nature of the selfie stick empowers you to explore diverse perspectives and unleash your creativity.
By mastering the art of adjusting the angle and position of your Moto G, you can elevate your photography skills and capture stunning visuals that reflect your unique perspective and artistic vision. This fundamental aspect of using a selfie stick with your Moto G empowers you to craft compelling compositions and immortalize memorable moments with precision and creativity.
Using the Timer Function for Hands-Free Selfies
Harnessing the timer function on your Moto G while using a selfie stick introduces a new dimension of convenience and creativity to your photography endeavors. This feature enables you to capture hands-free selfies and group shots without the need for immediate manual triggering, allowing you to seamlessly compose your frame and join the photo without rushing. Here's a comprehensive exploration of how to effectively utilize the timer function for hands-free selfies with your Moto G and selfie stick.
Setting the Timer
Initiating the timer function on your Moto G is a simple yet powerful process. Once your Moto G is securely mounted on the selfie stick and positioned for the desired shot, access the camera app and navigate to the timer settings. Typically, you'll find options for 3, 5, or 10-second delays before the shutter is activated. Select the appropriate delay based on your shooting scenario and the time needed to compose the perfect shot.
Composing the Frame
With the timer set, take advantage of the brief countdown to compose your frame precisely. Whether you're capturing a solo selfie, a group photo, or a scenic landscape, use the countdown period to adjust the angle, position, and overall composition of the shot. This hands-free approach allows you to step back from the smartphone and actively participate in the photo, ensuring that everyone is ready and positioned for the capture.
Hands-Free Group Photos
The timer function is particularly advantageous when capturing group photos with your Moto G and selfie stick. Instead of relying on someone to operate the camera or rushing to join the group before the photo is taken, the timer empowers you to seamlessly integrate into the frame. This results in more natural and relaxed group shots, as everyone can comfortably position themselves without the pressure of an immediate shutter release.
Creative Freedom and Flexibility
Utilizing the timer function provides you with creative freedom and flexibility in your photography process. Whether you're experimenting with dynamic poses, exploring different perspectives, or capturing candid moments, the hands-free nature of the timer function allows you to express your creativity without being tied to the immediate act of pressing the shutter button.
Capturing Candid Moments
The timer function also facilitates the capture of candid and spontaneous moments. By setting a short delay, you can discreetly initiate the timer and then naturally engage with your surroundings, allowing for authentic and unposed moments to unfold. This approach adds a genuine and organic quality to your selfies and group photos, resulting in images that authentically reflect the moment.
Elevating Your Selfie Game
Incorporating the timer function into your selfie stick photography routine elevates your selfie game by offering a seamless and hands-free approach to capturing memorable moments. Whether you're exploring new destinations, celebrating special occasions, or simply enjoying quality time with friends and family, the timer function empowers you to effortlessly document these experiences with precision and creativity.
By leveraging the timer function for hands-free selfies, you can elevate your photography experience, capture genuine moments, and unleash your creative potential, all while seamlessly integrating your Moto G and selfie stick into your visual storytelling journey.
Tips for Getting the Best Selfie with Your Moto G and Selfie Stick
Capturing the perfect selfie with your Moto G and selfie stick involves more than just pressing the shutter button. It's about leveraging the capabilities of your smartphone and accessory to elevate your selfie game and produce stunning self-portraits that reflect your unique style and personality. Here are essential tips to help you achieve the best selfies with your Moto G and selfie stick:
1. Natural Lighting is Key
When taking selfies, natural lighting can make a significant difference in the overall quality of your photos. Whenever possible, position yourself in well-lit areas, such as near windows or outdoors, to benefit from soft, flattering natural light. Avoid harsh, direct sunlight, as it can create unflattering shadows and overexposure.
2. Find Your Best Angle
Experiment with different angles to discover your most flattering and expressive poses. Tilt your head slightly, adjust the position of the selfie stick, and explore various perspectives to highlight your best features. Your Moto G's front-facing camera combined with the flexibility of the selfie stick allows you to find the perfect angle for a captivating selfie.
3. Express Yourself Naturally
Authenticity is key to a compelling selfie. Instead of forcing a smile, try to evoke genuine emotions and expressions that reflect your mood and personality. Whether it's a subtle smirk, a radiant smile, or a contemplative gaze, let your natural expressions shine through for a more engaging and relatable selfie.
4. Background Matters
Pay attention to the background of your selfie. Choose visually appealing or meaningful backgrounds that complement your composition without overwhelming the main subject – you. Whether it's a scenic landscape, a vibrant urban setting, or a simple and clean backdrop, a well-chosen background can enhance the visual impact of your selfie.
5. Utilize Filters and Editing Tools
Take advantage of your Moto G's built-in filters and editing tools to enhance your selfies. Experiment with different filters to add mood and character to your photos, and use editing features to adjust brightness, contrast, and other elements to fine-tune the overall look of your selfie.
6. Engage with the Surroundings
Incorporate elements from your surroundings to add depth and context to your selfies. Whether it's capturing a beautiful architectural detail, a stunning natural landscape, or an intriguing street scene, integrating the environment into your selfie can create visually captivating and storytelling images.
7. Confidence is Key
Confidence plays a significant role in the outcome of your selfies. Embrace your unique features and individuality, and exude confidence in front of the camera. A confident and self-assured demeanor can elevate the impact of your selfies, making them more compelling and empowering.
By implementing these tips, you can harness the full potential of your Moto G and selfie stick to capture exceptional selfies that resonate with authenticity, creativity, and visual appeal. Whether you're documenting everyday moments or special occasions, these tips will empower you to create memorable and captivating self-portraits with ease and confidence.