
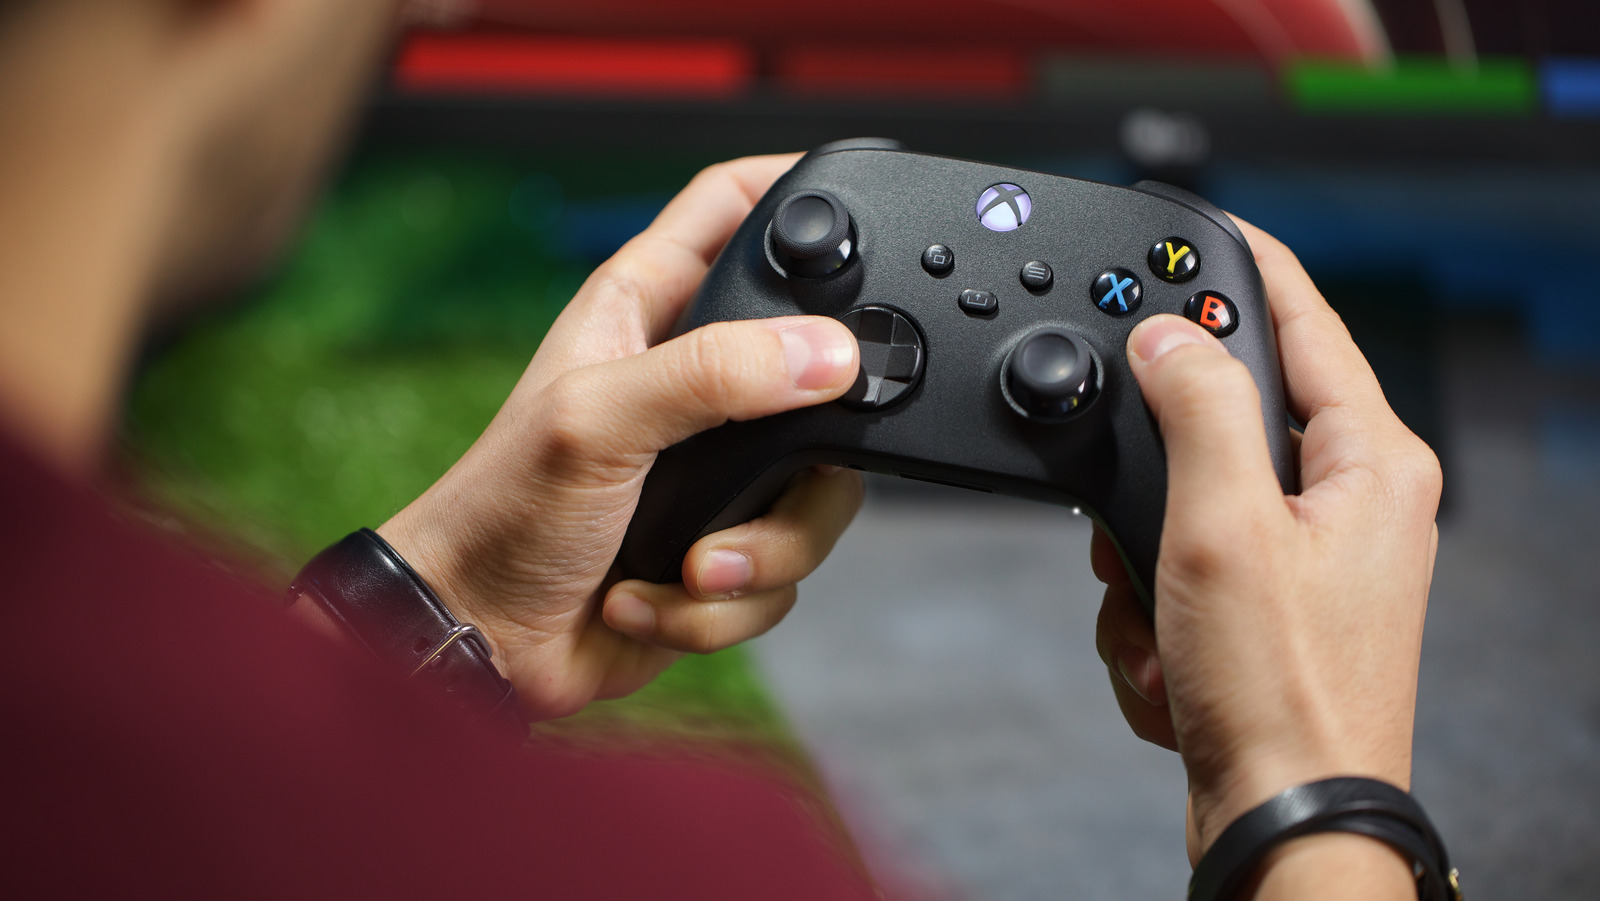
Common Causes of Stuck Xbox One Controller Joystick
Dealing with a stuck Xbox One controller joystick can be frustrating, hindering your gaming experience and causing unnecessary stress. Understanding the common causes of this issue is the first step towards finding a solution that will get you back to your favorite games without interruption. Here are some of the most prevalent reasons why your Xbox One controller joystick may become stuck:
- Dust and Debris Accumulation: Over time, dust, dirt, and other debris can accumulate around the joystick mechanism, leading to restricted movement and causing it to become stuck.
- Wear and Tear: Continuous use of the controller can lead to wear and tear of the joystick mechanism, resulting in reduced functionality and potential sticking.
- Moisture and Spills: Accidental exposure to moisture or liquid spills can cause the joystick to stick, as the internal components may become affected and hinder smooth movement.
- Mechanical Faults: Internal mechanical faults or damage to the joystick components can lead to sticking and restricted movement, impacting the overall performance of the controller.
- Manufacturing Defects: In some cases, manufacturing defects or inconsistencies in the joystick mechanism can contribute to sticking issues, requiring intervention to rectify the problem.
Understanding these common causes can help you identify the underlying issue with your Xbox One controller joystick, enabling you to take appropriate measures to address the problem effectively.
Cleaning the Joystick
When your Xbox One controller joystick becomes stuck, one of the initial steps to resolve the issue involves thorough cleaning. This process can help eliminate dust, debris, and other contaminants that may be hindering the joystick’s movement, potentially restoring its functionality without the need for replacement.
To clean the joystick, you will need a few basic supplies, including cotton swabs, isopropyl alcohol, canned air, and a small screwdriver for disassembly, if necessary. Here’s a step-by-step guide to effectively clean your Xbox One controller joystick:
- Prepare the Controller: Power off the controller and remove any batteries or battery packs to prevent accidental damage during the cleaning process.
- Disassemble the Controller (if applicable): If the joystick can be easily accessed, carefully disassemble the controller to gain access to the joystick mechanism.
- Remove Debris: Use a cotton swab lightly dampened with isopropyl alcohol to gently clean around and underneath the joystick, removing any visible dust, dirt, or debris.
- Use Canned Air: If possible, use canned air to blow away any remaining particles or debris that may be lodged in the joystick mechanism.
- Reassemble and Test: Once the cleaning process is complete, reassemble the controller (if disassembled) and test the joystick to see if the sticking issue has been resolved.
Regularly cleaning your Xbox One controller joystick can help prevent sticking and maintain optimal functionality. However, if cleaning alone does not resolve the issue, further troubleshooting and repair may be necessary to address any underlying mechanical or electrical issues.
Calibration of the Joystick
Calibrating the joystick on your Xbox One controller can often help resolve issues related to sticking or unresponsiveness. This process involves resetting the joystick’s center point and range of motion, potentially addressing any misalignment or calibration errors that may be causing the sticking problem. Here’s a guide to calibrating your Xbox One controller joystick:
- Access the Xbox Accessories App: On your Xbox console, navigate to the Xbox Accessories app, which allows you to customize and configure your controller settings.
- Connect the Controller: Ensure that your controller is connected to the console or PC for the calibration process.
- Select the Controller: Once in the Xbox Accessories app, select the controller you want to calibrate from the list of available devices.
- Calibration Options: Within the app, you should find options for calibrating the thumbsticks. Follow the on-screen instructions to initiate the calibration process.
- Follow On-Screen Prompts: The app will guide you through the calibration procedure, which typically involves moving the joystick through its full range of motion and centering it as instructed.
- Test the Joystick: After completing the calibration, test the joystick to see if the sticking issue has been resolved. If not, you may need to repeat the calibration process or consider further troubleshooting steps.
Calibrating the joystick can often realign its functionality and responsiveness, potentially addressing the sticking issue without requiring physical disassembly or replacement. However, if calibration does not yield the desired results, additional steps may be necessary to diagnose and resolve the underlying problem.
Replacing the Joystick Mechanism
If cleaning and calibration fail to resolve the sticking issue with your Xbox One controller joystick, replacing the joystick mechanism may be the most effective solution. While this process requires some technical skill and careful handling, it can restore full functionality to your controller. Here’s a step-by-step guide to replacing the joystick mechanism:
- Acquire Replacement Parts: Obtain a replacement joystick mechanism designed for the Xbox One controller. These components are available from various retailers and online stores.
- Prepare Workspace: Find a clean, well-lit area to work on your controller. Gather the necessary tools, including a small screwdriver set, tweezers, and a prying tool if needed.
- Disassemble the Controller: Carefully disassemble the controller, following a guide specific to your controller model to access the joystick mechanism. Take note of the disassembly process to ensure proper reassembly later.
- Remove the Old Joystick: Once the joystick mechanism is accessible, carefully disconnect and remove the old joystick, taking care not to damage any surrounding components or cables.
- Install the New Joystick: Align the new joystick mechanism with the controller’s housing and carefully connect it to the controller, ensuring a secure fit and proper alignment.
- Reassemble and Test: After replacing the joystick mechanism, reassemble the controller, ensuring all components are properly secured. Test the joystick to ensure that the sticking issue has been resolved.
Replacing the joystick mechanism can effectively address persistent sticking issues, providing a long-term solution to restore your Xbox One controller’s functionality. If you are uncomfortable with the replacement process, consider seeking assistance from a professional or experienced technician to ensure the proper installation of the new joystick mechanism.