
Why Unsticking a Monopod Shoe from Your Camera Is Important
When using a monopod for photography, it's not uncommon to encounter a stuck monopod shoe on your camera. This seemingly minor inconvenience can have significant implications for your photography experience. Here's why it's crucial to address this issue promptly:
-
Equipment Safety: A stuck monopod shoe can compromise the stability and safety of your camera setup. This can lead to accidental drops or damage to the camera and lens, potentially resulting in costly repairs or replacements.
-
Flexibility and Adaptability: A stuck monopod shoe limits your ability to switch between handheld and monopod-mounted photography. This can hinder your creative flexibility and impede your ability to adapt to different shooting conditions.
-
Workflow Efficiency: Addressing a stuck monopod shoe promptly ensures that you can seamlessly transition between different shooting setups. This is particularly important in fast-paced or time-sensitive photography scenarios where every moment counts.
-
Preventing Damage: The longer a monopod shoe remains stuck to your camera, the greater the risk of causing damage to the camera's hot shoe or the monopod shoe itself. Timely intervention can help prevent such damage and preserve the functionality of your equipment.
-
Professionalism: Whether you're a hobbyist or a professional photographer, maintaining the condition and functionality of your equipment is essential for projecting a professional image and ensuring the quality of your work.
-
Peace of Mind: Knowing that your equipment is in optimal condition and free from obstructions can provide peace of mind, allowing you to focus on capturing memorable moments without unnecessary distractions or concerns.
In essence, addressing a stuck monopod shoe on your camera is not just about resolving a physical obstruction; it's about safeguarding your equipment, preserving your workflow efficiency, and maintaining the quality of your photography endeavors. By understanding the significance of this issue, you can approach the process of unsticking the monopod shoe with a sense of purpose and urgency.
Tools You Will Need
Before embarking on the task of unsticking a monopod shoe from your camera, it’s essential to gather the necessary tools to facilitate a safe and effective process. Here’s a list of tools that will aid you in this endeavor:
- Flathead Screwdriver: A flathead screwdriver can be used to gently pry the monopod shoe away from the camera’s hot shoe. Its flat, thin edge allows for precise maneuvering without causing damage to the equipment.
- Rubber Band or Jar Opener: These items can provide additional grip and traction when attempting to twist and remove the stuck monopod shoe. The flexibility and traction they offer can aid in loosening the shoe from its position.
- Heat Source: A heat source, such as a hairdryer or heat gun, can be employed to expand the metal of the monopod shoe slightly, making it easier to remove. Caution should be exercised to avoid overheating the equipment.
- Cotton Swabs and Isopropyl Alcohol: In cases where adhesive residue is contributing to the sticking of the monopod shoe, isopropyl alcohol and cotton swabs can be used to gently clean and dissolve the residue, facilitating the removal process.
- Clean Cloth: Having a clean cloth on hand is useful for wiping any residual adhesive or cleaning solution from the camera and monopod shoe after the unsticking process.
By ensuring that these tools are readily available, you can approach the task of unsticking the monopod shoe with confidence, knowing that you have the necessary resources to address the issue effectively and safely.
Step 1: Assess the Situation
Before attempting to unstick a monopod shoe from your camera, it’s crucial to assess the situation carefully to determine the underlying cause of the sticking and the best approach for resolving it. Here’s how you can effectively assess the situation:
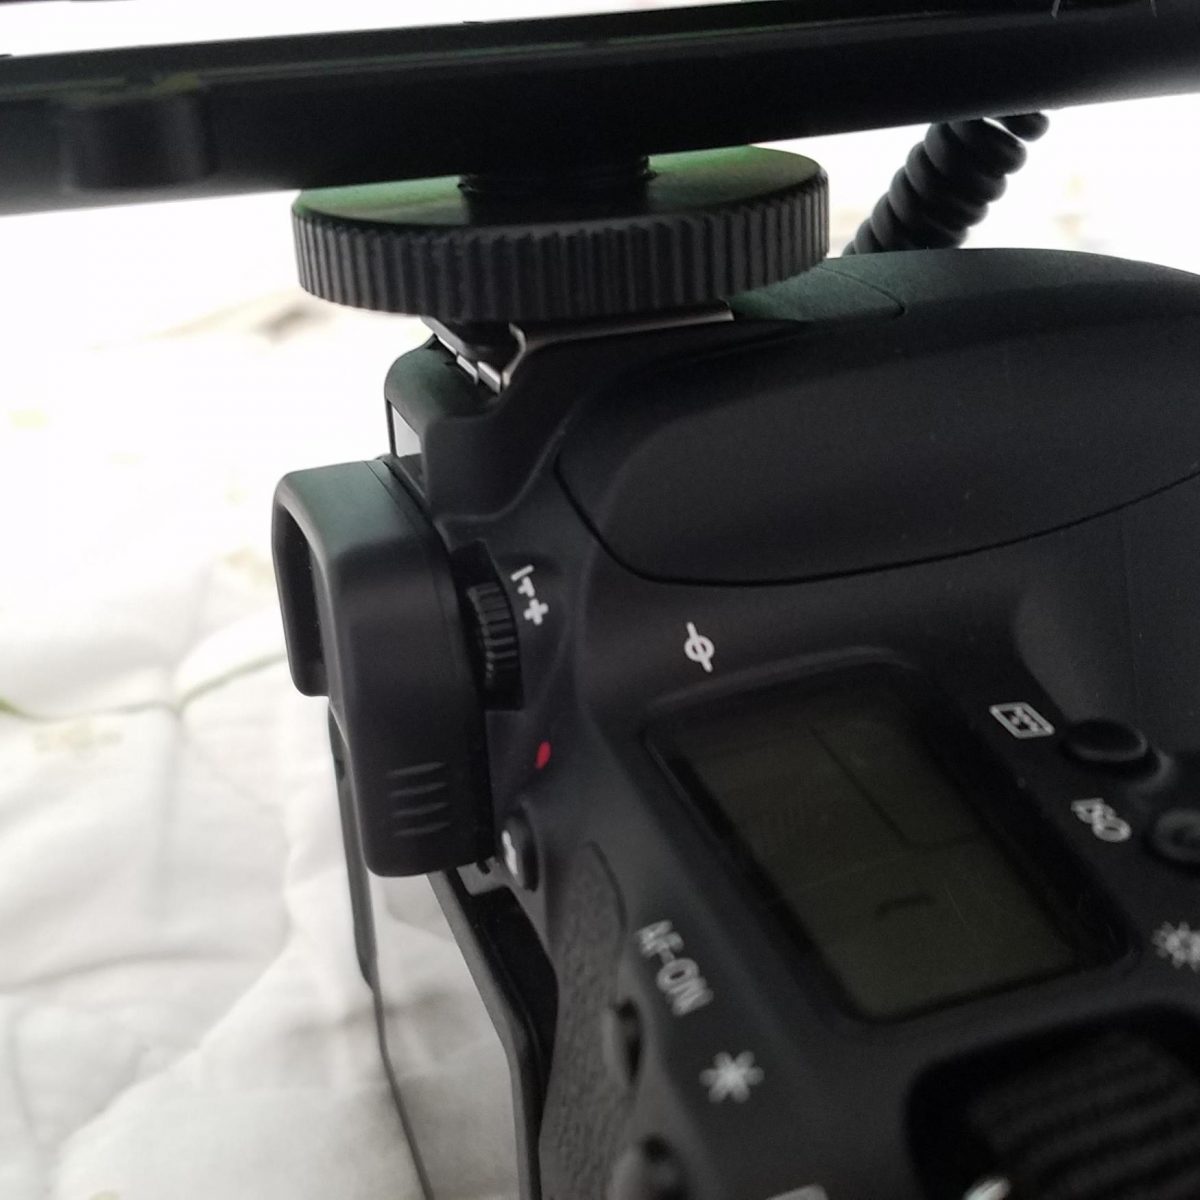
Examine the Sticking Mechanism: Begin by inspecting the monopod shoe and the camera’s hot shoe to identify any visible signs of debris, corrosion, or adhesive residue that may be contributing to the sticking. Additionally, check for any physical damage or misalignment that could be impeding the smooth removal of the monopod shoe.
Understand the Sticking Cause: Consider the circumstances that led to the monopod shoe becoming stuck. Was it exposed to extreme temperatures, moisture, or physical force? Understanding the potential cause can guide your approach in addressing the sticking issue effectively.
Assess the Hot Shoe Compatibility: If you’ve recently switched cameras or monopods, ensure that the compatibility between the hot shoe and the monopod shoe is optimal. Misalignments or incompatible fittings can result in sticking and should be addressed accordingly.
Evaluate the Sticking Severity: Determine the degree of resistance when attempting to remove the monopod shoe. Is it firmly stuck or slightly adhered? Assessing the severity of the sticking will help you gauge the level of intervention required and the likelihood of potential damage during the removal process.
By thoroughly assessing the situation, you can gain valuable insights into the nature of the sticking issue and tailor your approach to address it effectively. This proactive assessment sets the stage for a methodical and informed process as you proceed to unstick the monopod shoe from your camera.
Step 2: Apply Pressure and Twist
When faced with a stuck monopod shoe on your camera, applying pressure and employing a twisting motion can often help dislodge the shoe from the hot shoe. Here’s a systematic approach to this step:
Apply Even Pressure: Begin by firmly holding the camera body with one hand while supporting the monopod shoe with the other. Apply even pressure to the monopod shoe, pressing it downwards and towards the camera body, to ascertain if it will yield to gentle force.
Engage in a Twisting Motion: While maintaining the pressure, initiate a subtle twisting motion in both clockwise and counterclockwise directions. This rotational movement can help break the bond between the monopod shoe and the hot shoe, gradually loosening its grip.
Exercise Patience: It’s important to exercise patience during this process, as excessive force or abrupt movements can potentially damage the hot shoe or the monopod shoe. Apply consistent, controlled pressure and twisting, allowing the gradual release of the stuck monopod shoe.
Utilize a Flathead Screwdriver: If the monopod shoe remains stubbornly stuck, a flathead screwdriver can be used to gently pry the edges of the shoe away from the hot shoe while maintaining the pressure and twisting motion. Exercise caution to avoid scratching or denting the camera body during this step.
Assess Progress Continuously: Throughout the application of pressure and twisting, periodically assess the progress by checking for any signs of movement or loosening of the monopod shoe. This ongoing assessment will inform your next steps and prevent excessive force from causing unintended damage.
By methodically applying pressure and incorporating a twisting motion, you can systematically work towards dislodging the stuck monopod shoe from your camera’s hot shoe. This patient and deliberate approach sets the stage for a successful resolution while minimizing the risk of equipment damage.
Step 3: Use a Rubber Band or Jar Opener
When conventional methods such as applying pressure and twisting have not yielded the desired results in unsticking a monopod shoe from your camera, employing a rubber band or jar opener can provide additional traction and leverage to facilitate the removal process. Here’s how to utilize these tools effectively:
Wrap the Rubber Band: Secure a wide rubber band around the monopod shoe, ensuring a snug fit. The elasticity and friction of the rubber band can enhance your grip on the shoe, making it easier to apply controlled force while attempting to dislodge it from the hot shoe.
Utilize a Jar Opener: Alternatively, a jar opener, with its textured surface designed for enhancing grip, can be placed beneath the monopod shoe. By leveraging the jar opener’s traction, you can exert upward pressure while simultaneously attempting a twisting motion to release the stuck monopod shoe.
Apply Gradual Tension: Whether using a rubber band or a jar opener, begin by applying gradual tension in the direction that will encourage the release of the monopod shoe. This controlled tension aims to gradually break the adhesion between the surfaces, allowing for a smoother removal process.
Combine with Heat Application: If the monopod shoe remains resistant to removal, consider combining the use of a rubber band or jar opener with the application of gentle heat to the hot shoe. The expansion of the metal due to heat can complement the traction provided by these tools, aiding in the unsticking process.
Exercise Caution: While employing these tools, exercise caution to avoid exerting excessive force that could lead to damage to the camera or the monopod shoe. Continuously assess the level of resistance and adjust the application of pressure and traction accordingly.
By integrating the use of a rubber band or jar opener into the unsticking process, you can harness additional traction and leverage to overcome the sticking of the monopod shoe. This strategic approach enhances your ability to dislodge the shoe while minimizing the risk of causing unintended damage to your camera equipment.
Step 4: Use a Heat Source
Introducing heat to the stuck monopod shoe and the camera’s hot shoe can effectively expand the metal and loosen the adhesive, facilitating the unsticking process. Here’s how to utilize a heat source safely and strategically:
Selecting the Heat Source: Choose a suitable heat source, such as a hairdryer or a heat gun, with adjustable temperature settings. Opt for a low to moderate heat setting to avoid overheating the equipment and causing damage.
Apply Heat Evenly: Direct the heat source evenly over the area where the monopod shoe is stuck to the hot shoe. Maintain a consistent distance to ensure that the heat is dispersed uniformly, allowing the metal to expand gradually without creating hot spots.
Monitor the Temperature: Continuously monitor the temperature of the hot shoe and the monopod shoe during the application of heat. Avoid prolonged exposure to heat, and periodically pause to assess the progress and prevent overheating of the equipment.
Combine with Twisting and Pressure: While applying heat, continue to incorporate a twisting motion and gentle pressure to encourage the release of the monopod shoe. The combination of heat, pressure, and motion can synergistically contribute to the gradual loosening of the stuck shoe.
Exercise Caution and Patience: When using a heat source, exercise caution to prevent accidental burns or damage to the camera. Additionally, exercise patience as you allow the heat to work on the stuck monopod shoe, avoiding abrupt movements that could lead to unintended consequences.
Utilize Isopropyl Alcohol if Needed: In cases where adhesive residue is contributing to the sticking, the application of heat can be complemented by using isopropyl alcohol and cotton swabs to gently dissolve the residue, further easing the removal process.
By incorporating a controlled application of heat into the unsticking process, you can effectively harness the expansion properties of metal and adhesive dissolution to release the stuck monopod shoe from your camera’s hot shoe. This methodical approach minimizes the risk of damage while maximizing the likelihood of a successful resolution.
Step 5: Seek Professional Help if Necessary
Despite your best efforts, there may be instances where the monopod shoe remains stubbornly stuck to your camera’s hot shoe, posing a challenge that requires professional expertise. Knowing when to seek professional assistance is crucial in ensuring the safe and effective resolution of the issue. Here’s how to approach this step:
Assessing the Severity of Sticking: If the monopod shoe shows no signs of yielding to your attempted removal methods, carefully assess the severity of the sticking. Is there visible damage, excessive resistance, or complications that may necessitate professional intervention?
Consulting Camera Equipment Professionals: Reach out to reputable camera equipment professionals, such as certified technicians or authorized service centers, to seek guidance and assistance. Describe the issue in detail and inquire about the recommended course of action based on their expertise.
Exploring Specialized Tools and Techniques: Professional technicians may have access to specialized tools and techniques designed for safely addressing stuck components on camera equipment. Their expertise and resources can offer a higher probability of successful unsticking without compromising the integrity of the equipment.
Considering Potential Risks: If the sticking issue involves delicate components or intricate mechanisms within the camera’s hot shoe, attempting amateur solutions may pose a risk of exacerbating the problem. Professional assistance mitigates these risks and ensures that the equipment is handled with the utmost care.
Preserving Equipment Warranty: If your camera is under warranty, seeking professional assistance ensures that the unsticking process is conducted in a manner that upholds the warranty terms, safeguarding your investment and preventing unauthorized actions that could void the warranty.
Remaining Open to Expert Recommendations: Upon consulting with professionals, remain open to their recommendations and insights. Their expertise may reveal underlying factors or solutions that were not apparent during your initial attempts, leading to a more informed and effective course of action.
By recognizing the limitations of amateur intervention and proactively seeking professional help when necessary, you prioritize the safety, functionality, and longevity of your camera equipment. Professional expertise offers a comprehensive and reliable approach to resolving sticking issues, ensuring that your equipment remains in optimal condition.