
Checking Do Not Disturb Status
Before diving into the process of turning off Do Not Disturb on your iPhone 13, it's crucial to first check its current status. This feature is designed to provide users with a peaceful environment by silencing calls, alerts, and notifications. However, it's important to ensure that it's not inadvertently activated when you need to stay connected.
To check the status of Do Not Disturb on your iPhone 13, you can follow these simple steps:
-
Access Control Center: Swipe down from the top-right corner of the screen to open Control Center. Here, you'll find various settings and shortcuts, including the Do Not Disturb icon.
-
Look for the Do Not Disturb Icon: In Control Center, locate the crescent moon icon. If it's highlighted or appears in a different color, it indicates that Do Not Disturb is currently active.
-
Check the Lock Screen: Another way to check the status of Do Not Disturb is by glancing at the lock screen. If the crescent moon icon is displayed at the top of the screen, it means that Do Not Disturb is turned on.
-
Check the Status Bar: When Do Not Disturb is active, a crescent moon icon will also appear in the status bar at the top of the screen. This provides a quick visual indicator of the feature's status.
By following these steps, you can easily determine whether Do Not Disturb is currently enabled on your iPhone 13. Once you've confirmed its status, you can proceed to turn it off using the Control Center, Settings, or even Siri, depending on your preference and convenience.
Understanding how to check the status of Do Not Disturb ensures that you can stay informed about your device's settings and make necessary adjustments to suit your communication needs.
Turning Off Do Not Disturb from Control Center
Turning off Do Not Disturb from the Control Center on your iPhone 13 is a straightforward process that allows you to quickly regain access to calls, alerts, and notifications. This feature is particularly useful when you need to seamlessly transition from a focused, uninterrupted state to being fully connected and accessible.
To disable Do Not Disturb from the Control Center, follow these simple steps:
-
Access Control Center: Begin by swiping down from the top-right corner of the screen to open the Control Center. This action reveals a range of settings and shortcuts, including the Do Not Disturb icon.
-
Locate the Do Not Disturb Icon: Within the Control Center, look for the crescent moon icon. If it's highlighted or appears in a different color, it indicates that Do Not Disturb is currently active.
-
Turn Off Do Not Disturb: To deactivate Do Not Disturb, simply tap the crescent moon icon. Upon doing so, the icon will return to its default state, signifying that Do Not Disturb has been successfully turned off.
By following these steps, you can promptly disable Do Not Disturb from the Control Center, allowing your iPhone 13 to resume normal notification and call functions. This method offers a convenient way to swiftly transition from a muted state to being fully engaged with your device.
Understanding how to utilize the Control Center to manage Do Not Disturb empowers you to adapt your device's settings to suit your immediate communication needs. Whether you're in a meeting, enjoying some quiet time, or simply need to stay focused, the Control Center provides a seamless way to toggle Do Not Disturb on and off with ease.
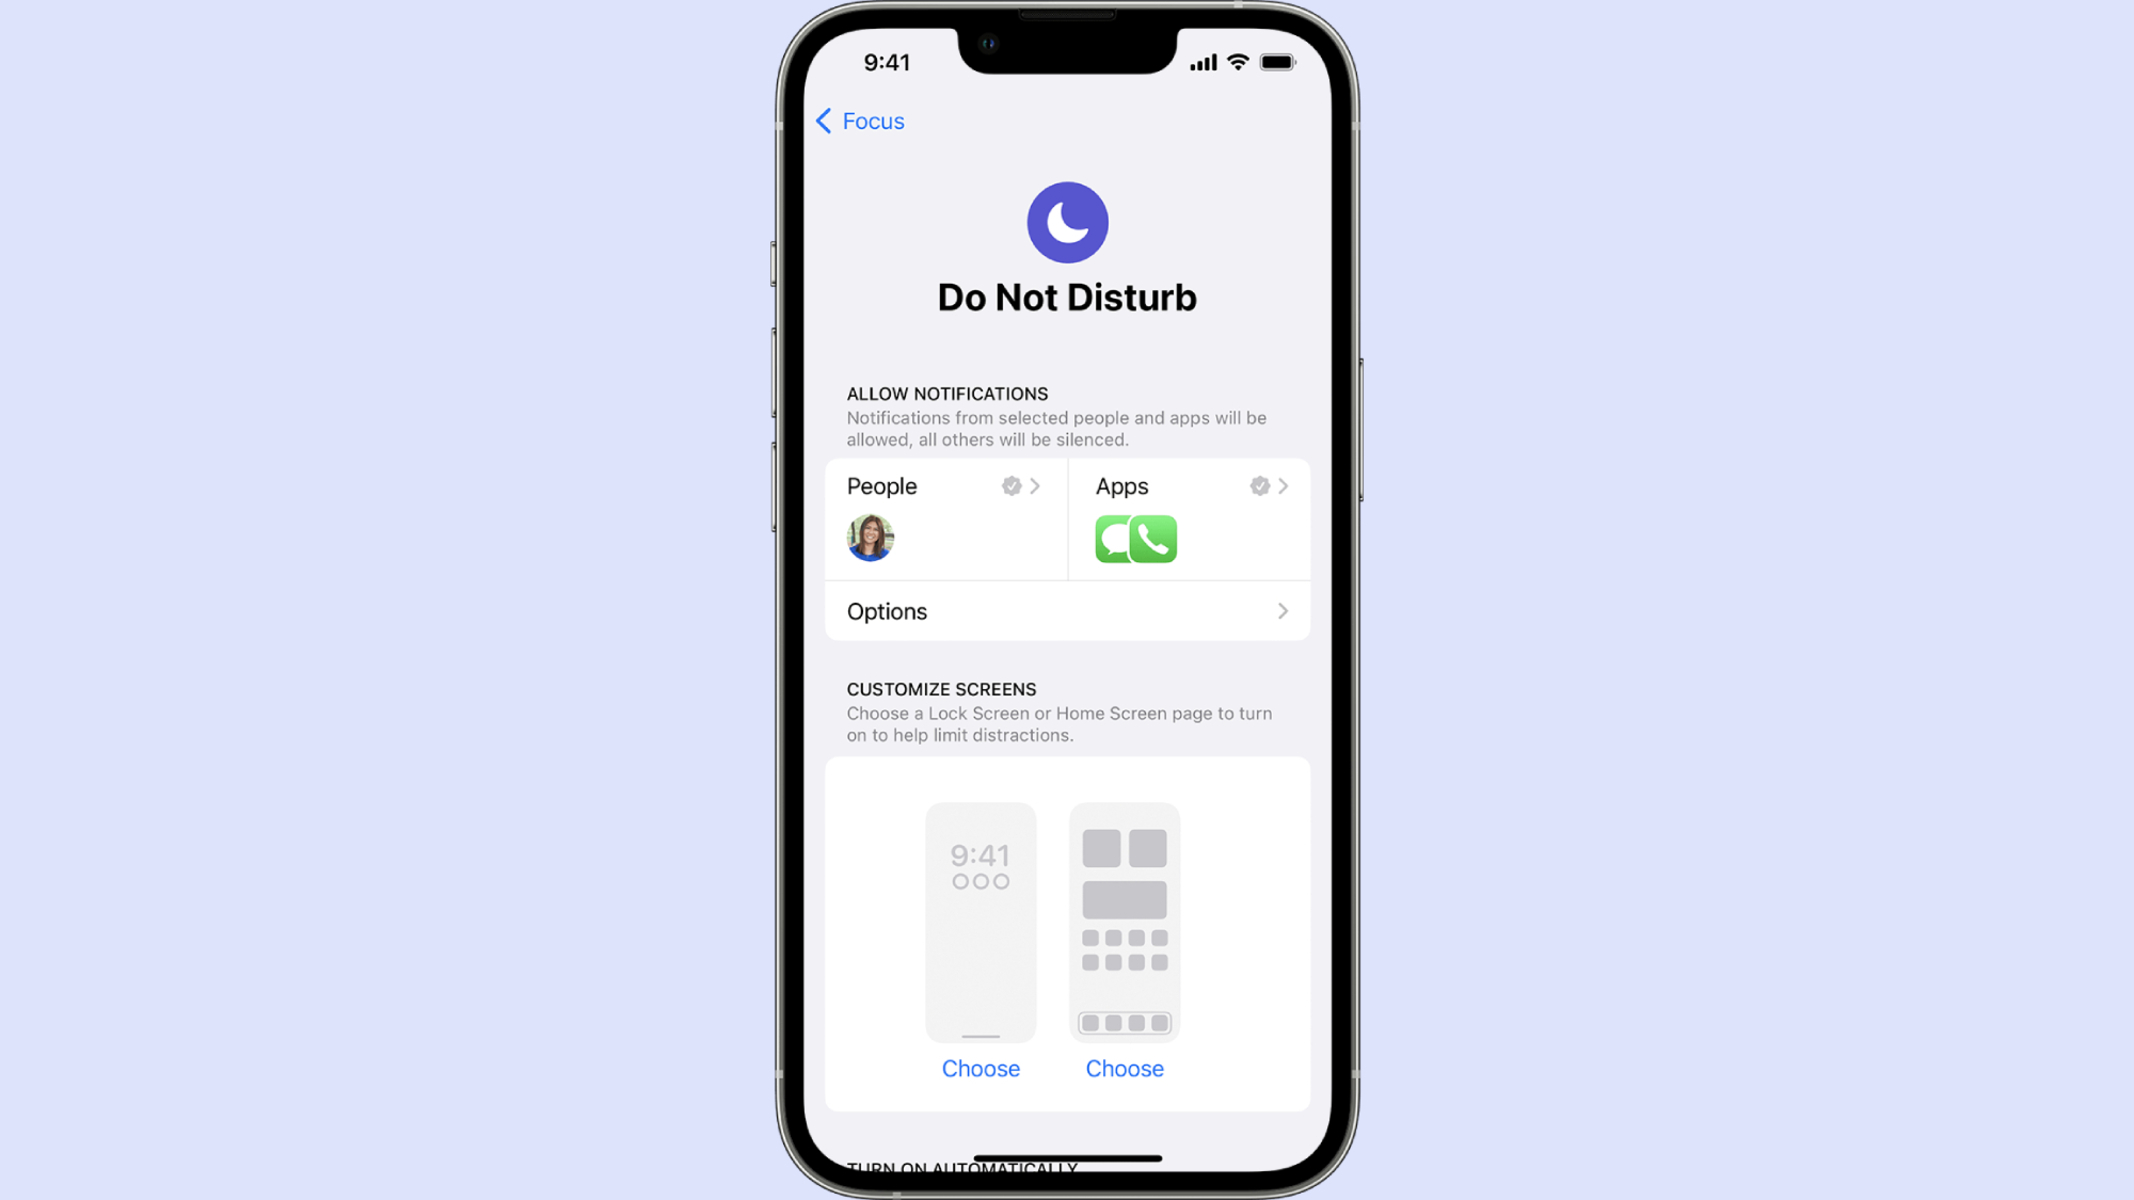
Turning Off Do Not Disturb from Settings
Turning off Do Not Disturb from the Settings menu on your iPhone 13 offers a comprehensive approach to managing this feature, allowing for more nuanced control over your device's notification settings. While the Control Center provides a quick and convenient method to toggle Do Not Disturb, accessing the Settings menu offers additional customization options and detailed configurations.
To turn off Do Not Disturb from Settings, follow these steps:
-
Open the Settings App: Locate and tap the "Settings" app on your iPhone 13's home screen. The Settings app serves as a central hub for customizing various aspects of your device, including Do Not Disturb settings.
-
Navigate to "Do Not Disturb": Within the Settings menu, scroll and look for the "Do Not Disturb" option. It is typically represented by a crescent moon icon, making it easily recognizable.
-
Disable Do Not Disturb: Upon accessing the "Do Not Disturb" settings, you will find a toggle switch next to the "Do Not Disturb" label. To turn off Do Not Disturb, simply tap the toggle switch to deactivate the feature. Once disabled, the toggle switch will no longer be highlighted, indicating that Do Not Disturb has been successfully turned off.
In addition to the basic on/off toggle, the Settings menu provides a range of advanced options for managing Do Not Disturb. These include scheduling specific time periods for Do Not Disturb to automatically activate, allowing calls from specific contacts even when Do Not Disturb is on, and customizing the behavior of repeated calls during Do Not Disturb.
By leveraging the Settings menu to turn off Do Not Disturb, you gain access to these advanced configurations, enabling you to tailor the feature to suit your specific preferences and lifestyle. Whether you need to ensure uninterrupted focus during specific hours or selectively allow urgent calls, the Settings menu empowers you to fine-tune Do Not Disturb according to your individual needs.
Understanding how to navigate the Settings menu to manage Do Not Disturb provides you with a deeper level of control over your iPhone 13's notification settings. This comprehensive approach ensures that you can seamlessly adapt your device to accommodate various scenarios, from focused work sessions to moments of relaxation, while staying connected to important calls and alerts.
Using Siri to Turn Off Do Not Disturb
Utilizing Siri to turn off Do Not Disturb on your iPhone 13 offers a hands-free and efficient method to manage this feature, allowing you to seamlessly transition from a muted state to being fully accessible and connected. Siri, Apple's virtual assistant, is designed to understand natural language commands and perform a wide range of tasks, including adjusting device settings such as Do Not Disturb.
To turn off Do Not Disturb using Siri, you can simply activate Siri by saying "Hey Siri" or pressing and holding the side button. Once Siri is activated, you can issue a voice command to disable Do Not Disturb. For example, you can say, "Hey Siri, turn off Do Not Disturb." Siri will promptly process the command and disable the Do Not Disturb feature on your iPhone 13.
By leveraging Siri's capabilities, you can conveniently manage Do Not Disturb without the need to manually navigate through menus or interact with the device's screen. This hands-free approach is particularly useful in situations where you need to quickly transition from a muted state to being fully engaged with your device, such as when entering a meeting, driving, or simply preferring a hands-free interaction.
In addition to turning off Do Not Disturb, Siri can also provide further assistance in customizing Do Not Disturb settings, such as scheduling specific activation times, allowing calls from designated contacts, or adjusting notification behavior during Do Not Disturb. By simply voicing your preferences to Siri, you can efficiently tailor the Do Not Disturb feature to suit your specific needs and lifestyle.
Siri's integration with Do Not Disturb exemplifies the seamless and intuitive nature of Apple's ecosystem, offering users a convenient and natural way to interact with their devices. Whether you're managing notifications while on the go, multitasking, or simply prefer voice commands, Siri provides a versatile and accessible means to control Do Not Disturb and other device settings.
Understanding how to leverage Siri to manage Do Not Disturb empowers you to efficiently navigate your iPhone 13's features, enhancing your overall user experience and enabling seamless integration of technology into your daily routine. With Siri as a reliable virtual assistant, you can effortlessly control Do Not Disturb and other device settings, ensuring that your iPhone 13 adapts to your communication needs with ease.