
Importance of Tripod Stability
When it comes to capturing stunning photographs or shooting professional-quality videos, tripod stability plays a pivotal role in achieving the desired results. A stable tripod serves as the foundation for your camera, ensuring that it remains steady and level, thus minimizing the risk of blurry images or shaky footage. Whether you are a seasoned photographer, a videographer, or an amateur enthusiast, understanding the significance of tripod stability is crucial for producing high-quality visual content.
First and foremost, tripod stability directly impacts the sharpness and clarity of your images. By providing a secure and level platform for your camera, a stable tripod minimizes the potential for camera shake, especially in low light conditions or when using telephoto lenses. This is particularly important for long exposure shots, macro photography, or capturing intricate details where any slight movement can compromise the overall image quality.
Furthermore, in the realm of videography, tripod stability is indispensable for achieving smooth and steady footage. Whether you are filming a documentary, a vlog, or a cinematic sequence, a stable tripod ensures that your camera remains fixed in position, allowing for seamless panning, tilting, and tracking shots without any unwanted jerks or wobbles.
Moreover, tripod stability is essential for maintaining a consistent composition and framing. Once your camera is securely mounted on a stable tripod, you can confidently compose your shots, adjust the framing, and experiment with different angles, knowing that the tripod’s stability will uphold the desired orientation and perspective.
Overall, the importance of tripod stability cannot be overstated. Whether you are capturing landscapes, portraits, architecture, or conducting product photography, a stable tripod serves as the cornerstone for achieving professional-grade results. By understanding the critical role of tripod stability, you can elevate the quality of your visual content and unleash your creative potential with confidence and precision.
Choosing the Right Tripod for Stability
When it comes to selecting a tripod that offers optimal stability for your photography or videography endeavors, several key factors come into play. The right tripod not only provides a secure base for your camera but also ensures stability in diverse shooting environments and conditions.
Material and Construction: One of the primary considerations when choosing a stable tripod is the material and construction. Aluminum and carbon fiber tripods are popular choices, each offering distinct advantages. Aluminum tripods are sturdy and cost-effective, making them ideal for general-purpose use. On the other hand, carbon fiber tripods are lightweight, durable, and absorb vibrations effectively, making them suitable for travel and outdoor photography.
Load Capacity: It is crucial to select a tripod with a load capacity that exceeds the weight of your camera and heaviest lens. This ensures that the tripod remains stable and secure, even when using heavy or professional-grade camera equipment. Additionally, a higher load capacity provides a safety margin, preventing the risk of instability or tipping over when shooting in challenging conditions.
Leg Design and Locking Mechanism: The design of the tripod legs and the locking mechanism significantly impact stability. Look for tripods with adjustable leg angles and reliable locking mechanisms, such as twist locks or lever locks. This allows you to set up the tripod on uneven terrain and ensures that the legs remain securely in place, enhancing stability and preventing any wobbling or shifting during shooting.
Center Column and Base Plate: Consider tripods with a sturdy center column and a secure base plate. A robust center column provides additional height and flexibility, while a stable base plate ensures that the camera is firmly mounted to the tripod, minimizing any potential movement or vibration.
Overall Design and Features: Evaluate the overall design and features of the tripod, including the presence of a hook for adding counterweights, a removable monopod function, and compatibility with different tripod heads. These features contribute to the stability and versatility of the tripod, allowing you to adapt to various shooting scenarios with confidence.
By carefully considering these factors and selecting a tripod that aligns with your specific shooting requirements, you can ensure that stability remains a top priority, empowering you to capture exceptional images and videos with precision and confidence.
Ensuring a Level Position for Your Tripod
Attaining a level position for your tripod is essential for maintaining stability and achieving accurate compositions in photography and videography. A level tripod ensures that your camera remains steady and aligned, allowing you to capture images and footage with precision. Here are several methods to ensure a level position for your tripod:
- Integrated Bubble Level: Many tripods come equipped with an integrated bubble level, typically located on the tripod head or the base plate. This built-in level allows you to adjust the tripod’s position until the bubble is centered, indicating that the tripod is perfectly level. Utilizing the integrated bubble level is a convenient and effective way to ensure the initial level setup of your tripod.
- External Bubble Level: If your tripod does not feature an integrated bubble level or if you prefer additional precision, using an external bubble level is an excellent alternative. Attaching a small bubble level to the hot shoe of your camera or to the tripod itself enables you to visually confirm the level position of the entire setup, ensuring that both the camera and the tripod are perfectly aligned.
- Electronic Leveling Devices: For advanced accuracy, electronic leveling devices, such as digital inclinometers or smartphone apps, provide real-time digital readouts of the tripod’s inclination. These devices offer precise measurements and visual indicators, allowing you to adjust the tripod’s position with unparalleled accuracy, especially in situations where absolute precision is crucial.
- Manual Adjustment: In the absence of specialized leveling tools, manually adjusting the tripod legs to achieve a level position is a fundamental technique. By visually assessing the horizon or using a handheld spirit level, you can adjust the individual leg lengths until the tripod is perfectly level, compensating for uneven terrain and ensuring stability.
By employing these methods, you can guarantee that your tripod is positioned levelly, providing a stable and reliable foundation for your camera. Whether you are capturing breathtaking landscapes, conducting architectural photography, or filming professional video content, a level tripod position is instrumental in achieving exceptional results with precision and consistency.
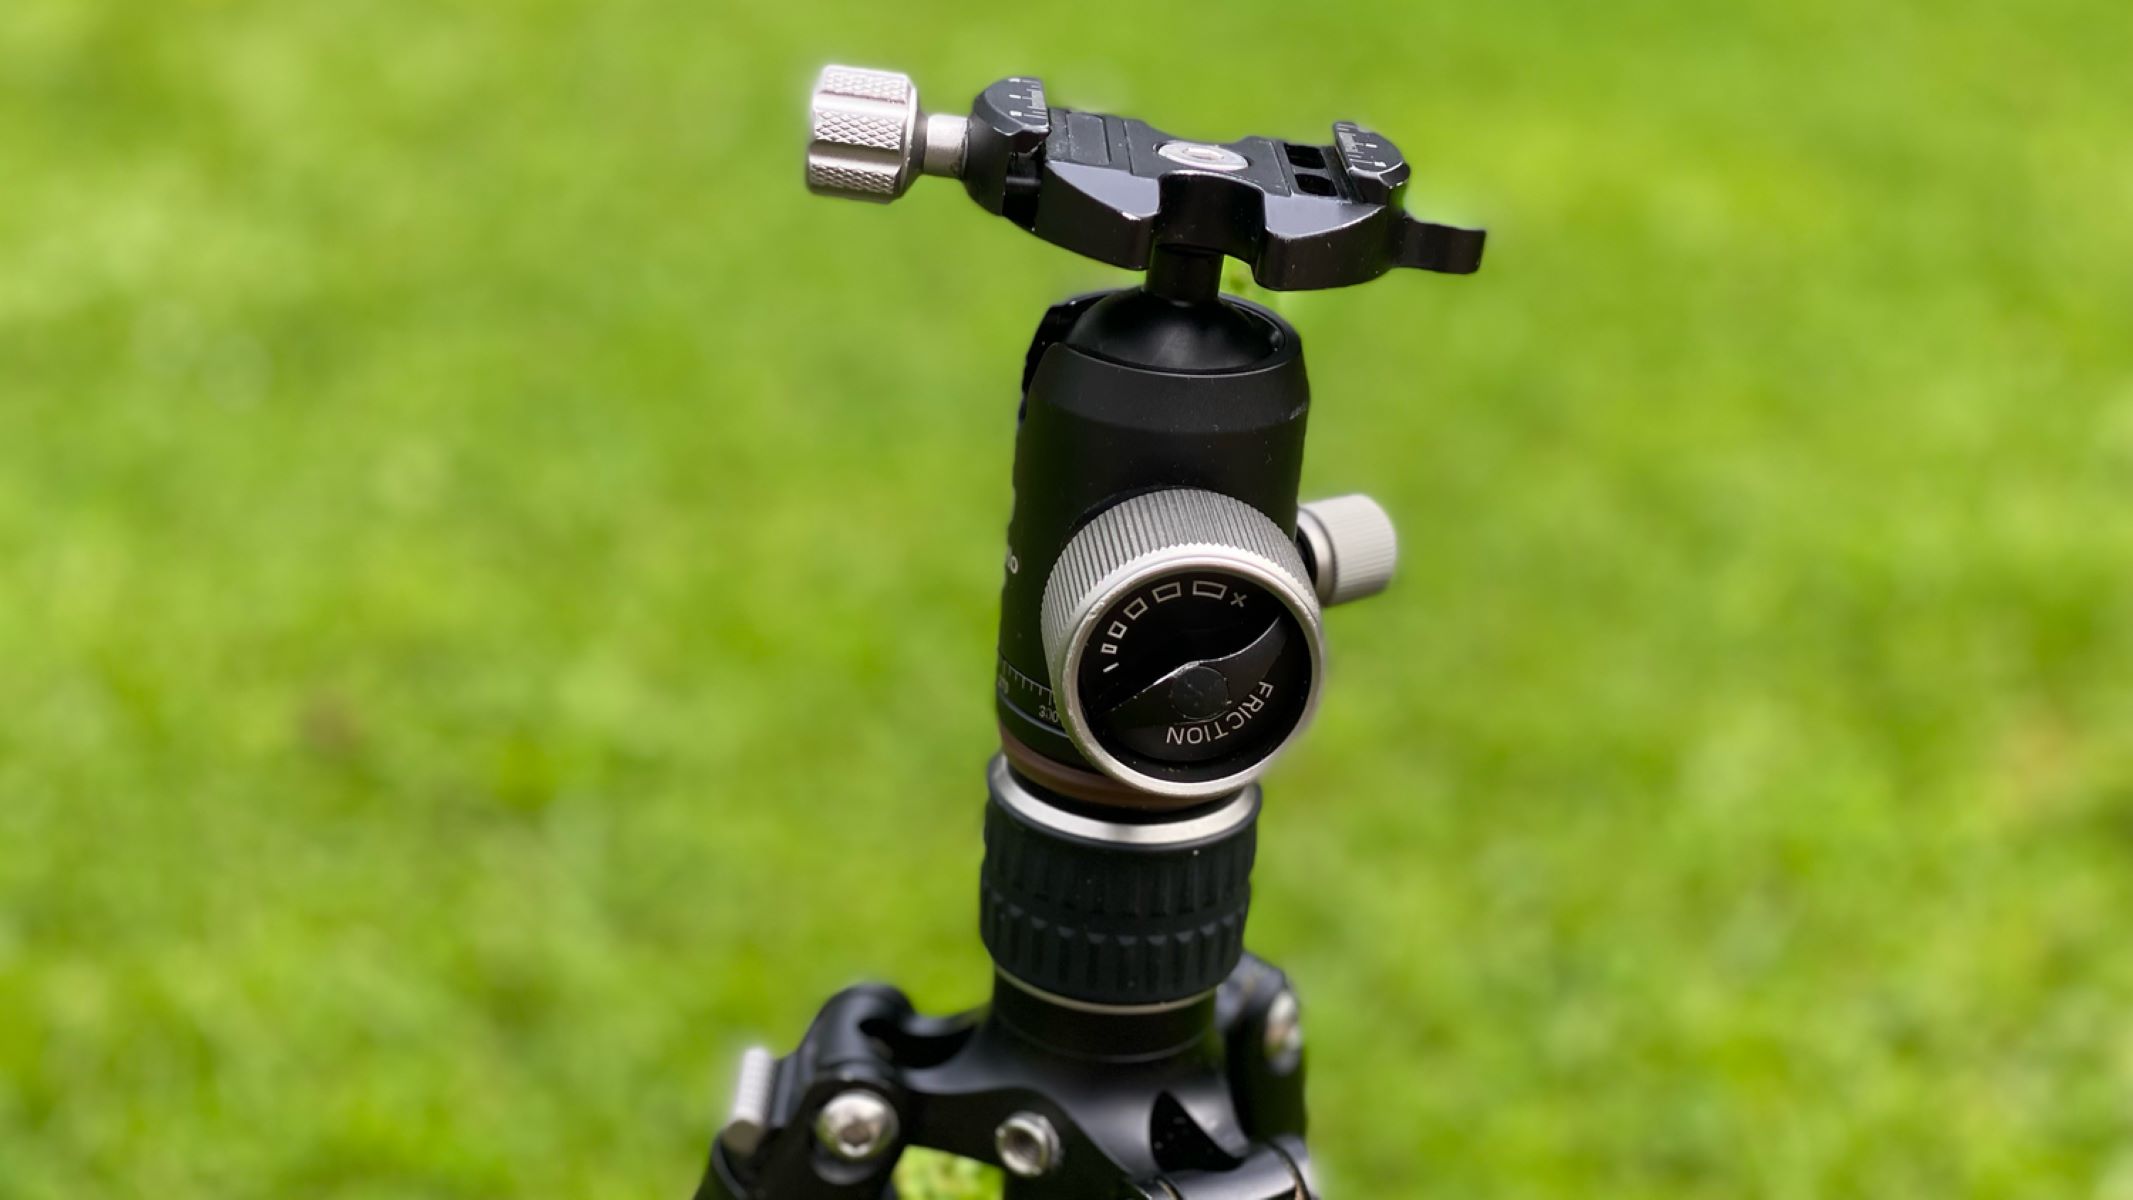
Using a Bubble Level for Accuracy
A bubble level is a simple yet invaluable tool for ensuring the accuracy and stability of your camera tripod setup. Whether you are capturing still images or recording video footage, utilizing a bubble level aids in achieving precise horizontal and vertical alignment, ultimately contributing to the overall quality of your visual content.
Types of Bubble Levels: Bubble levels come in various forms, including circular levels that attach to the tripod’s base plate or hot shoe, as well as elongated levels that mount directly onto the camera’s hot shoe. These levels feature a small, liquid-filled chamber with a bubble that moves to indicate the degree of tilt, allowing you to adjust the tripod until the bubble rests in the center, signifying a perfectly level position.
Initial Setup: Before commencing your shoot, it is essential to ensure that the tripod is positioned on a level surface. Placing the bubble level on the designated mounting point and adjusting the tripod’s legs or base until the bubble is centered guarantees that the tripod itself is level, laying the groundwork for stable and accurate photography or videography.
Horizontal Alignment: When framing your shots, the bubble level assists in achieving precise horizontal alignment. By referencing the bubble’s position, you can adjust the tripod’s orientation to ensure that the camera remains perfectly level, particularly when capturing expansive landscapes, architectural details, or any composition where maintaining a straight horizon is paramount.
Vertical Alignment: In addition to horizontal alignment, a bubble level facilitates vertical alignment, ensuring that the camera remains upright and perpendicular to the ground. This is particularly beneficial when photographing tall structures, portraits, or scenes that necessitate maintaining vertical symmetry and alignment.
Enhanced Precision: For photographers and videographers who prioritize accuracy and meticulous composition, incorporating a bubble level into their workflow enhances precision and consistency. By confirming the level position of the camera setup, potential distortions and skewed perspectives can be minimized, resulting in visually compelling and technically proficient imagery.
By integrating a bubble level into your tripod setup, you can elevate the accuracy and stability of your photography and videography, allowing for the creation of visually captivating content with precision and attention to detail.
Adjusting Leg Angles for Uneven Terrain
Photography and videography often require shooting in diverse and challenging environments, where the terrain may be uneven or irregular. In such scenarios, the ability to adjust the leg angles of your tripod is essential for achieving stability and ensuring that your camera remains level and secure. Here’s how to effectively adjust the leg angles for uneven terrain:
Flexible Leg Design: Many modern tripods feature legs with multiple angle settings, allowing for a high degree of flexibility when setting up on uneven surfaces. By adjusting the leg angles independently, you can compensate for variations in terrain, ensuring that the tripod remains stable and level, even on sloping ground or rocky terrain.
Positioning on Inclined Surfaces: When setting up your tripod on an inclined surface, such as a hillside or a staircase, adjusting the leg angles enables you to establish a stable and level platform for your camera. By extending the tripod legs to different lengths and setting them at varying angles, you can effectively counteract the unevenness of the terrain, preventing the risk of instability or slippage.
Low-Level Shooting: For low-angle shots or macro photography, adjusting the tripod legs to lower angles allows you to position the camera closer to the ground while maintaining stability. This versatility is particularly advantageous when capturing detailed close-up images or when shooting at ground level, providing a secure and level base for your camera setup.
Adapting to Outdoor Environments: In outdoor settings, such as forests, mountains, or coastal areas, the terrain may present irregularities and obstacles. Adjusting the tripod leg angles enables you to navigate these challenges, ensuring that your camera remains steady and level, regardless of the surrounding topography.
Stability and Security: By mastering the adjustment of leg angles, you can instill confidence in your tripod setup, knowing that it can adapt to various terrains and environments. This stability is crucial for capturing sharp, clear images and smooth, steady footage, even in rugged or unpredictable settings.
By leveraging the flexibility of tripod leg angles, you can conquer uneven terrain and challenging shooting conditions, ensuring that your camera remains stable and level, and empowering you to capture remarkable visual content with precision and confidence.
Adding Weights for Extra Stability
Enhancing the stability of your tripod setup can be achieved by strategically incorporating additional weights, particularly in situations where environmental factors or equipment configurations may compromise stability. By understanding the role of added weights and implementing them effectively, you can ensure a secure and steady foundation for your camera, thereby elevating the quality of your photographic and videographic endeavors.
Counteracting External Factors: In outdoor settings, where wind, vibrations, or other external forces may impact the stability of your tripod, adding weights can help counteract these influences. By anchoring the tripod with supplementary weights, such as sandbags or specialized tripod weight bags, you can mitigate the effects of gusts and vibrations, maintaining a stable platform for your camera.
Supporting Heavy Equipment: When utilizing large or heavy camera setups, including professional DSLRs, telephoto lenses, or video rigs, the addition of weights contributes to overall stability. This is particularly beneficial when shooting in dynamic environments or when employing extensive camera configurations, ensuring that the tripod remains steadfast and capable of supporting the weight of the equipment without compromising stability.
Improving Stability on Elevated Platforms: When shooting from elevated platforms, such as elevated walkways, balconies, or rooftops, the addition of weights enhances the tripod’s stability, minimizing the risk of swaying or movement caused by elevated perspectives or environmental factors. This is especially important when capturing panoramic views, architectural details, or time-lapse sequences from elevated vantage points.
Securing Tripod Legs: Placing weights on the tripod legs or attaching them to the center column provides additional security and prevents the tripod from tipping over, especially in scenarios where the terrain is uneven or when shooting in locations with potential hazards, such as coastal areas or rocky landscapes.
Ensuring Stability in Long Exposures: For long exposure photography or time-lapse sequences, where extended exposure times are employed to capture motion or low-light scenes, the stability of the tripod is paramount. Adding weights minimizes the risk of vibrations or movement during long exposures, resulting in sharp and clear images without any blurring or distortion.
By strategically adding weights to your tripod setup, you can fortify its stability and resilience, enabling you to capture exceptional visual content with confidence, precision, and unwavering stability.
Checking for Stability Before Shooting
Prior to commencing any photography or videography session, it is imperative to conduct a thorough assessment of the stability of your tripod setup. By performing meticulous stability checks, you can preemptively address any potential issues and ensure that your camera remains secure and steady throughout the duration of the shoot, ultimately contributing to the quality and consistency of your visual content.
Visual Inspection: Begin by visually inspecting the tripod, ensuring that all components are securely fastened and free from any damage or wear. Verify that the legs, center column, and tripod head are firmly connected and that there are no loose or compromised elements that could jeopardize stability during shooting.
Leg Locks and Extensions: Check the leg locks and extensions to confirm that they are properly engaged and tightened. Ensure that the legs are fully extended and locked into position, providing maximum stability and preventing any unexpected movement or collapse during shooting.
Center Column and Base Plate: Examine the center column and base plate to confirm that they are securely fastened to the tripod. Verify that the base plate is firmly attached to the camera, minimizing any potential for slippage or detachment during shooting. Additionally, ensure that the center column is adjusted to the desired height and is locked in place, providing a stable platform for the camera.
Level Positioning: Utilize a bubble level or the integrated level on the tripod to confirm that the setup is positioned levelly. Adjust the tripod legs as necessary to achieve a perfectly level position, ensuring that the camera remains steady and aligned, particularly when shooting in environments where maintaining a straight horizon is essential.
Weight Distribution: If utilizing additional weights for stability, ensure that they are properly distributed and secured to the tripod. Whether using sandbags, weight bags, or other anchoring mechanisms, verify that the weights are strategically placed to enhance stability and counteract external forces or equipment configurations that may compromise the tripod’s steadiness.
Shake and Stability Test: Gently shake the tripod to assess its stability and sturdiness. Confirm that the tripod remains steady and resolute, without any wobbling or shifting. This test helps identify any potential instability or loose components that require attention before initiating the actual shoot.
By diligently checking for stability before shooting, you can preemptively address any potential issues, ensuring that your tripod setup is secure, steady, and capable of providing a reliable foundation for capturing exceptional visual content with precision and confidence.