
Identifying the Source of the Leak
Identifying the Source of the Leak
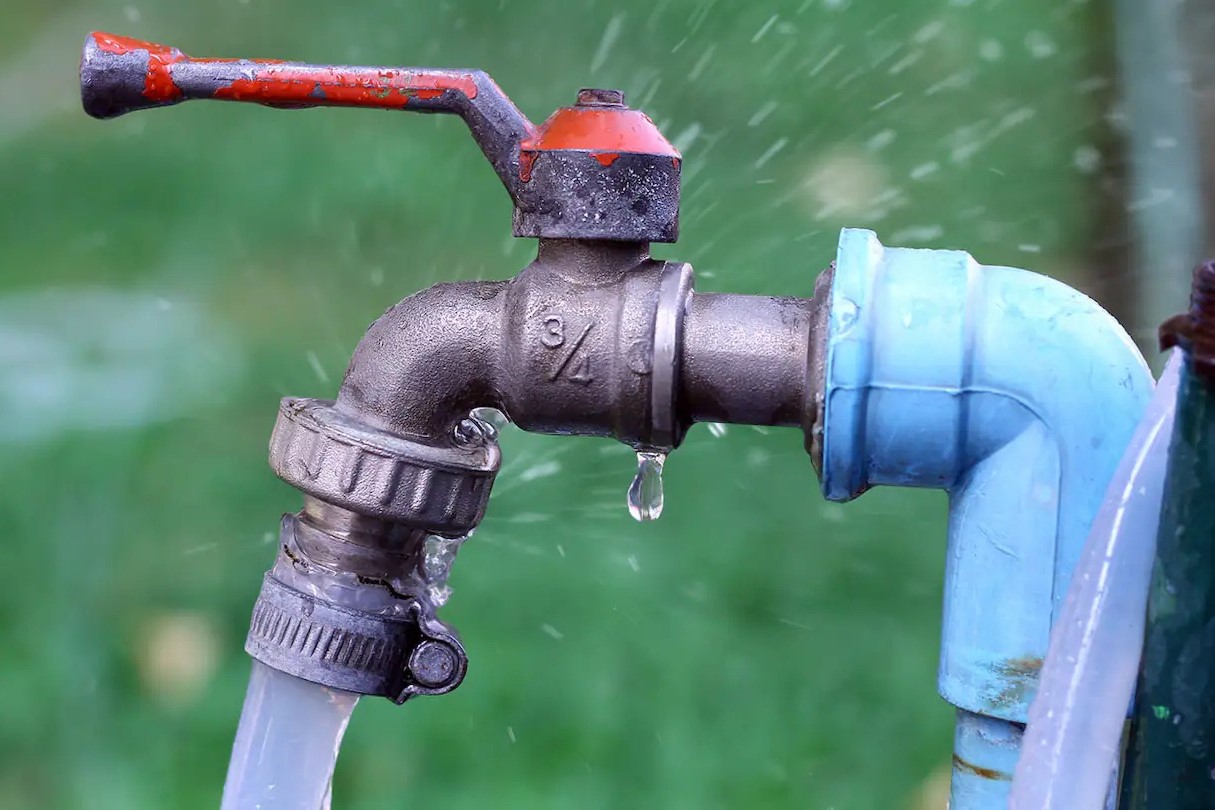
When your garden hose connector starts leaking, the first step is to identify the source of the problem. This can be a crucial first step in effectively addressing the issue. Here are some tips to help you pinpoint the source of the leak:
-
Inspect the Connector: Begin by visually examining the hose connector. Look for any visible cracks, splits, or damage to the connector itself. Sometimes, the leak may be caused by a damaged or worn-out connector.
-
Check the Washer: The washer inside the hose connector is a common culprit for leaks. Inspect the washer for signs of wear, such as cracks or deformities. A damaged washer can result in water seepage around the connection point.
-
Examine the Threads: If the leak persists, inspect the threads of the hose connector. Loose or damaged threads can cause water to escape from the connection. Look for any signs of corrosion or irregularities in the threading.
-
Assess the Connection Point: Pay close attention to the area where the hose connects to the spigot or other attachments. Leaks can occur at the connection point due to loose fittings or damaged components.
-
Test for Leaks: If the source of the leak is not immediately apparent, run water through the hose and observe the connector closely. Sometimes, leaks may only become noticeable when the water pressure is applied.
By carefully examining these key areas, you can gain valuable insights into the source of the leak. Once you have identified the specific issue, you can proceed with the necessary steps to address it effectively.
Remember, understanding the root cause of the leak is essential for implementing the most appropriate solution. This proactive approach can save you time and effort in resolving the problem, ensuring that your garden hose connector functions optimally.
Cleaning the Hose Connector
Regular maintenance of your garden hose connector can help prevent leaks and ensure its longevity. Cleaning the hose connector is a simple yet effective way to address minor issues and maintain optimal functionality. Here’s how you can clean the hose connector:
- Disconnect the Hose: Start by disconnecting the hose from the connector and ensuring that the water source is turned off. This will prevent any water from flowing during the cleaning process.
- Remove Debris: Inspect the interior and exterior of the connector for any debris, dirt, or grime. Use a soft-bristled brush or cloth to gently remove any buildup that may be affecting the seal or causing the leak.
- Rinse with Water: After removing the debris, rinse the connector thoroughly with water to dislodge any remaining particles. This will help restore the connector’s cleanliness and prepare it for further inspection.
- Inspect for Damage: While cleaning, take the opportunity to inspect the connector for any signs of damage, such as cracks, corrosion, or worn-out components. Identifying and addressing these issues early can prevent future leaks.
- Dry the Connector: Once the cleaning process is complete, ensure that the connector is completely dry before reattaching the hose. Moisture can contribute to corrosion and deterioration, so thorough drying is essential.
Cleaning your hose connector at regular intervals, especially before storing it for an extended period, can help maintain its integrity and functionality. By keeping the connector free from debris and ensuring that it is in good condition, you can minimize the risk of leaks and prolong its lifespan.
Remember, a clean hose connector not only reduces the likelihood of leaks but also promotes efficient water flow, contributing to a hassle-free gardening experience.
Replacing the Washer
One of the common causes of leaks in a garden hose connector is a worn-out or damaged washer. The washer, located inside the hose connector, plays a crucial role in creating a watertight seal. Over time, the washer may deteriorate, leading to leaks. Here’s how you can replace the washer to address this issue:
- Turn off the Water: Before replacing the washer, ensure that the water source connected to the hose is turned off. This will prevent any water from flowing while you work on the connector.
- Disassemble the Connector: Carefully disassemble the hose connector to access the internal components. Depending on the connector type, this may involve unscrewing the coupling or separating the components to reach the washer.
- Remove the Old Washer: Once the connector is disassembled, locate the old washer inside. Use a flat-head screwdriver or a similar tool to carefully pry out the old washer. Take note of the washer size and type to ensure you select the appropriate replacement.
- Install the New Washer: Place the new washer securely into the designated space within the connector. Ensure that it fits snugly and is positioned correctly to create an effective seal. Choosing a high-quality replacement washer can contribute to a more durable and reliable seal.
- Reassemble the Connector: After replacing the washer, carefully reassemble the hose connector, ensuring that all components are securely fastened. Pay attention to the alignment and threading to prevent any potential leaks due to improper assembly.
By replacing the washer when necessary, you can restore the effectiveness of the hose connector’s seal and eliminate leaks. Regularly inspecting and replacing the washer as part of your maintenance routine can contribute to the overall performance and longevity of the connector.
Remember, a simple washer replacement can often resolve leak issues, providing a cost-effective and straightforward solution to ensure a watertight connection.
Using Thread Seal Tape
Thread seal tape, also known as Teflon tape, can be a valuable tool for addressing leaks in garden hose connectors. This versatile and easily accessible material can help create a reliable seal and prevent water from escaping at the connection points. Here’s how you can effectively use thread seal tape to mitigate leaks:
- Prepare the Threads: Before applying the thread seal tape, ensure that the threads on the hose connector are clean and free from any debris or old tape residue. This will promote better adhesion and sealing effectiveness.
- Wrap the Threads: Start by wrapping the thread seal tape around the male threads of the connector in a clockwise direction. Ensure that the tape is pulled taut and snugly conforms to the threads, overlapping each wrap by about half the tape’s width.
- Avoid Excessive Wrapping: While it’s important to apply enough tape to create a seal, avoid excessive wrapping that could lead to difficulties in reattaching the hose or cause the connector to not thread properly.
- Smooth the Tape: After wrapping the threads, use your fingers to smooth and press the tape into place, ensuring that it adheres firmly and uniformly to the threads. This will help prevent any gaps or inconsistencies that could compromise the seal.
- Reattach the Hose: Once the thread seal tape is applied, reattach the hose to the connector, being careful not to dislodge or unravel the tape during the process. Securely tighten the connection to ensure a proper seal.
Thread seal tape can serve as an effective solution for minor leaks and can enhance the overall integrity of the hose connector’s connections. When used correctly, this simple yet reliable method can help maintain a watertight seal and prevent leaks, contributing to a more efficient and hassle-free gardening experience.
Remember, thread seal tape is a valuable addition to your toolkit for addressing leaks in hose connectors, providing a quick and accessible means of reinforcing the connections and minimizing the risk of water seepage.
Tightening the Connection
Loose connections in garden hose fittings can often lead to frustrating leaks. Fortunately, tightening the connection is a straightforward and effective way to address this issue and restore the integrity of the hose connector. Here’s how you can properly tighten the connection to mitigate leaks:
- Identify the Loose Connection: Begin by identifying the specific area where the connection is loose and causing the leak. This may involve inspecting both ends of the connection, including the hose and the attachment point, to pinpoint the source of the problem.
- Use Appropriate Tools: Depending on the type of connector and the nature of the connection, use the appropriate tools to tighten the components. This may include a wrench, pliers, or similar tools that can provide a secure grip without damaging the connector.
- Secure the Attachment: If the leak is originating from the point where the hose connects to the spigot or another attachment, ensure that the hose is securely fastened and properly seated. Tighten any fastening mechanisms or clamps to reinforce the connection.
- Avoid Over-Tightening: While it’s important to tighten the connection adequately, avoid over-tightening, as this can lead to damage or distortion of the connector, potentially causing more severe issues. Use a steady and controlled approach when tightening the connection.
- Test the Seal: After tightening the connection, test the seal by running water through the hose and observing the previously leaking area. Ensure that the leak has been effectively addressed and that the connection remains secure under water pressure.
By ensuring that all connections are properly tightened, you can significantly reduce the likelihood of leaks and maintain the efficiency of your garden hose system. Regularly inspecting and tightening connections as part of your maintenance routine can contribute to a more reliable and leak-free watering experience.
Remember, addressing leaks by tightening connections not only prevents water wastage but also promotes a more enjoyable and hassle-free gardening experience, allowing you to focus on nurturing your plants without the distraction of leaks.
Using a Hose Repair Kit
When faced with leaks in a garden hose connector, utilizing a hose repair kit can provide a comprehensive solution to effectively address the issue. These kits are designed to offer a convenient and practical means of repairing leaks and restoring the functionality of the hose. Here’s how you can use a hose repair kit to resolve leaks:
- Assess the Leak: Begin by assessing the nature and location of the leak in the hose connector. This will help determine the appropriate type of repair kit needed to address the specific issue, whether it involves a damaged connector, a puncture, or a compromised seal.
- Select the Right Kit: Choose a hose repair kit that aligns with the type of leak and the material of your garden hose. These kits typically include components such as connectors, clamps, and seals designed to provide a tailored solution for various types of leaks.
- Follow the Instructions: Most hose repair kits come with detailed instructions for performing the repair. Carefully follow the provided guidelines to ensure that the repair is carried out effectively and that the components are utilized in the correct manner.
- Prepare the Hose: Before applying the repair components, ensure that the affected area of the hose is clean and dry. This preparation will promote better adhesion and ensure that the repair is secure and long-lasting.
- Apply the Repair Components: Depending on the type of repair kit, follow the instructions to apply the necessary components to the leak area. This may involve using connectors, patches, or sealants to reinforce the damaged section and prevent water from escaping.
- Test the Repair: After completing the repair, test the hose by running water through it and observing the previously leaking area. Ensure that the repair has effectively addressed the issue and that the hose maintains a secure and watertight connection.
Utilizing a hose repair kit provides a convenient and reliable method of addressing leaks in garden hose connectors. By selecting the appropriate kit and following the recommended procedures, you can effectively restore the integrity of the hose and minimize water wastage due to leaks.
Remember, having a hose repair kit on hand allows you to promptly address leaks and maintain the functionality of your garden hose, ensuring that you can continue to water your plants and carry out outdoor tasks without interruptions caused by leaks.
Seeking Professional Help
While many garden hose connector leaks can be addressed through DIY solutions, there are instances where seeking professional assistance may be the most practical and effective course of action. Professional help can provide expert insight and specialized solutions for more complex or persistent leaks. Here are some scenarios in which seeking professional help for garden hose connector leaks may be beneficial:
- Complex Leaks: If the source of the leak is challenging to identify or if the issue involves multiple components of the hose connector, a professional can leverage their expertise to diagnose and address complex leaks effectively.
- Specialized Repairs: Certain leaks may require specialized tools, materials, or techniques to repair, especially in the case of advanced connector systems or specialized hose materials. Professionals have access to a wide range of resources to tackle such repairs.
- Chronic Leaks: If you’ve attempted DIY solutions without success and the leaks persist, consulting a professional can help you avoid ongoing frustration and water wastage. Professionals can provide a fresh perspective and implement lasting solutions.
- Preventive Maintenance: Professionals can offer insights into preventive maintenance practices to minimize the risk of future leaks, extending the lifespan of your garden hose connectors and ensuring their optimal functionality.
- Upgrading or Replacement: In some cases, it may be more cost-effective to consider upgrading to a more advanced hose connector system or replacing worn-out components. Professionals can recommend suitable options tailored to your specific needs.
By seeking professional help for garden hose connector leaks, you can benefit from the expertise and resources that professionals bring to the table. This proactive approach can lead to more effective and lasting solutions, ultimately saving you time, effort, and potential water wastage.
Remember, professional assistance can offer peace of mind, especially when dealing with persistent or challenging leaks, allowing you to maintain a reliable and efficient garden hose system without the inconvenience of ongoing issues.