
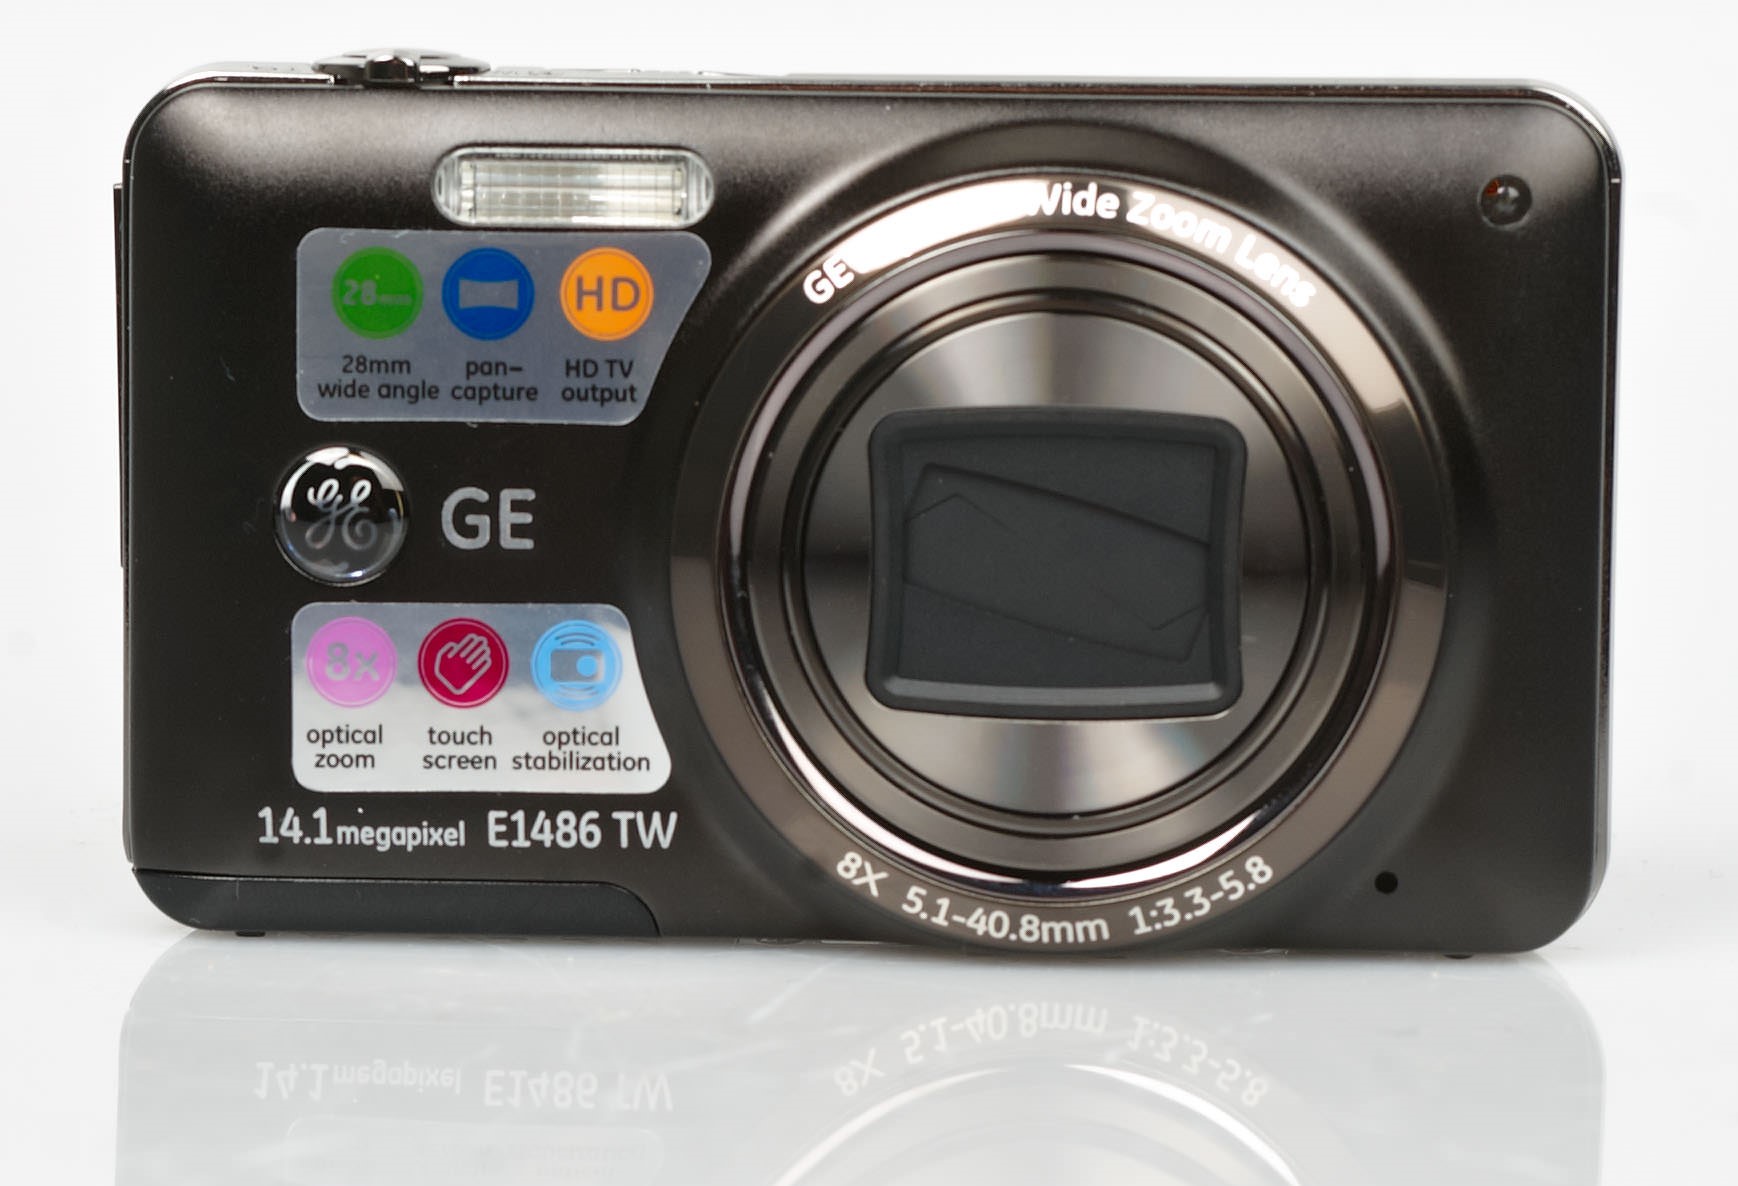
Common Problems with GE Cameras
Using a GE camera can be a great way to capture memories and moments, but like any electronic device, it can encounter some common issues. Understanding these problems and knowing how to troubleshoot them can help you get the most out of your camera. In this section, we will discuss some of the common problems that GE camera users may encounter and provide some troubleshooting tips.
One common problem that many GE camera owners face is power issues. If your camera refuses to turn on, the first thing to check is the battery. Ensure that it is properly inserted and charged. If the battery is fine, try cleaning the battery contacts and the camera’s connector pins with a soft cloth to remove any debris or corrosion.
Another frustrating issue that can occur with GE cameras is a lens error. This typically happens when the camera lens gets stuck or is unable to extend or retract properly. To troubleshoot this problem, gently try to turn the camera on and off while applying slight pressure to the lens. If this doesn’t work, try removing the battery and memory card, then reinserting them after a few minutes.
Memory card issues are also common concerns for GE camera users. If your camera displays an error message related to the memory card, first, ensure that the card is properly inserted. If the problem persists, try formatting the memory card using your camera’s menu option. Keep in mind that formatting will erase all data on the card, so be sure to backup any important files beforehand.
Blurry photos are often a result of camera shake or focusing problems. To overcome this problem, make sure that you are holding the camera steady while taking the photo. If the problem persists, try adjusting the focus settings or using the camera’s image stabilization feature, if available.
In some cases, the flash on your GE camera may stop working. First, check to see if the flash is turned on and if it is set to the appropriate mode. If it still doesn’t work, make sure that the flash has enough battery power. If the problem continues, try resetting the camera to its default settings.
Camera freezing or not responding is another issue that can occur with GE cameras. If this happens, remove the battery and memory card, then reinsert them after a few minutes. If the issue persists, try updating the camera’s firmware or seek professional assistance.
White balance issues can affect the color accuracy of your photos. To troubleshoot this problem, check if the white balance setting is correctly configured. Alternatively, you can use the camera’s auto white balance feature to automatically adjust the color temperature according to the lighting conditions.
An unresponsive or malfunctioning LCD screen can hinder your photography experience. Start by checking if the screen brightness settings are adjusted correctly. If that doesn’t resolve the issue, try cleaning the screen with a microfiber cloth. If the problem persists, there may be a hardware fault, and it may require professional repair.
Lastly, if you are experiencing playback issues with your GE camera, try viewing the photos or videos on a different device to determine if the problem lies with the camera or the playback device. If the issue is with the camera, try resetting it to its default settings or seek assistance from customer support.
By understanding and troubleshooting these common problems with GE cameras, you can ensure smooth and enjoyable photography experiences. Remember to consult your camera’s manual or contact customer support for specific troubleshooting instructions based on your camera model.
Troubleshooting No Power Issues
One of the most frustrating problems you may encounter with your GE camera is a loss of power. If your camera refuses to turn on or shows no signs of functioning, it can put a damper on your photography plans. However, there are several troubleshooting steps you can take to resolve the issue.
The first thing to check when experiencing a power problem is the battery. Ensure that the battery is properly inserted into the camera and that it has enough charge. If you haven’t used your camera in a while, it is possible that the battery may have drained completely. In such cases, charge the battery using the provided charger and try turning on the camera again.
If you have confirmed that the battery is charged and inserted correctly, but the camera still won’t power on, the next step is to check the battery contacts. Over time, dirt, dust, or corrosion can accumulate on the battery contacts, preventing proper electrical connection. Gently clean the battery contacts on the camera and the battery itself using a soft cloth or a cotton swab dipped in alcohol. Be careful not to damage the contacts or leave any fibers behind.
Another potential cause of power issues could be the camera’s connector pins. These pins, located inside the battery compartment, connect with the battery to establish power flow. If these pins get bent, dirty, or damaged, it can disrupt the power connection. Inspect the connector pins carefully; if they appear dirty, gently clean them with a cotton swab dipped in alcohol. If any pins are bent or broken, it may require professional repair.
In some cases, power problems can be caused by a faulty battery. If you have access to another compatible battery, try using it to see if the camera powers on. If it does, you may need to replace your original battery. It’s worth noting that using third-party batteries that are not specifically designed for your camera may also cause power issues, so always use genuine or recommended batteries.
If none of the above steps solve the power problem, it could indicate a more significant issue with your camera’s internal circuitry or power supply. In such cases, it is recommended to contact the manufacturer’s customer support or take your camera to a professional repair service for diagnosis and repair.
To prevent future power issues, it is a good practice to keep your camera and its battery contacts clean and free from dust and debris. Regularly check the battery charge level and recharge as needed, even if you haven’t used the camera for an extended period. Taking these preventive measures can help ensure that your GE camera stays powered up and ready for capturing precious moments.
Troubleshooting Lens Error
A lens error is a common problem that many GE camera users may encounter. This occurs when the camera lens gets stuck or is unable to extend or retract properly. When faced with a lens error, there are several troubleshooting steps you can try to resolve the issue.
The first thing to do when encountering a lens error is to turn off the camera and remove the battery. Wait for a few minutes before reinserting the battery and turning the camera back on. Sometimes, a simple power cycle can reset the lens mechanism and fix the error.
If power cycling doesn’t resolve the issue, gently try to turn the camera on and off while applying slight pressure to the lens. Be careful not to apply too much force, as it may damage the lens mechanism further. Sometimes, a gentle tap or slight movement can help realign the lens and eliminate the error.
If the lens error persists, try removing both the battery and the memory card from the camera. Leave them out for a few minutes, then reinsert them and turn the camera on again. This method can sometimes clear any temporary glitches that may be causing the lens error.
Another cause of lens errors could be debris or grit that has entered the lens mechanism. Inspect the lens for any visible obstructions such as dirt, sand, or dust particles. Gently blow compressed air or use a soft brush to remove any debris. Avoid using excessive force, as it can cause further damage.
In some cases, while attempting to fix the lens error, the lens may become misaligned. If you notice that the lens is off-center or tilted, try gently nudging it back into position. Be extremely careful and apply minimal force to avoid causing additional damage.
If all the above steps fail to resolve the lens error, it is advisable to contact the manufacturer’s customer support or take your camera to a professional repair service. They will have the necessary tools and expertise to assess and fix the issue.
Preventing lens errors can be achieved by handling the camera with care. Avoid exposing the camera to extreme temperatures, excessive moisture, or harsh impacts. Keep the lens clean by using a soft cloth or lens cleaning kit. By following these precautions, you can minimize the chances of encountering a lens error with your GE camera.
Troubleshooting Memory Card Issues
Memory card issues can be a frustrating experience for GE camera users. These issues can range from the camera not recognizing the memory card to error messages appearing on the screen. If you’re facing memory card issues with your GE camera, here are some troubleshooting steps you can take to resolve them.
The first thing to check when encountering memory card issues is to ensure that the card is properly inserted into the camera. Remove the memory card and reinsert it, making sure it is fully inserted and securely seated in the card slot. Sometimes, a loose connection can cause the camera to not recognize the memory card.
If the memory card is properly inserted, but the camera still doesn’t recognize it, try cleaning the contacts of the memory card. Remove the card from the camera and inspect the metal contacts on the back. If there is any dirt, dust, or oil residue, gently clean the contacts using a soft, lint-free cloth or a cotton swab dipped in alcohol. Allow the contacts to dry completely before reinserting the card.
In some cases, memory card issues can be resolved by formatting the card. Before formatting, it’s important to note that formatting will erase all data on the card. Therefore, it’s essential to first backup any important files. To format the memory card, go to the camera’s menu settings, locate the “format” option, and follow the on-screen instructions. After formatting, the memory card should be recognized by the camera.
If the memory card continues to show errors or is not recognized after formatting, try using a different memory card in your camera. This will help determine if the problem lies with the camera or the specific memory card. If the new card works without any issues, it may indicate a problem with your original memory card. Consider replacing the faulty card with a new one.
It’s worth mentioning that using incompatible or low-quality memory cards can also lead to issues. Ensure that you are using a memory card that is compatible with your GE camera and meets the recommended specifications. It’s advisable to purchase memory cards from reputable brands to minimize the risk of compatibility or performance issues.
If you have tried the above troubleshooting steps, including cleaning and formatting the memory card, and the problem persists, it’s recommended to contact the manufacturer’s customer support for further assistance. They will be able to provide specific guidance based on your camera model and memory card compatibility.
To avoid future memory card issues, it’s good practice to handle memory cards with care. Avoid exposing them to extreme temperatures, humidity, or water. Safely eject the card from the camera before removing it to prevent data corruption. Regularly backing up your photos and formatting the memory card periodically can also help maintain optimal performance.
Troubleshooting Blurry Photos
One of the most frustrating issues for GE camera users is capturing blurry photos. Blurriness can ruin a perfectly composed shot and make it difficult to capture clear, sharp images. Fortunately, there are several troubleshooting steps you can take to address this problem and improve the quality of your photos.
The first step in troubleshooting blurry photos is to ensure that you are holding the camera steady while taking the shot. Unintentional camera movement, also known as camera shake, is a common cause of blurriness. Use both hands to hold the camera firmly and consider bracing yourself against a stable object or using a tripod for additional stability.
In some cases, blurriness can be caused by improper focusing. Make sure that your camera is set to the appropriate focus mode, such as auto-focus or manual focus. If you are using auto-focus, ensure that the camera is properly locking onto your desired subject. Experiment with different focus points or modes to see if it improves the sharpness of your photos.
Another factor that can contribute to blurry photos is a slow shutter speed. When shooting in low light conditions or using a slower shutter speed, any movement, whether from the subject or the camera, can result in blurriness. To address this issue, consider increasing the ISO setting on your camera, using a faster shutter speed, or using a tripod to stabilize the camera.
It’s also important to check if your camera has image stabilization capability. Image stabilization helps reduce blurriness caused by hand movements, especially in low light situations. Enable image stabilization in your camera settings, if available, to improve the sharpness of your photos.
In some cases, the blurriness might not be a result of camera settings or technique, but rather due to a problem with the lens itself. Inspect the lens for any smudges, fingerprints, or dirt that may be affecting image quality. Use a soft, lint-free cloth or lens cleaning kit to clean the lens carefully. Be careful not to apply excessive pressure or use abrasive materials that could damage the lens coating.
If none of the above troubleshooting steps help resolve the blurriness issue, it’s worth checking if there are any firmware updates available for your camera. Manufacturers often release firmware updates to improve camera performance, including autofocus accuracy and image stabilization. Visit the manufacturer’s website or consult the camera’s user manual for instructions on how to update the firmware.
In some cases, blurriness may be a result of a camera or lens defect. If you believe your camera is consistently producing blurry images despite following proper techniques and troubleshooting steps, it may be necessary to contact the manufacturer’s customer support or take your camera to an authorized repair center for further evaluation.
To prevent future issues with blurry photos, practice proper camera handling techniques, including keeping the camera steady, ensuring accurate focusing, and using appropriate shutter speeds. Regularly clean your camera lens to maintain optimal image quality. By being mindful of these factors and conducting occasional equipment maintenance, you can greatly improve the clarity and sharpness of your photos.
Troubleshooting Flash not Working
Having your camera’s flash fail to work when you need it can be frustrating, especially in low-light or dimly lit situations. If you’re experiencing issues with your GE camera’s flash not working, there are several troubleshooting steps you can take to resolve the problem.
The first step is to check if the flash is turned on and enabled. Many cameras have a physical switch or button to activate the flash. Ensure that the flash is turned on and set to the appropriate mode, such as auto-flash or fill-flash. It’s worth noting that some shooting modes, like “landscape” or “sports,” may automatically disable the flash, so be sure to choose an appropriate mode that allows flash usage.
If the flash is turned on but still not working, check the battery level of your camera. A low battery charge can affect the flash performance. Recharge or replace the battery if it is low on power and try using the flash again. Also, keep in mind that some cameras have a flash recycle time, which is the time it takes for the flash to recharge between shots. Wait for the flash to fully recharge before attempting to use it again.
Another common issue that can cause flash problems is a blocked or obstructed flash mechanism. Inspect the flash head for any visible obstructions such as dirt, dust, or debris. Use a soft cloth or a small brush to clean the flash head gently. Ensure that the flash is fully extended and not blocked by any external objects, such as the camera strap or your fingers.
If cleaning the flash does not resolve the issue, try resetting the camera to its default settings. Sometimes, a software glitch or incorrect setting can cause the flash to malfunction. Look for the reset option in the camera’s menu settings or consult the user manual for instructions on how to perform a factory reset. Keep in mind that resetting the camera will revert all settings back to their original defaults, so be prepared to reconfigure your preferred settings afterward.
If none of the above steps help, there may be an issue with the flash unit itself. It’s possible that the flash bulb or other components have malfunctioned and require professional attention. In such cases, contact the manufacturer’s customer support or take your camera to an authorized service center for further diagnosis and repair.
Preventing future flash issues can be done by keeping the flash contacts clean and free from dirt or corrosion. Avoid exposing the flash to excessive heat or moisture, as this can damage the internal components. Regularly check the flash mechanism for any signs of wear or damage and handle the camera with care to minimize the risk of impact-related failures.
By following these troubleshooting steps and practicing proper flash maintenance, you can increase the likelihood of a fully functional flash, ensuring that you capture well-illuminated photos in a variety of lighting conditions.
Troubleshooting Camera Freezing or Not Responding
Experiencing a camera freeze or unresponsiveness can be frustrating, especially when you’re in the middle of capturing important moments. If your GE camera is freezing or not responding, there are several troubleshooting steps you can take to address this issue.
The first step when encountering a camera freeze is to remove the battery and memory card. This action will power off the camera completely. Leave both the battery and memory card out for a few minutes before reinserting them. This process allows the camera’s internal system to reset and may resolve the freezing issue.
If the camera freeze continues after performing a reset, check if the firmware of your camera is up to date. Manufacturers often release firmware updates to improve camera performance and fix bugs. Visit the manufacturer’s website and look for the latest firmware version for your specific camera model. Follow the provided instructions to update the firmware, if applicable.
Another possibility is that the camera’s memory card may be causing the freeze. A corrupted or malfunctioning memory card can lead to camera freezes or erratic behavior. Try using a different memory card, preferably one that you know is functioning properly. If the camera operates smoothly with a different memory card, it indicates that the original card may need to be replaced.
If the freezing issue persists after trying different memory cards, there may be a problem with the camera’s internal software or hardware. In this case, contact the manufacturer’s customer support for further assistance. They may troubleshoot the issue over the phone or recommend sending the camera for repair.
Preventing camera freezing can be done by using high-quality memory cards and regular maintenance. Ensure that you are using memory cards that are compatible with your camera and have sufficient storage capacity. Additionally, it’s beneficial to format your memory cards regularly using your camera’s formatting option to prevent any potential conflicts or issues.
Keeping your camera’s firmware up to date is also crucial, as firmware updates often include fixes for known issues and improvements for system stability. Regularly check for firmware updates on the manufacturer’s website or enable automatic update notifications if your camera supports them.
Lastly, it’s essential to handle your camera with care and avoid exposing it to extreme temperatures, excessive moisture, or physical impacts. Proper handling and storage can prevent damage to the camera’s internal components and contribute to its overall performance and longevity.
Remember that troubleshooting steps may vary depending on your specific GE camera model. Consult the camera’s user manual or reach out to customer support for detailed instructions tailored to your camera.
By following these troubleshooting steps and adhering to preventive measures, you can minimize the occurrence of camera freezes and ensure smooth and reliable operation for your GE camera.
Troubleshooting White Balance Issues
White balance plays a critical role in photography, as it determines the accuracy of colors in your images. If you’re having white balance issues with your GE camera, where the colors appear too warm, too cool, or simply inaccurate, there are several troubleshooting steps you can take to resolve the problem.
The first step is to check the white balance setting on your camera. The white balance setting controls how the camera interprets the color temperature of the scene. Depending on your camera model, you can find the white balance setting either in the menu or through a dedicated WB button. Ensure that you have selected the appropriate white balance mode, such as auto, daylight, cloudy, fluorescent, or incandescent, depending on the lighting conditions you are shooting in.
If you’re shooting in difficult or mixed lighting situations, consider using the camera’s custom white balance feature. This feature allows you to manually set the white balance by using a white or gray card as a reference point. By setting a custom white balance, you ensure accurate color representation in unique lighting conditions.
Another troubleshooting step is to use the camera’s auto white balance (AWB) feature. AWB is designed to automatically adjust the white balance based on the scene’s lighting conditions. This feature can work well in many situations, but it’s not foolproof. If you’re experiencing white balance issues, try using the AWB setting and observe the results. If the colors still appear inaccurate, you may need to explore other white balance options or consider using custom white balance.
In some cases, white balance issues can occur due to the presence of mixed lighting sources in the scene. For example, shooting in a room with both natural daylight and artificial lighting can pose challenges for white balance. Experiment with different white balance settings to find the one that best suits the lighting scenario. Additionally, you can try adjusting the positioning of the subject to minimize the influence of unwanted lighting sources.
If you’re shooting in RAW format, adjusting white balance during post-processing is another solution. RAW files retain a greater amount of color information compared to JPEG files, allowing for more flexibility in correcting white balance issues. Using software such as Adobe Lightroom or Capture One, you can fine-tune the white balance during the editing process and achieve more accurate colors in your final images.
In rare instances, persistent white balance issues may indicate a camera malfunction or sensor calibration problem. If you have tried all the troubleshooting steps mentioned above and still experience consistent inaccuracies in color reproduction, it is advisable to contact the manufacturer’s customer support or take your camera to a professional repair service for further assessment.
By understanding and implementing appropriate white balance techniques, utilizing your camera’s white balance settings, and exploring post-processing options, you can overcome white balance issues and achieve consistent and accurate colors in your GE camera images.
Troubleshooting LCD Screen Problems
The LCD screen of your GE camera provides crucial information and serves as a window to preview and review your images. If you’re experiencing problems with the LCD screen, such as flickering, black display, or unresponsive touch controls, there are several troubleshooting steps you can take to resolve the issue.
Firstly, check if the LCD screen brightness is properly adjusted. The screen brightness settings allow you to control the intensity of backlighting. Navigate through your camera’s settings menu to adjust the brightness level. If the screen appears dim or completely black, increase the brightness level to see if the display becomes visible.
If adjusting the brightness doesn’t resolve the issue, the next step is to check for any physical damage to the LCD screen. Inspect the screen for cracks, scratches, or signs of impact. If you notice any damage, it may require professional repair or replacement. However, if there is no visible damage, proceed with further troubleshooting steps.
Next, try cleaning the LCD screen surface. Smudges, fingerprints, or dust particles can obstruct the display and affect its visibility. Use a microfiber cloth or lens cleaning cloth to wipe the screen gently. Avoid using harsh chemicals or abrasive materials that may damage the screen coating.
In some cases, LCD screen problems can be related to the camera’s battery. Insufficient battery power can cause the display to flicker or turn off. Ensure that the battery is fully charged or replace it with a fully charged battery. If the screen still remains unresponsive, try removing the battery for a few minutes and then reinserting it. This action can reset the camera’s internal system and potentially resolve the issue.
If you’re using a touch-enabled LCD screen and it doesn’t respond to your touch inputs, check if the touch screen function is enabled in the camera settings. Navigate to the touch screen settings and ensure that it is enabled. If the problem persists, try calibrating the touch screen. Consult your camera’s user manual for instructions on how to calibrate the touch screen.
If none of the above steps resolve the LCD screen problem, there may be an issue with the camera’s firmware or hardware. Check the manufacturer’s website for any available firmware updates for your camera model. Updating the firmware may address software-related issues. If the problem continues, contact the manufacturer’s customer support or consider taking your camera to an authorized repair center.
To prevent LCD screen issues in the future, handle your camera with care and avoid exposing the screen to excessive pressure or impact. Protect the LCD screen by using a screen protector or keeping the camera in a padded case when not in use. Regularly clean the screen surface to maintain optimal visibility.
By following these troubleshooting steps and practicing proper care and maintenance, you can address many common LCD screen problems and ensure that your GE camera’s screen functions reliably.
Troubleshooting Playback Issues
Playback issues can be frustrating when you’re trying to review and enjoy your captured images and videos on your GE camera. If you’re experiencing problems with playback, such as distorted or pixelated images, freezing, or the camera not recognizing the files, there are several troubleshooting steps you can take to resolve the issue.
The first step is to ensure that the memory card containing the files is properly inserted into the camera. Remove the memory card and reinsert it, making sure it is securely seated in the card slot. Sometimes, a loose connection can cause playback issues.
If the memory card is properly inserted and the playback issues persist, check if the card is formatted correctly. Formatting the card using your camera’s formatting option can help resolve compatibility issues and ensure optimal performance. However, formatting will erase all data on the card, so be sure to back up your files before proceeding.
Another troubleshooting step is to try playing back the files on a different device, such as a computer or another camera. If the files play without any issues on another device, it suggests that the problem may lie with your camera’s playback system. In this case, consider updating your camera’s firmware by visiting the manufacturer’s website and downloading the latest firmware for your specific model.
If the playback issues persist even on different devices, it’s possible that the files themselves are corrupted. Corrupted files can occur due to various reasons, such as improper file transfer, memory card errors, or issues with the camera’s saving process. Try using file recovery software or professional services to recover and repair the corrupted files.
It’s worth noting that very large or high-resolution video files may require a device with higher processing power to play smoothly. If you’re experiencing issues with large video files, try playing them on a more powerful device or consider compressing the files to a smaller size for easier playback.
If you’re only experiencing playback issues with specific types of files, such as RAW images or a specific video format, check if your camera supports the file format or codec you’re trying to play. Some older camera models may not support newer file formats or codecs. In such cases, converting the files to a compatible format may resolve the playback issues.
If none of the above steps help resolve the playback issues, there may be a more significant problem with your camera’s hardware or memory card. Contact the manufacturer’s customer support for further assistance, or consider taking your camera to a professional service center for diagnosis and repair.
To prevent future playback issues, it’s essential to handle your camera and memory cards with care. Avoid removing the memory card while the camera is still accessing or writing files to prevent file corruption. Additionally, regularly backup your files to an external storage device or cloud storage to protect them from potential loss or damage.
By following these troubleshooting steps and practicing proper file management, you can address many common playback issues and enjoy seamless and reliable playback on your GE camera.