
Checking the Physical Connection
When your headset microphone isn't working as expected, the first step is to ensure that the physical connections are secure and properly set up. Here's a step-by-step guide to checking the physical connection of your headset microphone:
-
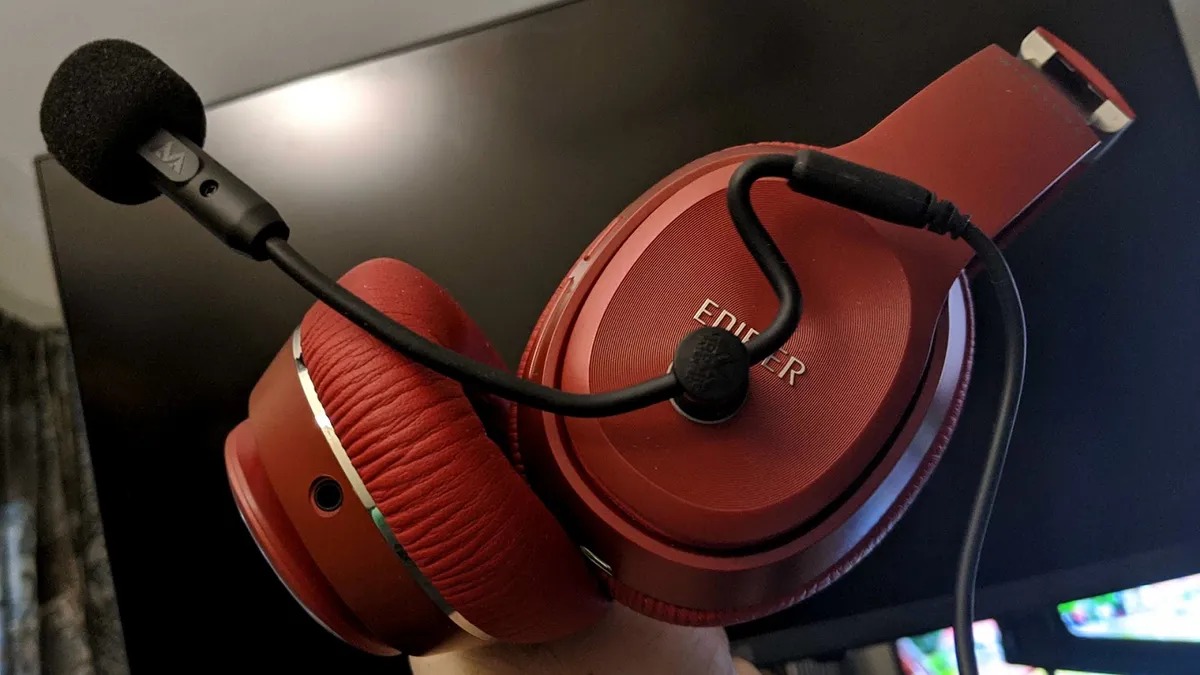
Inspect the Connections: Begin by checking the connections of your headset. Ensure that the audio and microphone jacks are firmly inserted into the corresponding ports on your computer or audio device. If you're using a USB headset, ensure that the USB connector is securely plugged into a functional USB port.
-
Check for Damage: Carefully examine the headset's cables for any signs of damage, such as fraying or cuts. If you notice any damage, it's crucial to address it before proceeding further. Damaged cables can lead to connectivity issues and impact the microphone's performance.
-
Test on Another Device: If possible, try using your headset microphone on another compatible device. This can help determine whether the issue lies with the headset itself or the device it's initially connected to.
-
Ensure Proper Power Supply: For wireless headsets, ensure that the battery is adequately charged or the device is connected to a power source. Insufficient power can lead to microphone malfunctions.
-
Verify Device Compatibility: Check that your headset is compatible with your computer or audio device. Some headsets may require specific drivers or software to function correctly, so it's essential to verify compatibility.
By meticulously examining the physical connections and ensuring that all components are in optimal condition, you can effectively troubleshoot potential issues related to the headset microphone's physical setup.
Remember, addressing physical connectivity concerns is a fundamental initial step in resolving headset microphone issues.
Ensuring a secure physical connection is the first step in troubleshooting headset microphone issues. By carefully examining the connections, checking for damage, and verifying compatibility, you can lay the groundwork for successful microphone testing and usage.
Adjusting the Microphone Settings on Your Computer
Once you have confirmed that the physical connections of your headset microphone are secure, the next step involves adjusting the microphone settings on your computer. Proper configuration of these settings is crucial for ensuring that your microphone functions optimally. Here’s a comprehensive guide to adjusting the microphone settings:
- Accessing Sound Settings: Begin by accessing the sound settings on your computer. Depending on your operating system, you can typically find these settings in the control panel or system preferences. Look for the “Sound” or “Audio” section to locate the microphone settings.
- Setting the Default Microphone: Within the sound settings, you should be able to designate your headset microphone as the default recording device. This ensures that any applications or software on your computer will recognize and utilize the headset microphone for audio input.
- Adjusting Input Levels: Many operating systems allow users to adjust the input levels for microphones. These levels determine the sensitivity of the microphone and can be fine-tuned to capture the desired audio input. It’s advisable to test different input levels to find the optimal setting for your headset microphone.
- Enabling Microphone Enhancements: Some sound settings feature options for microphone enhancements, such as noise suppression and echo cancellation. Depending on your preferences and the capabilities of your headset microphone, you may choose to enable or disable these enhancements to improve audio quality.
- Updating Drivers and Software: It’s essential to ensure that the drivers and software related to your headset microphone are up to date. Outdated or incompatible drivers can lead to performance issues. Check the manufacturer’s website for any available updates and install them as needed.
By adjusting the microphone settings on your computer, you can optimize the performance of your headset microphone and ensure that it functions seamlessly across various applications and tasks.
Properly configuring the microphone settings on your computer is a critical step in harnessing the full potential of your headset microphone. By designating the default microphone, adjusting input levels, enabling enhancements, and updating relevant software, you can enhance the overall audio experience and troubleshoot potential issues.
Testing the Microphone Using the Built-in Tool on Your Computer
After confirming the physical connection and adjusting the microphone settings on your computer, the next step is to test the functionality of your headset microphone using the built-in tools provided by your operating system. This allows you to verify that the microphone is capturing and transmitting audio as intended. Here’s a step-by-step guide to testing the microphone using the built-in tool on your computer:
- Accessing Sound Settings: Begin by accessing the sound or audio settings on your computer. Depending on your operating system, you can typically find these settings in the control panel, system preferences, or the taskbar. Look for the section dedicated to recording devices or input devices.
- Microphone Test: Within the sound settings, there should be an option to test the microphone. This feature allows you to speak into the microphone and observe the audio input levels in real-time. As you speak, the input levels should fluctuate, indicating that the microphone is detecting and transmitting your voice.
- Recording a Sample: Many operating systems offer the ability to record a sample using the microphone. This feature allows you to capture a brief audio clip and play it back to assess the quality and clarity of the recorded audio. Pay attention to any distortions, background noise, or irregularities in the recorded sample.
- Adjusting Settings as Needed: While testing the microphone, take note of any issues or inconsistencies in the audio input. If necessary, revisit the microphone settings and make further adjustments to the input levels, enhancements, or default device selection to address any identified issues.
- Verifying System Compatibility: During the testing process, ensure that the microphone is compatible with the applications and software you intend to use it with. Test the microphone across different applications, such as voice recording software or communication platforms, to confirm its seamless integration.
By utilizing the built-in tools on your computer to test the microphone, you can gain valuable insights into its performance and identify any potential issues that may require further adjustments or troubleshooting.
Testing the microphone using the built-in tools provided by your operating system is an essential step in evaluating its functionality. By leveraging the microphone test, recording samples, and verifying compatibility across applications, you can gain confidence in the microphone’s performance and make informed adjustments as needed.
Using a Third-Party App to Test the Microphone
While the built-in tools on your computer provide a basic assessment of the headset microphone’s functionality, utilizing a third-party app for microphone testing offers additional insights and a more comprehensive evaluation. These apps often provide advanced features and diagnostic capabilities that can help pinpoint specific issues and optimize the microphone’s performance. Here’s a detailed guide to using a third-party app to test your microphone:
- Researching Compatible Apps: Begin by researching and identifying third-party apps designed for microphone testing. Look for reputable apps that are compatible with your operating system and headset microphone. Popular options include audio recording software, voice analysis tools, and diagnostic utilities specifically tailored for microphone testing.
- Installing the App: Once you’ve selected a suitable app, download and install it on your computer. Follow the app’s installation instructions and ensure that it is granted the necessary permissions to access your microphone and audio settings.
- Calibrating the Microphone: Many third-party apps feature calibration processes that allow you to fine-tune the microphone’s settings and optimize its performance. Follow the app’s guidance to calibrate the microphone based on your preferences and intended usage scenarios.
- Conducting Diagnostic Tests: Utilize the diagnostic features provided by the app to conduct comprehensive tests of the microphone. This may include analyzing frequency response, detecting background noise levels, assessing audio clarity, and evaluating the microphone’s sensitivity to different sound levels.
- Recording and Analyzing Samples: Take advantage of the app’s recording capabilities to capture audio samples using the headset microphone. After recording, use the app’s analysis tools to assess the quality of the recorded audio, identify any anomalies or distortions, and pinpoint areas for potential improvement.
By leveraging third-party apps for microphone testing, you can gain a deeper understanding of the headset microphone’s performance and address specific audio-related nuances that may not be fully evident when using built-in tools.
Using a third-party app to test the microphone provides a comprehensive assessment of its capabilities. By researching compatible apps, installing and calibrating the selected app, conducting diagnostic tests, and analyzing recorded samples, you can gain valuable insights into the microphone’s performance and make targeted adjustments to enhance its functionality.
Testing the Microphone with a Voice or Video Call
After utilizing built-in tools and third-party apps to assess the headset microphone’s performance, conducting real-world tests through voice or video calls provides a practical evaluation of its functionality in communication scenarios. This step allows you to ensure that the microphone operates effectively within the context of live conversations and interactions. Here’s a comprehensive guide to testing the microphone with a voice or video call:
- Selecting a Communication Platform: Choose a reliable communication platform or software that supports voice or video calls. Popular options include Skype, Zoom, Discord, Microsoft Teams, or any other preferred platform that facilitates real-time audio communication.
- Initiating a Test Call: With the selected platform open, initiate a test call to a trusted contact or a secondary account that you have access to. This allows you to engage in a live conversation and assess the microphone’s performance in real time.
- Audio Clarity and Quality: During the test call, pay close attention to the clarity and quality of the audio transmitted through the microphone. Listen for any distortions, background noise, or inconsistencies in the audio output. Request feedback from the other party regarding the clarity of your voice.
- Adjusting Settings on the Fly: While engaged in the test call, take the opportunity to adjust microphone settings, if supported by the communication platform. This may include fine-tuning input levels, enabling noise suppression, or making real-time adjustments to enhance the audio output based on feedback received during the call.
- Testing in Various Scenarios: Conduct test calls in different environments and scenarios to evaluate the microphone’s performance across varying acoustic conditions. This may involve testing in quiet spaces, areas with background noise, and environments with different levels of ambient sound.
By testing the microphone with voice or video calls, you can gain valuable insights into its performance in real-world communication scenarios and make targeted adjustments to optimize its functionality.
Conducting live voice or video calls to test the microphone provides a practical assessment of its performance. By selecting a communication platform, initiating test calls, evaluating audio clarity, adjusting settings on the fly, and testing in various scenarios, you can ensure that the headset microphone operates effectively in real-time communication scenarios.
Troubleshooting Common Issues
While testing the headset microphone, you may encounter common issues that can hinder its performance. Understanding how to troubleshoot these issues is essential for resolving potential challenges and ensuring that the microphone operates optimally. Here’s a comprehensive guide to troubleshooting common issues associated with headset microphones:
- Audio Distortions: If you notice audio distortions, such as crackling sounds or static, ensure that the physical connections are secure. Additionally, check the microphone’s cable for any damage or interference. Adjusting input levels and disabling microphone enhancements can also help mitigate distortions.
- Background Noise: Background noise can impact the clarity of audio captured by the microphone. Consider adjusting input levels, enabling noise suppression features if available, and testing the microphone in different environments to identify and address sources of background noise.
- Low Volume or Muffled Sound: If the microphone produces low volume or muffled sound, verify that the microphone isn’t obstructed by any objects or clothing. Adjust input levels to increase sensitivity, and ensure that the microphone is positioned correctly for optimal audio capture.
- Compatibility Issues: Incompatibility with specific applications or software can lead to microphone issues. Ensure that the microphone’s drivers and software are up to date, and verify its compatibility with the intended communication platforms or recording software.
- Intermittent Connectivity: Intermittent connectivity issues may arise due to loose connections or faulty cables. Inspect the physical connections and consider using alternative ports or cables to rule out potential connectivity issues.
By troubleshooting common issues associated with headset microphones, you can address performance challenges and optimize the microphone’s functionality for various applications and usage scenarios.
Effectively troubleshooting common issues is essential for maintaining the optimal performance of the headset microphone. By addressing audio distortions, background noise, volume issues, compatibility concerns, and connectivity issues, you can ensure that the microphone operates reliably and delivers high-quality audio output.